In this article, we'll dive into the essential elements of the Tidio settings. You'll learn about various configuration options that cover both the front and back end of the Tidio system.
The Settings menu is split into four groups: Channels, Personal, General and Project. Some sections show only on certain plans or for certain roles - we mention it below wherever that's the case.
In this article, you'll learn about:
- Live chat and widget settings
- Account settings
- Notification settings
- Operating Hours
- Macros
- Workflows
- Team settings
- Service Level Agreements (SLA)
- Campaign settings
- Customer satisfaction surveys
- Downloading the desktop and mobile app
- Custom fields and Contact Properties
- Ticket tags
- Tracking
- Developer details
- Billing settings
- Usage
- Project preferences
- Single Sign-On
Channels
The Channels group is where you set up the places your customers can reach you from: Live Chat (with Appearance, Installation, Chat page and Translations), Email, Facebook, Instagram and WhatsApp. If your project takes part in the beta of the phone channel, you'll also see Phone calls here. Learn more about each of them in our Channels section article.
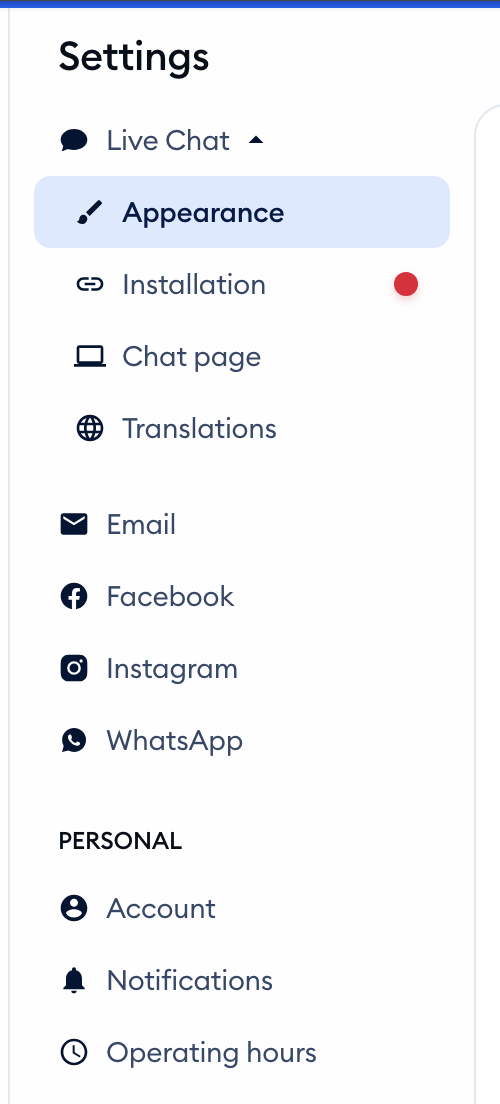
Personal
Account
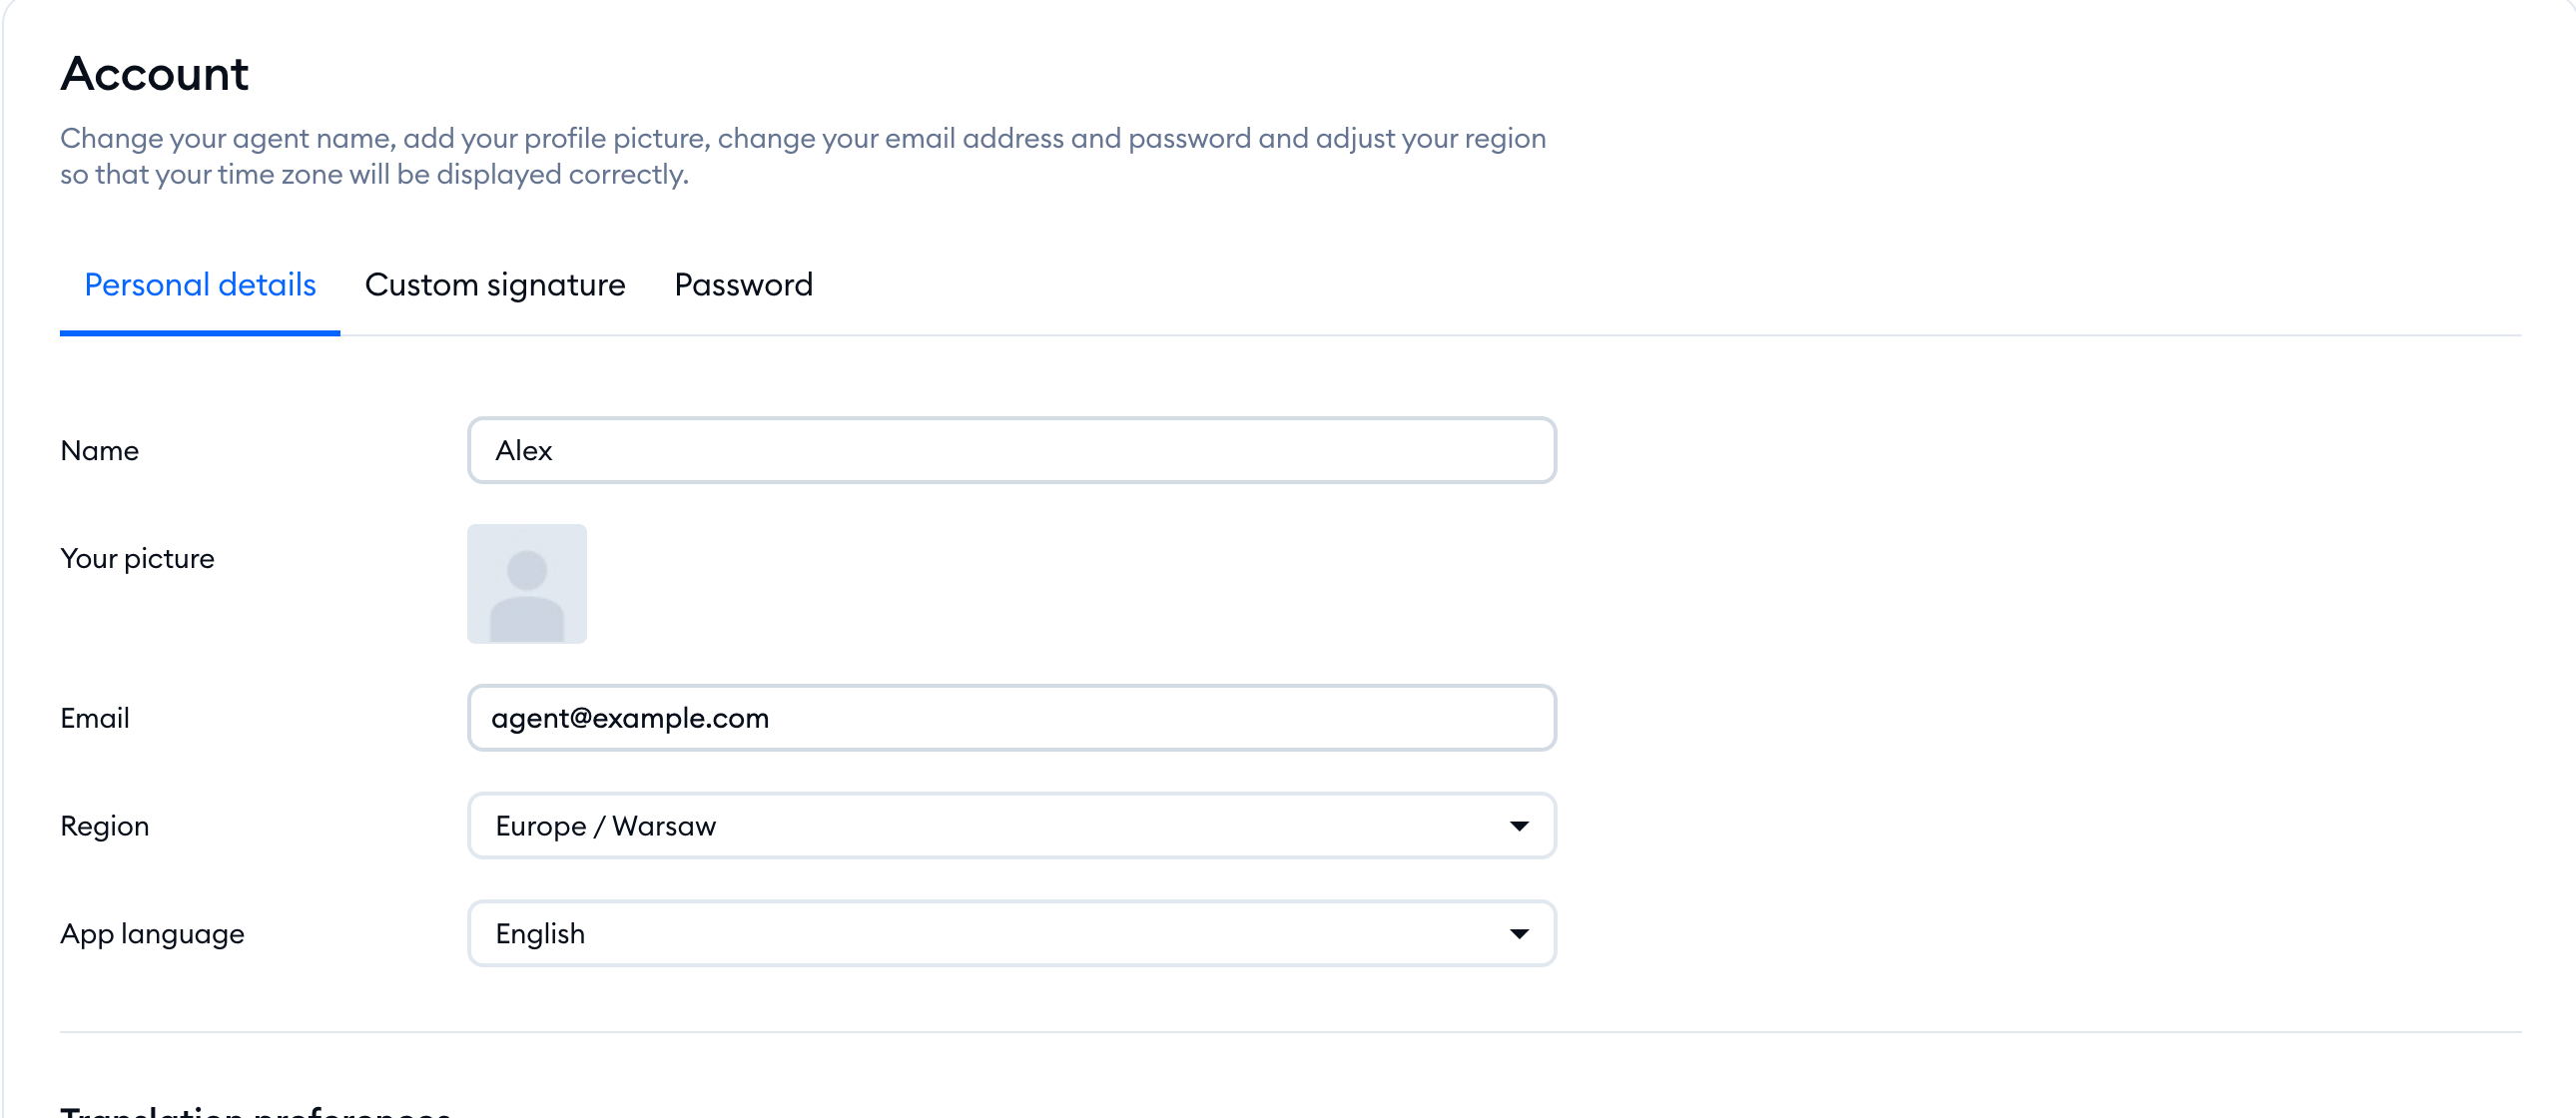
In the Account section, you can change your agent name, add your profile picture, change your email address and password, and adjust your region so that your time zone will be displayed correctly. It has three tabs:
- Personal details - your name, profile picture, email address, Region (your time zone) and App language (the language of your panel), plus your Translation preferences.
- Custom signature - the signature added to your email replies.
- Password - change your password and turn on Two-Factor Authentication (2FA).
Please note: if you ever change your Tidio login email here, you will need to confirm it as well. In your mailbox, you will receive an automatic email from us, and inside: a confirmation link that you will need to use in order to finish the process. Depending on your account, you may be asked to confirm the change from both your current and your new address.
Notifications
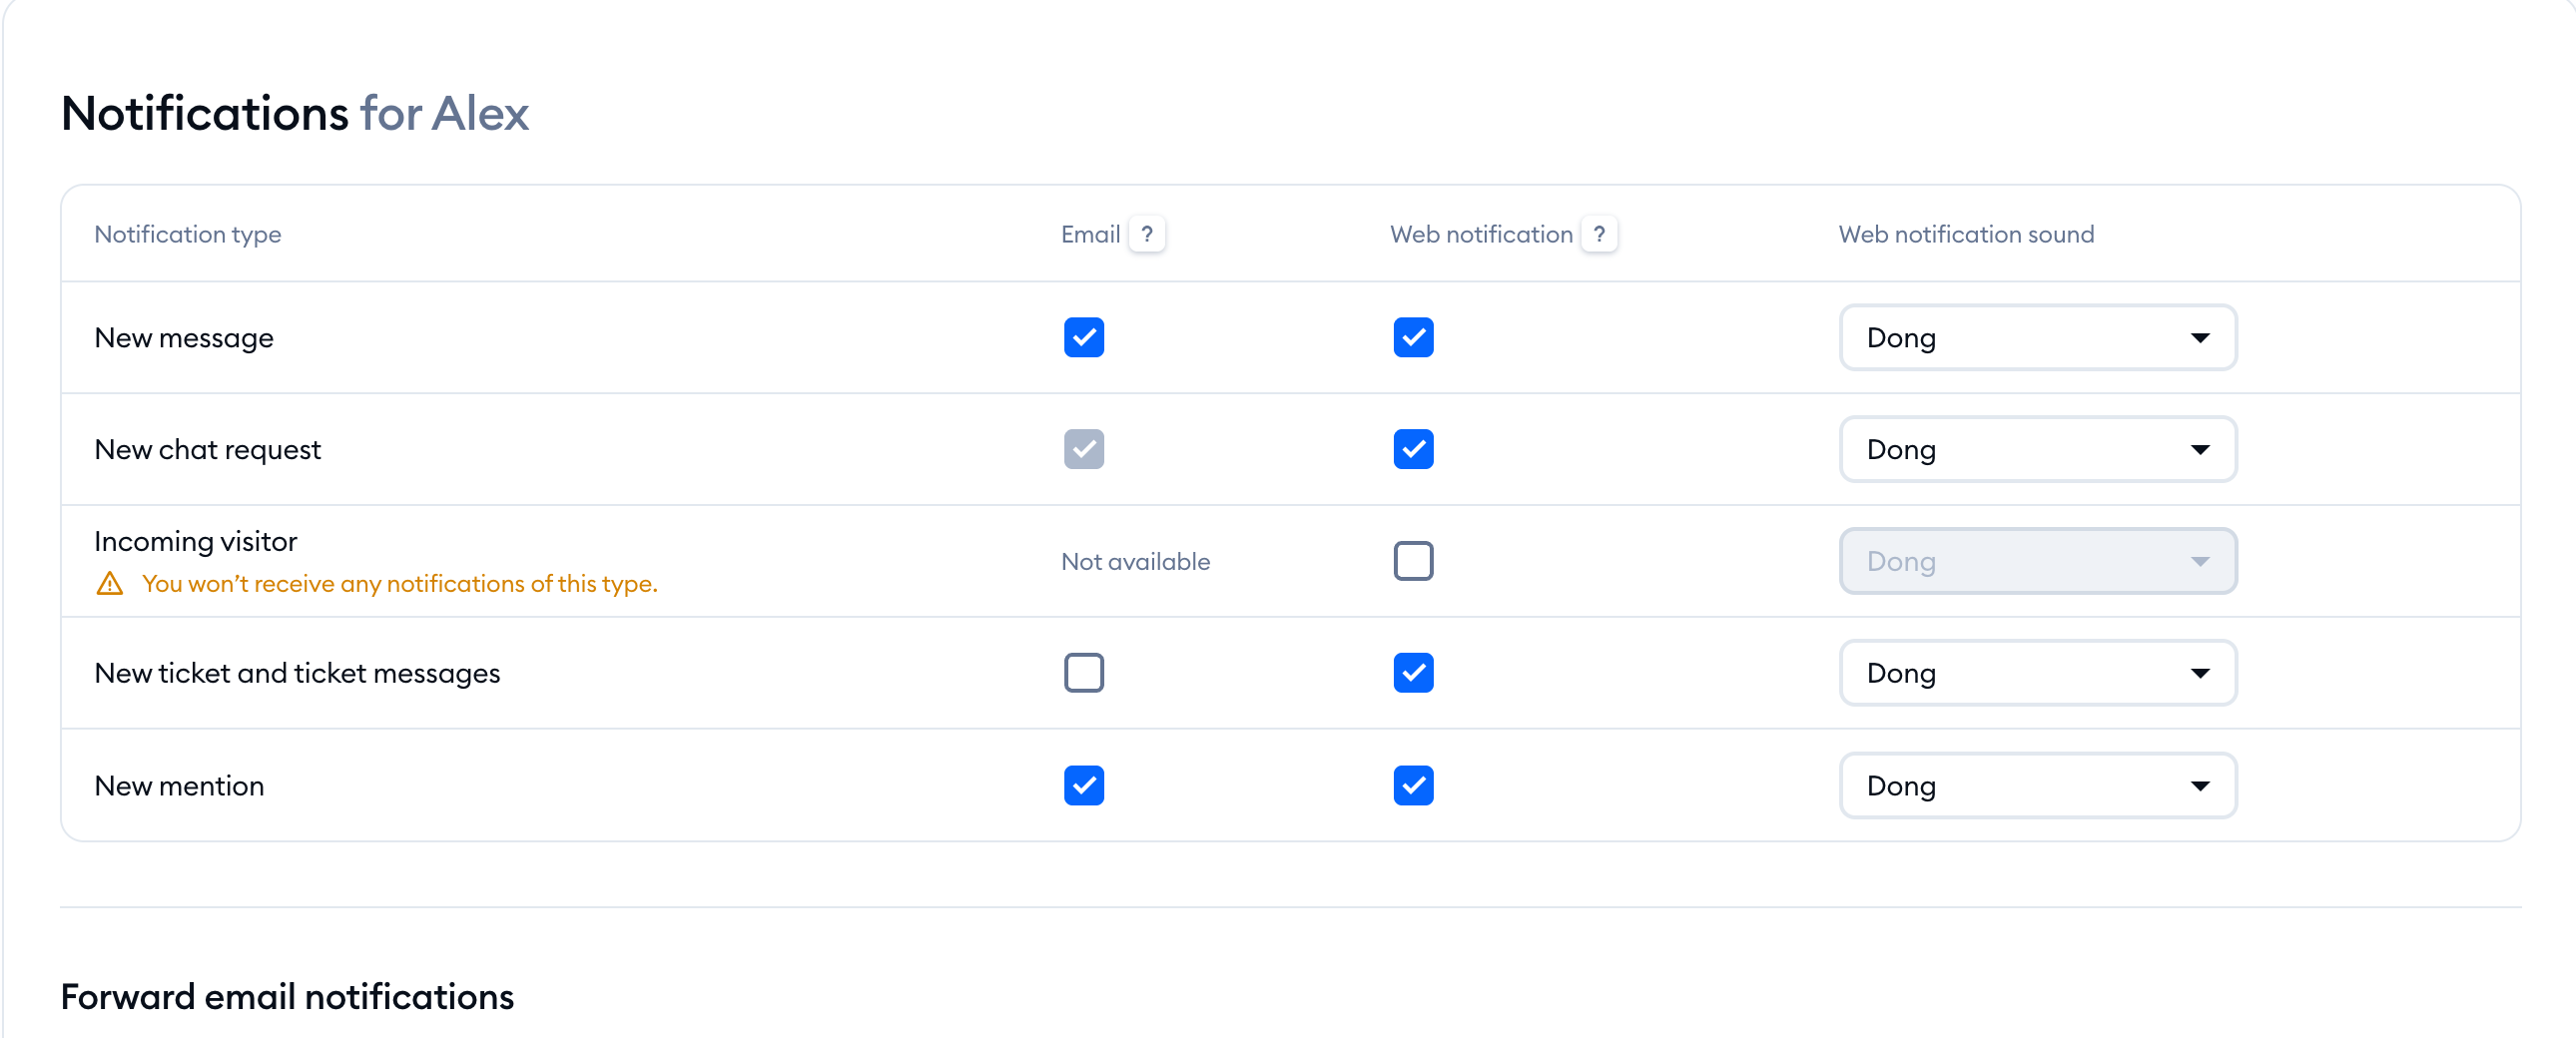
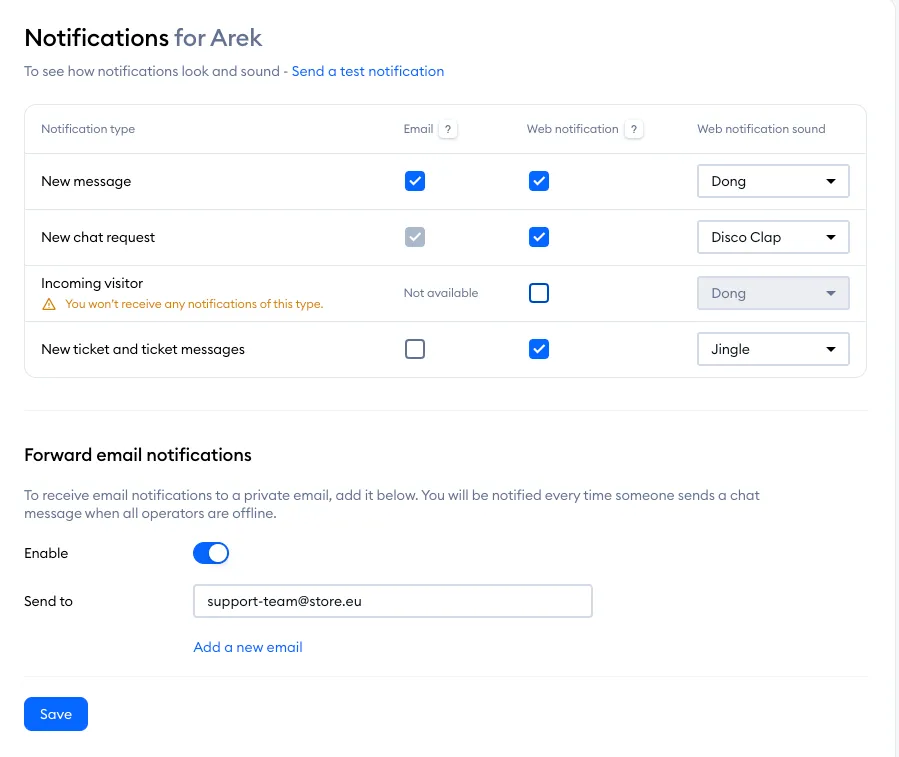
In the Notifications section, you decide how you're notified about each event: a New message, a New chat request, an Incoming visitor, a New ticket and ticket messages and a New mention. For each of them, you can choose an Email, a Web notification and a Web notification sound. Want to check how it works? Hit Send a test notification, and don't forget to Save your changes.
If you want to receive notifications about new, incoming chats to your email address - enable the Forward email notifications option.
Operating Hours
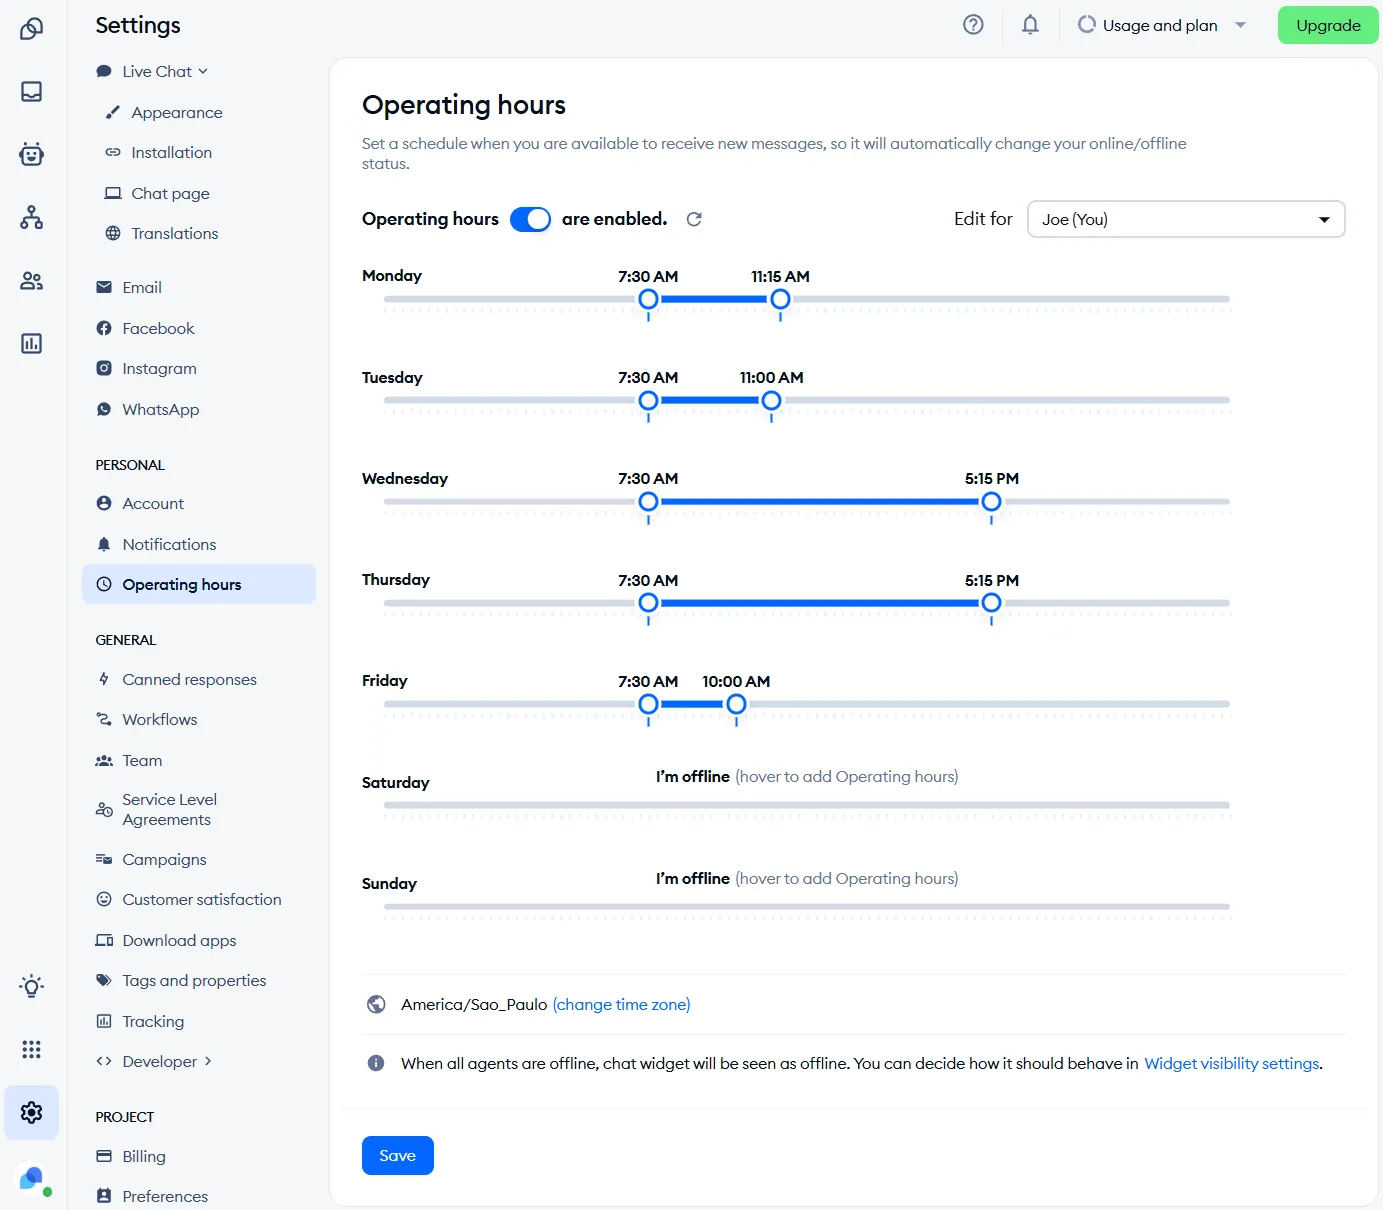
You can enable and adjust the Operating Hours, which will switch between your offline and online statuses automatically at specified times.
This setting works based on the time zone you've set up in your Tidio panel, so please make sure it's correct. You'll see your time zone below the schedule - click on change time zone next to it to change it in your Account.
In order to set up the hours when you are online – simply move the white circle and toggle it on the time you wish to be displayed online.
You can read more about that in our article on using the widget's status.
Please note: Operating hours are available on the Starter plan and above.
General
Macros
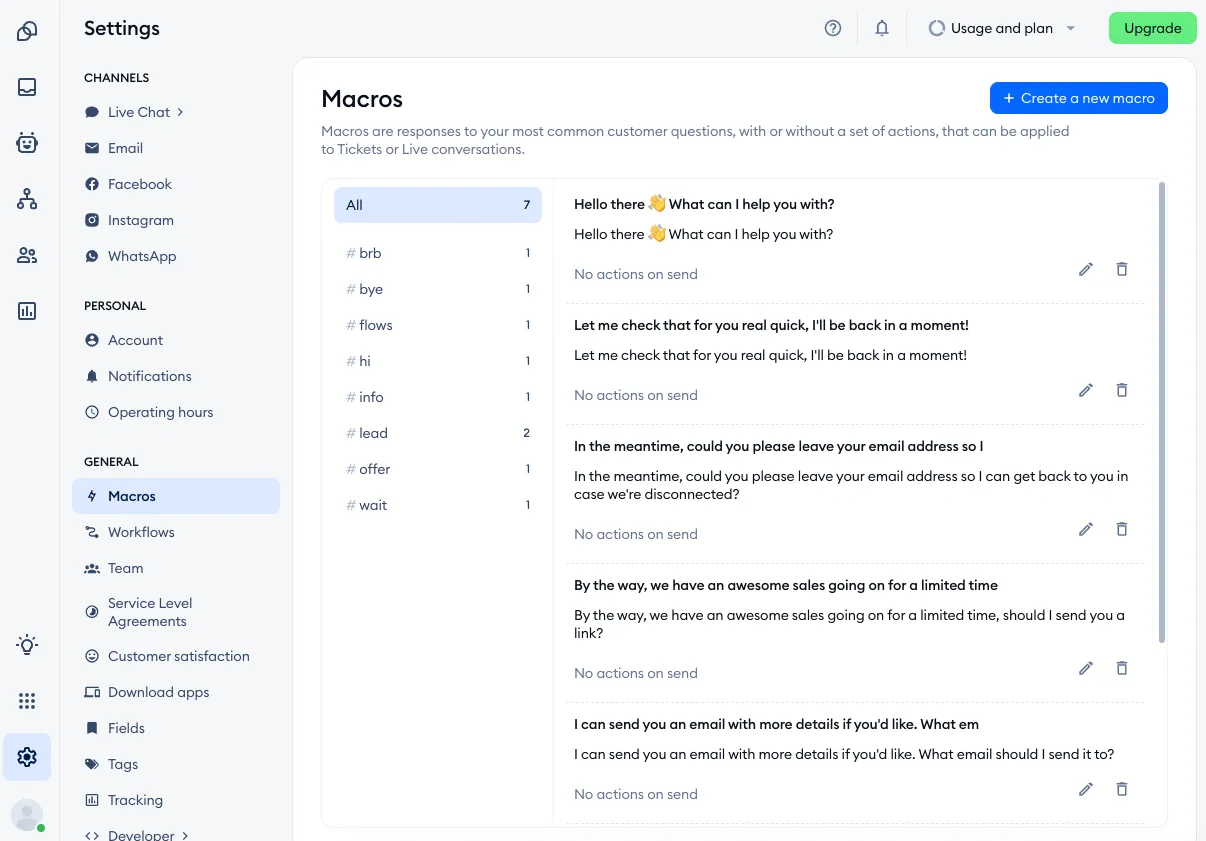
Prepare short messages, links, or answers, and use them during the conversation. We also have an article that explains how macros work in more detail, here. Macros are available on the Growth plan and above.
Workflows
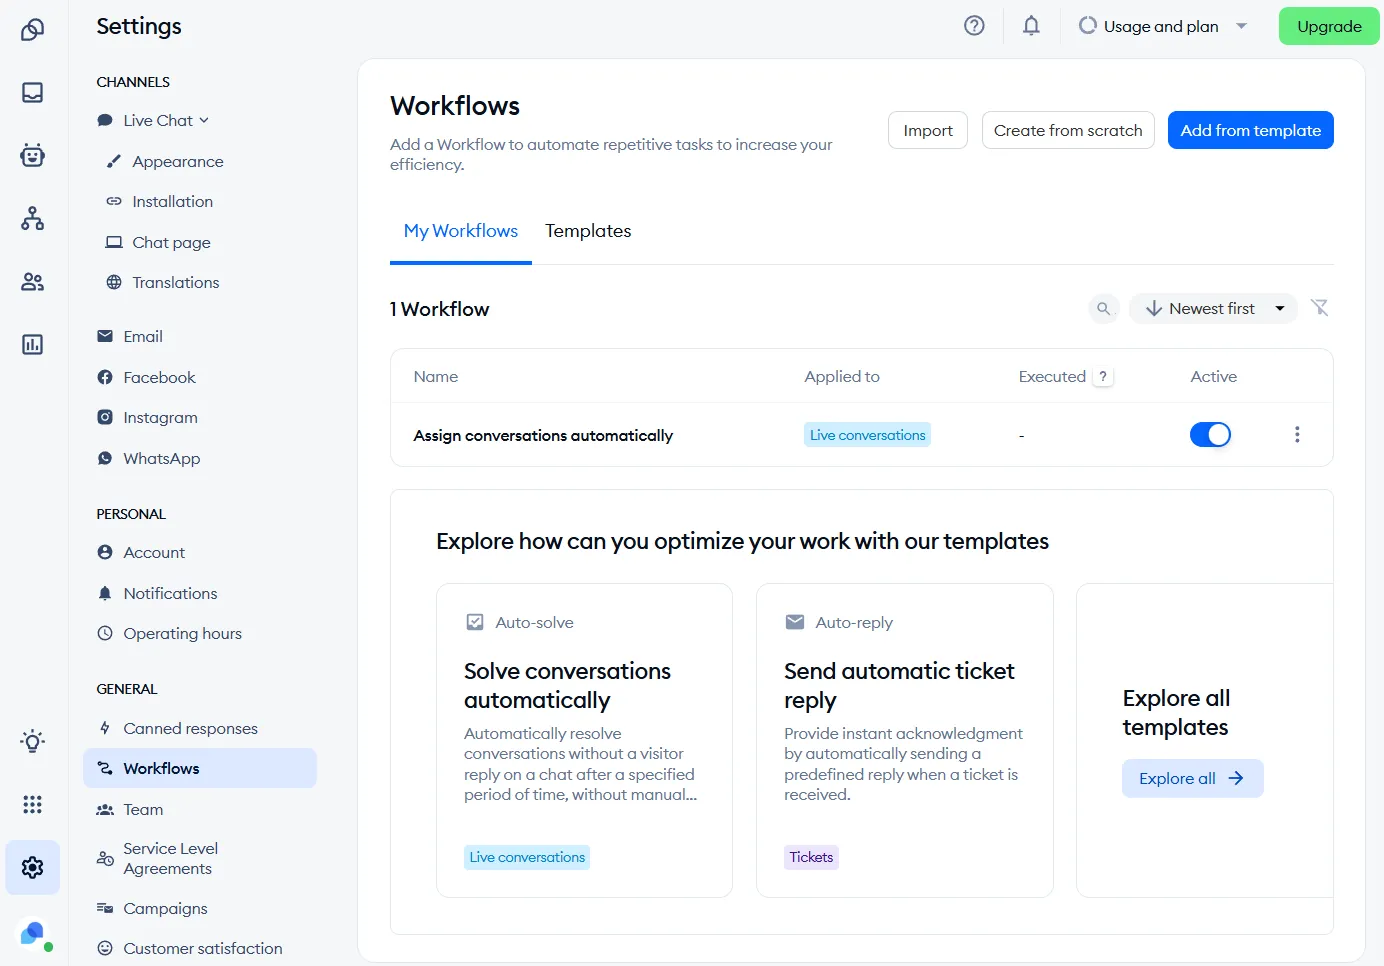
Workflows automate repetitive tasks in your live conversations and tickets - for example, assigning new conversations to agents, solving finished conversations, or tagging tickets. You can learn more about the details in our dedicated guide on Workflows. Workflows are available on the Growth plan and above.
Team
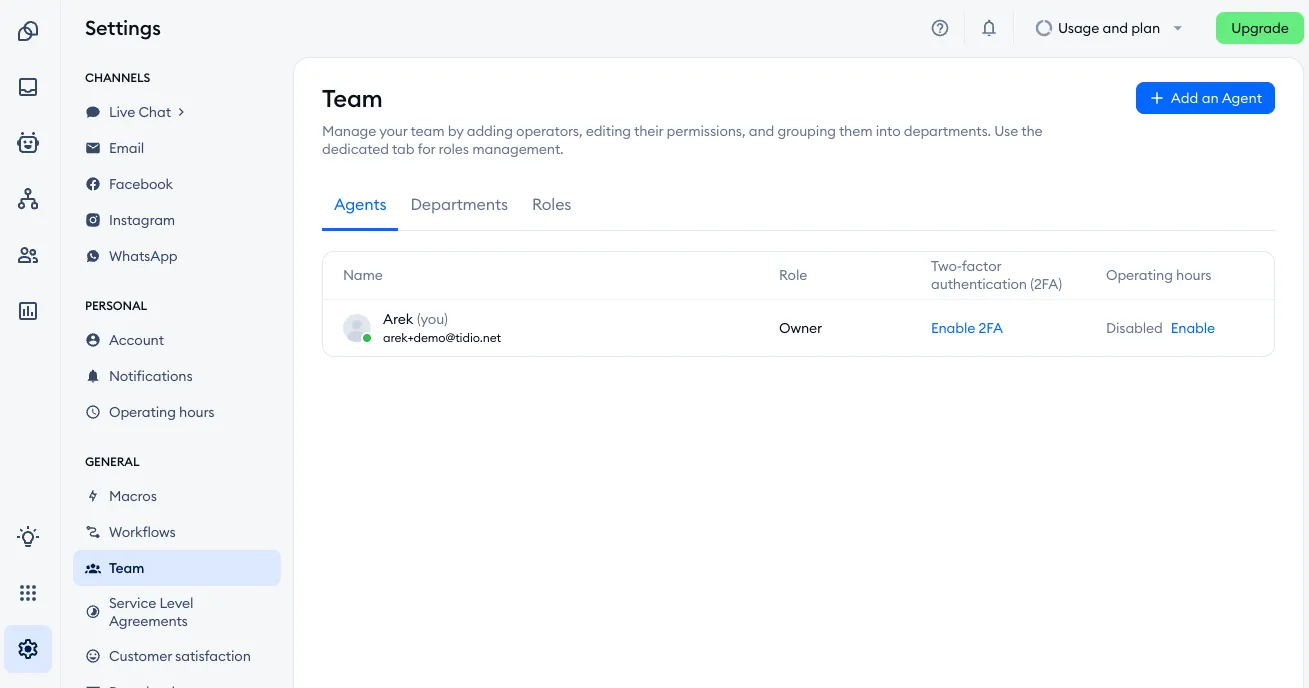
The Team section has three tabs: Agents, Departments and Roles.
Agents
Here, you can deactivate, delete, or add new agents. To learn a bit more about this, check out Managing agents.
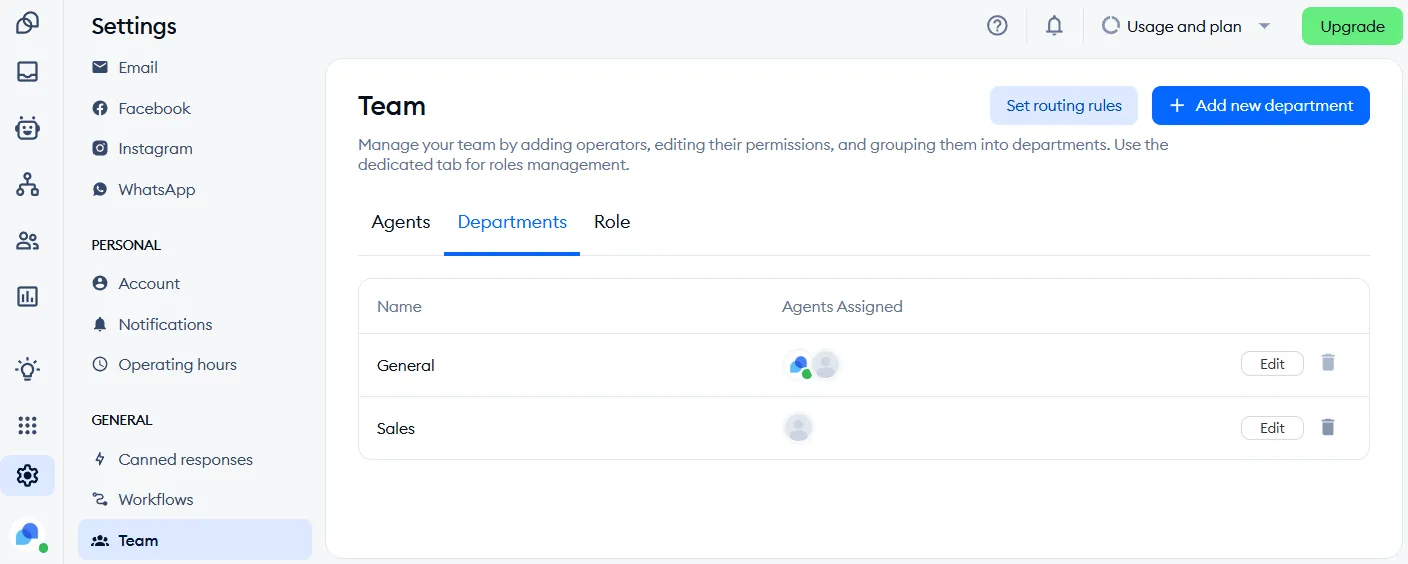
Departments
In the Departments sub-section, you can decide about adding agents to different departments (for routing and workflow purposes). You can learn more about this feature in this article. Departments are available on the Plus plan - if your plan doesn't include them, you'll see a small badge on the Departments tab.
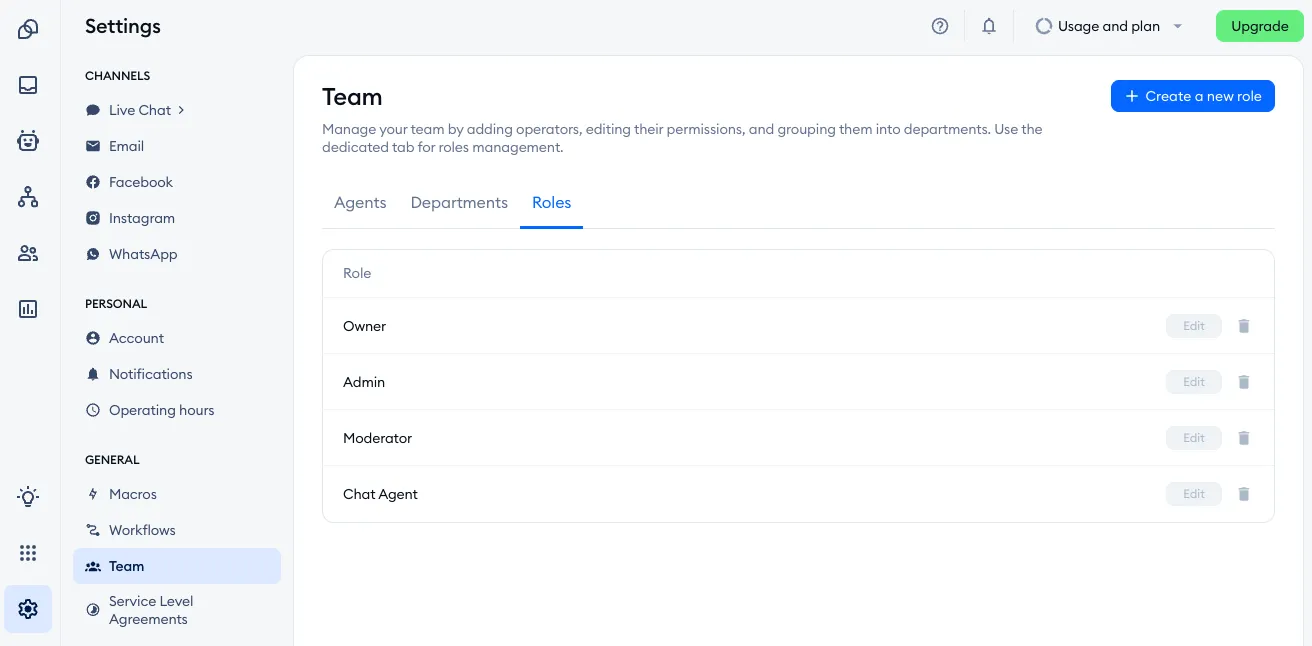
Roles
You can create different roles for your agents. Roles are basically custom permission sets that you can assign to your agents. You can learn more about this tool in our article on Permissions. Permissions are available on the Growth plan and above.
Service Level Agreements
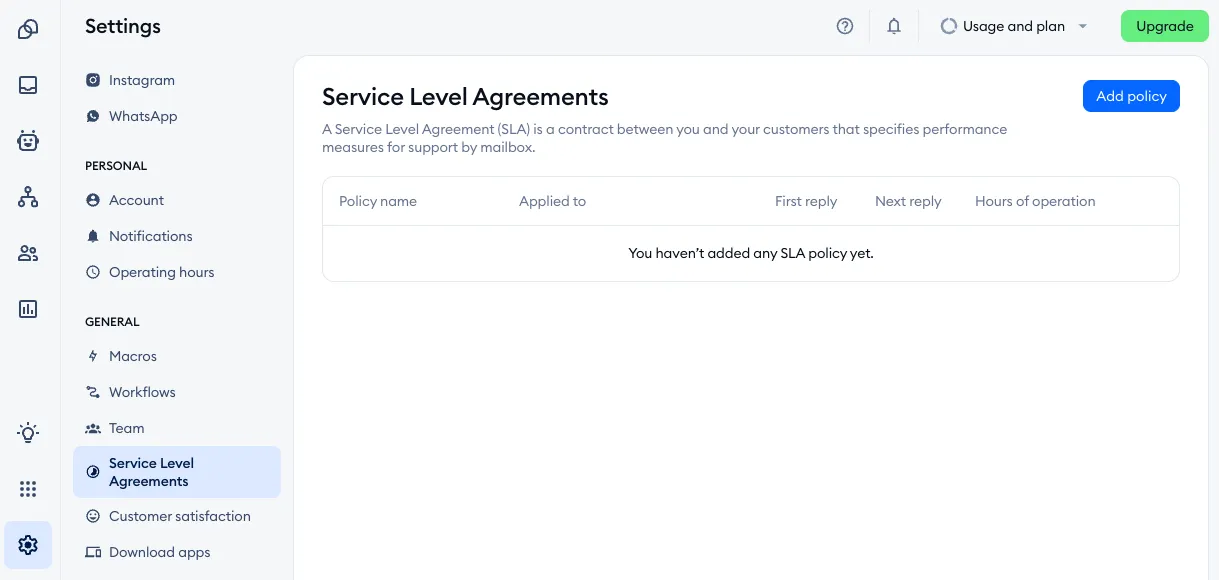
Service Level Agreements (SLA) is a tool that allows you to create SLA policies for your agents. SLA policies can be set up to determine the amount of time agents have to respond to incoming tickets (emails).
You can learn more about this tool in our dedicated guide.
Campaigns
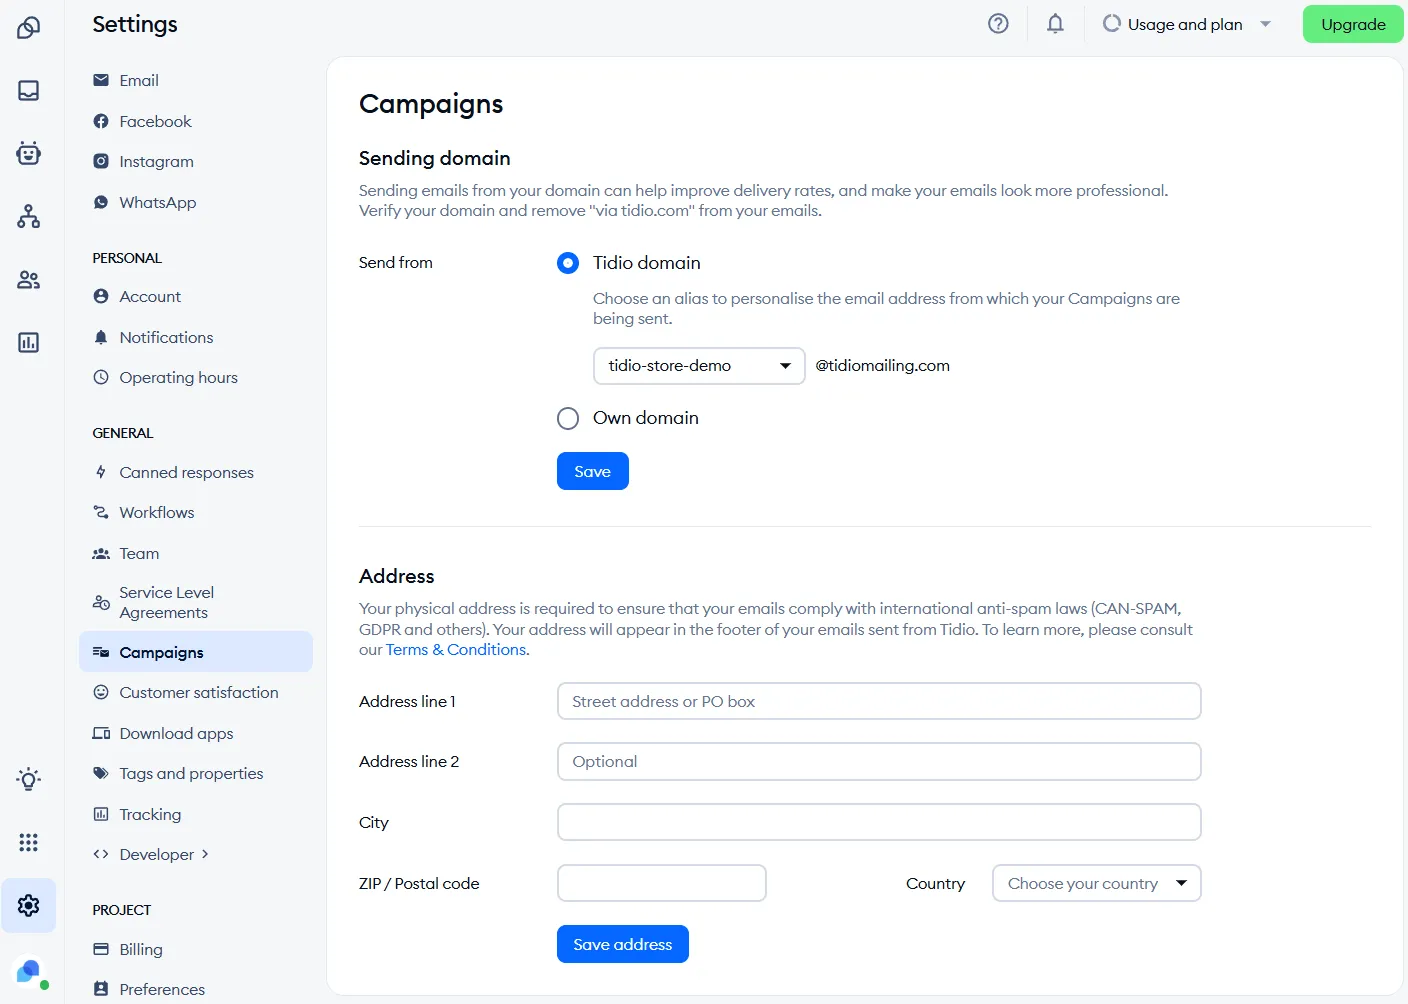
Here, you can decide about the sender domain to be used when communication via email in Tidio (see our article on how to use your own domain for more details on connecting your own domain). You can also add or modify your street address, which is required by law if you decide to use Tidio for sending email marketing campaigns.
Please note: since June 17th 2024, the Campaigns tool is only available to Plus subscribers, as well as to users with an active Campaigns subscription.
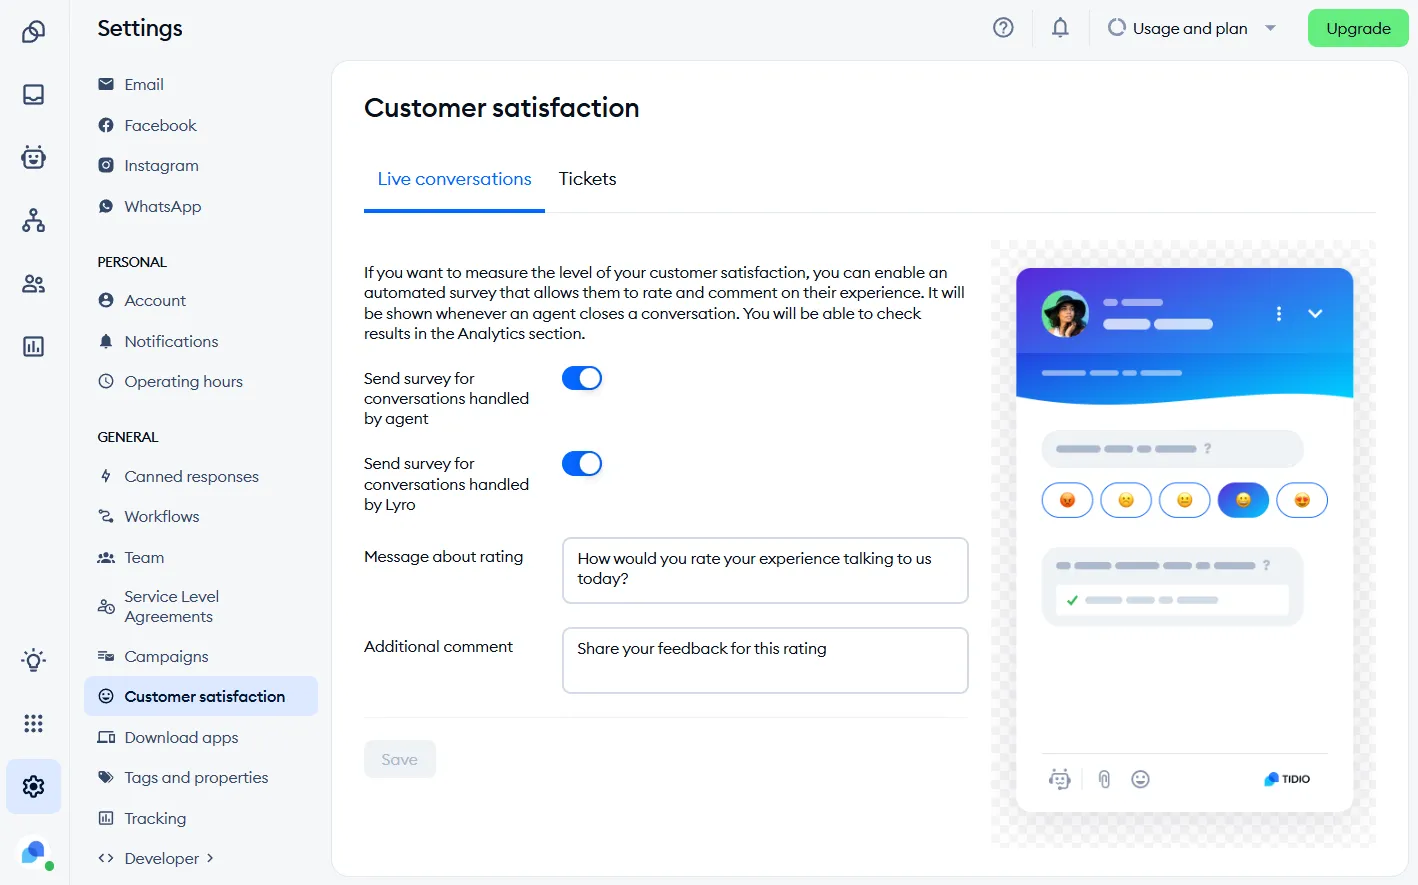
Customer satisfaction
Here you can enable (and modify) your automated surveys, asking your visitors or customers for feedback. This can be done for both live conversations and tickets (emails). You can learn more about these options here.
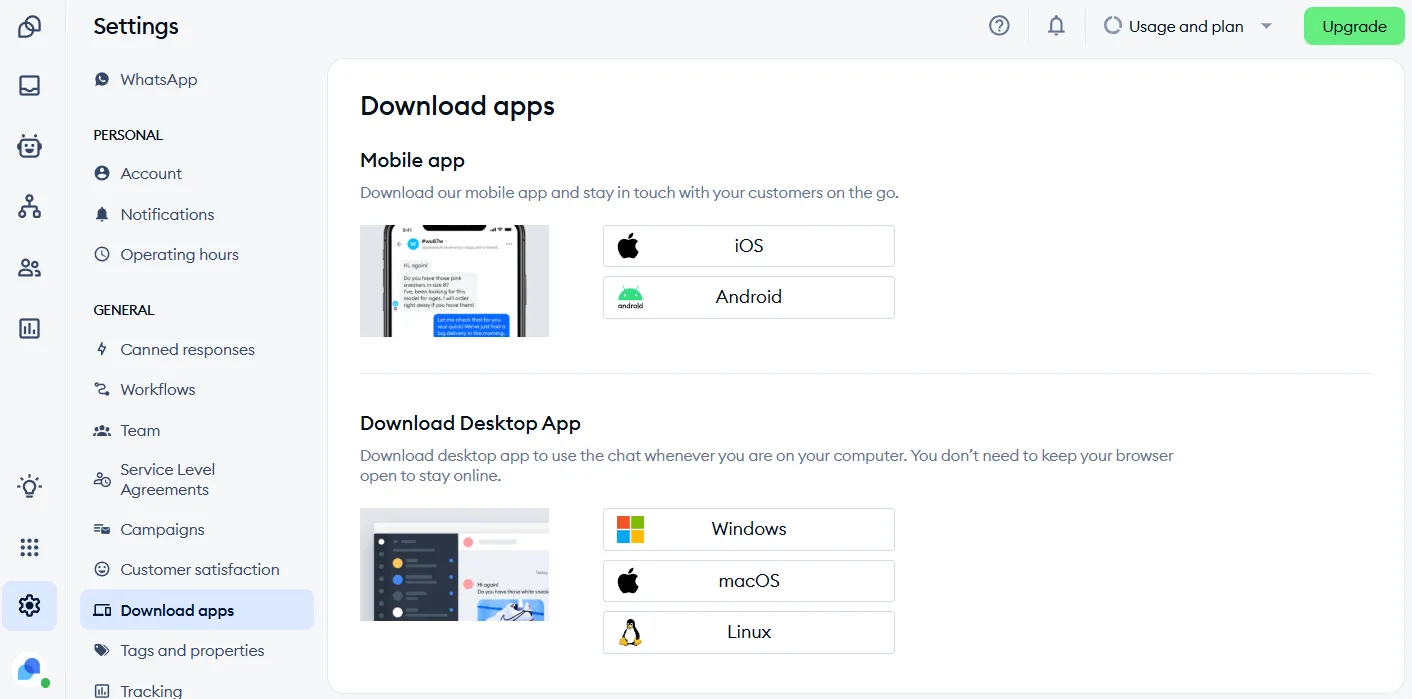
Download apps
Download the apps for desktop and mobile for all common systems to be able to answer your client's inquiries faster. You can also check out our knowledge base articles to learn more about the desktop app and the mobile app installation.
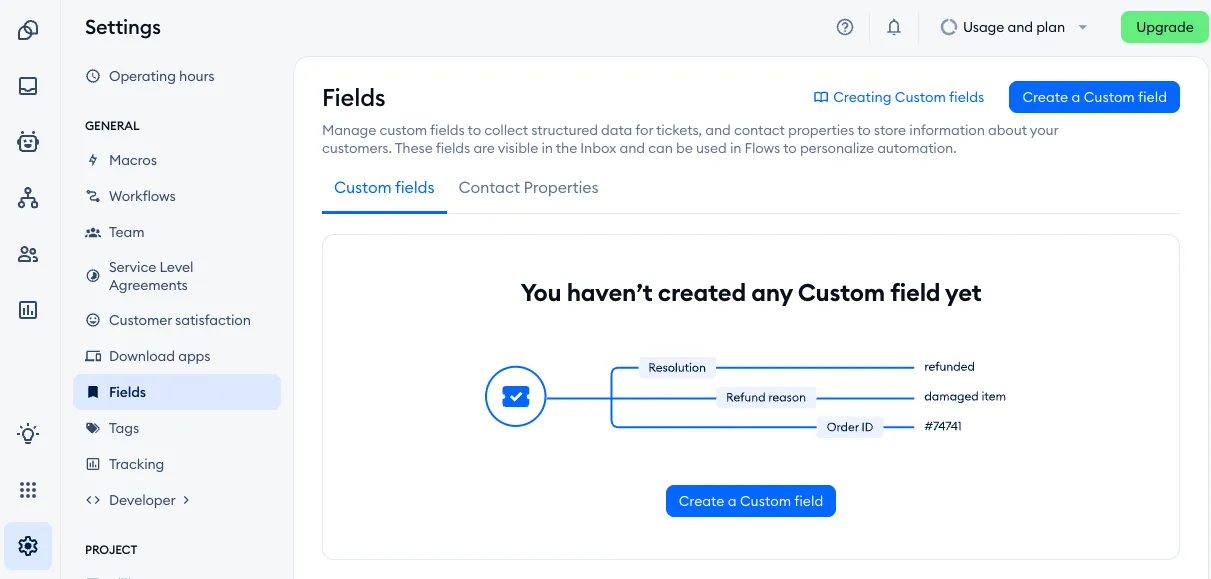
Fields
In this section, you can manage your Custom fields for tickets and Contact properties, each list in its own separate tab.
You can read more about how custom fields work in this guide.
You can also learn about Contact Properties in our dedicated article.
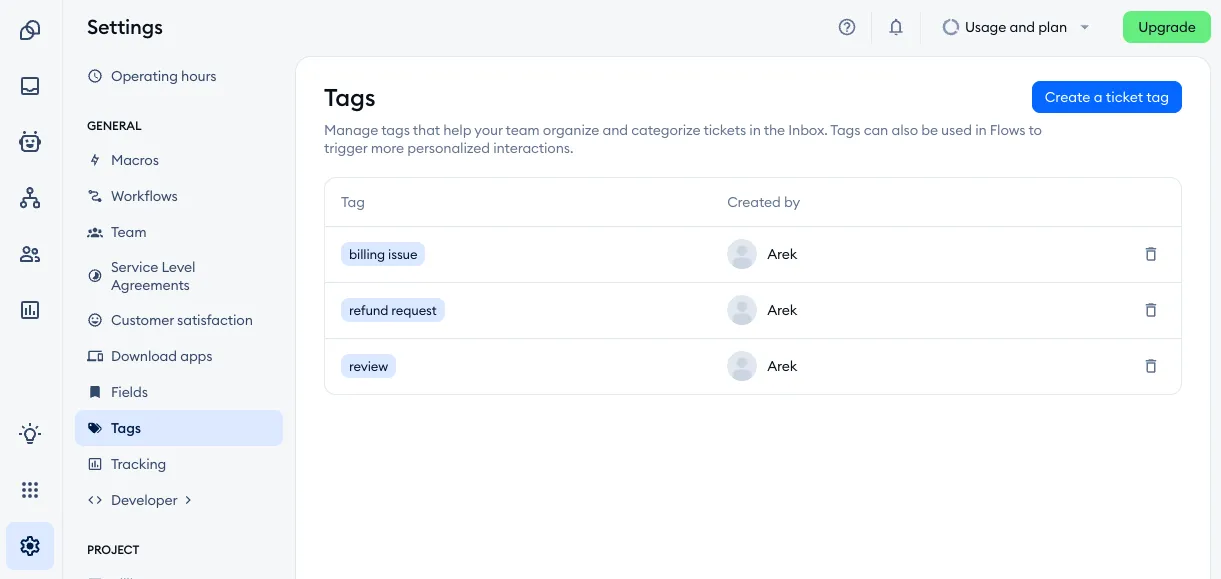
Tags
In this section, you can manage all your custom ticket tags.
Please see more details in this guide.
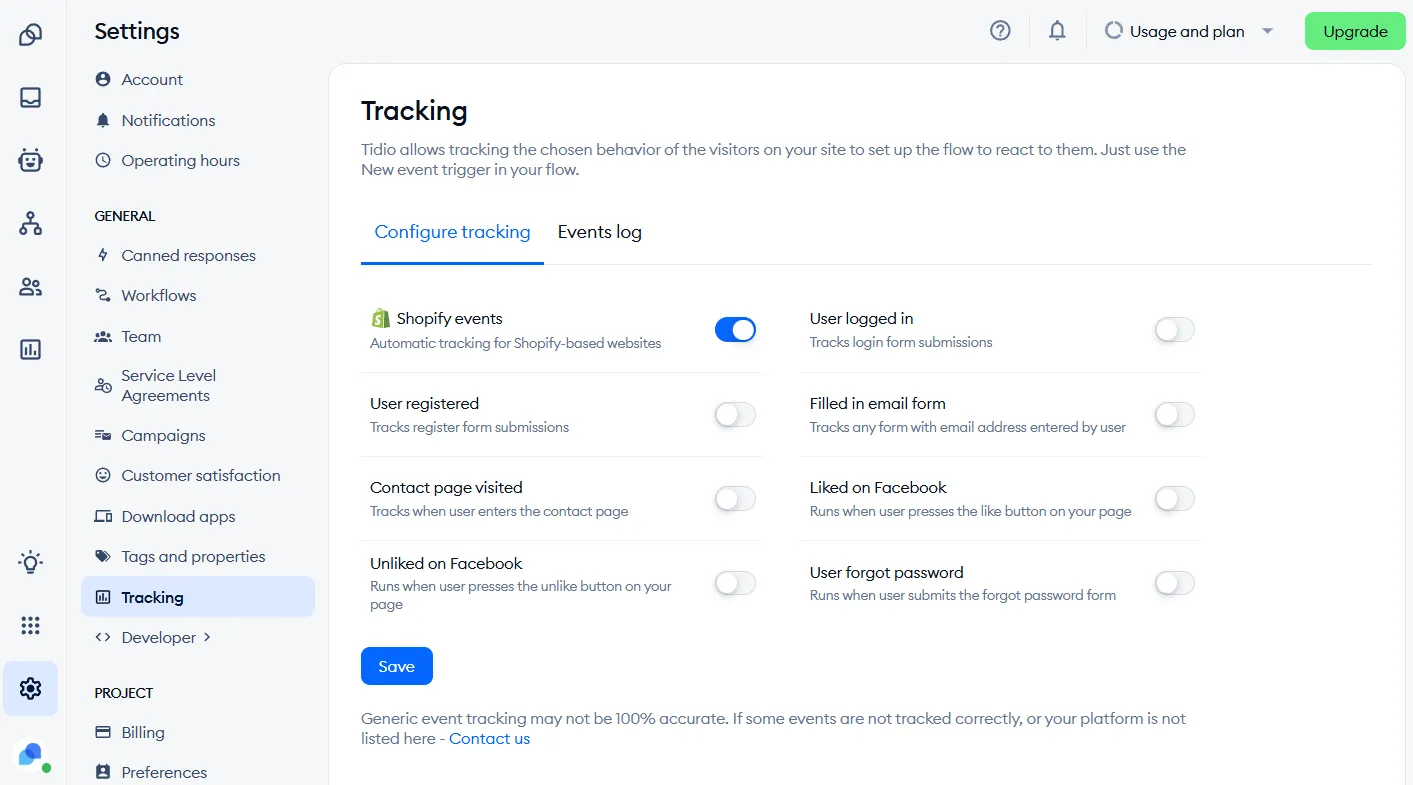
Tracking
Trace the actions of your visitors and collect the data of your visitors' movements on your website. You can find a bit more about it in our article about Tracking.
Developer
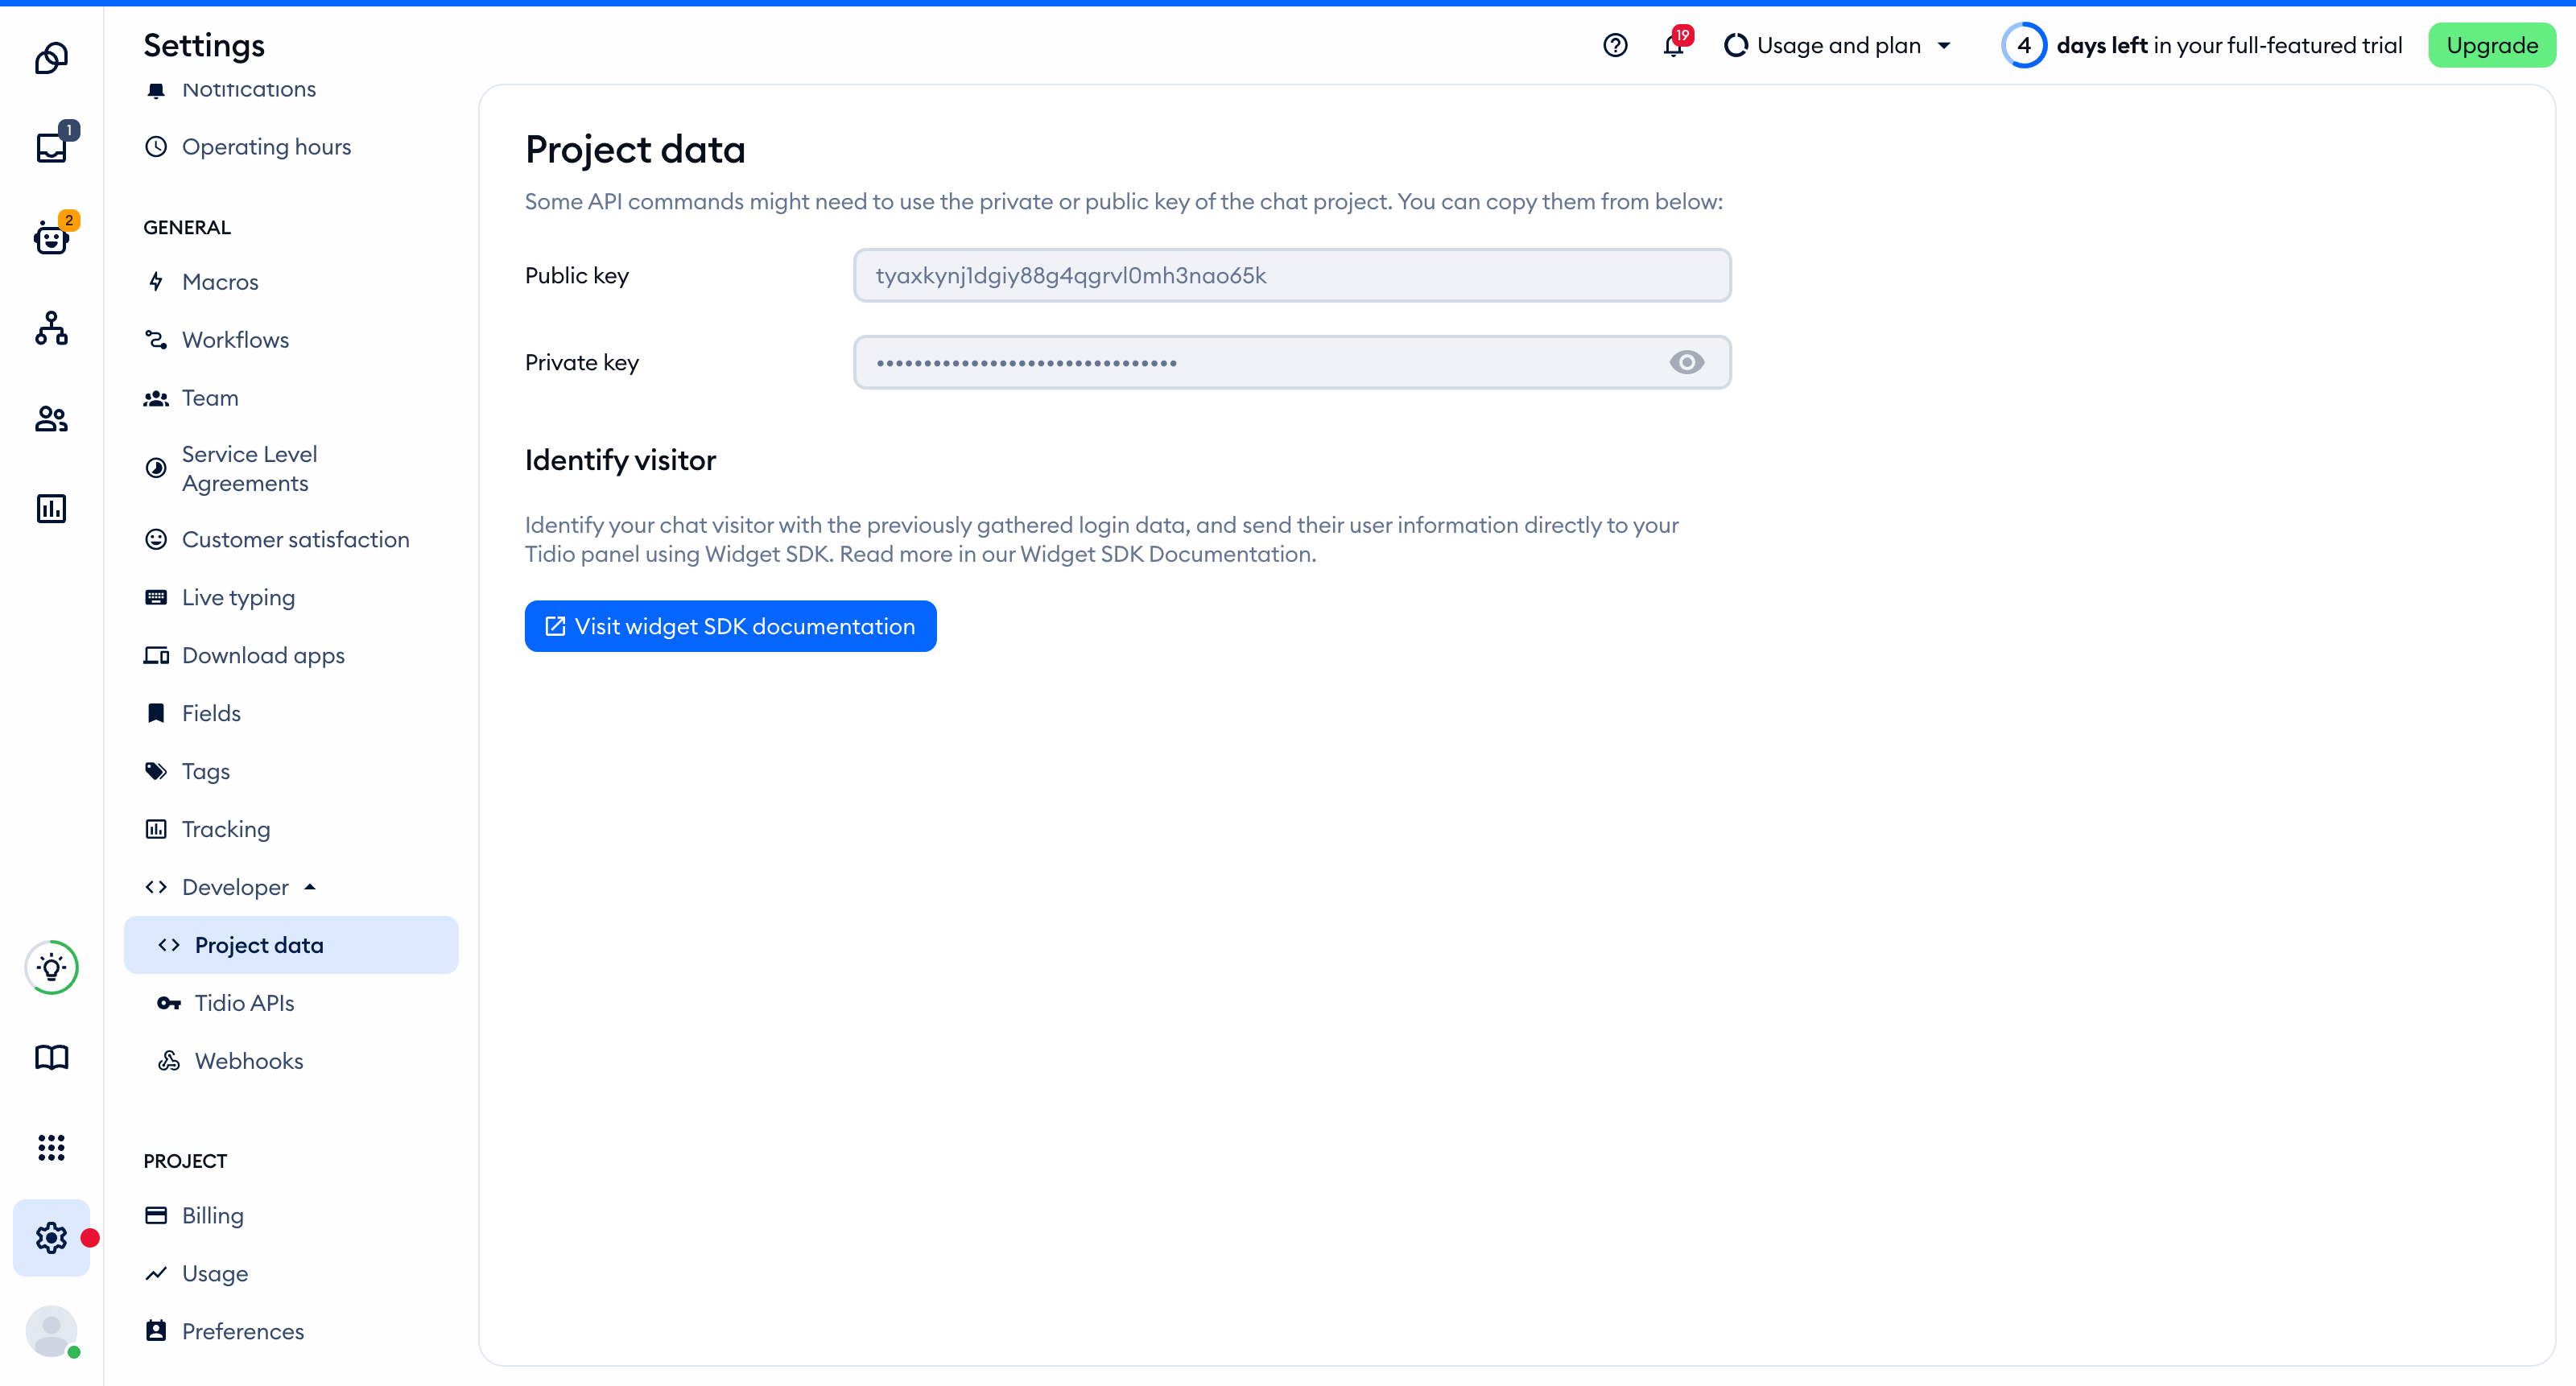
The Developer section has up to three parts:
- Project data - your Public key and Private key, which may be requested during support interactions or certain integrations. Only the project owner can see the private key (click on Show private key).
- Tidio APIs and Webhooks - visible to owners and admins. Learn more in Developer resources in Tidio and Use Webhooks in Tidio (with OpenAPI).
Project
Billing
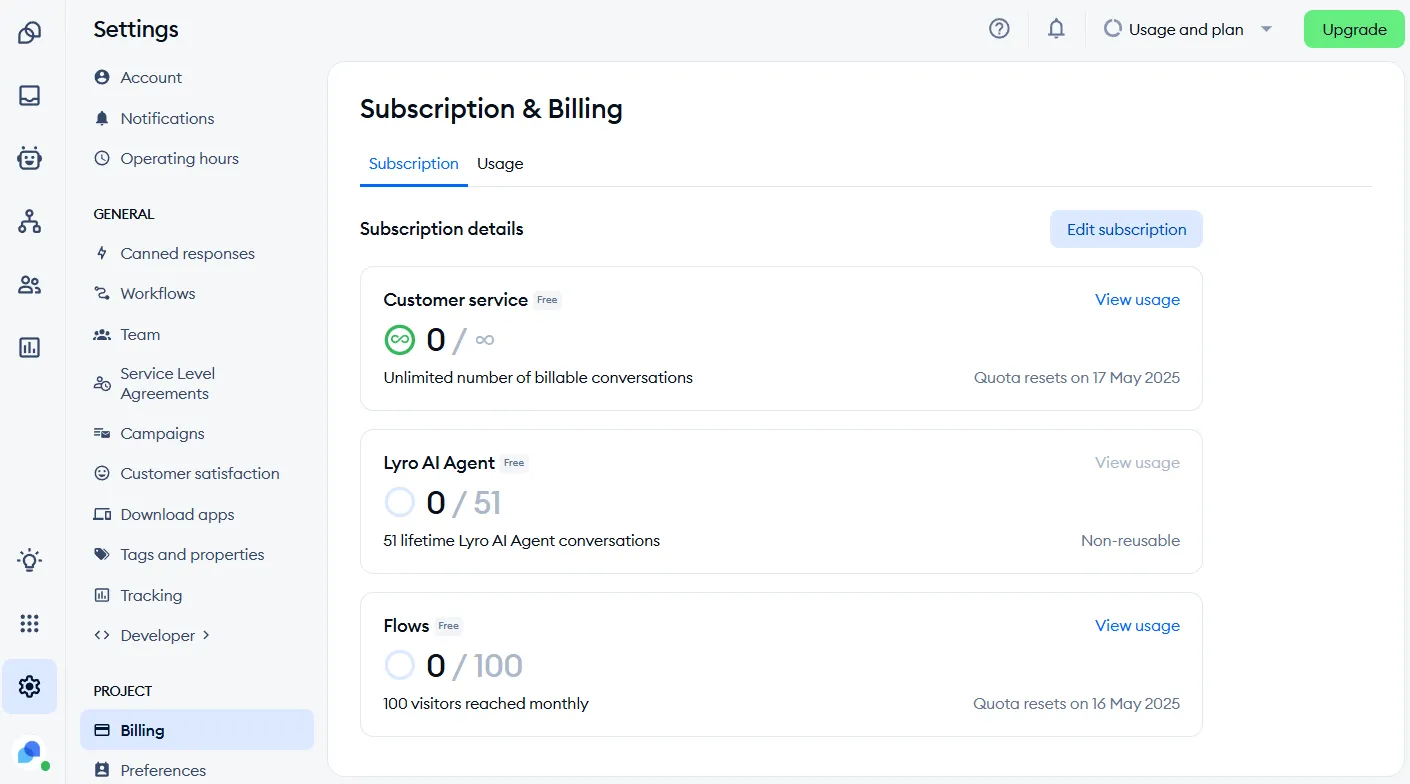
In this section, you can check which plan you are on at the moment and manage your subscription from there. You can download invoices, update your billing details, expand the account even further, or cancel your subscription. You'll see it if your role allows you to view billing.
Please see Manage your subscription for more details.
Usage
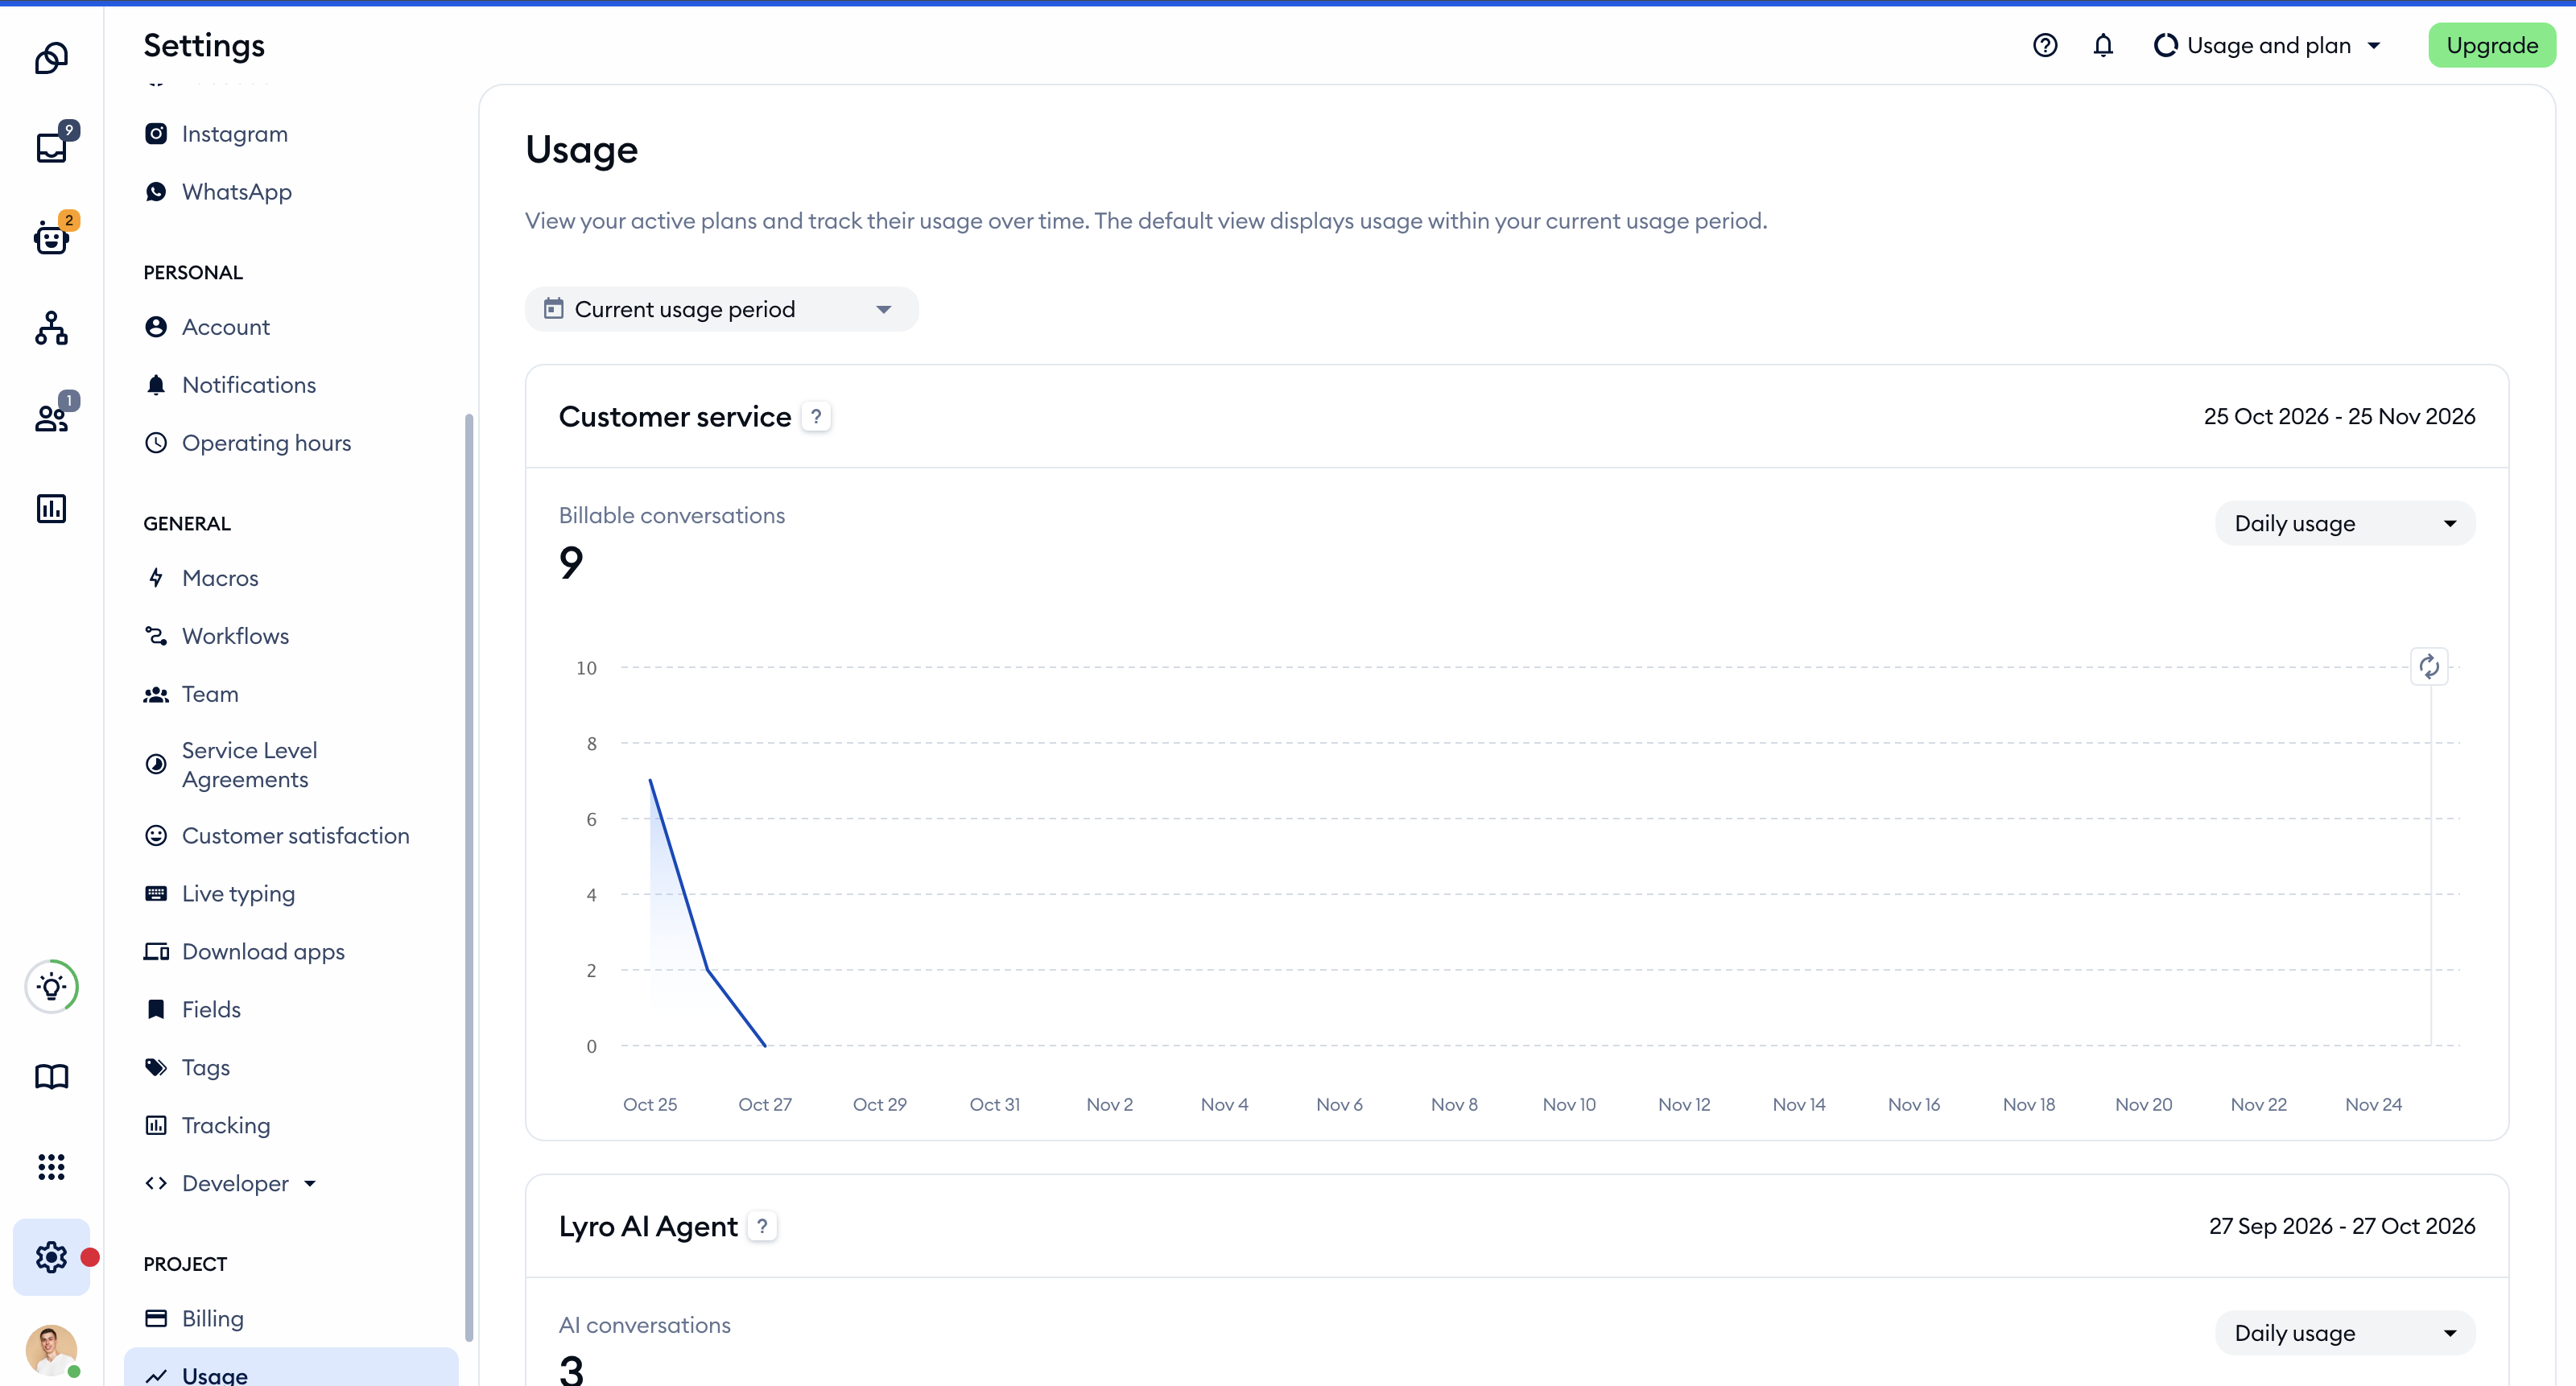
Here you can view your active plans and track their usage over time - by default, within your current usage period. Pick a different date range, and switch between Daily usage and Cumulative usage on the charts:
Preferences
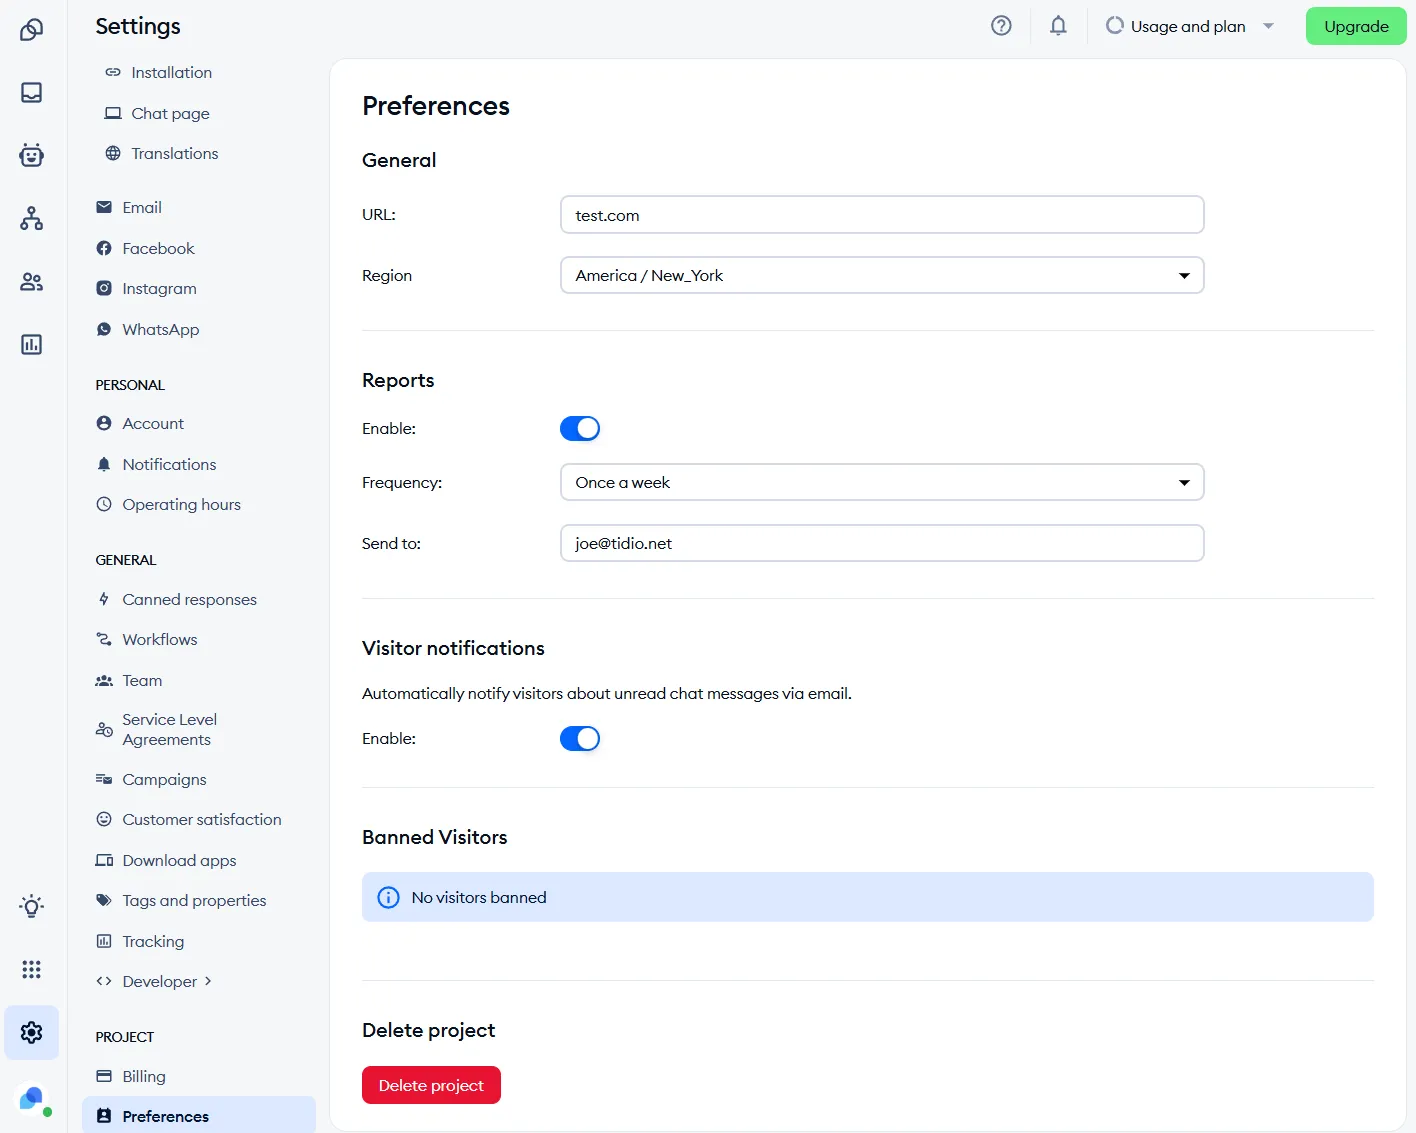
This section allows you to change your project's URL:, Region (time zone), enable periodic Reports (daily, every 3 days, weekly, monthly), enable email Visitor notifications for visitors who miss your live chat responses, and clear previously Banned Visitors. Project owners can delete the chat project here as well - see Manage multiple projects.
Single Sign-On
If Single Sign-On (SSO) is set up for your project, the project owner will also see the Single Sign-On section here. Learn more in our article on Single Sign-On (SSO) in Tidio.
Please note: SSO is available on the Premium plan (see Which upgrades do I need?).
