As a Project Owner (or anyone who manages your team), you have the option to restrict your agents' access to some sections of the Tidio project. You can also create your own permission sets and save them as roles for quick use.
In this article, you'll learn:
- What permissions are
- How to add an agent with specific permissions
- How to change permissions
- How to create your own roles
- What the available permission options are
Permissions
Please note: setting up permissions is available on the Growth plan and above (see Which upgrades do I need?). On the Free and Starter plans, every agent you add is an Admin, and Edit permissions opens the upgrade window. During your 7-day trial, you can use permissions for free.
As the Project Owner of a Tidio project, you can set up custom permissions for each of your agents. So can anyone whose Team permission is set to Able to edit (for example, your Admins) - though nobody can change the owner's permissions or their own. To make this process easier, we created three predefined roles that you can pick from:
Admin
The highest permission set. With this role, the agent has access to all the options and sections.
Moderator
With this role, the agent has access to most of the options but with some slight limitations. Moderators can't: manage agents, delete or export contacts, delete conversations or tickets.
Chat Agent
This is the simplest role, and is dedicated for the agents who will only reply to conversations without managing any Tidio settings. The most restricted permissions apply here; access to certain sections still possible (for viewing only), but can be modified further to block access entirely (e.g. access to Analytics).
Please note that you can also create your own pre-set roles; more on that in this section of the article.
Adding agents
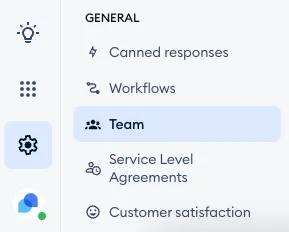
You can manage your team of agents (and their permissions) when in the Settings > Team section:
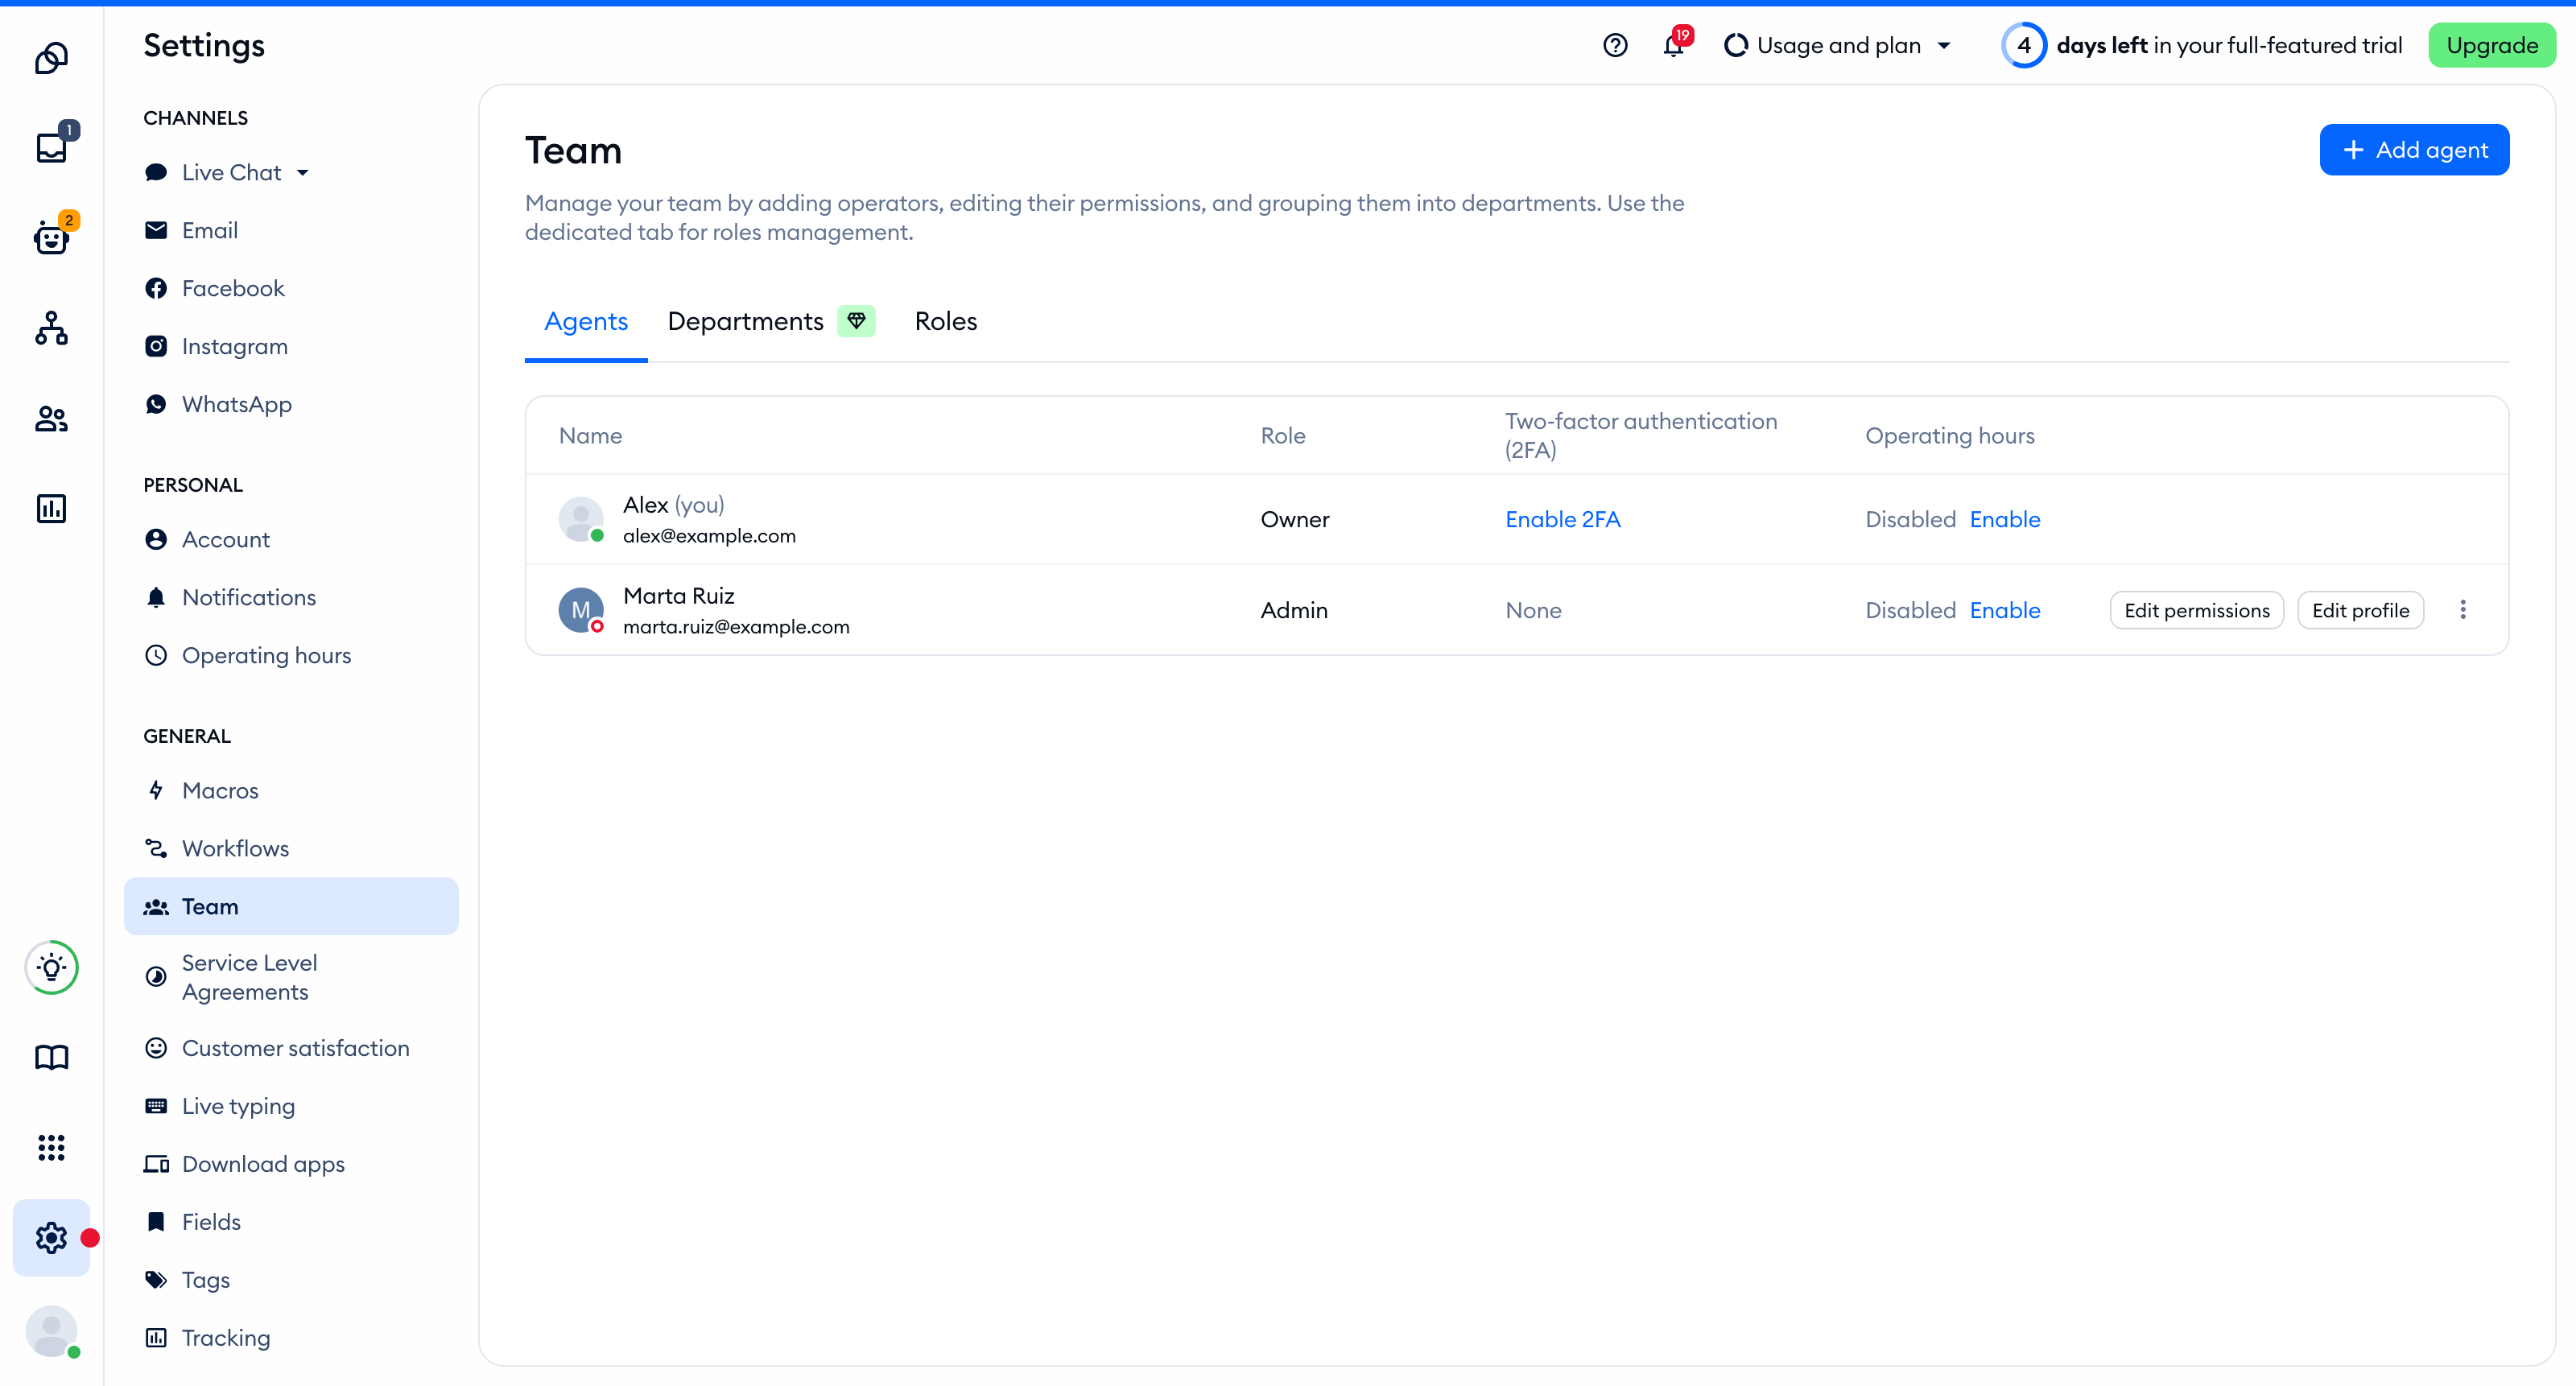
Inside, you will see three tabs: Agents, Departments, and Roles. The Agents tab contains a list of any agents you've already added, including yourself.
Use the Add agent button in the top-right to add a new agent:
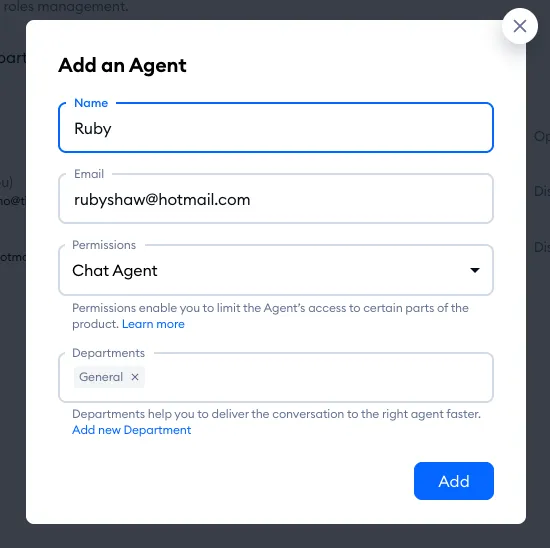
In the Add an Agent window, you will need to name your new agent, provide their email login, and set a role under Permissions (and assign to any available departments, if that feature is available to you):
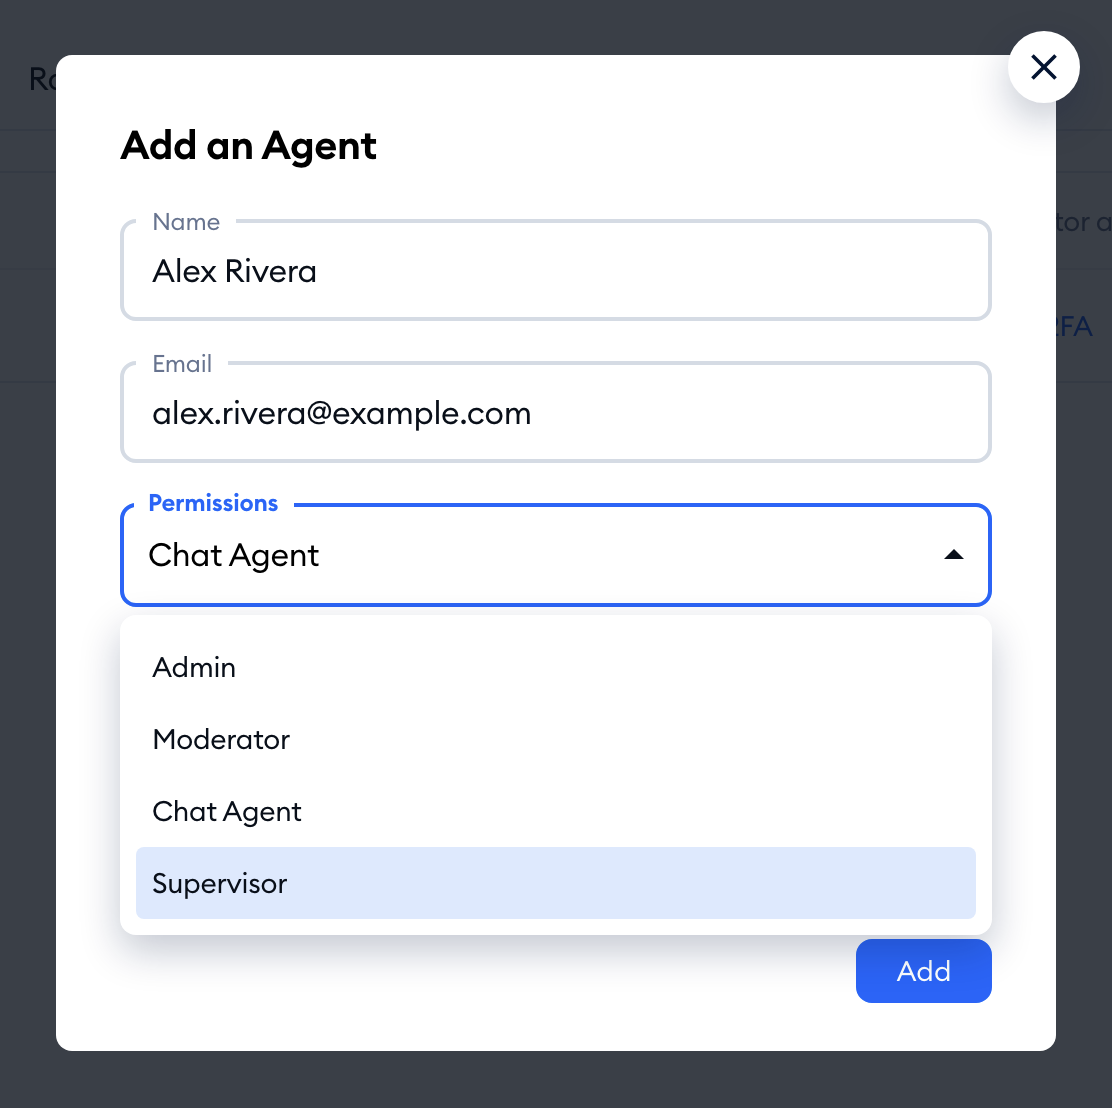
The Permissions list includes the three predefined roles and any custom role you've created earlier, so you can give the new agent the right access from the start:
For more on adding agents, see Managing agents.
Changing permissions
You can change each agent's permissions in the Settings > Team section, in the Agents tab there. You will also have the option to set custom permissions for each agent, and even save them as roles for later use.
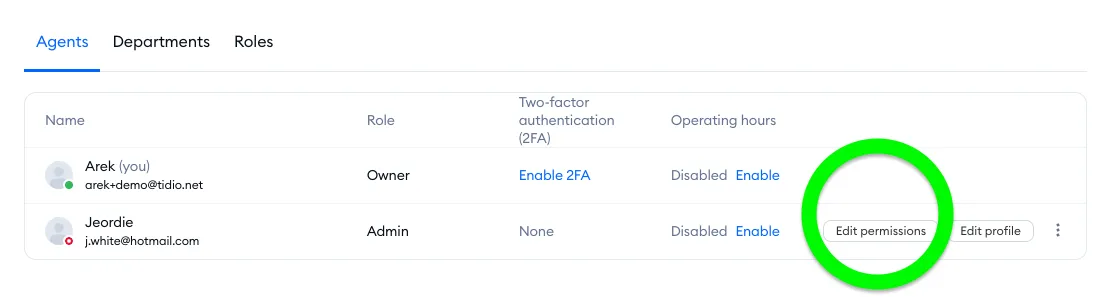
To enter the customization panel, click on the Edit permissions button next to the agent's details on the right-hand side:
You can select from the available role presets in the Preset permission roles menu (the new role is saved right away), or modify the current set under Set custom permissions. Various permissions are organized into separate tabs, where you can decide if the given agent is able to edit a particular aspect of your project or just view the settings, or possibly have these permissions blocked entirely:
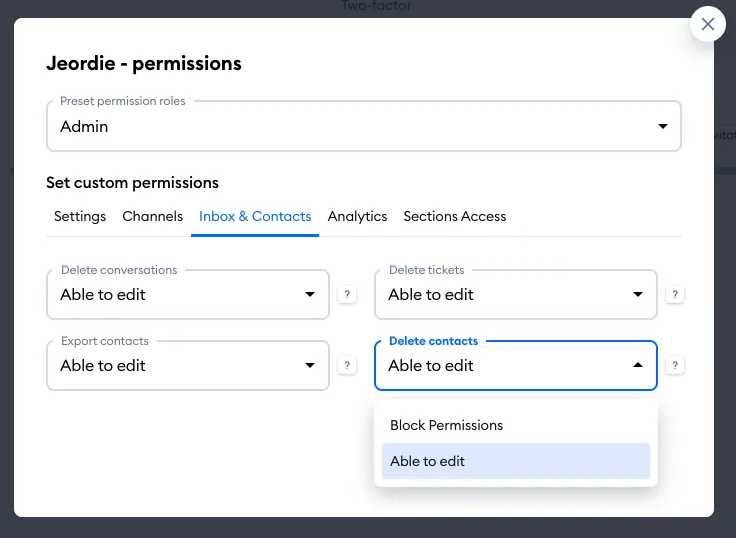
As soon as you change a single permission, the role switches to Custom. Hit Save to keep the changes for this agent, or Save as a new role to turn them into a role you can reuse.
Creating custom roles (permission sets)
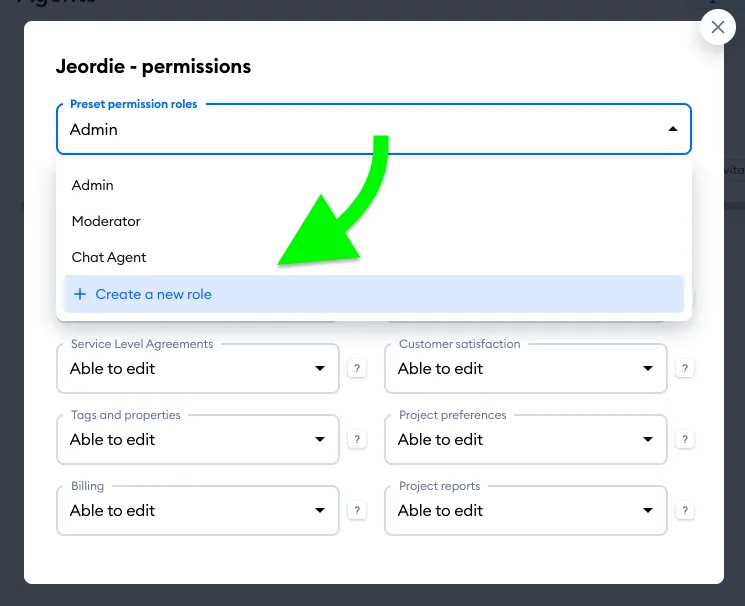
You can create a brand new role with your own permission settings, and use it later quickly. To create a new role, open the Preset permission roles menu and use the Create a new role option:
You'll be asked to name your new preset role as well:
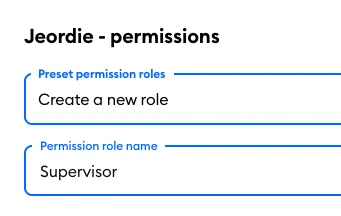
Once you are done with setting up the permissions, hit the Save permission role button to save your preset:
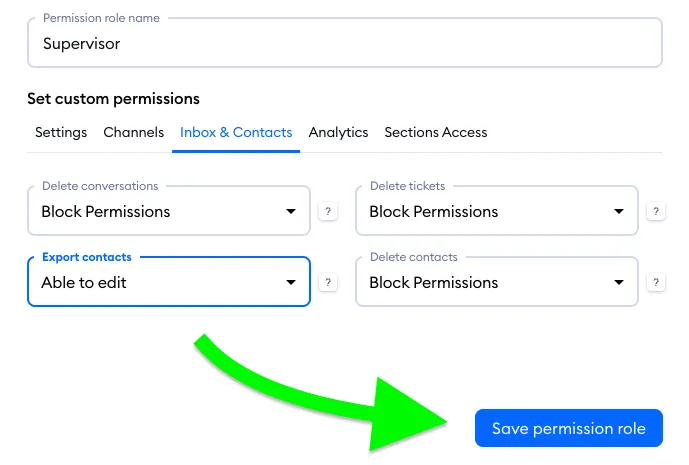
Any role you create will be listed in the Roles tab, and available to edit (or delete). You can also create a role right there: click on Create role in the top-right, give it a Permission role name, set the permissions and hit Save permission role:
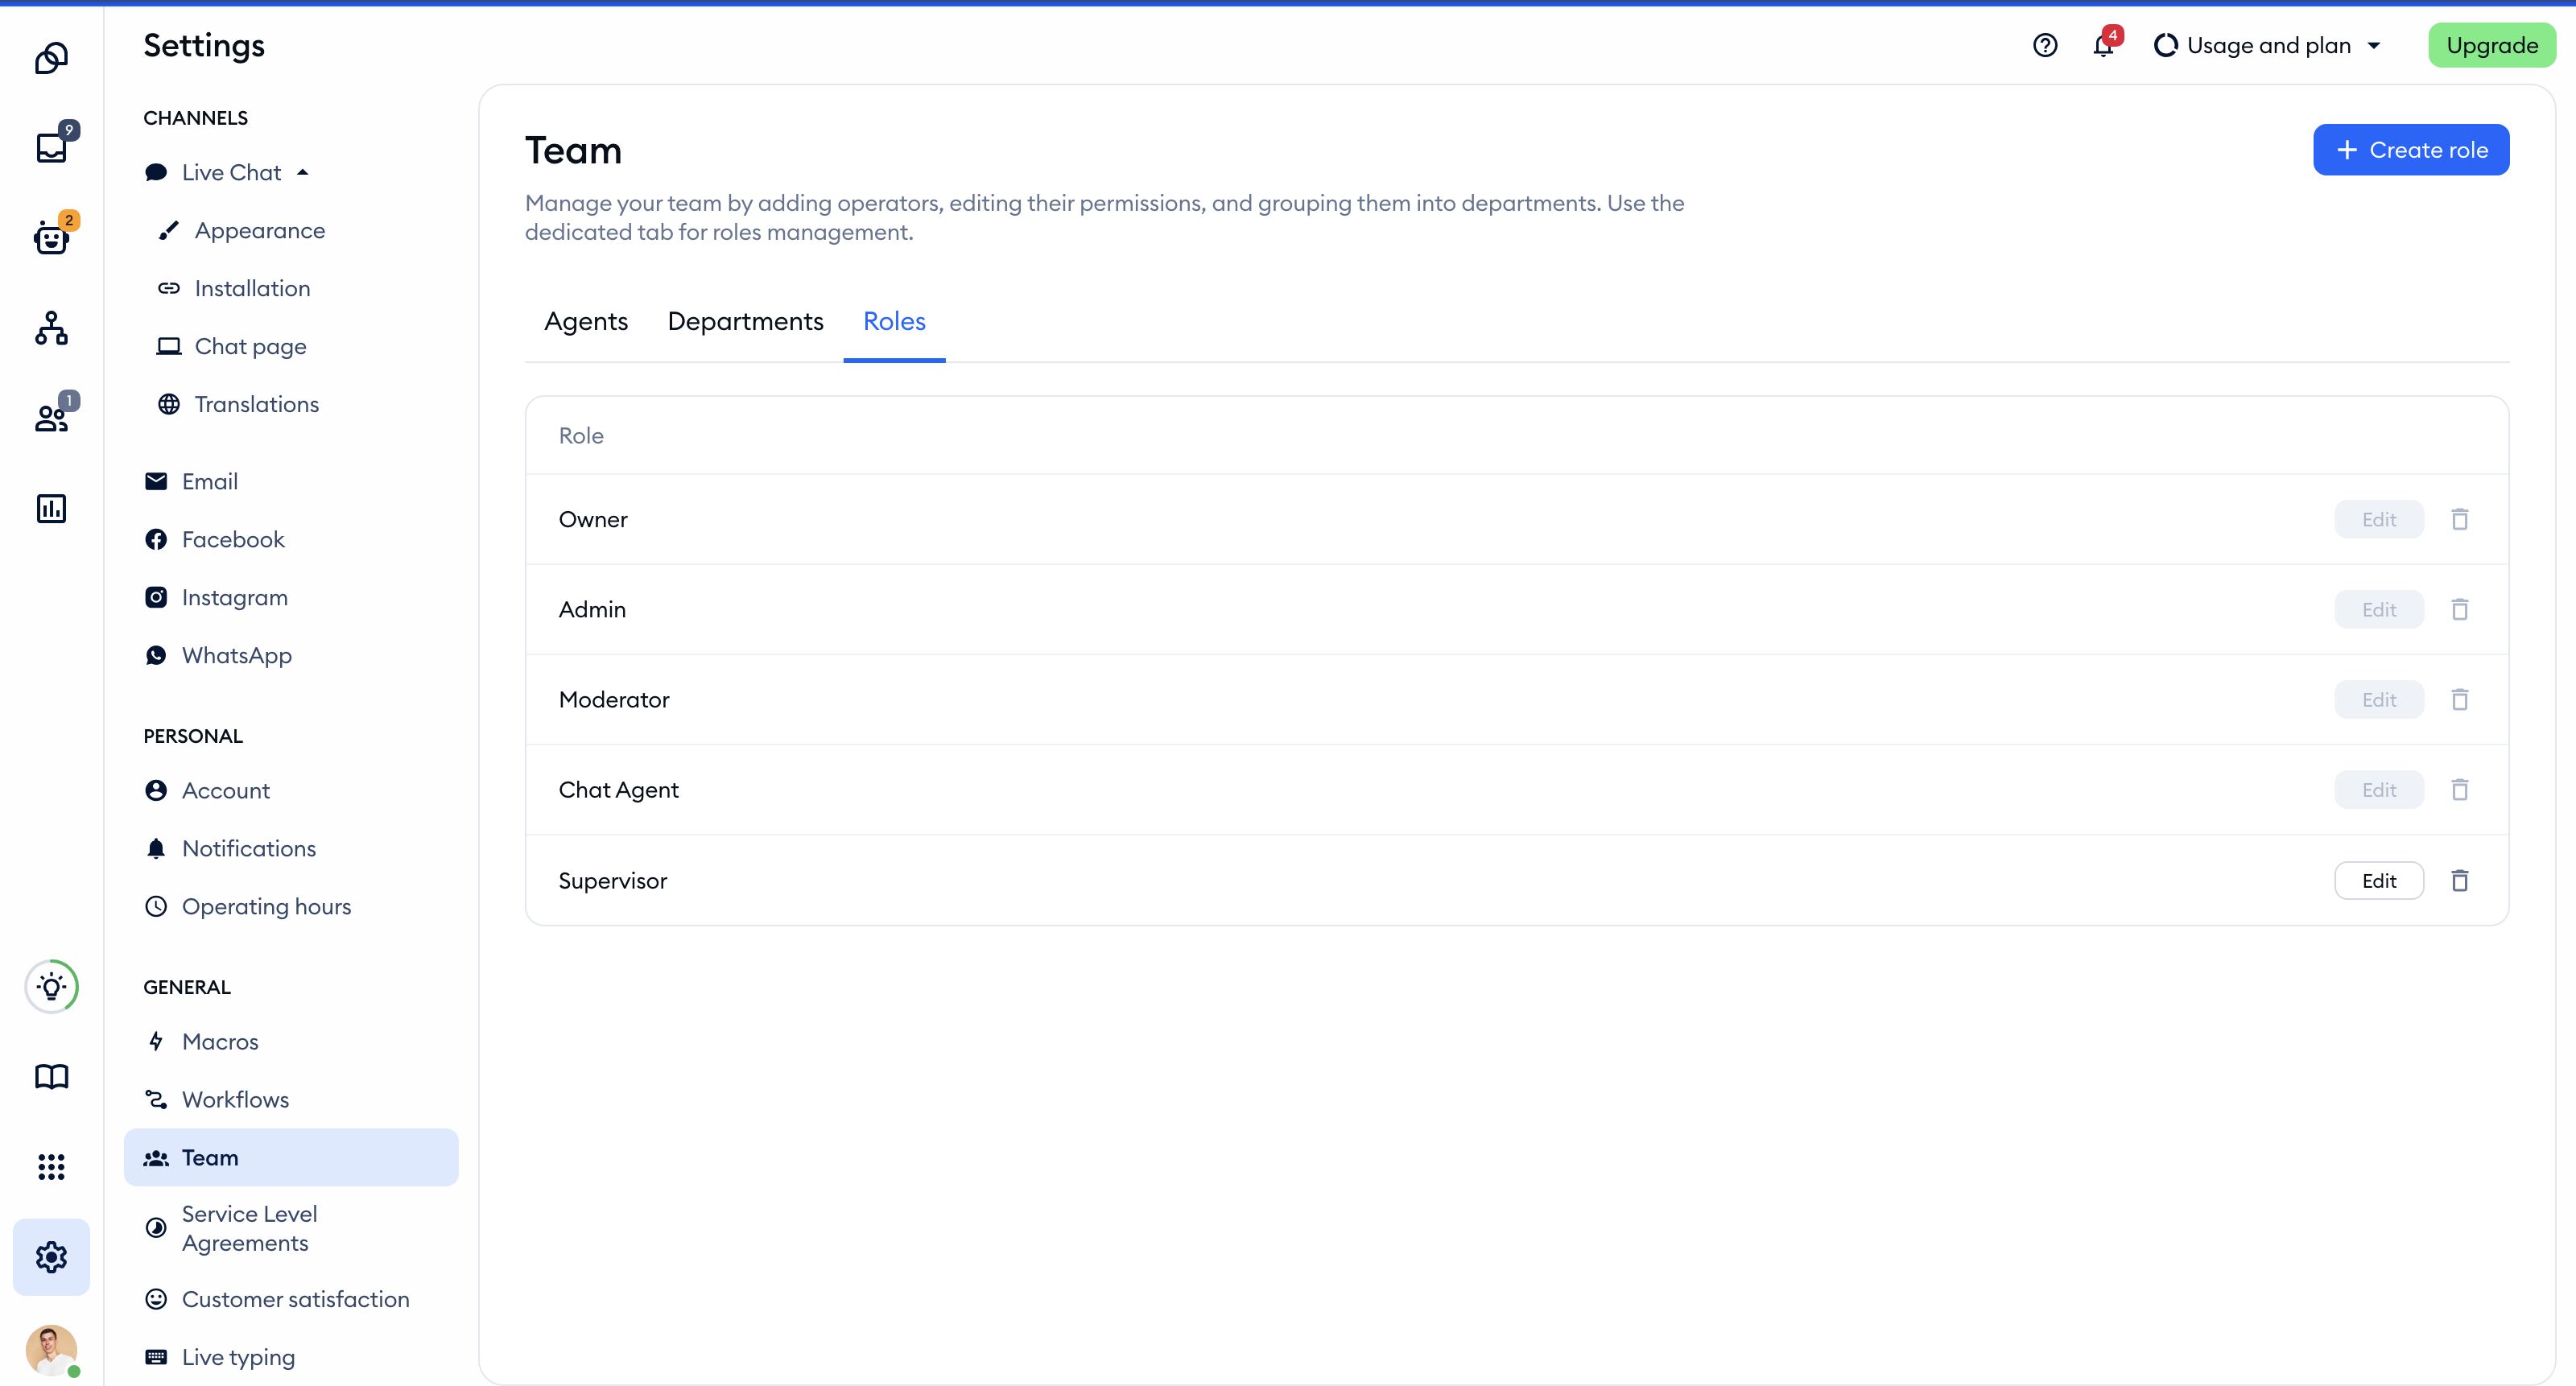
Please note that the default predefined roles (Owner, Admin, Moderator, and Chat Agent) cannot be edited or deleted. When you delete a custom role, the agents who had it are switched to Custom - they keep the same permissions until you change them.
The available permission options
While setting up custom permission sets or modifying existing one, you can see the following options:
- Block Permissions - The agent will not see the chosen section at all, or their access to this section will be blocked entirely.
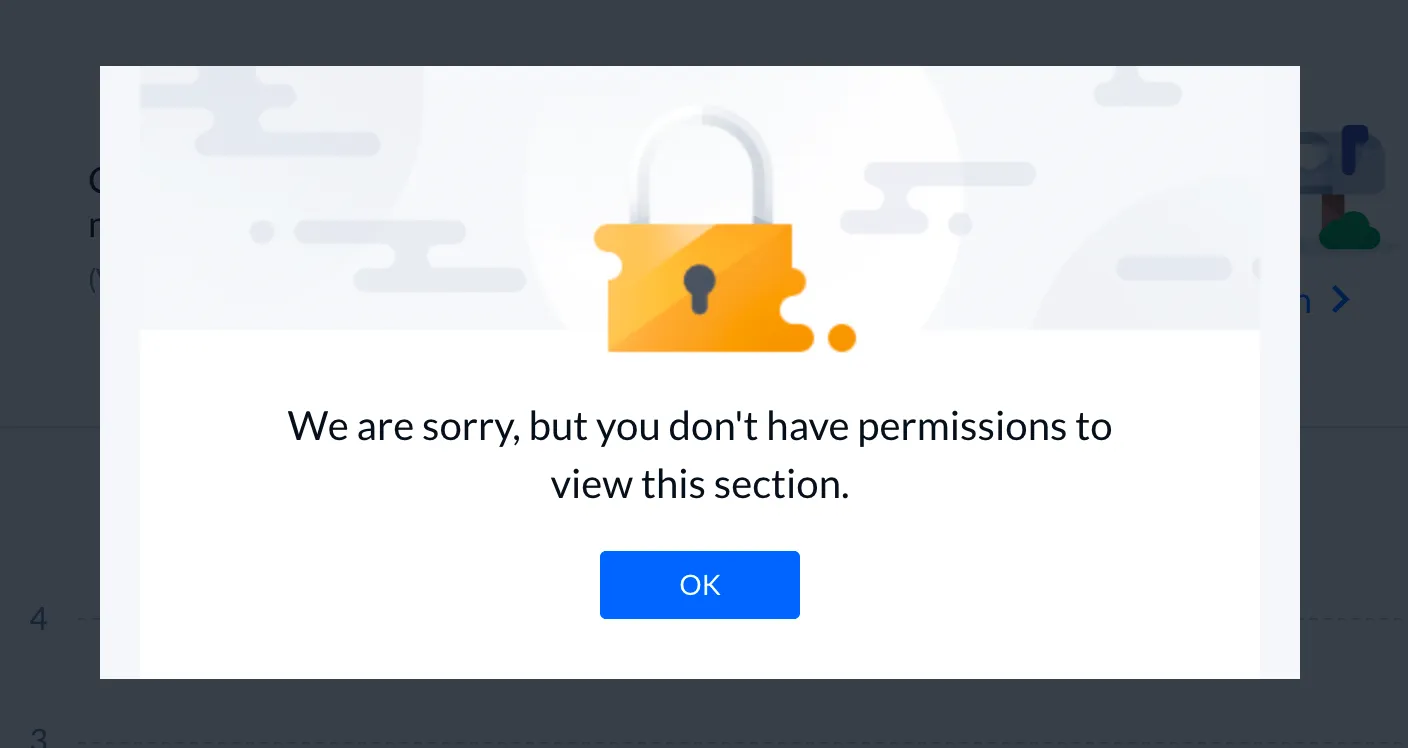
- Able to view - Gives the agent a preview of the section or settings, but they will not be able to modify any settings.

- Able to edit - The agent will see and make changes in the section or settings.
A list of available permissions
Not every permission offers all three options. For example, Macros, Team or Email can be set to view or edit, but not blocked; the analytics permissions are either blocked or view-only; and Billing, Project reports, deleting and exporting offer only Block Permissions or Able to edit.
In the Settings tab, you can change permissions for managing a number of important aspects of your project:
- Macros
- Workflows
- Team
- Service Level Agreements
- Customer satisfaction
- Fields
- Tags
- Project preferences
- Billing
- Project reports
In the Channels tab, you can change permissions for modifying your widget appearance, as well as managing different communication channels:
- Live Chat
- Custom channels
In the Inbox & Contacts tab, you can change permissions regarding messages and contacts:
- Delete conversations
- Delete tickets
- Export contacts
- Delete contacts
In the Analytics tab, you can change permissions for accessing different metrics:
- Conversation
- Agents
- Leads
- Tickets
- Customer intent (for online stores, agencies, beauty and services businesses)
- Sales (for Shopify stores)
In the Sections Access tab, you can change permissions accessing certain sections of your project:
- Flows (please note: access to Lyro is included here as well)
- Integrations
- Help center content
- Help center settings
- Delete help center
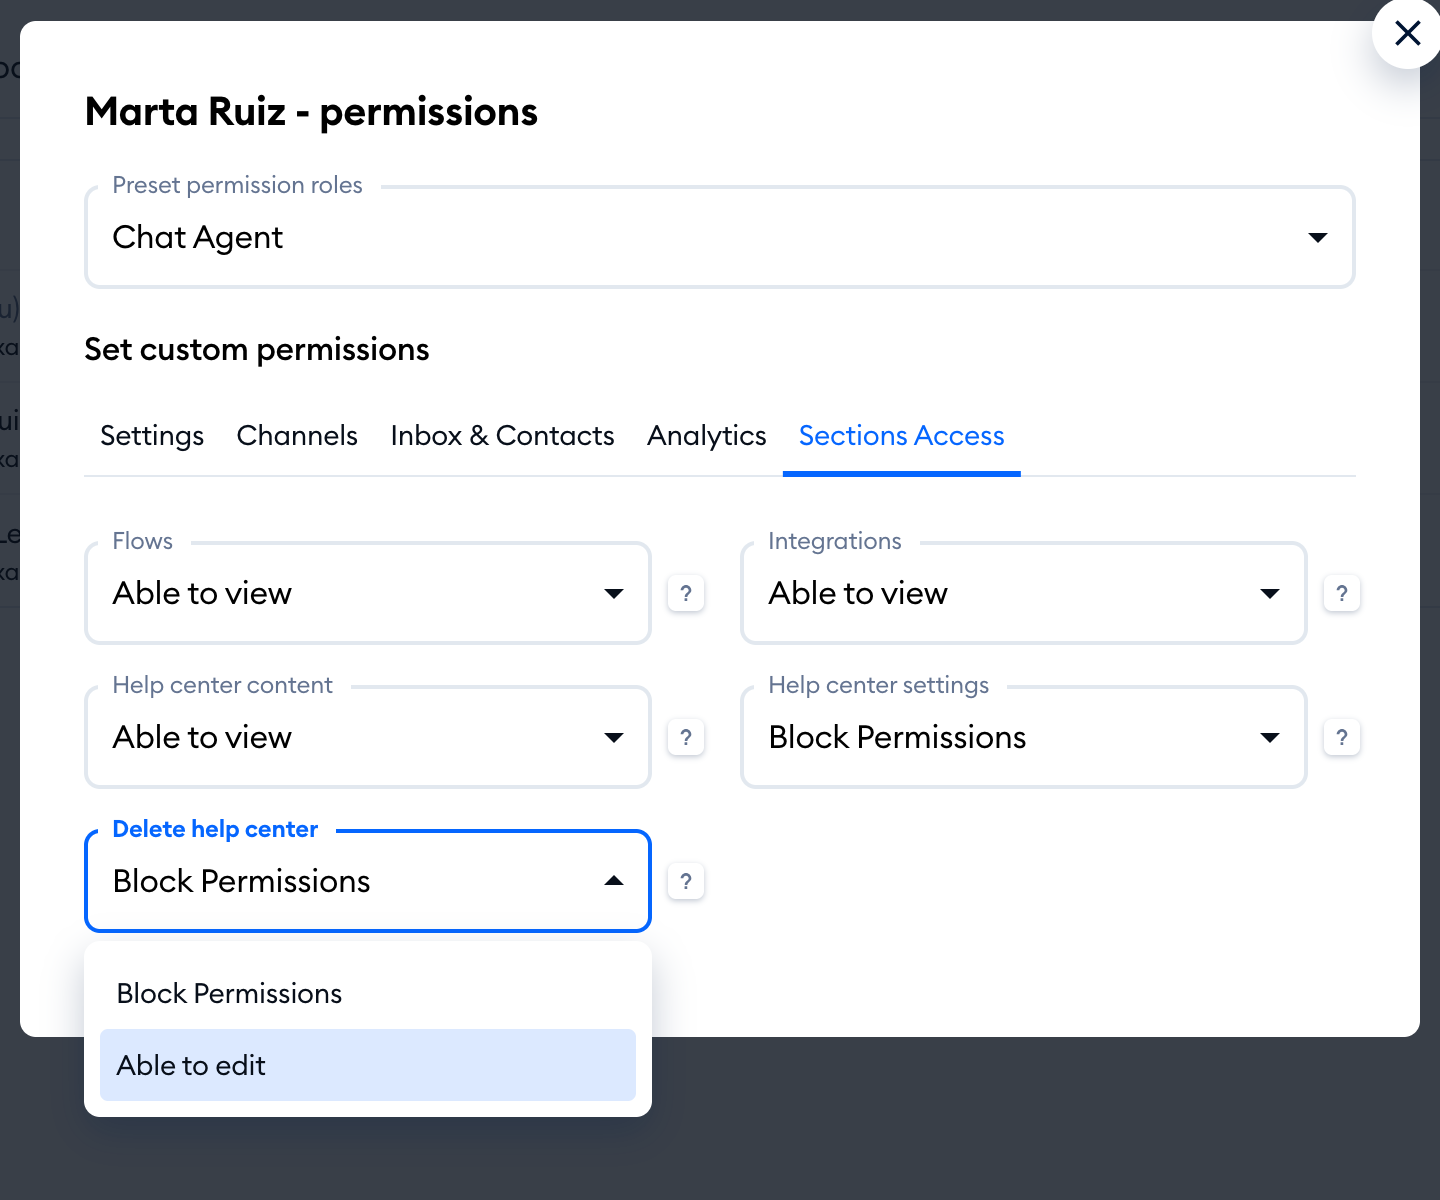
If you use the Help Center add-on, the three Help Center permissions decide who can create and edit articles and categories, change your Help Center's settings (languages, domain, appearance and publishing), and delete the whole Help Center.
Altogether, that's 29 permissions on every project, plus Customer intent and Sales where they apply.
