In Tidio agents' settings, you can add, manage and customize agent profiles. Moreover, you can set their permissions and create departments for your teams to create the best experience for your agents and website visitors.
In this article, you'll learn:
- How to add a new agent
- How to manage your agents
- How to see agents' permissions
- How to create custom roles
- How to create departments
- How to adjust your agent profile
Add a new agent
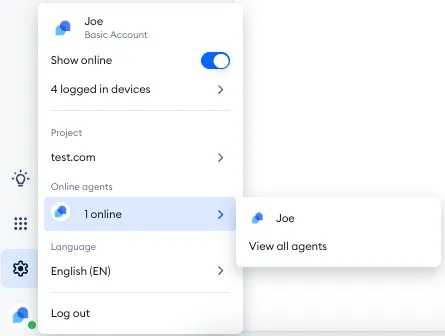
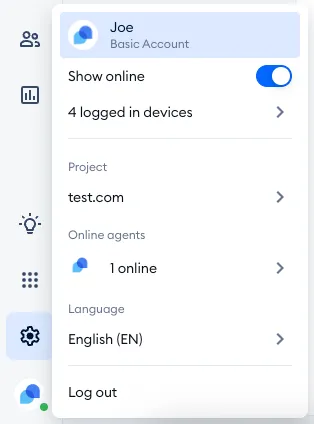
To add a new agent to your Tidio admin panel, access your Tidio admin panel and click on your avatar in the bottom-left corner. Then, hover over the list of available agents under Online agents and select View all agents. If you're the only agent so far, you'll see Add an agent in this menu instead.
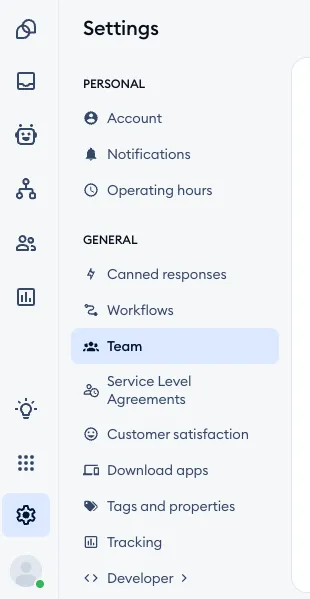
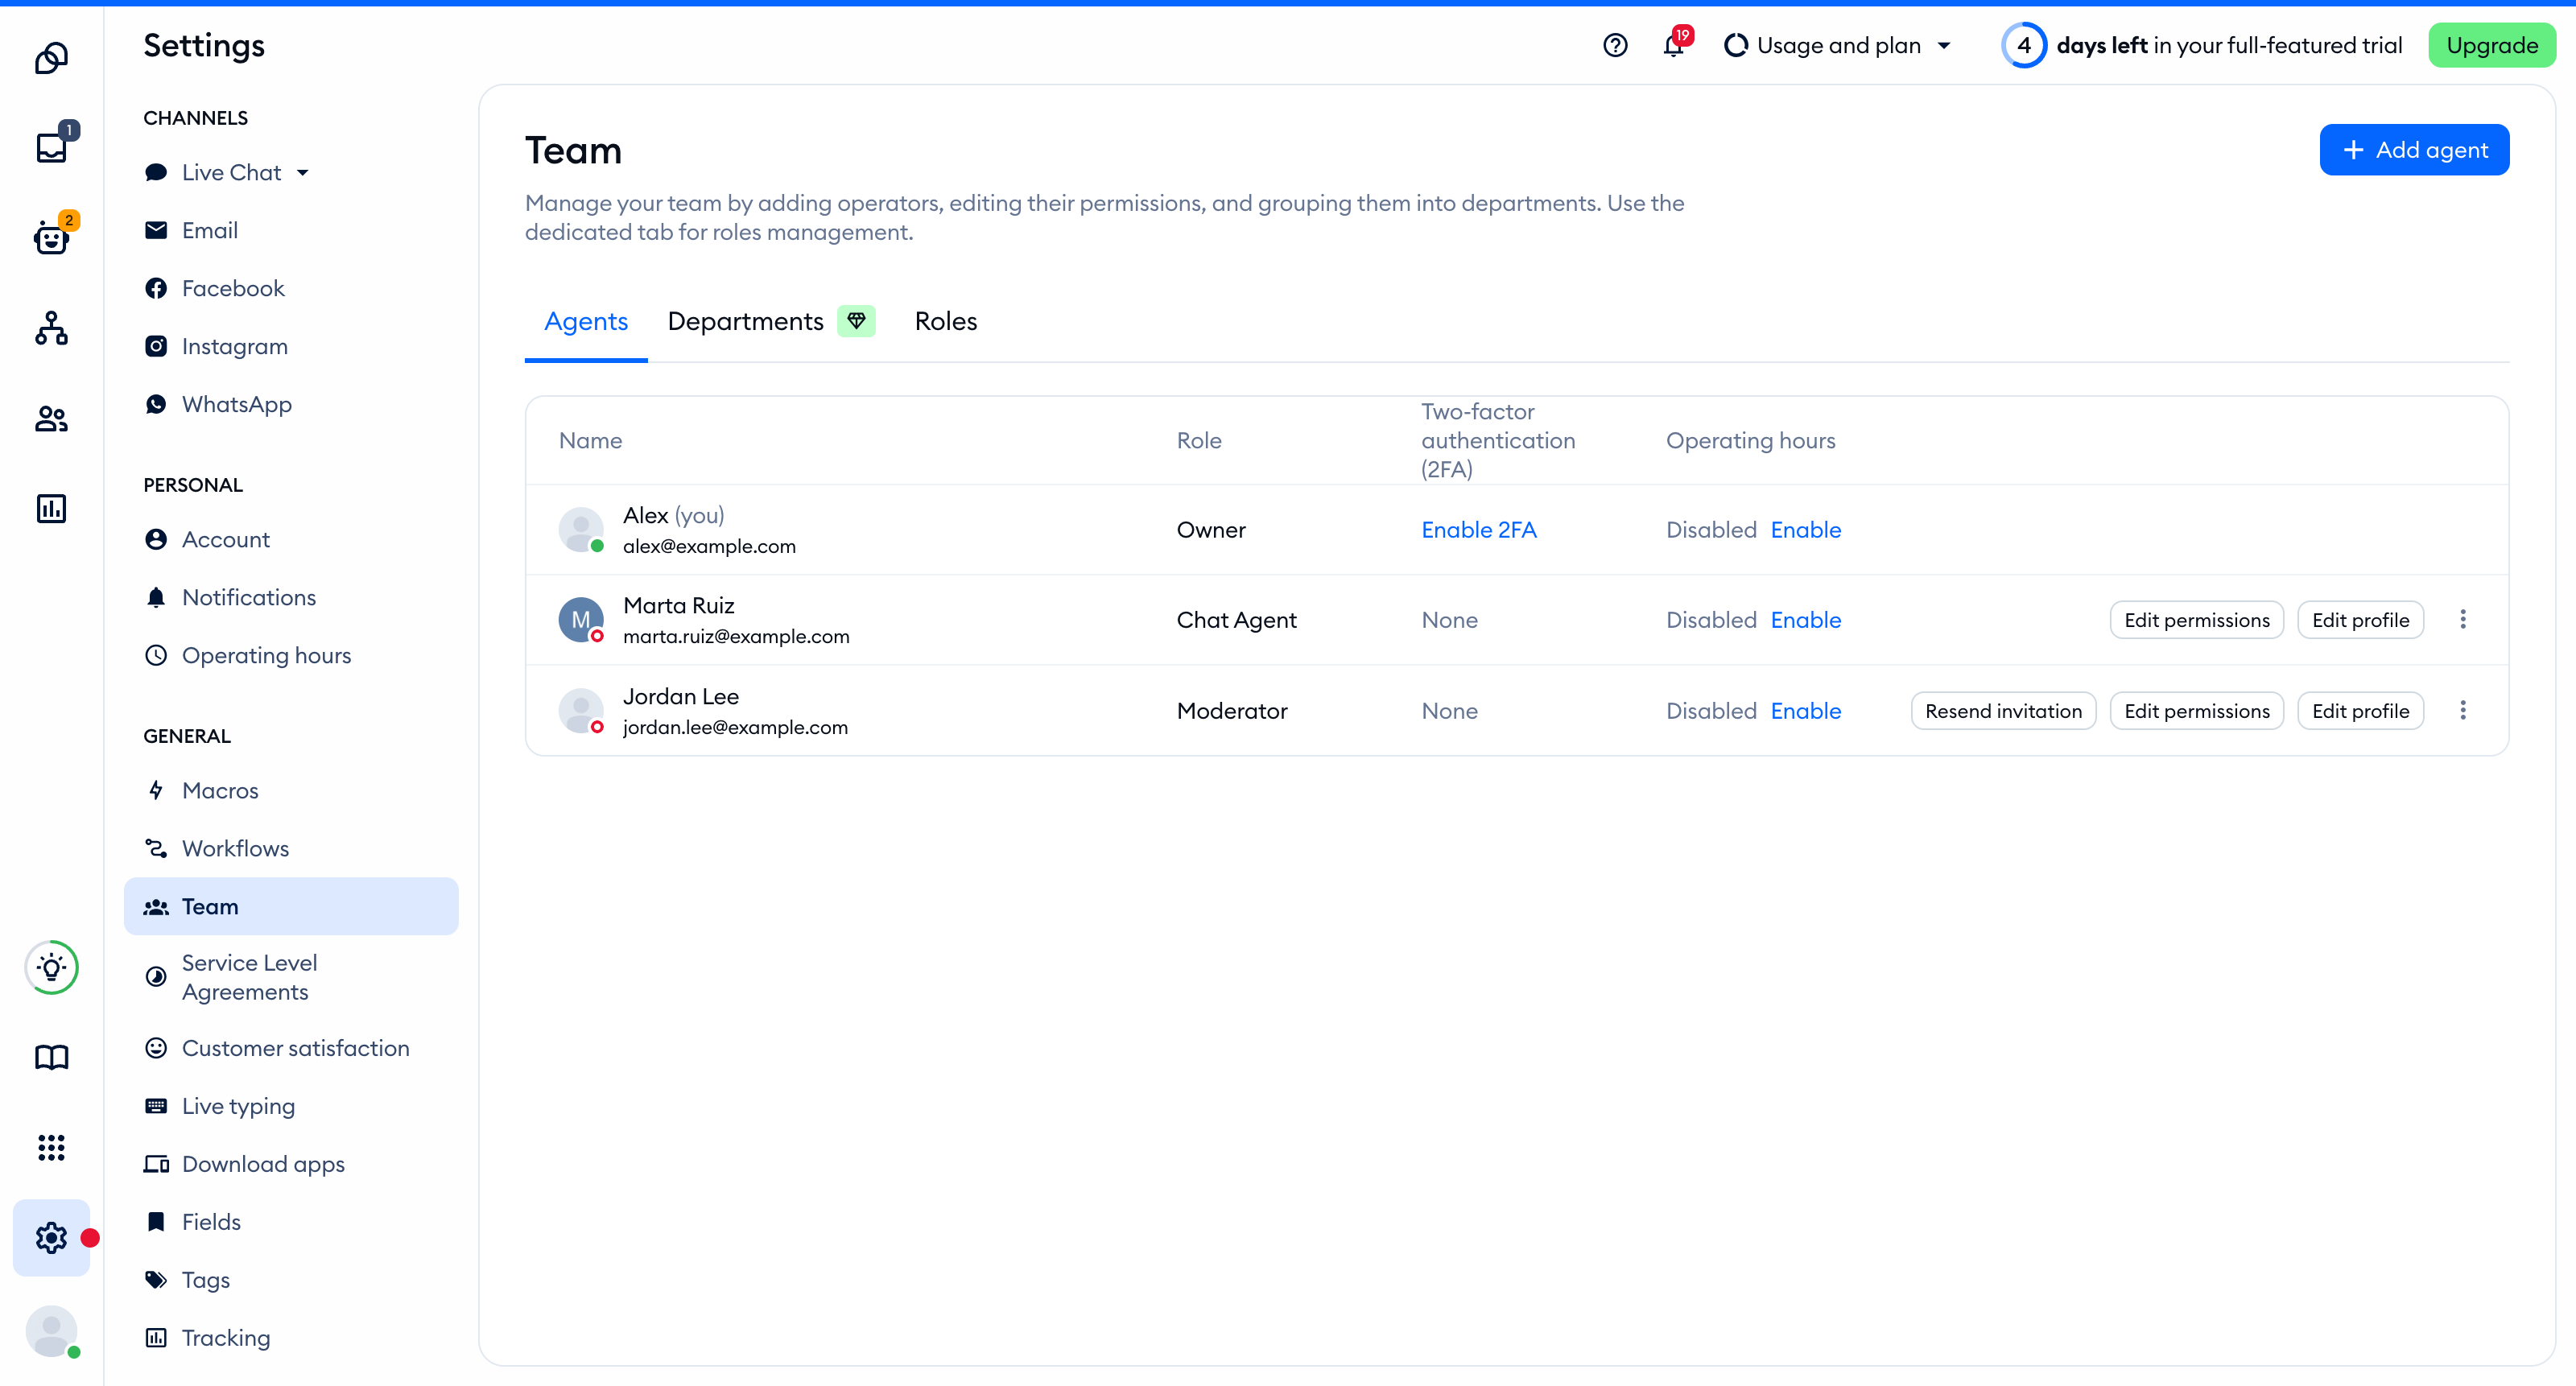
Alternatively, you can navigate to Settings > Team, and open the Agents tab there:
Inside, click on the blue Add agent button in the top-right:
In the Add an Agent window, provide the new agent's Name and Email, and choose their Permissions - one of the preset roles (Admin, Moderator or Chat Agent) or a role you've created yourself. If you use departments, pick them under Departments. Hit Add, and you'll see New agent has been added. An invitation email has been sent to that agent. Make sure they received it.
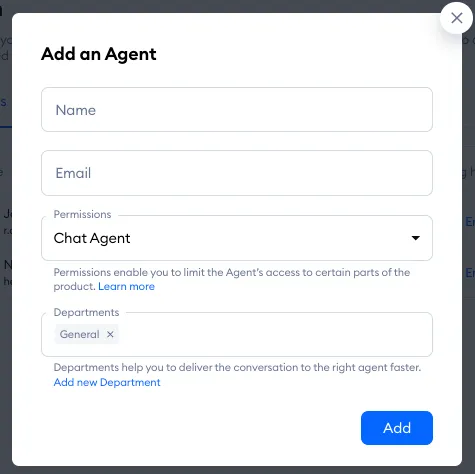
Once the new agent receives the email, they simply follow the link in it to join your project. If they already have a Tidio account, they simply accept the invitation (Accept invitation) to join your project. Until the new agent sets up their account, you'll see a Resend invitation button next to them in the list - use it if the email got lost.
Please note: the Free, Starter and Growth plans include up to 10 agent seats (on Plus, you decide how many seats you need). Only active agents take a seat - when all of them are taken, the Add agent button becomes Upgrade your plan to add more agents. You can free a seat by deactivating an agent.
Choosing Permissions is available on the Growth plan and above, and Departments on the Plus plan and above. On the Free and Starter plans, every new agent is added as an Admin.
If you or your agent need to reset the password again, you can follow the procedure outlined in the article here: Unable to Log In.
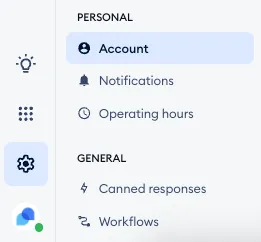
Once the new agent is logged in, they can change their name or password by going to Settings > Account: the Name field is on the Personal details tab, and the Change password button on the Password tab.
Managing your agents
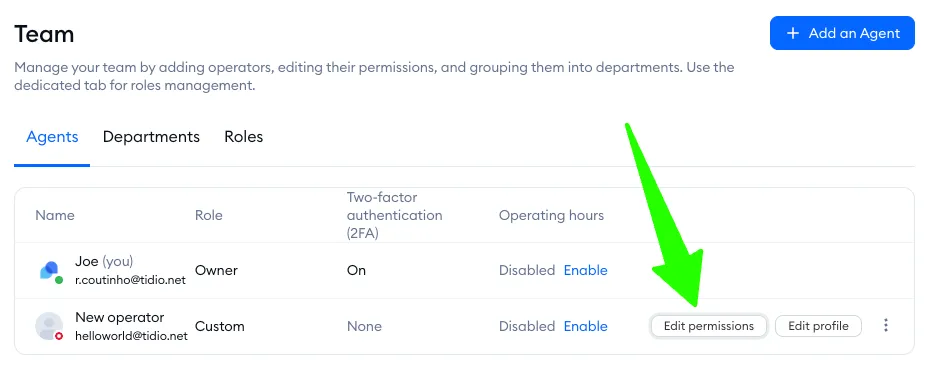
To manage your agents, go to Settings > Team > Agents section. Here you can add, remove or deactivate agents as well as change their permissions and edit their profile. The list shows each agent's Role, Two-factor authentication (2FA) status and Operating hours.
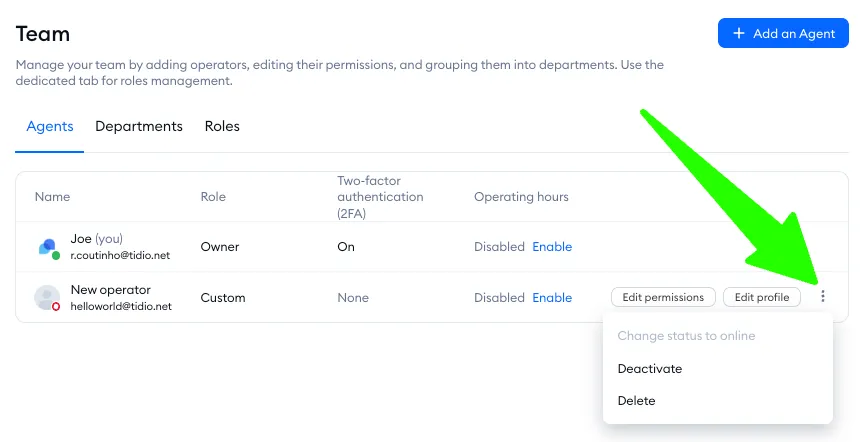
Click on the three dots menu on the right to Change status to online (or offline), Deactivate or Delete an agent. A deactivated agent stays on the list but doesn't take a seat - bring them back with Activate an agent (if all seats are taken, this option leads to an upgrade). Please note that you can switch an agent online only while they're logged into the Tidio panel, and that these options aren't available for the project owner or for yourself.
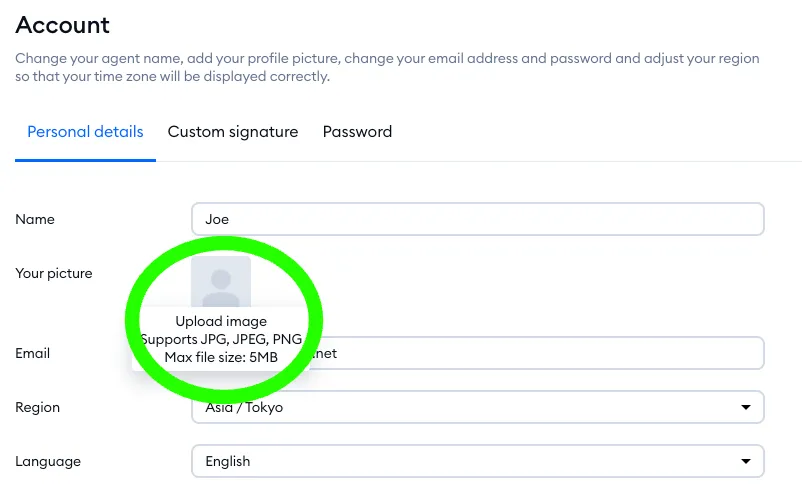
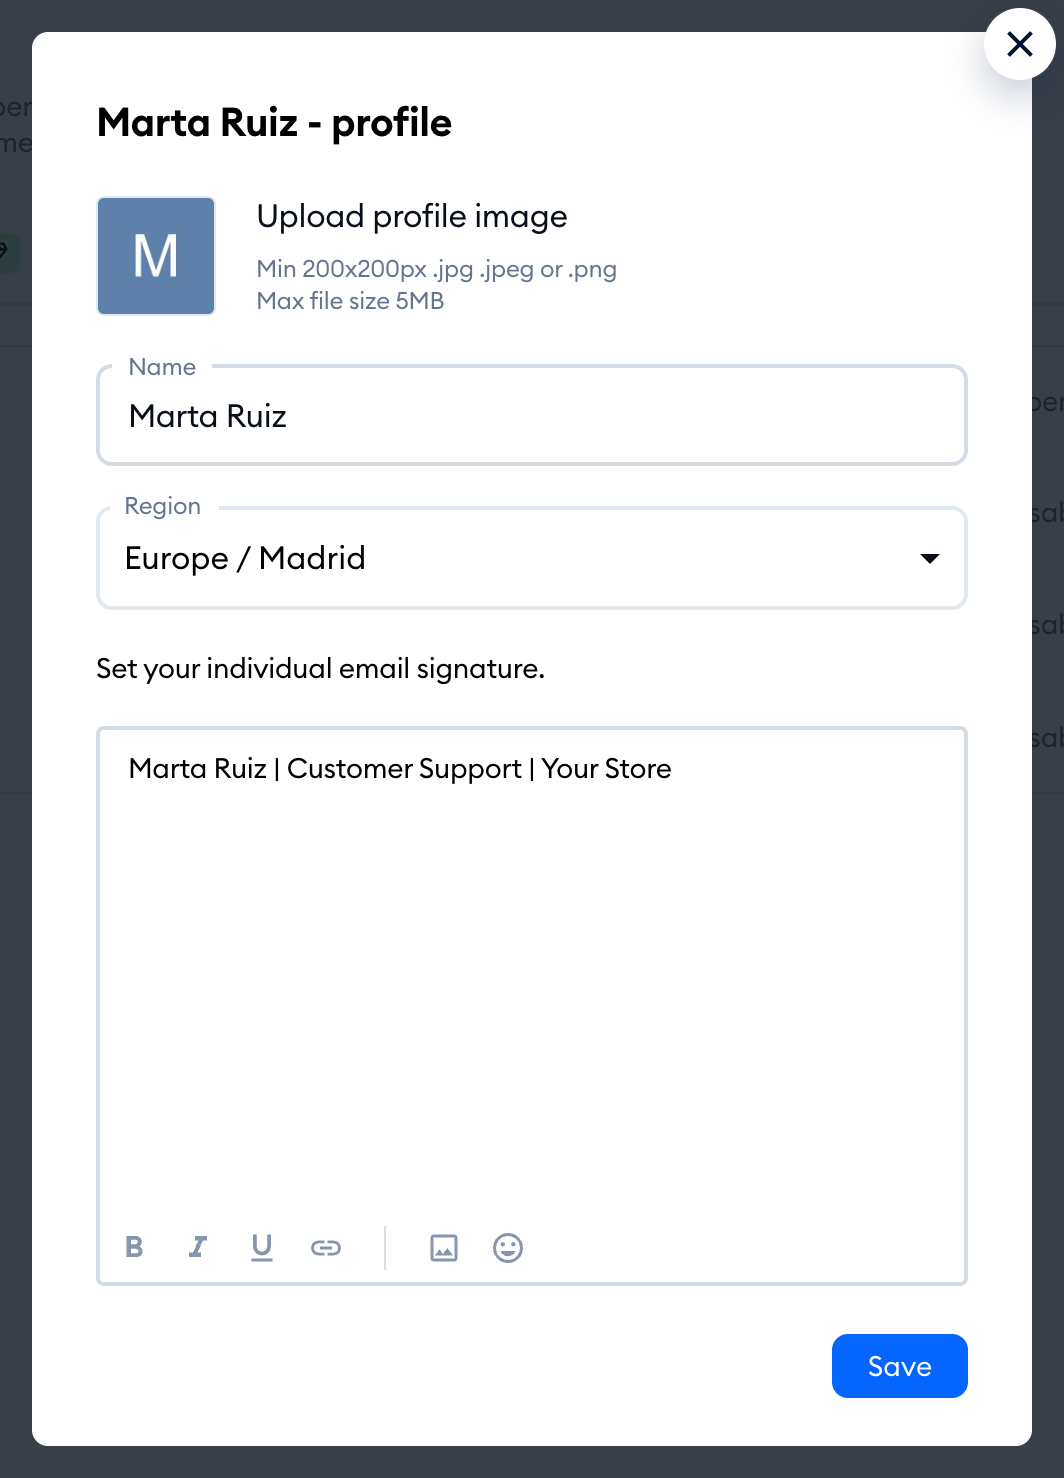
To update an agent's profile picture, name, region or email signature, click on Edit profile. Upload a picture (JPG, JPEG or PNG, at least 200x200 px, up to 5 MB), change the Name or Region, edit the signature, and hit Save:
To change permissions for the agent, click on the Edit permissions button (on the Free and Starter plans, it opens the upgrade window).
Permissions
The project owner - and anyone whose Team permission is set to Able to edit - can set up custom permissions for each of your agents. You can change each agent's permissions in the Settings > Team > Agents section of your Tidio admin panel. To learn more about it, see our article about setting permissions for your agents in Tidio.
Roles
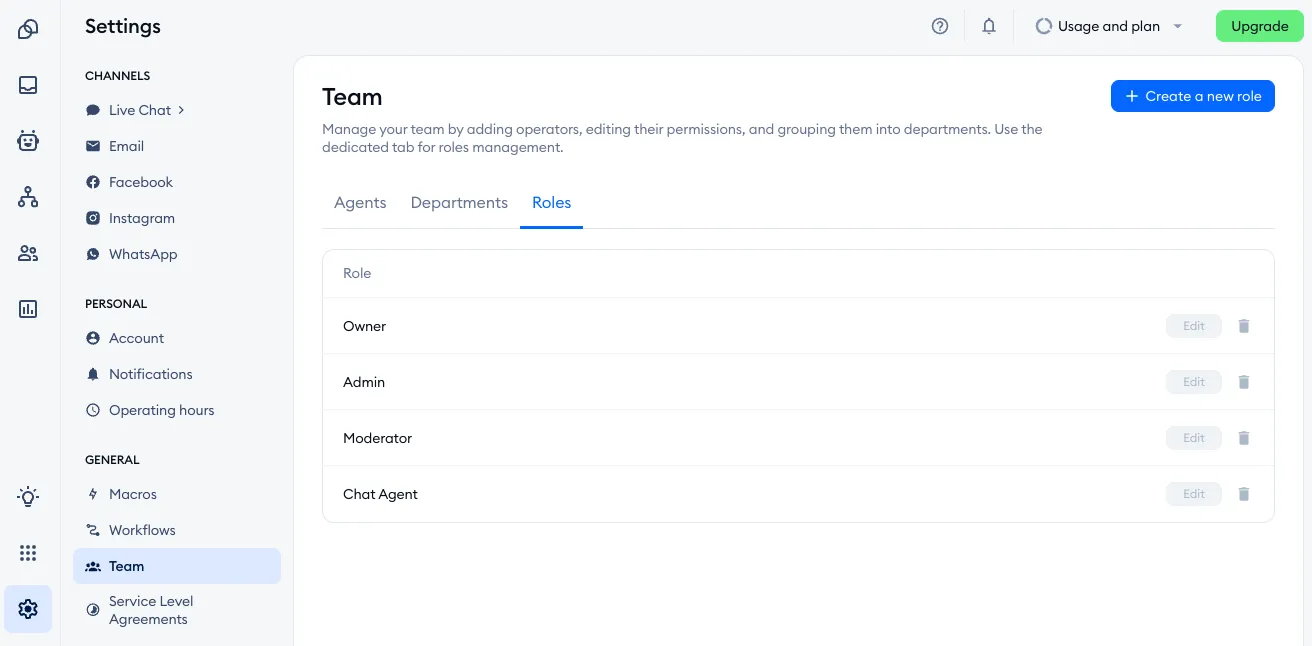
You can create different roles for your agents. Roles are basically custom permission sets that you can assign to your agents. You can create them in the Roles tab with the Create role button. You can learn more about this tool here.
Departments
If you wish to deliver the conversations to the right agents faster, you can enable departments in your Tidio panel.
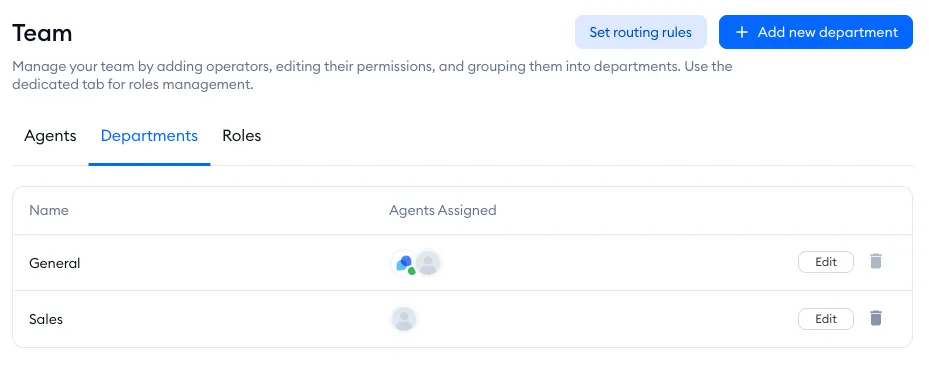
To start using Departments, go to Settings > Team > Departments section, where you can group your agents into specific departments. Departments are available on the Plus plan and above.
To learn more about it, see our article about creating departments in Tidio.
How to customize your agent profile
Each agent can customize their own profile by clicking on their avatar in the bottom-left corner of the panel and clicking their name. Admins can also change another agent's picture with Edit profile, as described above - but only the agent can change their own email address, password and panel language.
You can also adjust the same settings in the Settings > Account section. See Set your profile picture for the details on the picture.