In addition to tags and Contact Properties, you can create custom fields for your tickets. This allows you to have a number of fields visible in the upper part of your ticket info, where your agents can put in custom values or select pre-determined values from a dropdown list. It is also possible to make a field mandatory to fill out, which is not possible with tags or Contact Properties. Furthermore, custom fields can be used as a condition when creating custom ticket Views (similarly to tags and Contact Properties).
In this article, you will learn:
- How to manage custom fields
- How to create different types of custom fields
- How to use custom fields in tickets
- How to use custom fields when creating ticket Views
Managing custom fields
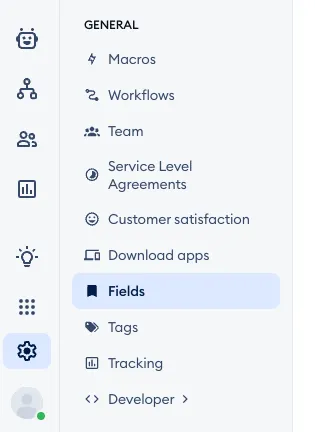
You can find all your custom field options inside your project's Settings > Fields section:
Inside, open the Custom fields tab, and you will see the available options - as well as a list of any custom fields you may have already created:
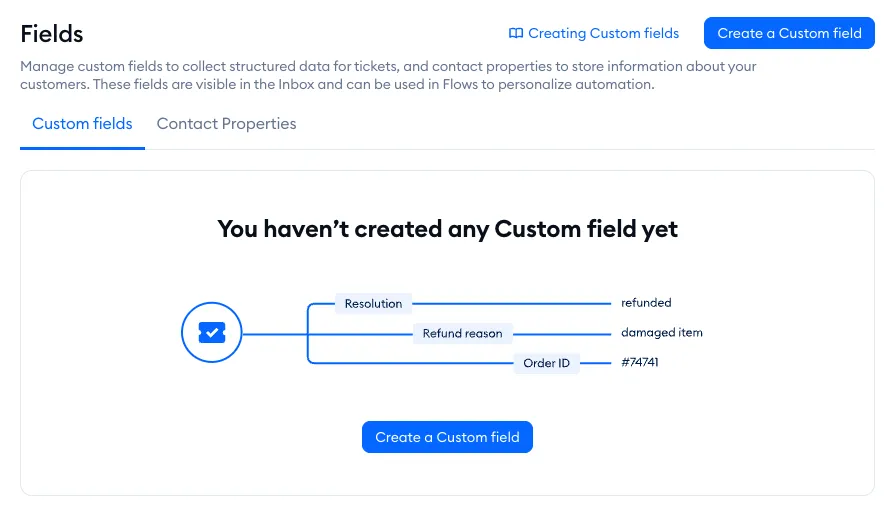
Please note: Custom fields (and their values) will not appear in the Contacts list of your Tidio project, as opposed to tags or Contact Properties. That is because custom fields apply only to individual ticket threads, not entire contacts or customers.
Creating and editing custom fields is only possible for agents whose permissions allow them to manage Fields.
Creating different types of custom fields
Inside the Custom fields tab, hit the Create custom field button in the top-right. This will take you to the creation screen, where you can select several different options:
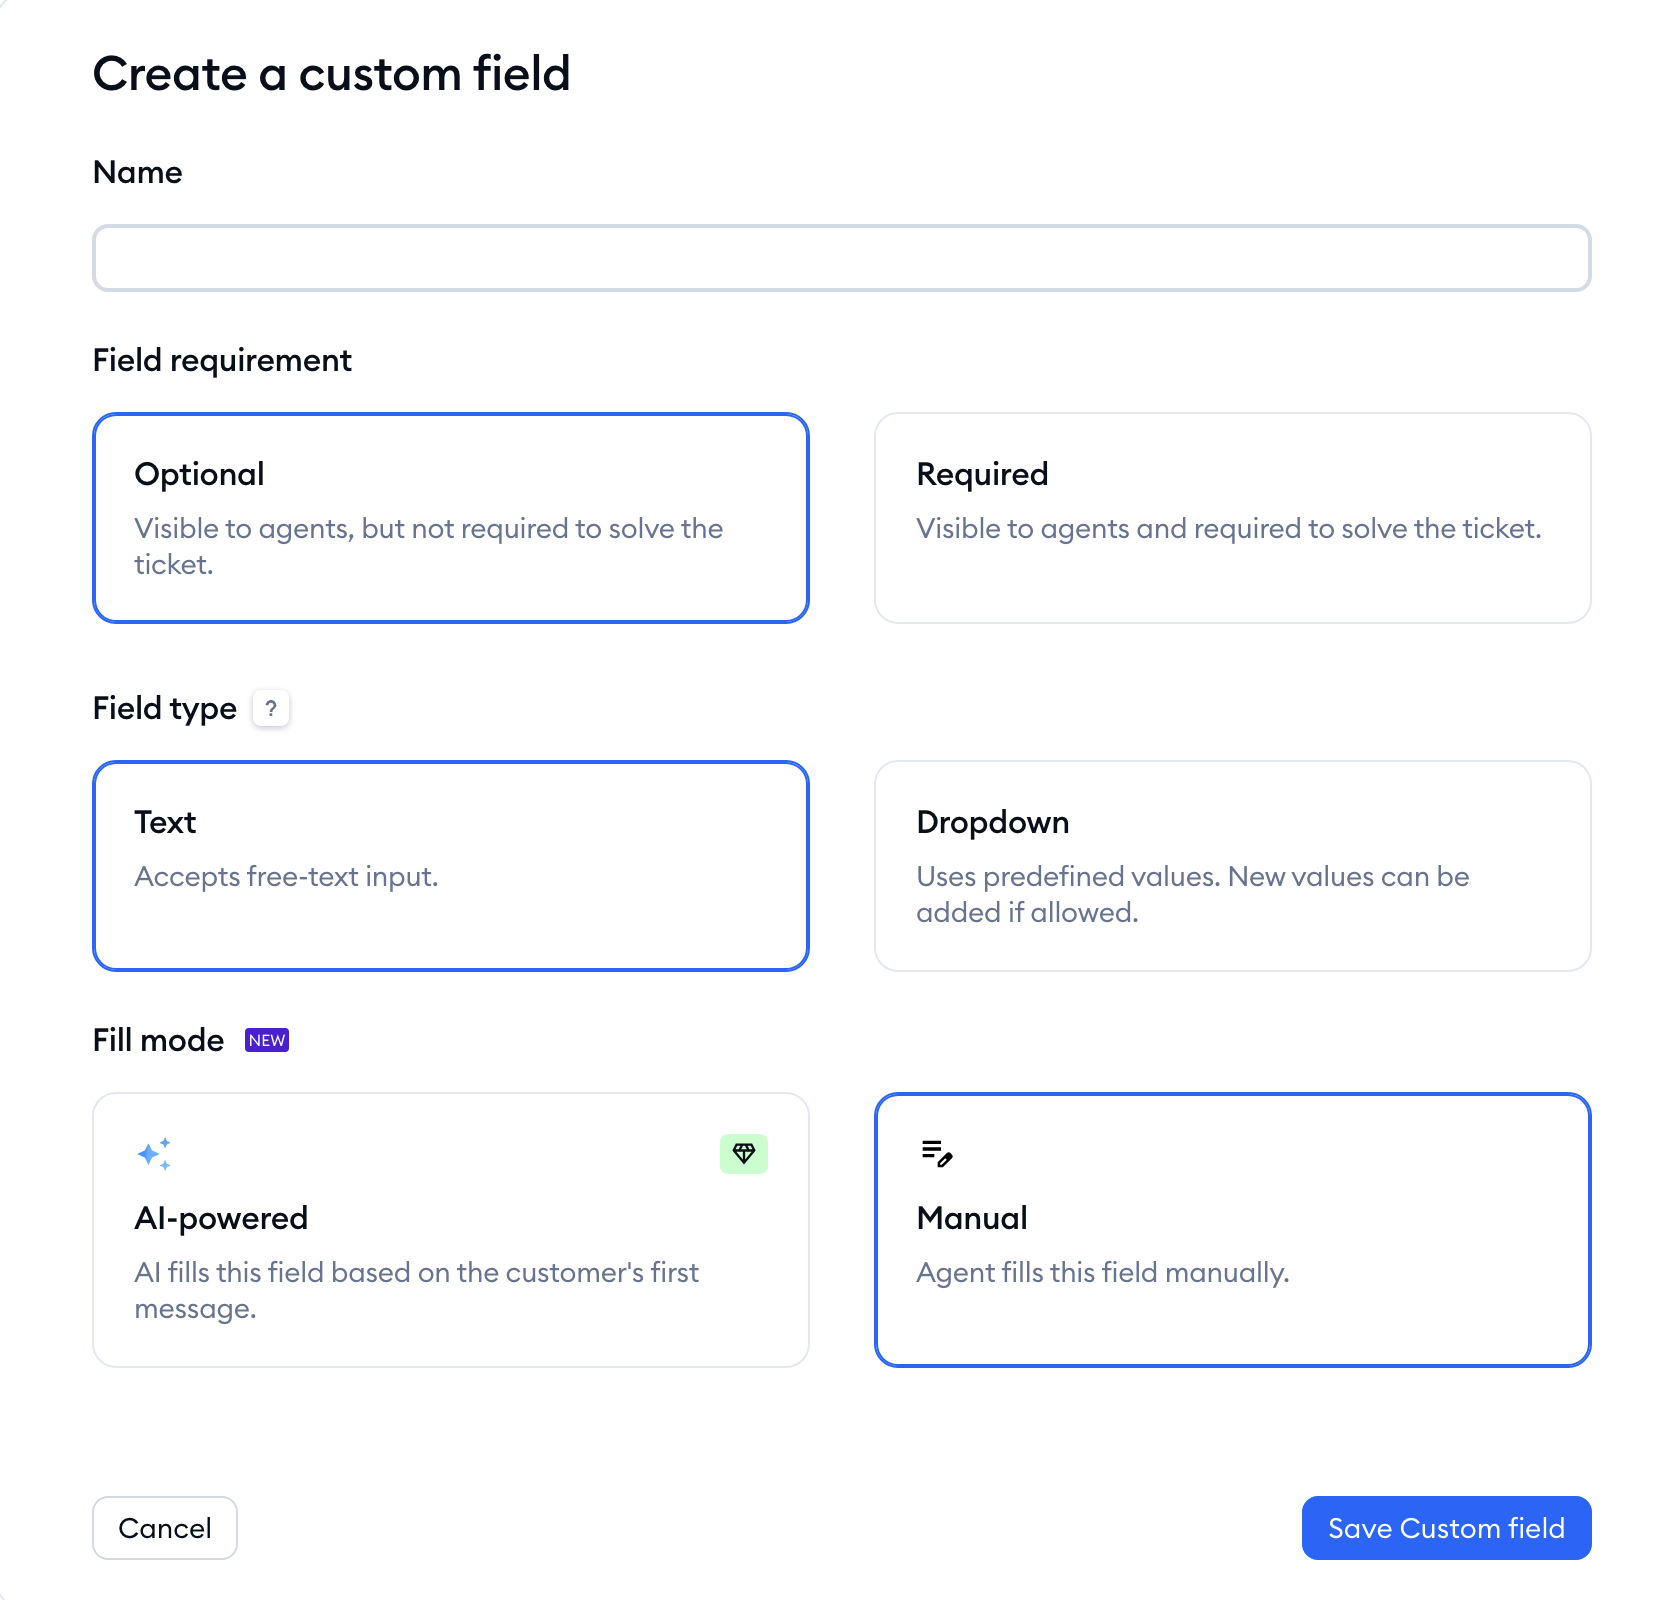
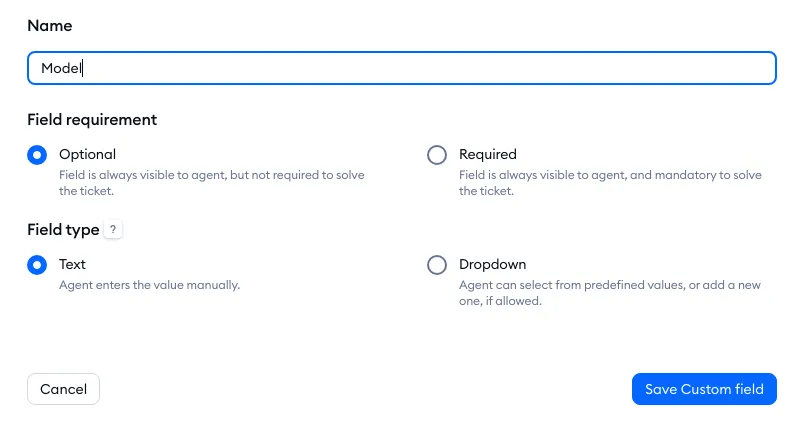
Name
Give a short name to your new custom field; this will be shown inside each ticket's info panel on the right.
Field requirement
The field can either be Optional or Required. An optional field allows an agent to fill it out, but is not mandatory; a required field must be filled out in order to solve the current ticket.
Field type
The field can either allow custom Text to be typed in, or it can be a Dropdown that shows a list of pre-determined values to choose from. These values need to be created during the creation process. Choose carefully - the field type cannot be changed after the custom field is created.
When you create a custom field that is of the text type, there are no additional settings; you can use the Save Custom field button at the bottom, and the field becomes available in each ticket, so that your agents can fill it out when necessary.
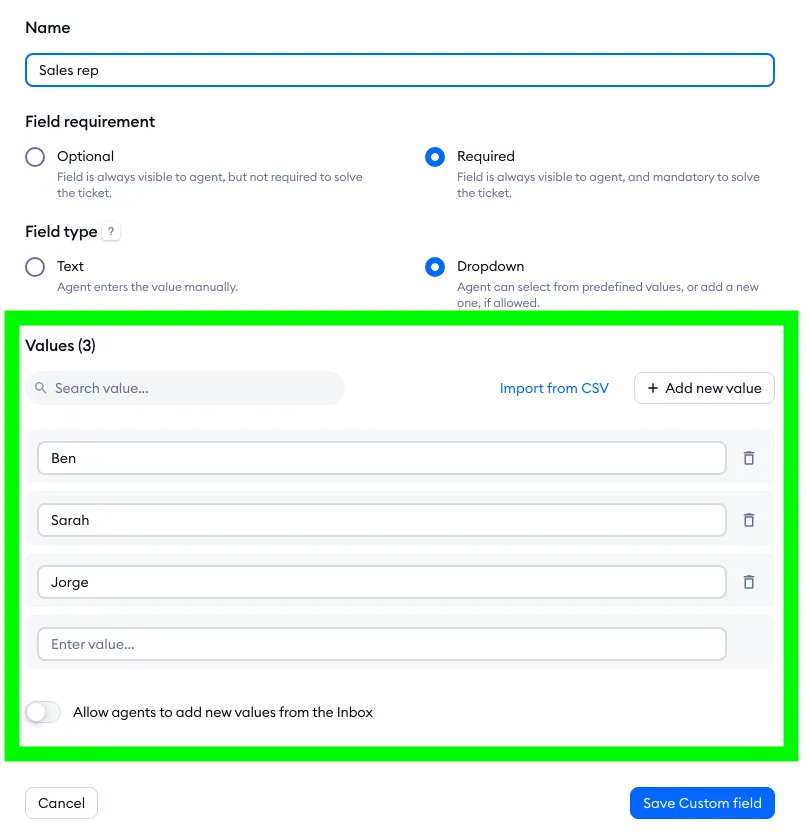
However, when creating a dropdown custom field, you need to determine a list of values that are going to be available - type each one in, and use Add new value to add the next. Each value can be up to 100 characters long, values must be unique, and the field needs at least one value to be saved. In addition to that, you can also decide if your agent will be allowed to create new values of their own (directly from inside the ticket), with the Allow agents to add new values from the Inbox switch:
Importing dropdown values from a CSV file
Got a long list of values (product models, store locations, sales reps)? Instead of typing them in one by one, click Import from CSV next to the Add new value button, and choose a .csv file from your computer (up to 2 MB):
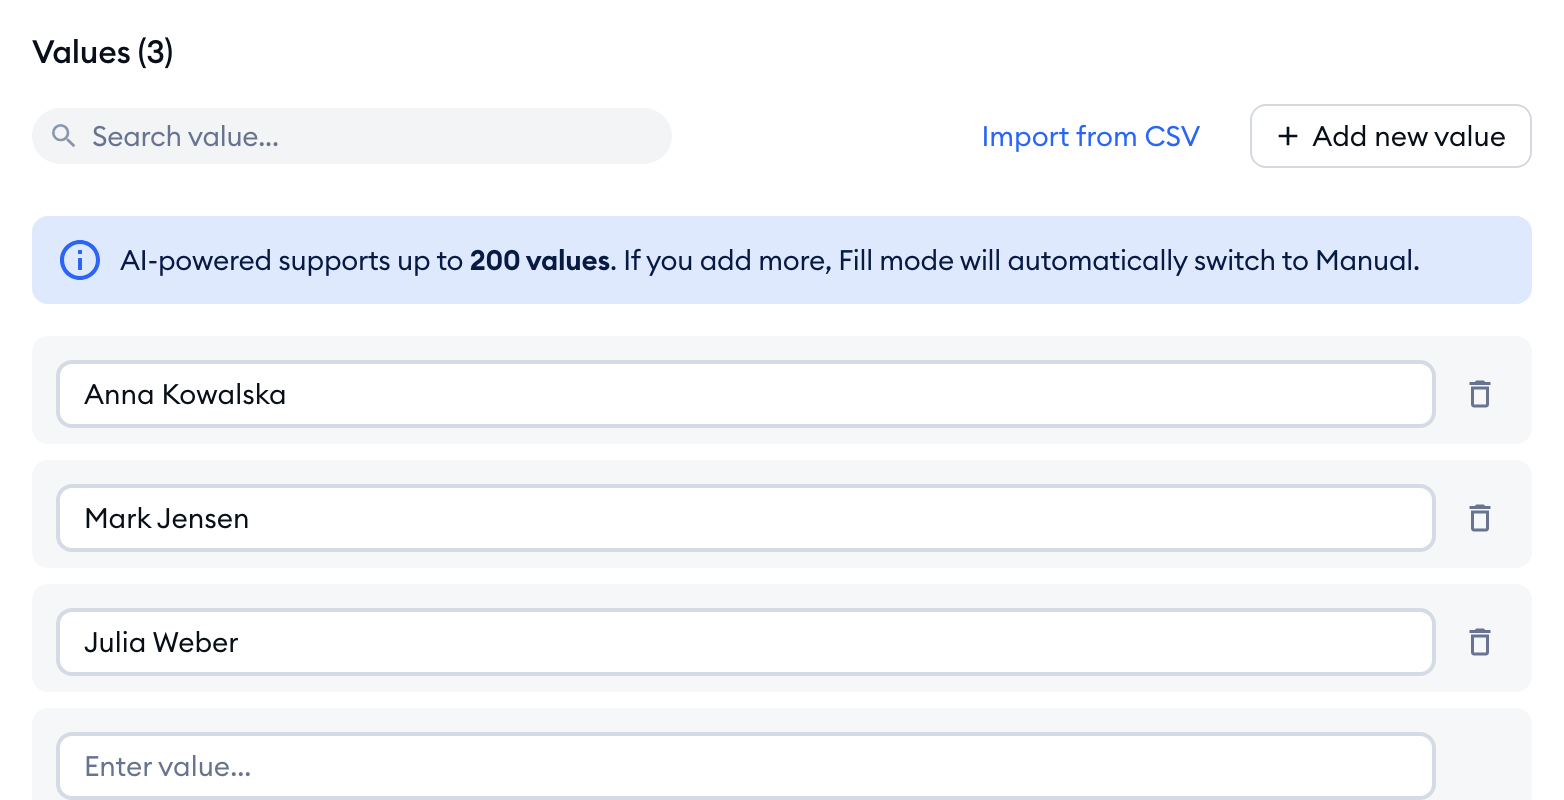
The values from the file will show up in the list right away, and you'll see the Your values have been imported successfully message. Hit Save Custom field to keep them.
Please note: if the dropdown already has values, importing a file will replace all of them - Tidio will ask you to confirm with the Overwrite values button first. Tickets that already use the current values won't be affected.
Using a dropdown along with the required setting may be especially useful if you need your agents to always fill out a specific field before a ticket is solved. This will make sure that agents do not forget to complete the required fields.
Using custom fields in tickets
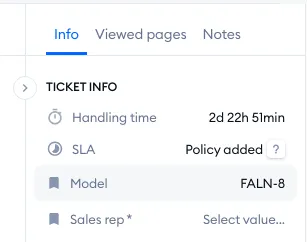
Once you've created your custom fields, they will become visible inside each ticket - in the ticket info panel on the right, making them visible quickly. You'll also find them there when you create a new ticket yourself, so you can fill them in before you send it:
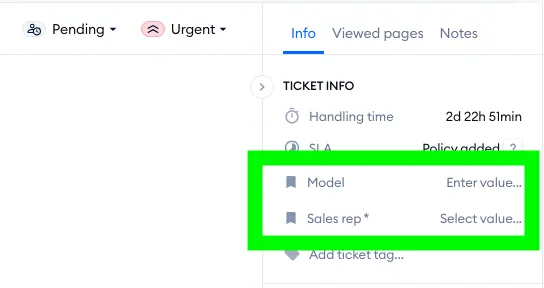
In the example above, the Model field can be filled out by typing:
The Sales rep field, on the other hand, will show a dropdown list of available values - and the agent can choose one of them:
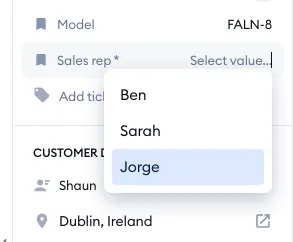
Please note that the asterisk next to this field means that it's required (the ticket will not be possible to solve without completing the field).
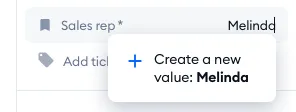
If a dropdown field had the Allow agents to add new values from the Inbox option enabled during creation, agents can also type in a new, custom value. Typing a new value in the field will result in a Create a new value: … button appearing (with your new value at the end), allowing the agent to add it to the dropdown list:
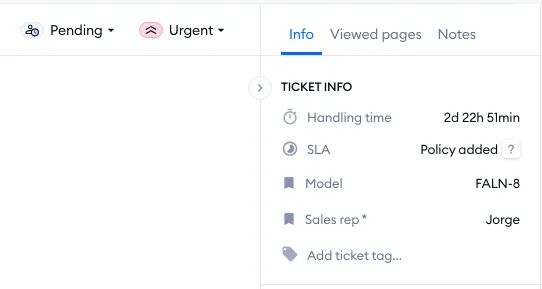
Once the fields are filled out, they will remain visible this way to any agent who opens the ticket. This allows quick access to relevant information, and the option to easily change the information if necessary.
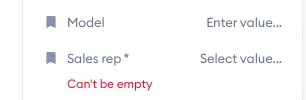
If a field is required (like the Sales rep field in our example above), it will be impossible to solve the ticket without completing the field first. If an agent attempts to solve a ticket without filling out the required field, an error message will appear:

In addition to that, the ticket info panel will highlight which field must be completed:
The same rule applies wherever a ticket can be solved:
- Send and solve - your reply is still sent, but the ticket stays unsolved, and you'll see Message sent, but the ticket wasn't solved. Fill in all required fields to solve it. The same goes for a new ticket you create as solved.
- Solving several tickets at once from the ticket list - the tickets with all required fields filled in are solved, and the rest stay selected, with a message saying how many couldn't be solved due to empty required custom fields.
Using custom fields as conditions in ticket Views
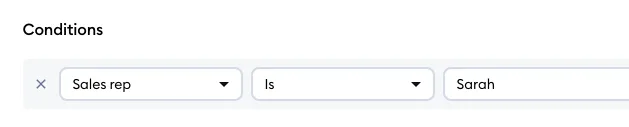
Similarly to ticket tags and Contact Properties, custom fields can be used as conditions in your custom ticket Views. For details, please see this dedicated guide on Views.
When creating your custom ticket View, open the condition dropdown, and you will find the Custom field option listed there:
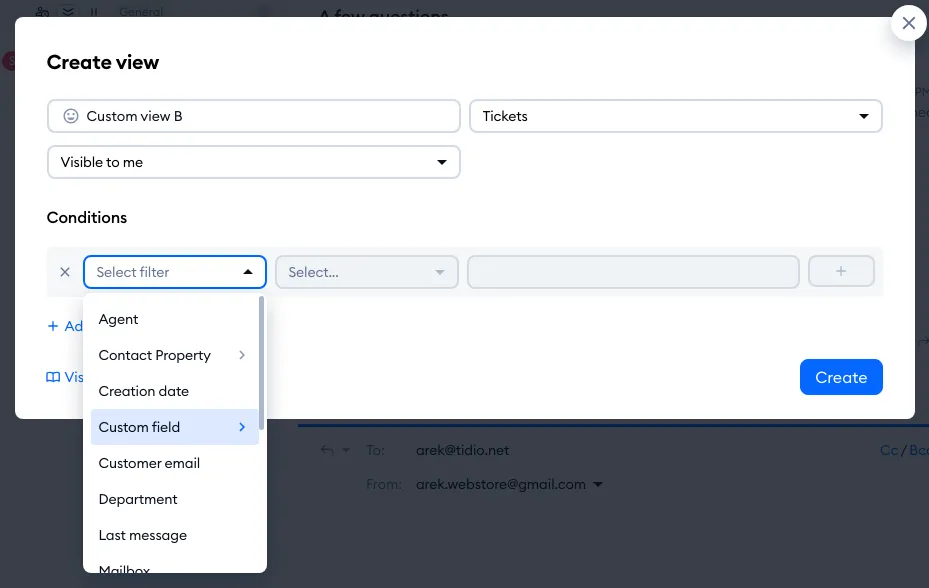
Once you click on that option, you will see a list of all your existing custom fields. Choose the one you need for your current condition:
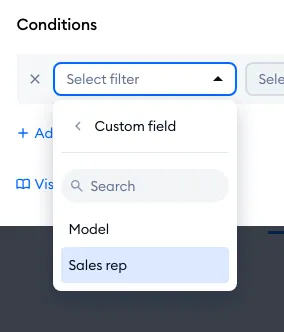
Once selected, you can determine the rest of the condition details, so that your custom field information is used for your View properly.