Workflows are automatic processes that can help you automate certain mundane tasks in live conversations or tickets (emails). As opposed to flows, workflows are never conversational; workflows only exist to help agents with simple (but often time-consuming) actions, like solving finished conversations or tagging tickets.
Please note: Workflows are available on the Growth plan and above (see Which upgrades do I need?).
In this article, you will learn:
- What the benefits of workflows are
- How to navigate workflows
- How to use workflow templates
- How to create your own workflows from scratch
- How to export and import workflows
- What the available nodes are (triggers, conditions, actions)
What are the benefits of workflows?
When you take advantage of workflows in Tidio, your agents can save time and focus on more valuable tasks in your project. Workflows can handle actions that are very repetitive (but necessary), allowing your team to concentrate their efforts elsewhere.
Workflows don't hold conversations with your visitors the way flows do - they won't ask questions or collect information. The only message a Workflow can send to a customer is a predefined email reply in a ticket (like an automatic reply to new tickets). Otherwise, they're used to perform mundane actions, for example:
- Solving live conversations or ticket threads;
- Assigning incoming conversations to agents;
- Sending initial autoreplies to new tickets;
- Changing ticket statuses;
- Tagging tickets.
You can make use of the existing workflow templates (and modify them), but also create your own workflows from scratch.
Navigating workflows
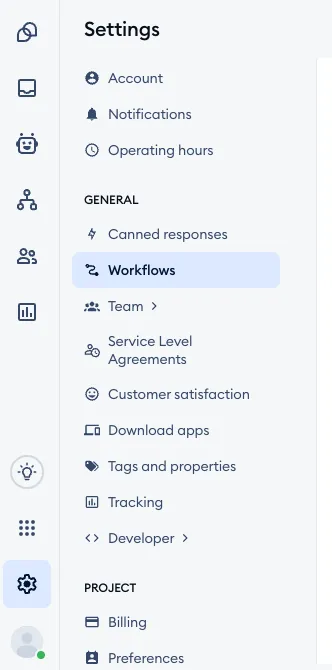
You can access your Workflows section by navigating to Settings > Workflows in your Tidio panel:
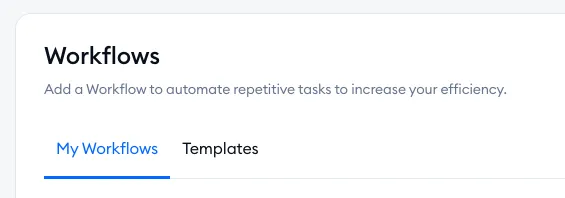
Inside, you will find two main tabs: My Workflows and Templates. This is where you manage all your workflows in general - see a list of your added workflows, create new ones, or browse the available templates.
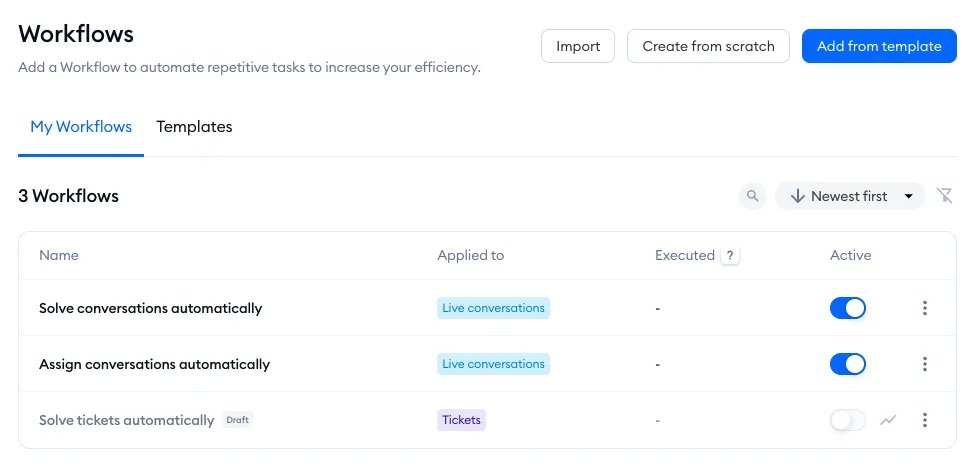
In the upper-right of the Workflows section, you will also find the options to import existing workflows via JSON files, create new workflows from scratch, and a shortcut to add one of the existing templates; these options will be covered in detail later on in this guide.
In the My Workflows tab, you will see all your added workflows, what they're Applied to (Live conversations or Tickets), how many times each one was Executed in the last 30 days, and whether it's Active:
You will also be able to sort them all as needed:
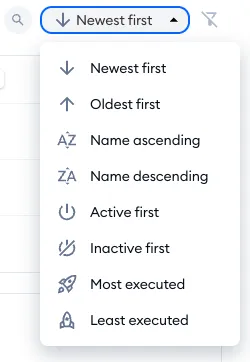
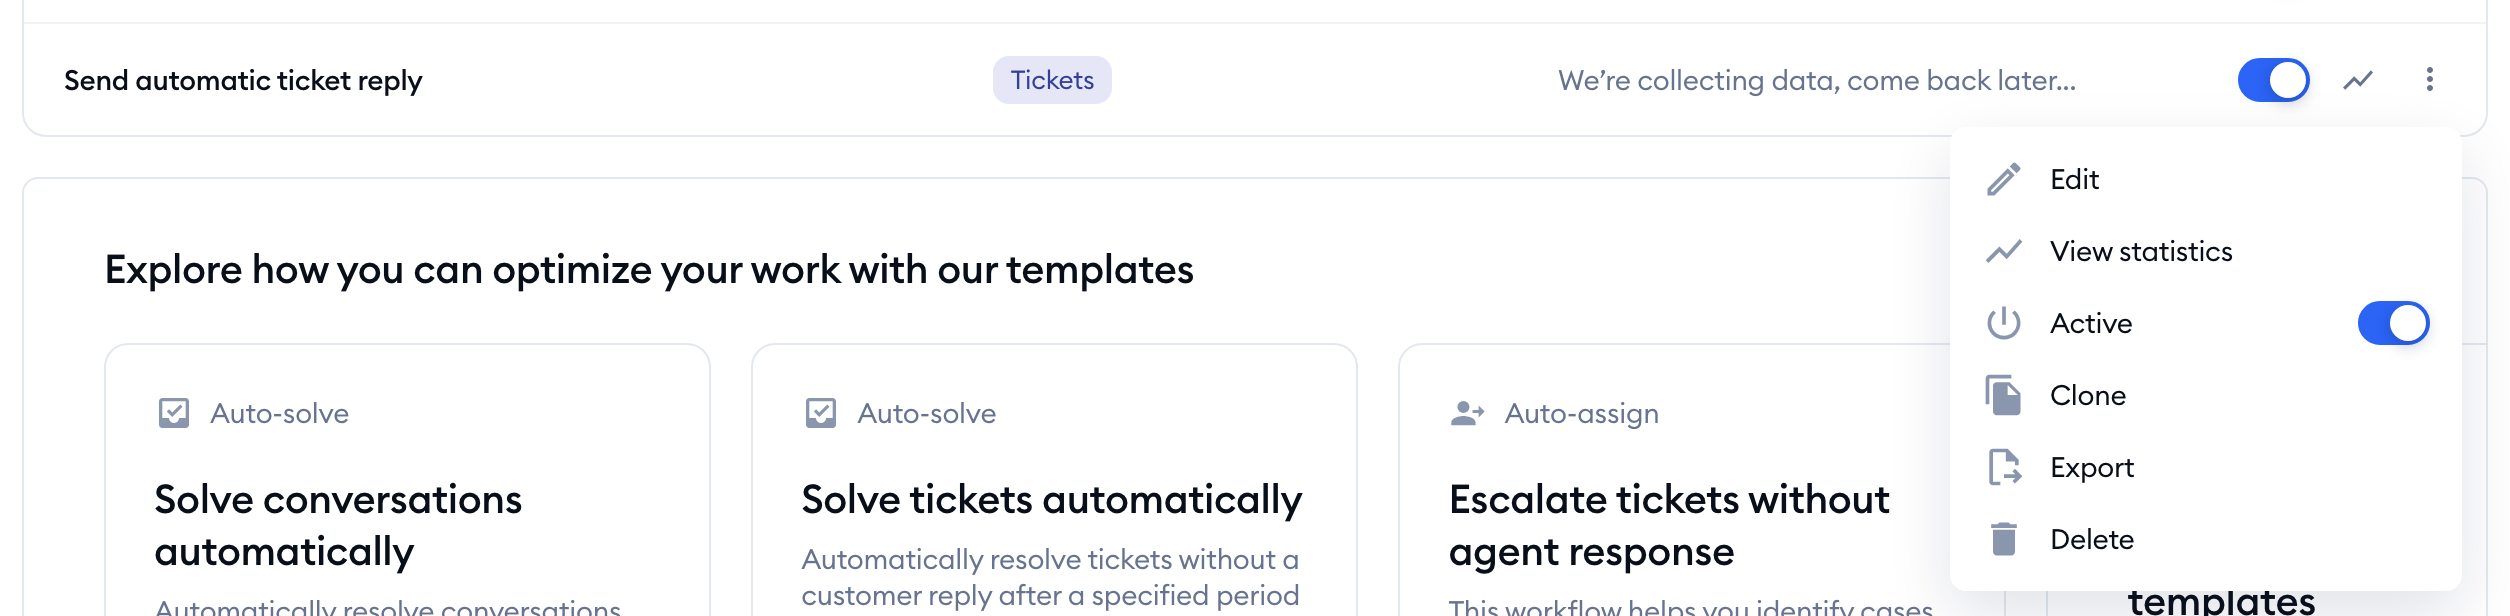
Lastly, any workflow (or workflow draft) can be managed in details by clicking the three dots next to it: Edit (or Edit draft), View statistics (a chart of how many times the workflow was executed), switch it Active, Clone, Export or Delete it. Please note that live conversation workflows can only be edited, enabled/disabled, or deleted:
Using workflow templates
The quickest way to get started with workflows is to use templates; they're an easy way to automate the most common tasks. Naturally, you can modify the templates to your liking as well.
Find the existing templates in the Templates tab:
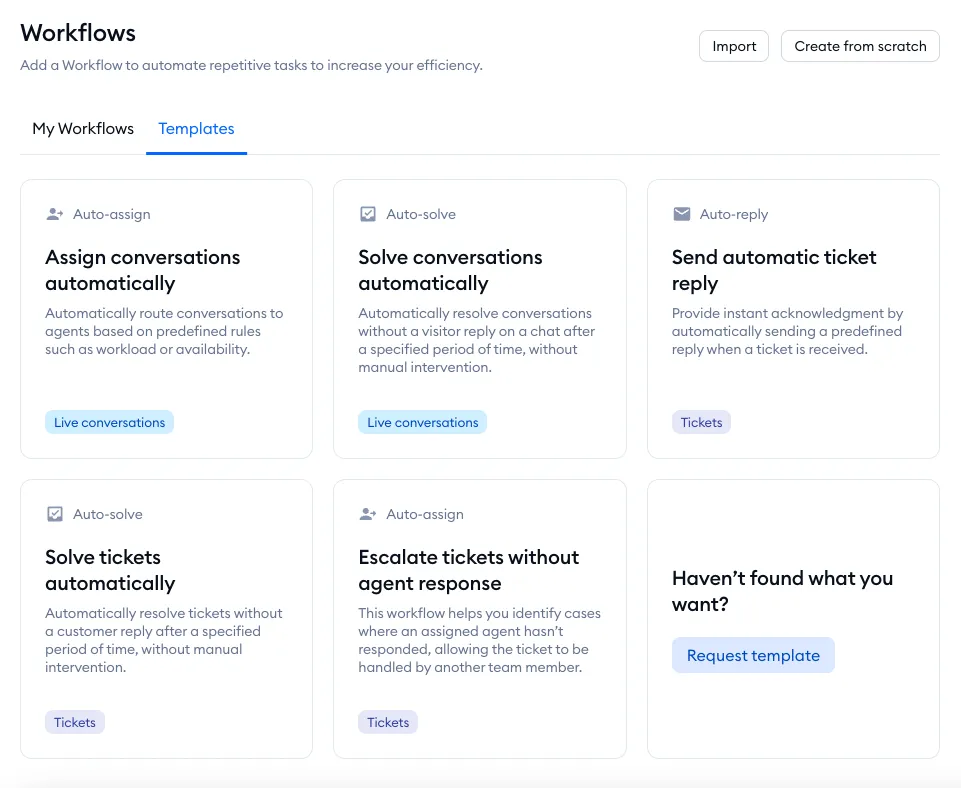
In there, you will find several templates ready to add and activate immediately (as well as the option to request a new template that you would find useful!). Each workflow template is marked with either the Live conversations or Tickets tag, letting you know which communication channel the particular workflow is meant for.
When you hover your cursor over a template, you will see the Learn more button appear:
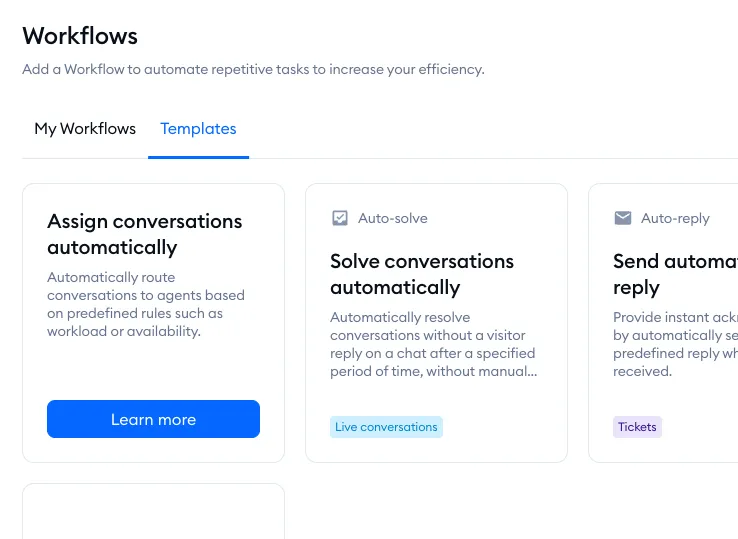
Clicking on it will take you to the given template's setup screen, where you can see more details as well as customize certain aspects of the workflow.
Templates for live conversations
The live conversation templates are relatively simple workflows and do not offer much customization. There are currently two templates available for live conversations:
Assign conversations automatically
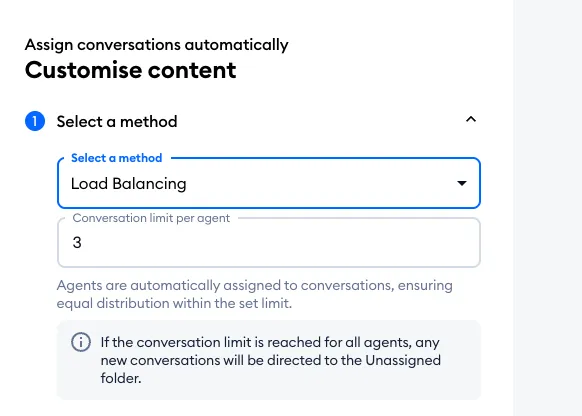
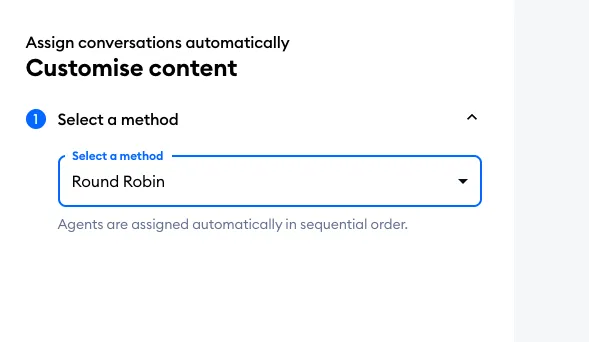
This workflow automatically routes incoming conversations to agents based on their workload or availability. For this purpose, you decide between using the Load balancing option or the Round robin option here.
The Load balancing option allows you to determine the maximum number of live conversations every agent can have at any given time. Incoming conversations are distributed among the online agents equally, but an agent can never be assigned to more conversations than specified.
The Round robin option allows your agents to receive incoming conversations in sequential order; if an agent is offline, their turn is skipped and the new conversation is assigned to the next operator in line. There is no upper limit of conversations that can be assigned to each agent.
Solve conversations automatically
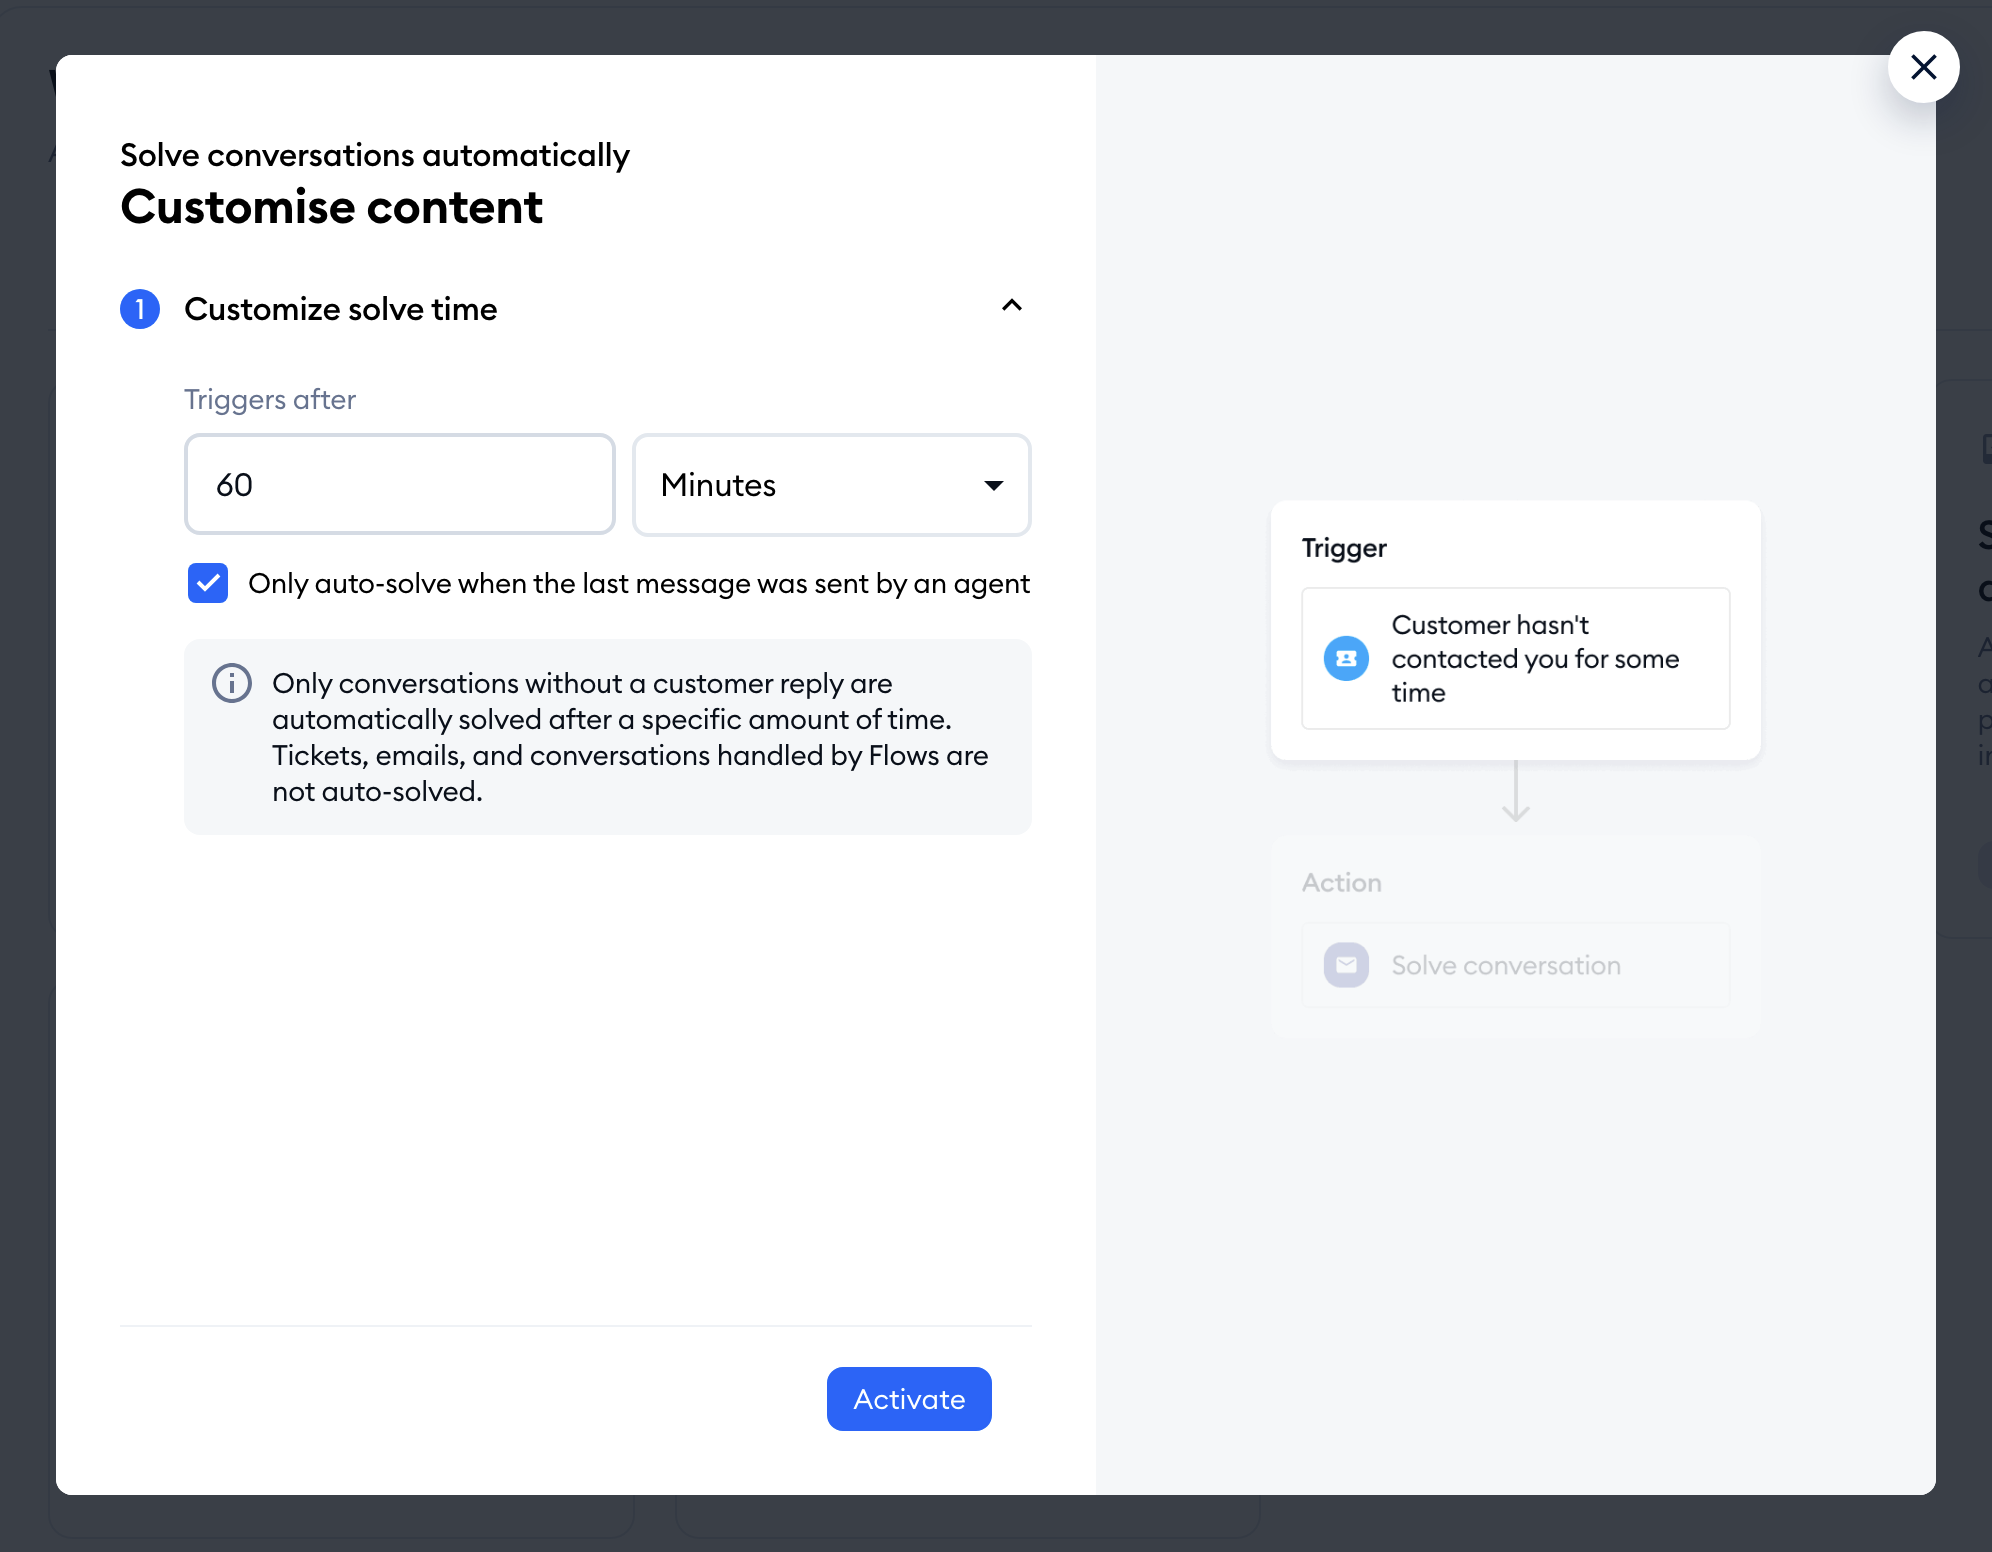
This workflow allows you to specify the amount of time after which conversations should be marked as solved automatically: under Triggers after, choose between 5 and 120 Minutes, or between 1 and 72 Hours. With Only auto-solve when the last message was sent by an agent checked (it is by default), this only applies to conversations where an agent has responded, but the visitor hasn't given any further reply of their own. Uncheck it to also solve conversations where the visitor wrote last. With the box checked, you'll also see a reminder that tickets, emails and conversations handled by flows are not auto-solved. Please note that without this workflow enabled, your conversations will still get automatically solved after 30 days without the visitor's reply; this is default Tidio behavior.
Templates for tickets
Workflow templates for tickets are slightly more advanced than those for live conversations, as they allow more customization to better suit your needs. There are currently three templates for ticket workflows:
Send automatic ticket reply
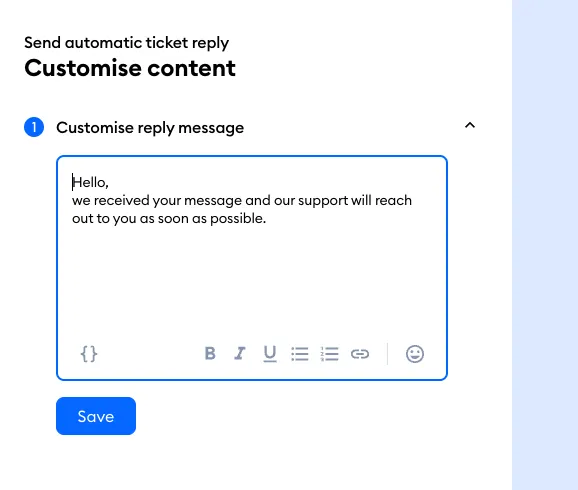
This workflow provides instant email acknowledgment by automatically sending a predefined reply when a new ticket is received. You can personalize the message as well as modify more details of the workflow (if you use the advanced editor to modify the template further).
Looking for the Automatic response setting that used to be in your email settings? It's no longer there - this template is now the way to send an automatic reply to new tickets.
Solve tickets automatically
This workflow lets you specify the amount of time (in days) that needs to pass for a ticket to be solved automatically. This only applies to tickets where the agent has responded and there has been no further reply from the original sender.
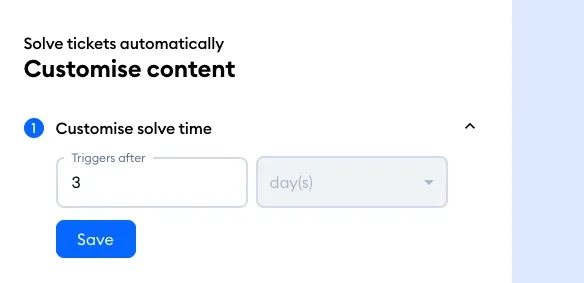
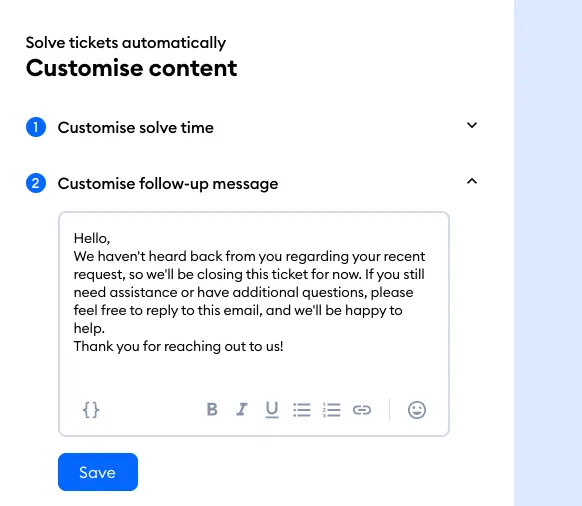
When a ticket is solved this way, there is also a follow-up message sent automatically; you can modify this message to your liking:
Escalate tickets without agent response
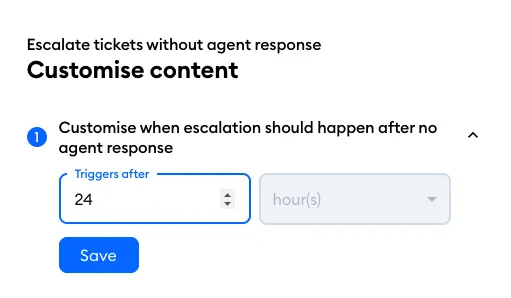
This workflow helps you identify cases where an assigned agent hasn’t responded within a specified amount of time, allowing the ticket to be handled by another team member. You can set the amount for time required (in hours):
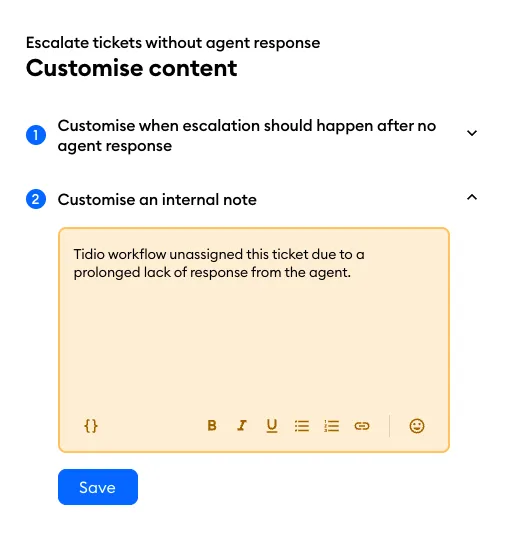
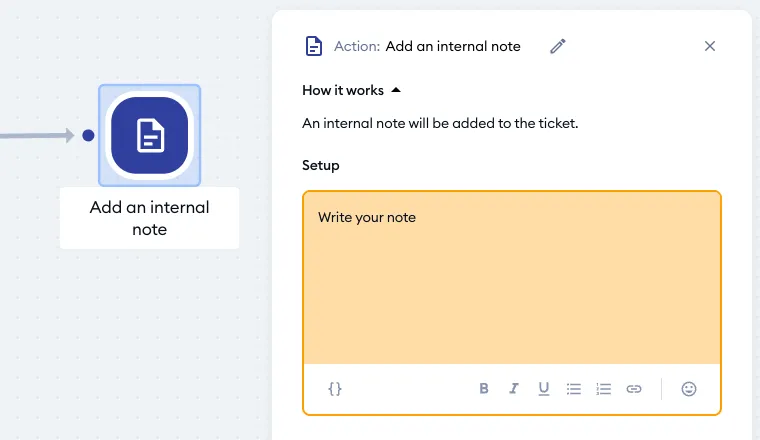
Once this amount of time passes without any response from the agent, the agent is unassigned from the ticket, and the ticket is made available for other team members to see. An internal note is left inside the ticket, which you can customize as well:
Customizing template details with the advanced editor
With the workflow templates for tickets, you get the option to use the advanced editor and customize the workflow in much more detail:
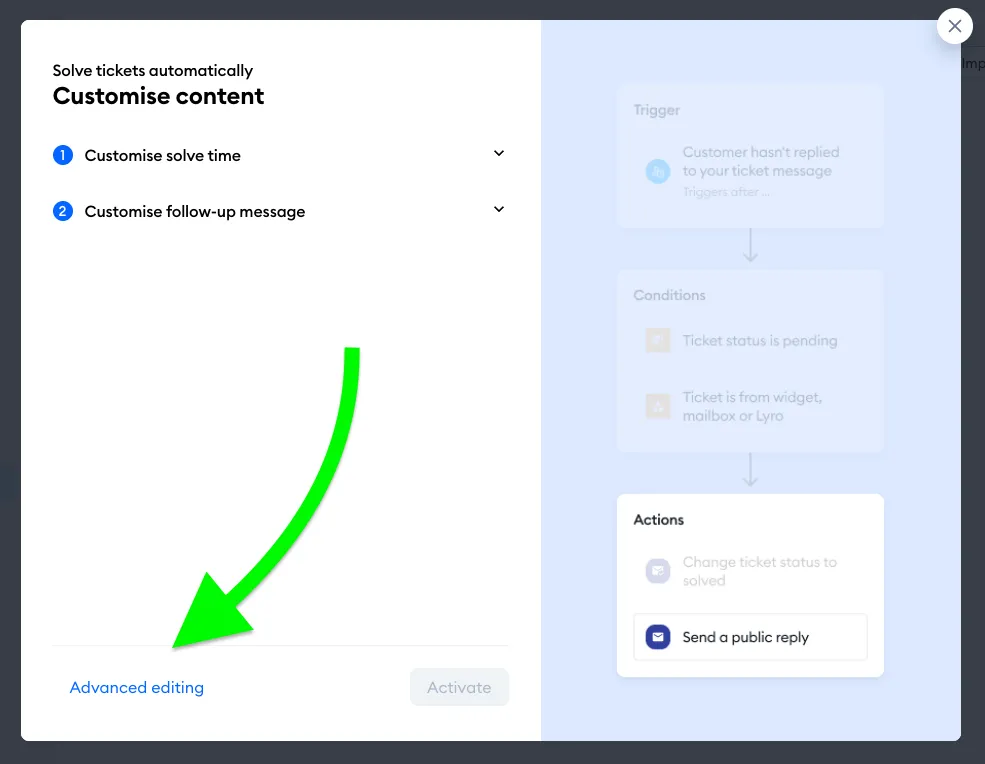
Inside the editor, you will see a workspace that includes several nodes that are part of the given workflow. The nodes include a trigger (it determines when the workflow starts running), conditions, and actions.
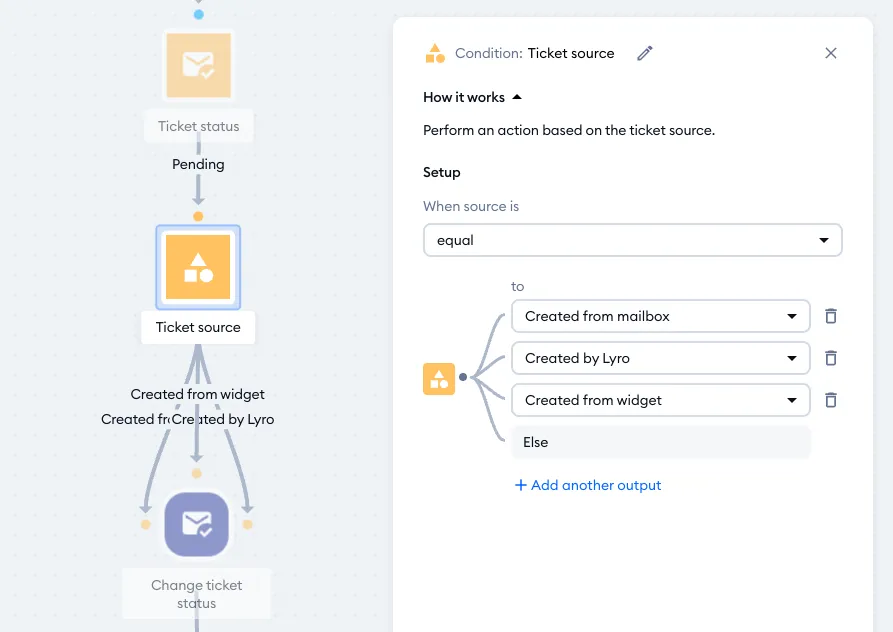
Among other things, conditions can be used to decide which ticket source(s) should be considered:
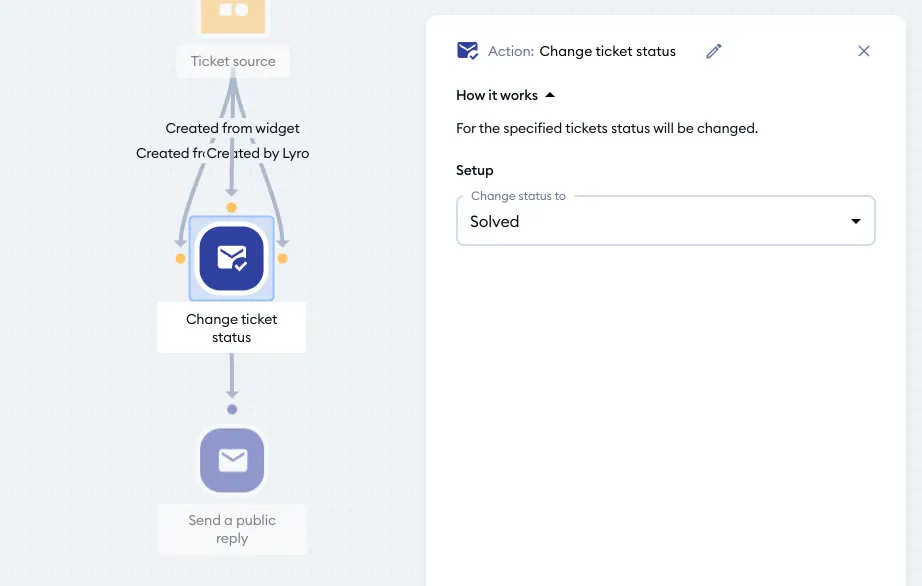
... or how to change the ticket status:
Naturally, you can also change the workflow's automatic reply (if any is being sent in the given template), or add other conditions, etc.
Please note that you can also create your own ticket workflows from scratch, instead of customizing the existing templates; see the next section of this article for more details!
Creating your own workflows
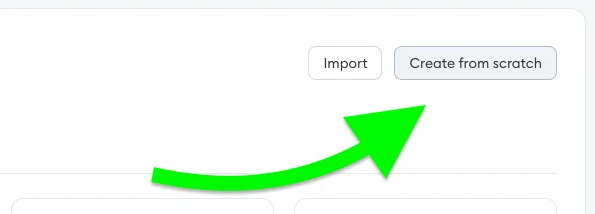
In the top-right of the Workflows section, you can use the Create from scratch button to start building your own custom ticket workflow:
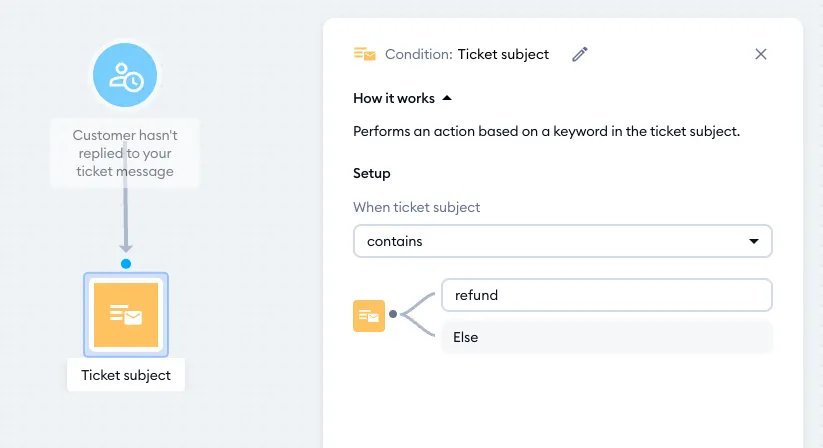
In the example below, let's create a workflow that tags any ticket where the word "refund" was included in the subject, and the original sender hasn't responded in three days.
Triggers
The first step is to add a trigger. There are currently three to choose from:
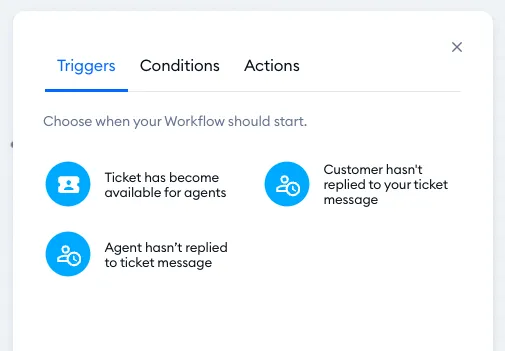
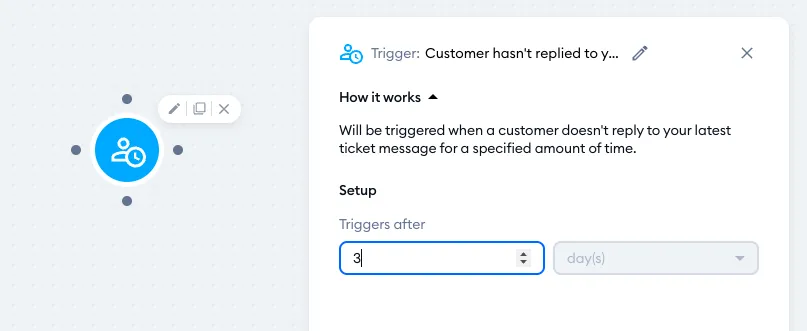
In this case, let's select Customer hasn't replied to your ticket message and set it to 3 days (which is the default):
Please see this section of the guide for a detailed list of all the available triggers.
Conditions
Next, we'll add a condition. The list of available conditions is as follows:
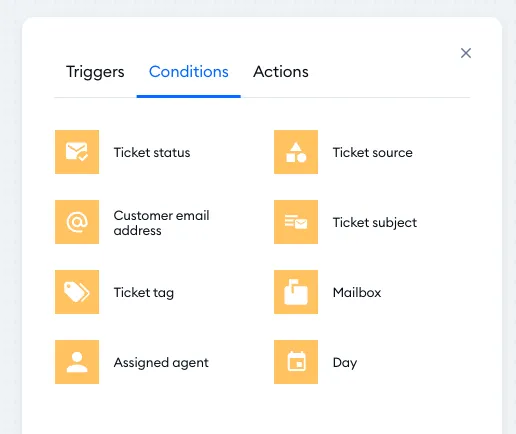
What we need is the Ticket subject condition; after dragging it onto the workspace and connecting with the trigger, add the word "refund" and use the contains option:
Please see this section of the guide for a detailed list of all the available conditions.
Actions
Finally, we need to add an action that the workflow will carry out if the condition is met. The available actions are as follows:
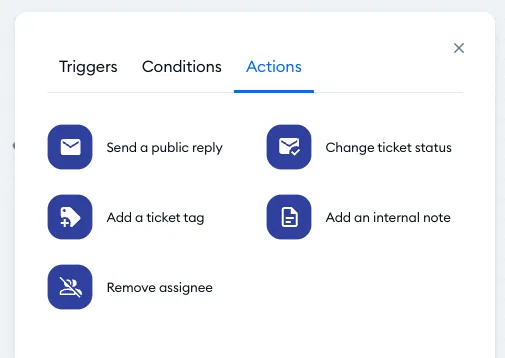
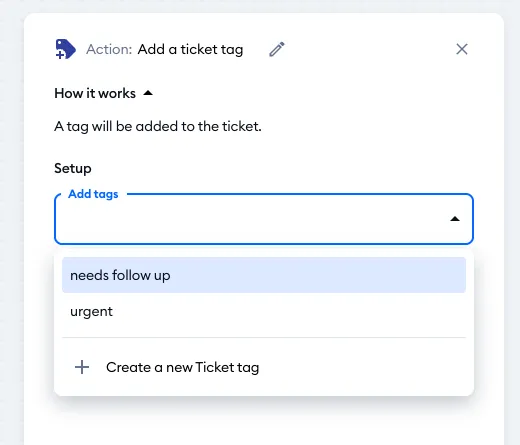
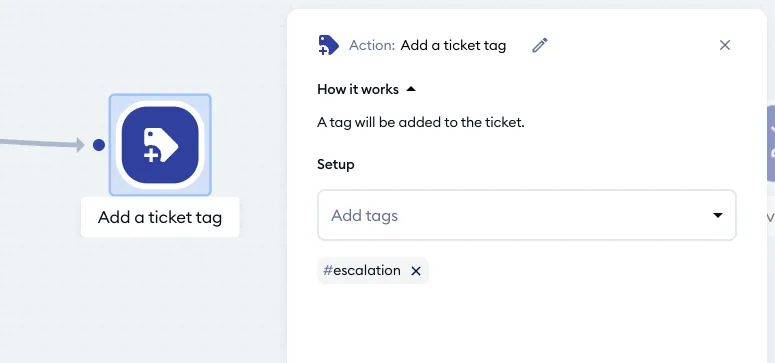
In this case, we need to use Add a ticket tag. Connect it with the condition before it (making sure to use the refund option when connecting), and select one of your existing ticket tags from the list inside the action. If you don't have the appropriate ticket tag yet, you can create it:
Please see this section of the guide for a detailed list of all the available actions.
Once you're done with your setup, the workflow should look like the example below:
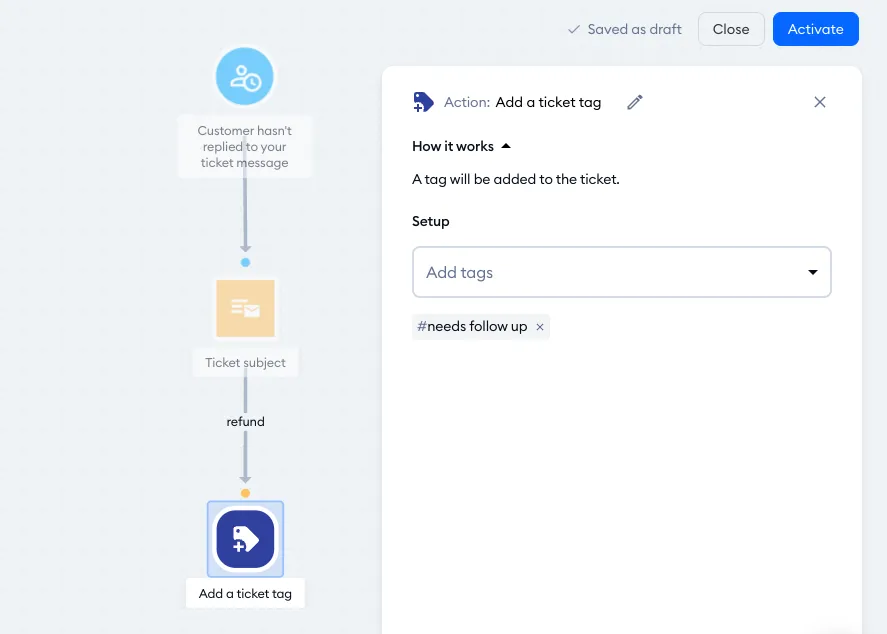
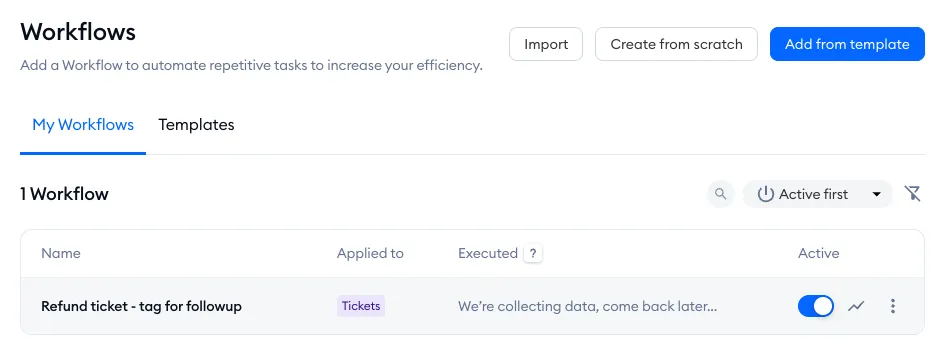
Remember to name your workflow in the upper-left, and hit Activate to save all your changes and enable the workflow right away. If you prefer to just save it as a draft and not use it yet, you can hit the Close button instead. Your new workflow will be listed in the My Workflows tab:
Exporting and importing workflows
Very similarly to transferring flows between different Tidio projects, you can also export and import your workflows. This allows you to save existing workflows as backups outside of Tidio, and import these workflows into other Tidio projects.
To export a chosen workflow, click on the three dots next to the workflow in your list, and select the Export option:
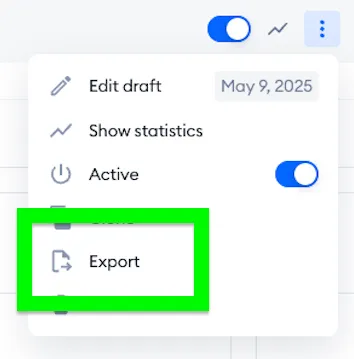
This will generate a JSON file and download it onto your computer, and the file will include the workflow's name.
To import this workflow into another Tidio project (or the same project, if you've accidentally removed or somehow broken your workflow), click on the Import button in the top-right of the Workflows section:
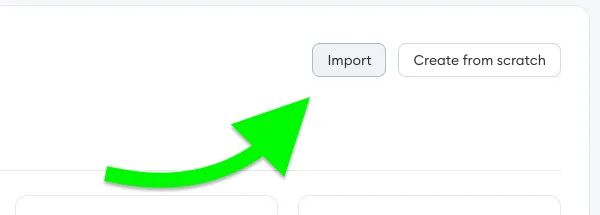
In the window that pops up, either browse your computer for the JSON file or simply drag-and-drop the file into the window:
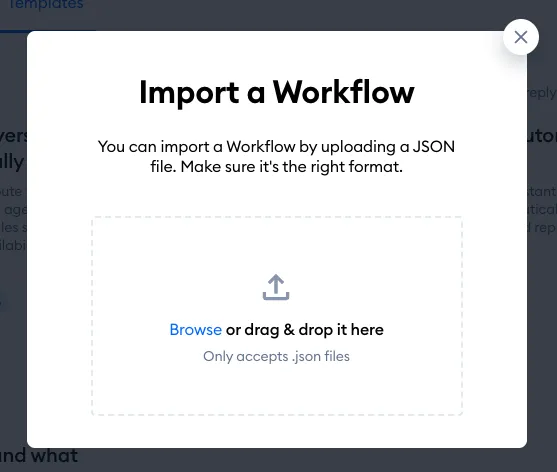
Once the import is complete, you will be notified about it onscreen, and your imported workflow is going to be listed (as a draft) in the My Workflows list.
The nodes available in Workflows
Each Workflow is composed of a combination of different nodes: triggers, conditions, and actions. They are used as needed, depending on what you aim to achieve. See the available nodes listed and described below.
Triggers
A trigger is a node that starts the Workflow. The available triggers are as follows:
- Ticket has become available for agents
- Customer hasn't replied to your ticket message
- Agent hasn't replied to ticket message
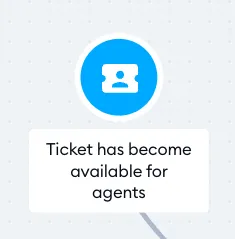
Ticket has become available for agents
Starts the Workflow for tickets that arrive in your Tidio inbox and require agents' attention - either when Lyro cannot resolve the issue or is configured to hand off the ticket to a human.
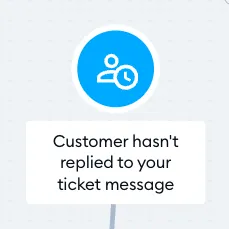
Customer hasn't replied to your ticket message
Starts the Workflow when a customer hasn't replied to your latest ticket message for a specified amount of time - from 1 to 365 days (3 by default).
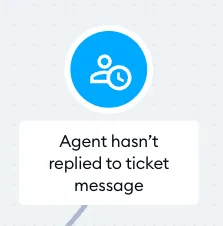
Agent hasn't replied to ticket message
Starts the Workflow when an agent hasn't replied to the customer's latest ticket message for a specified amount of time - from 1 to 365 hours or days (3 hours by default).
Conditions
A condition is a node that tells the Workflow to check if specific parameters are met, so that different actions can be performed depending on the outcome. The available conditions are as follows:
- Ticket status
- Ticket source
- Customer email address
- Ticket subject
- Ticket tag
- Mailbox
- Assigned agent
- Day
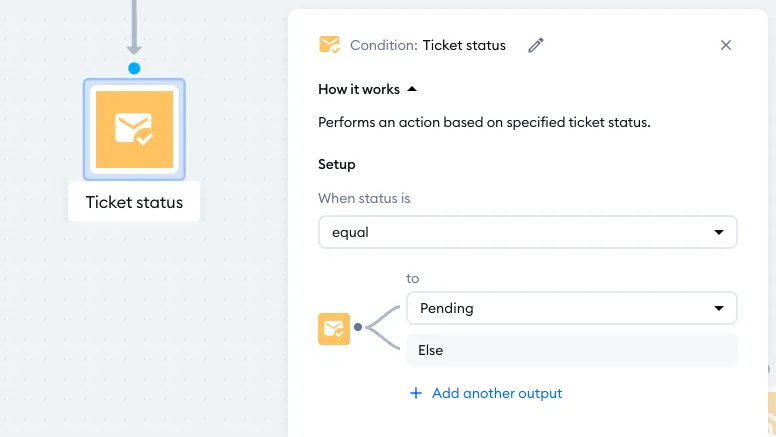
Ticket status
Makes the Workflow check the ticket's status (open, pending, or solved).
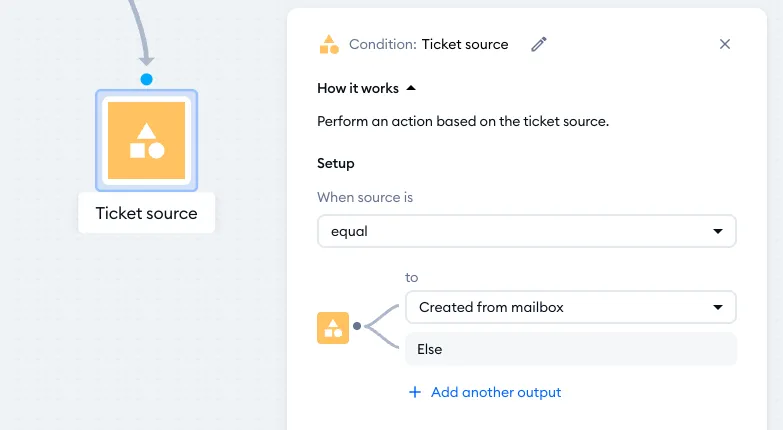
Ticket source
Makes the Workflow check the source of the ticket. A ticket can be created in different ways:
- from a connected mailbox
- within your Tidio panel (by an agent)
- from the widget on your website
- through API
- from a flow
- from Lyro
- from a Facebook comment
- from an Instagram comment
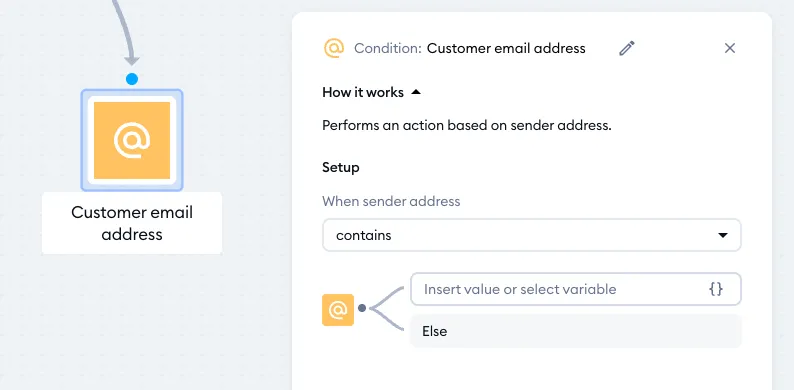
Customer email address
Makes the Workflow check the customer's email address. You can specify whether the address should (or should not) equal to or contain a certain string, or if it should start or end in a specific way. You can put in the value directly, or select from a list of available variables.
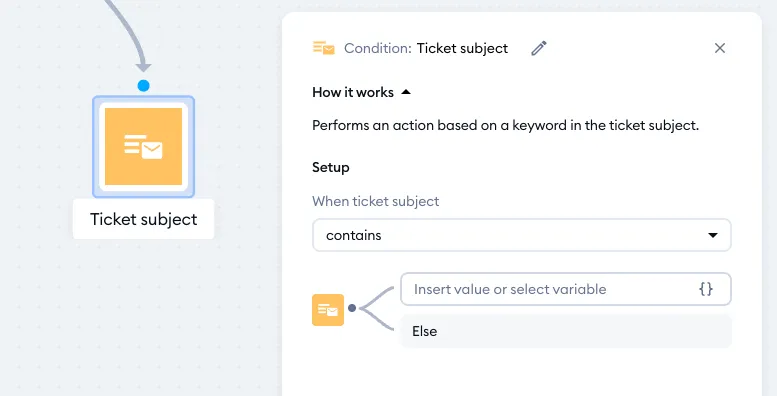
Ticket subject
Makes the Workflow check the ticket's subject. You can specify whether the subject should (or should not) equal to or contain a certain string, or if it should start or end in a specific way. You can put in the value directly, or select from a list of available variables.
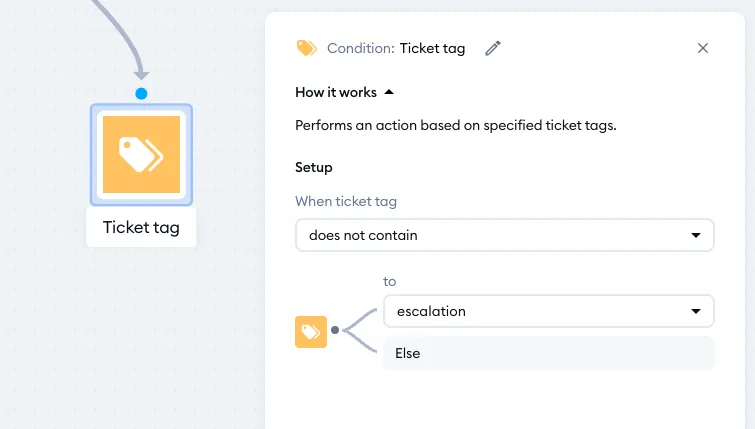
Ticket tag
Makes the Workflow check the ticket's tags. You can specify which available ticket tags should (or should not) be taken into account.
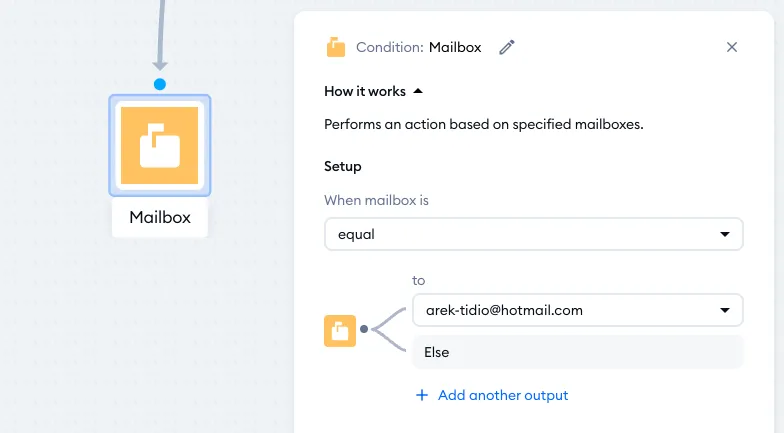
Mailbox
Makes the Workflow check which mailbox the ticket has come from.
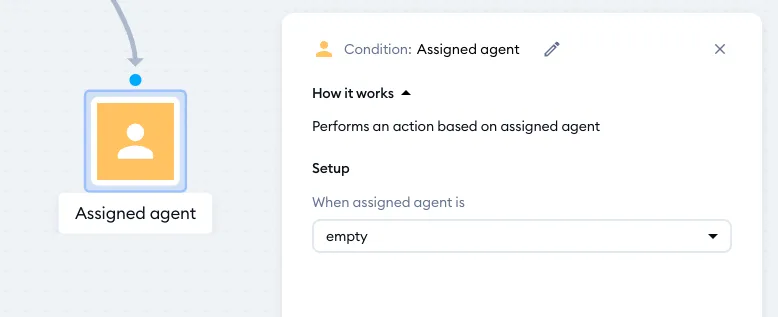
Assigned agent
Makes the Workflow check which (if any) agent is currently assigned to the ticket. You can specify whether the ticket should (or should not) have any assignee at all, or if any particular assignee should (or should not) be present.
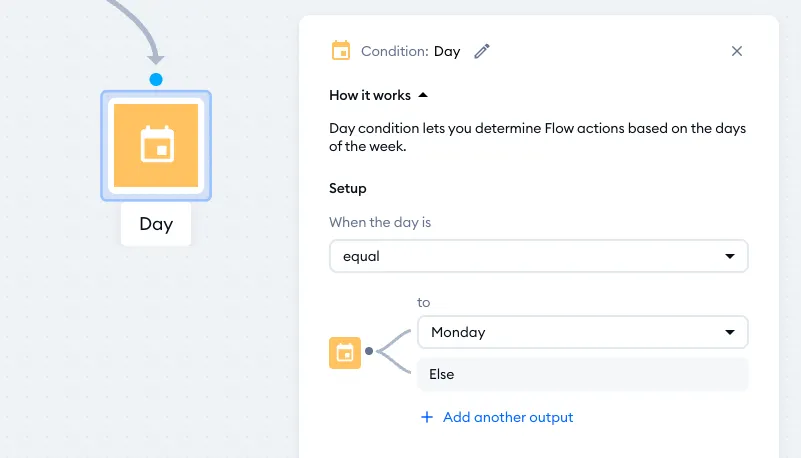
Day
Makes the Workflow check if it currently is (or isn't) the specified day of the week, letting you determine different actions.
Actions
An action is a node that makes the Workflow perform a specific task. The available actions are as follows:
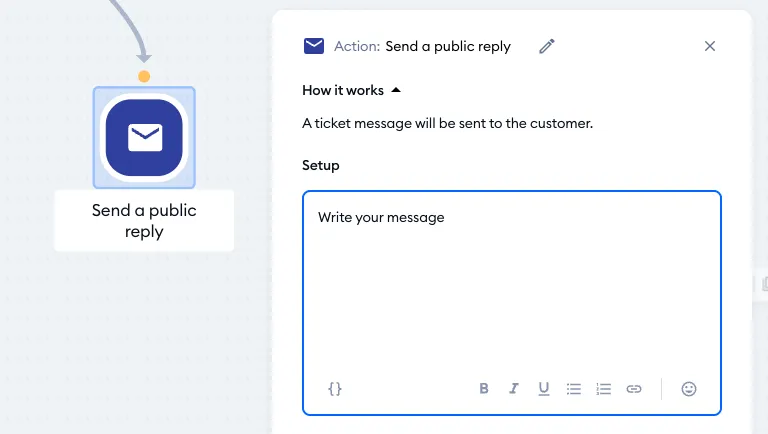
Send a public reply
Makes the Workflow send an email response in the ticket thread.
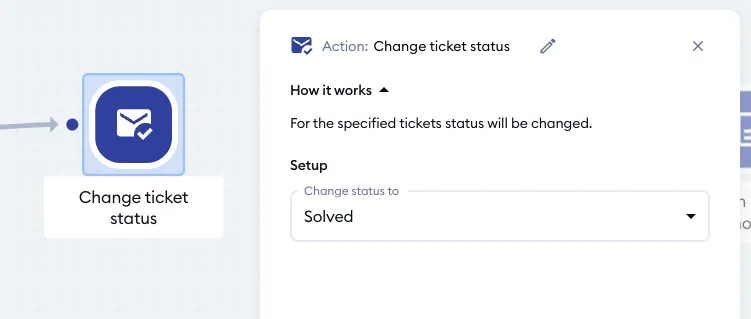
Change ticket status
Makes the Workflow change the ticket's status to either open, pending, or solved.
Add a ticket tag
Makes the Workflow add a specific tag. You can select from a list of available ticket tags, or create a new tag.
Add an internal note
Makes the Workflow add an internal note in the ticket thread.
Remove assignee
Makes the Workflow remove the ticket's current assignee.