If you have created a flow that you like, and if you own multiple Tidio projects - you are able to export that flow and use it wherever you wish! Thanks to our export/import tool found inside the Flows section, you can easily transfer any flow to other projects.
This can be especially useful if you've spent a lot of time on your flow and want to use it elsewhere for the same purposes, or if you're creating flow templates to be used later on other Tidio projects.
In this article, you'll learn:
Exporting a flow
To transfer a flow that you've already created, you have to be logged into the Tidio project where that flow exists. Head over to the My Flows section of Flows and find the flow that you need. In this example, the flow is called Form - issue description and it asks visitors to fill out a form once they click on the chat icon.
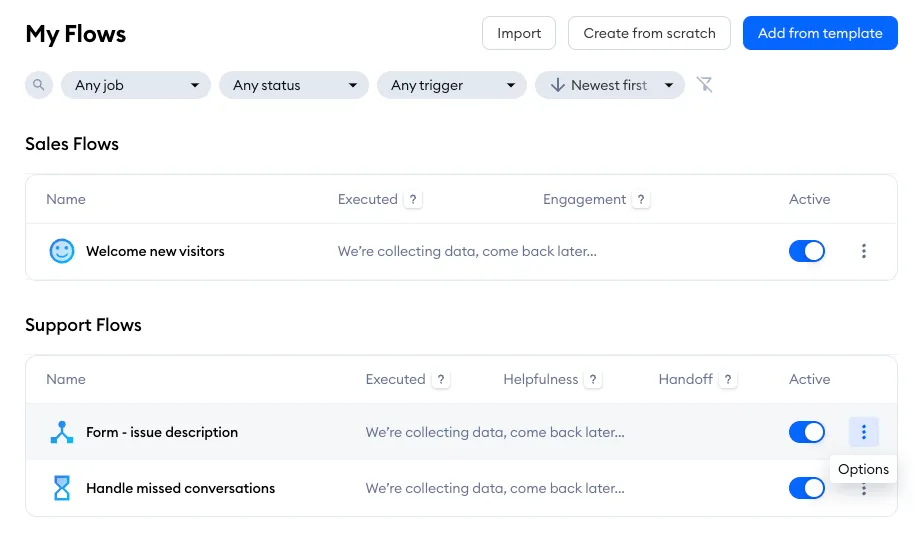
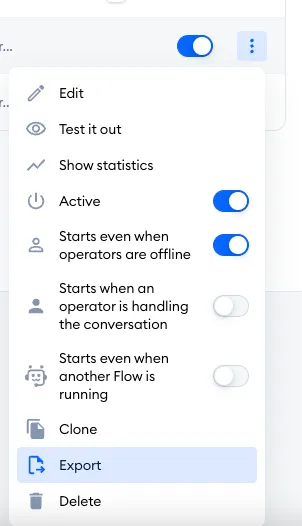
Use the Options menu on the right of your flow, and select the Export option. Please note that a flow with the Draft badge (one that has never been activated) doesn't have this option yet - activate it first if you'd like to export it:
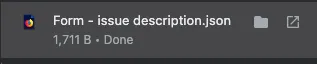
Once you do that, a JSON file named after your flow will be downloaded to your computer, and you'll see Your Flow was exported - that is the file with all your flow's raw data:
Now you are ready to import that file into your other Tidio project!
Importing a flow
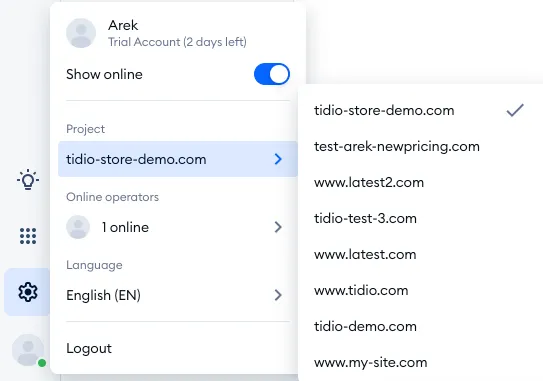
To import your flow into another project, you first need to log into that project, naturally. If you're using the same email login to access both projects, you can find it listed in your projects dropdown menu, visible when you click on your avatar in the bottom-left and point to your project under Project (see Switch between projects):
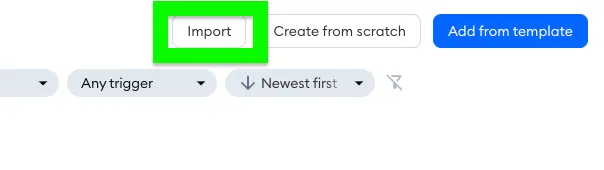
Once you're inside, head over to the My Flows section of Flows in that particular project. You will notice the Import button in the upper-right, next to Create from scratch and Add from template:
When you click on that button, the Import a Flow window will pop up - allowing you to upload your JSON file. Simply drag the file onto Click or drag files to upload, or click it to choose the file from your computer:
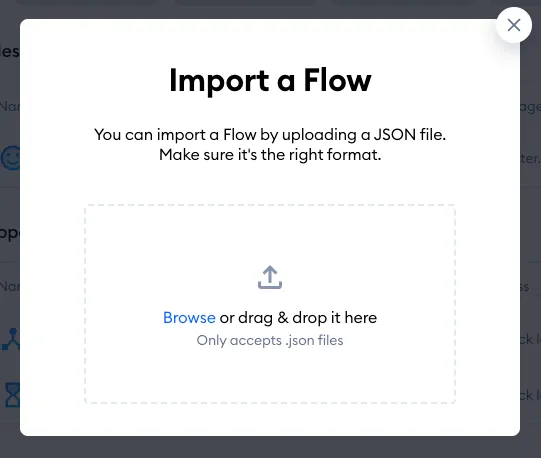
If something's wrong with the file, you'll see why right in the window:
- Oops, your file is not in JSON format - make sure you're uploading the .json file you exported.
- Invalid JSON format. Make sure the file has been exported from Tidio. - the file has been changed or doesn't come from Tidio. Export it again.
- This appears to be a Workflow file. To continue, please use a Flow file exported from Tidio. - you've picked a file exported from Workflows (or from Lyro Actions). Only flows can be imported here; Workflows have their own Import button in the Workflows section.
After successfully importing the right file, you will see a confirmation message on the screen: Flow imported successfully as a draft. Open it to complete the setup and activate it. That means your flow is now available in this project (as a draft)! The message stays on the screen until you close it.

For your convenience, the message has an Open editor button that takes you straight to your new flow, so you can customize it right away. When it's ready, hit Activate in the top-right corner of the editor:
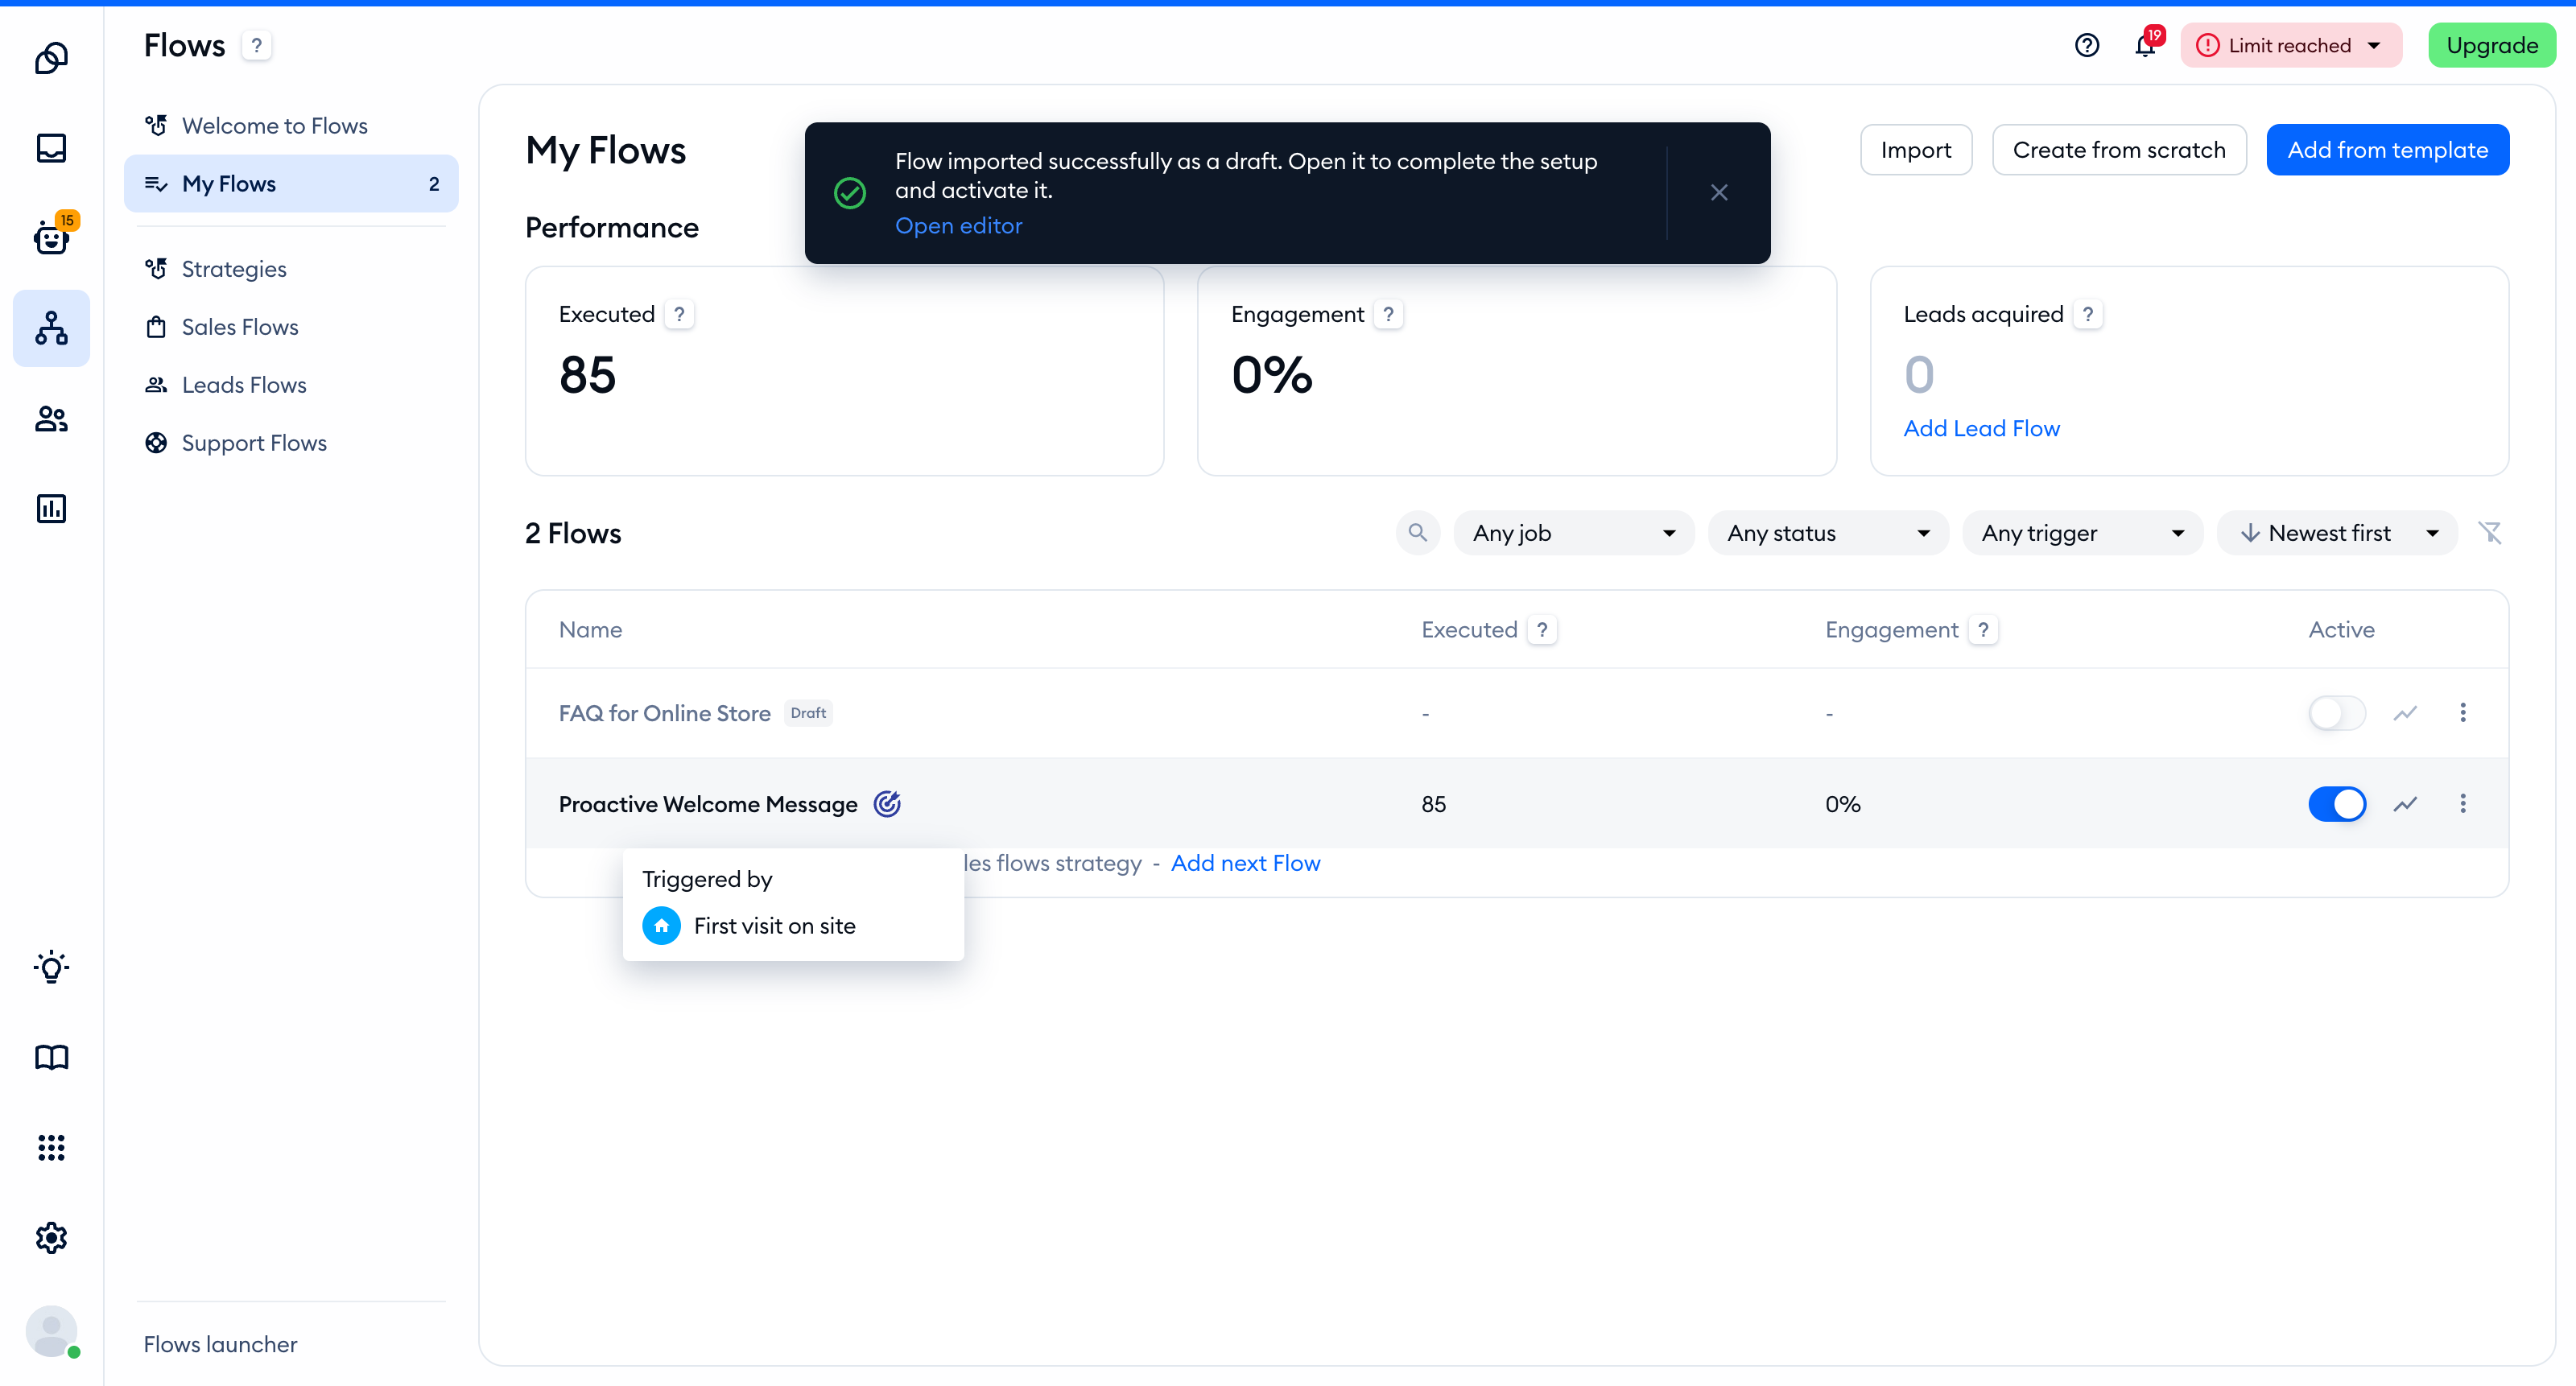
Closed the message already? No problem - you'll find the imported flow in My Flows, with a Draft badge next to its name. A draft can't be switched on from the list: click on its name (or choose Edit draft in its three-dots menu) to open the editor first, and then hit the Activate button.
Of course, this flow is entirely separate from the original version that you exported earlier. You can modify both flows independently, and they will not affect each other in any way.
