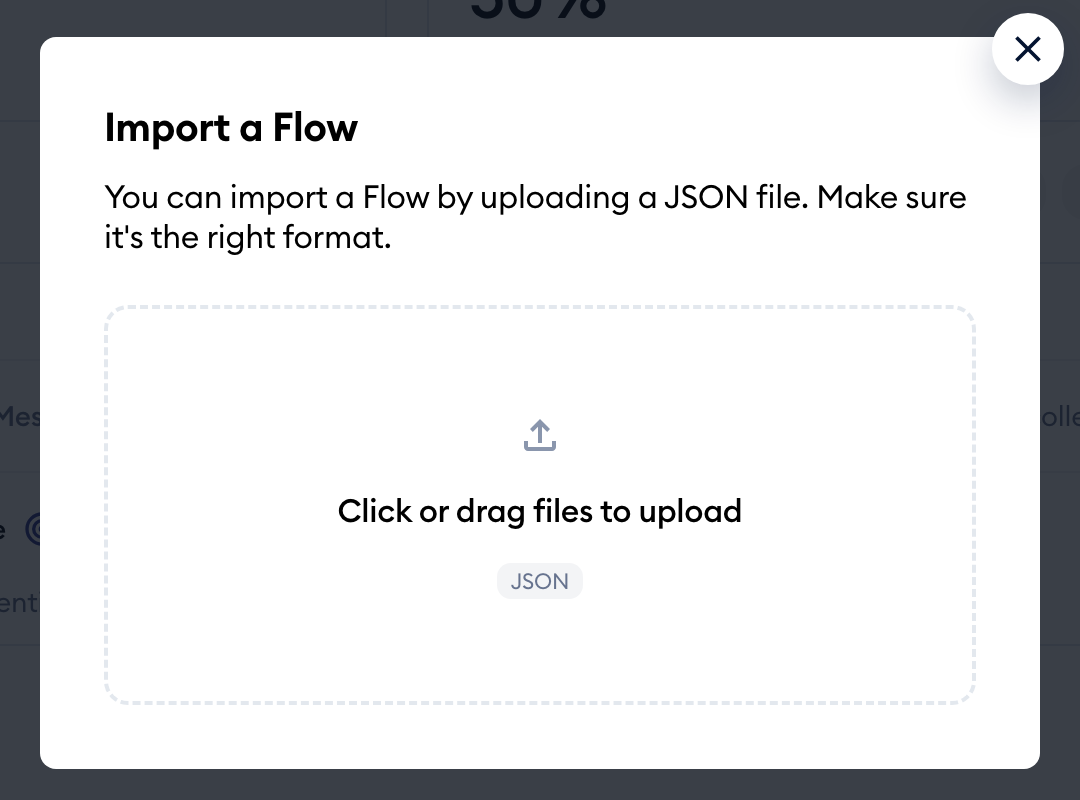
Inside Tidio's My Flows section, you can manage your existing flows and their detailed setups.
In this article, you'll learn:
- How to find and sort flows
- How to manage your flows
- How to track flow statistics
- How to clone existing flows
- How to export and import flows
Accessing My Flows
To access the My Flows list, navigate to the Flows section in your Tidio panel. Once you've added at least one flow, you will find them listed in My Flows. Depending on the flow's purpose, they are categorized into groups: Sales Flows, Leads Flows, Support Flows, and Other.
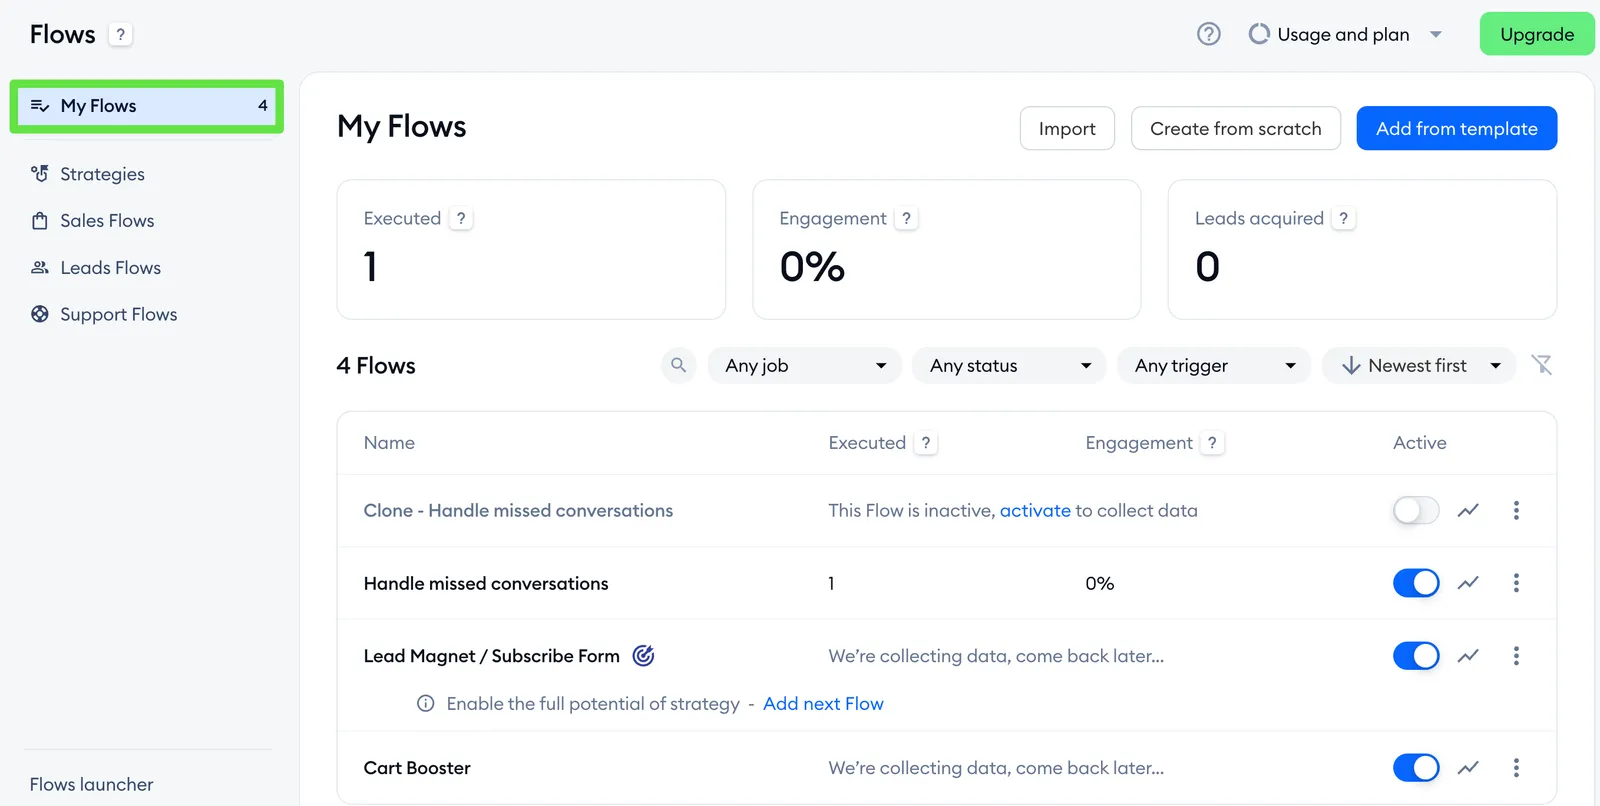
Above the list, the Performance tiles sum up how all your flows did in the last 30 days: Executed, Engagement and Leads acquired (Shopify stores also see Coupons used/sent and Sales assisted). In the list itself, the Executed and Engagement columns cover the last 30 days, too. You can read more about these numbers in Flow Metrics.

To add a new flow, use the buttons at the top: Create from scratch, Add from template or Import (see below).
At the top of the My Flows section you can see several filtering and sorting options, as well as a search tool. You can use these options to narrow down the flows you're currently looking at, and browse your flows by job (purpose), status, triggers, and other details.
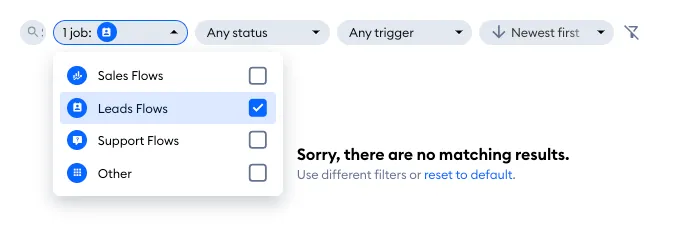
Filtering by job
You can view only the flows that belong to the categories you select, e.g. Leads or Sales flows:
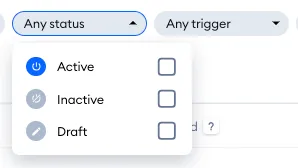
Filtering by status
You can view flows that are active, inactive, or just drafts:
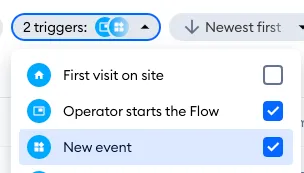
Filtering by triggers
You can view only the flows that include specific triggers:
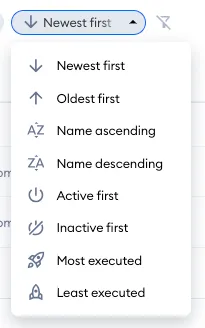
Sorting
The last option allows you to sort your flows in a particular order, e.g. by date of creation, name, status, or execution amount:
Managing Flows
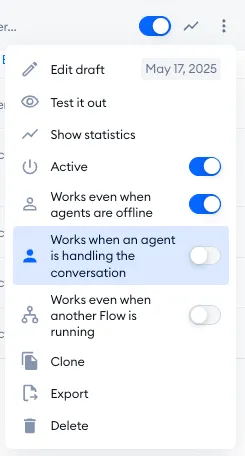
To make adjustments to a flow, click the three dots button on the right of the flow. This will reveal a menu of options: Edit (or Edit draft, if you have unpublished changes), Test it out, View statistics, the Active switch, three switches that decide when the flow works, Clone, Export and Delete. By utilizing these options, you have full control over your flow's behavior and can fine-tune its performance.
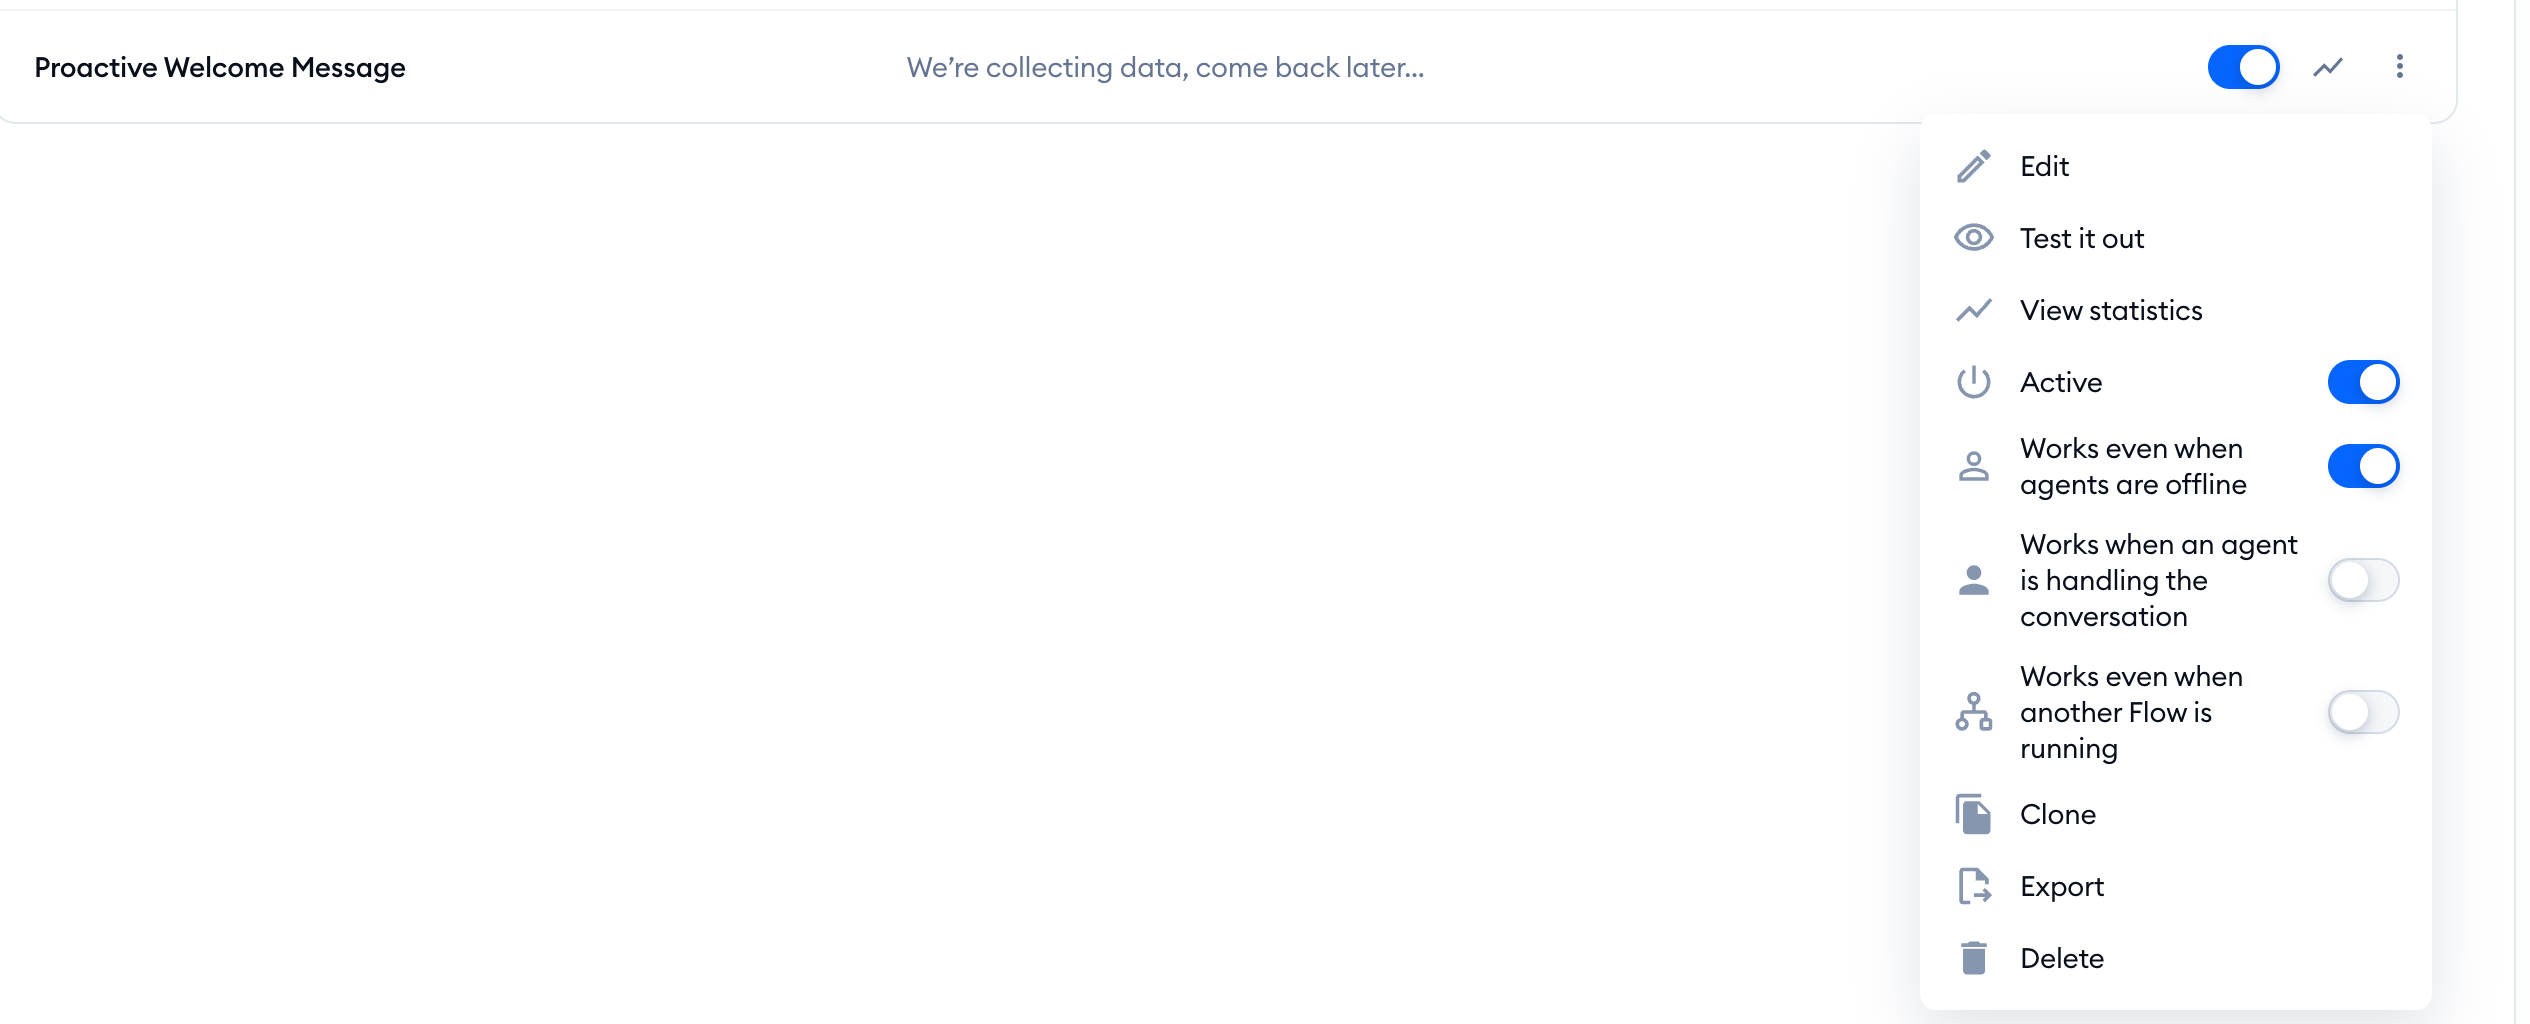
Temporarily disabling a flow is as simple as toggling the Active switch to the off position - you'll find it on the flow's row, too. In the same menu, you can also decide whether the flow should work when your agents are offline (Works even when agents are offline), while an agent is handling the conversation (Works when an agent is handling the conversation), or while another flow is running (Works even when another Flow is running). Some of these switches are locked for certain triggers - hover over a greyed-out switch to see why. This flexibility ensures that your flow is active at the right times and enhances its efficiency.
Tracking Flow Usage Statistics
Next to the Active switch, you will find the chart icon - View statistics. You can also click on the flow's name, or choose View statistics in the three-dots menu. This will open a window displaying detailed statistics about your flow's usage, for the last 30 days by default. This information provides valuable insights into the effectiveness and performance of your flow, allowing you to make informed decisions and optimize its performance further.

Please note: statistics aren't available for drafts - the View statistics icon is greyed out until you activate the flow. To learn what each number means, see Flow Metrics, Flow Performance Analytics and The Handoff Metric.
Cloning your flows
If you need to create a copy of an existing flow, navigate to the My Flows section, locate the flow you wish to clone, click on the three dots menu on the right, and select the Clone option. This cloning capability enables you to quickly replicate successful flow configurations and streamline your flow creation process.
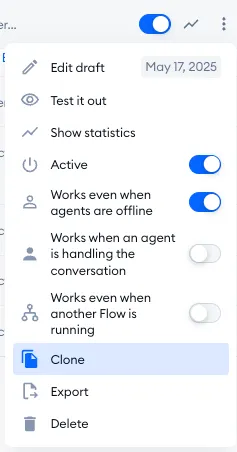
Now, the copy will appear on the list as inactive, named Clone - followed by the original flow's name. Simply edit it, rename it if you like, and activate it when it's ready.

Exporting and importing flows
Want to reuse a flow in another Tidio project? Click on the three dots menu on the right of the flow and choose Export. Tidio will download the flow as a JSON file.
To add it to another project, go to My Flows in that project, hit the Import button at the top, and upload the file. The flow will be added as a draft, so you can open it, complete the setup and activate it. You'll find the details in Transfer flows between projects.