Tidio allows you to create multiple projects under the same account (email address used to log in), making it easier to manage chats for numerous websites.
In this article, you'll learn:
- How to add a new project
- How to switch between projects
- How to manage all your projects at once with Multiproject
- How to delete a project
- How to edit the project's name
Please note: if you're on the Plus plan, we've got a special tool for managing your multiple projects! Multiproject lets you easily manage all your projects in a single Tidio panel, with notifications from all of them.
Add a new project
Each project in Tidio has an independent configuration, settings, and widget, but you can use the same email address to log in and quickly switch between the projects.
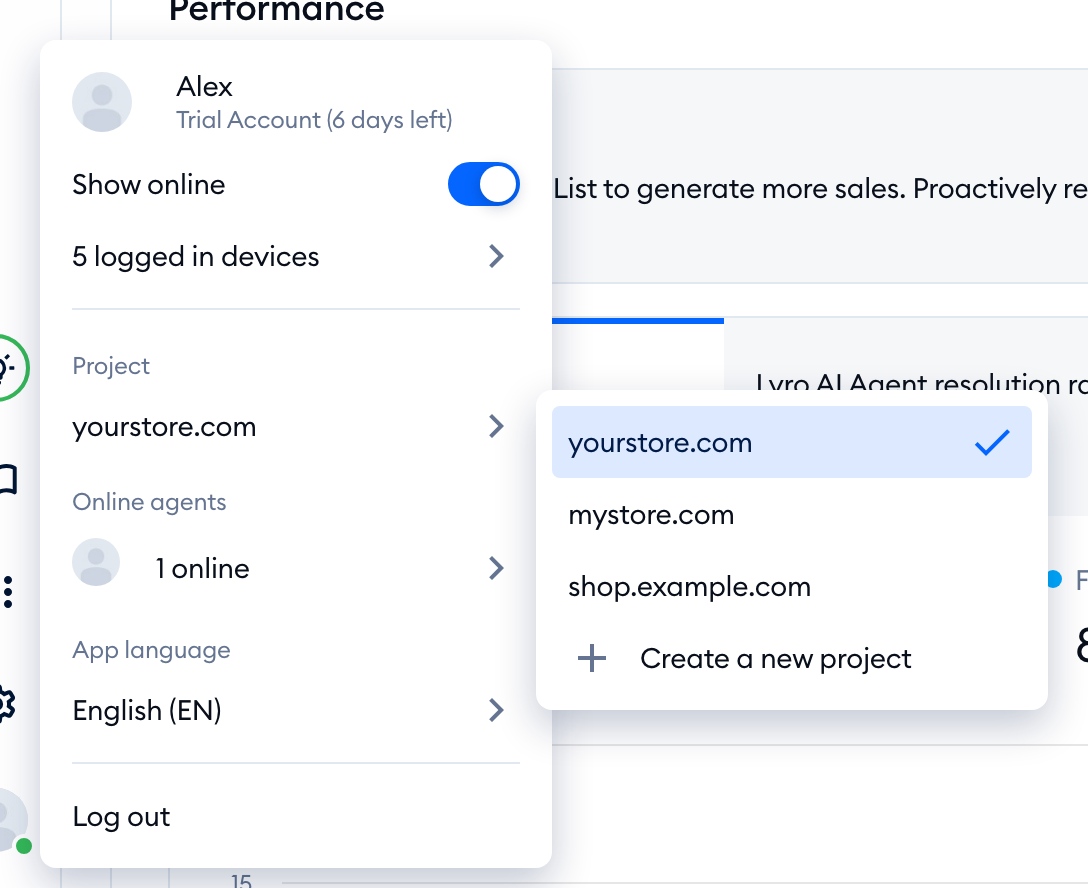
Adding a new project is simple: click on your avatar in the bottom-left and, under Project, open the list by pointing to your current project's URL. Hit Create a new project at the bottom of the list:
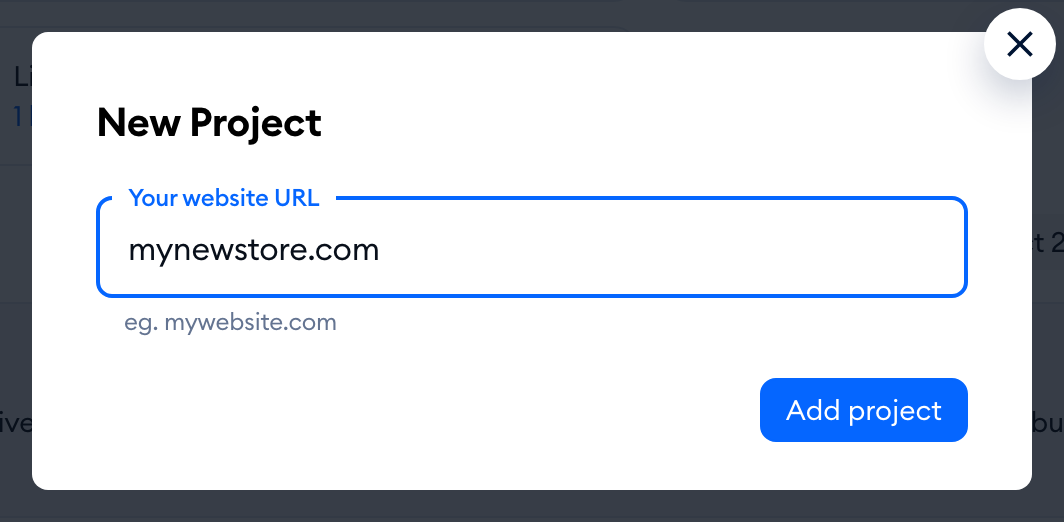
In the New Project window, type in Your website URL (e.g. mywebsite.com) and click on Add project. You'll be taken straight to your new project:
Please note: paid subscriptions are per project, and notifications work only on the current project you're logged into (unless you use Multiproject).
Configure a new project
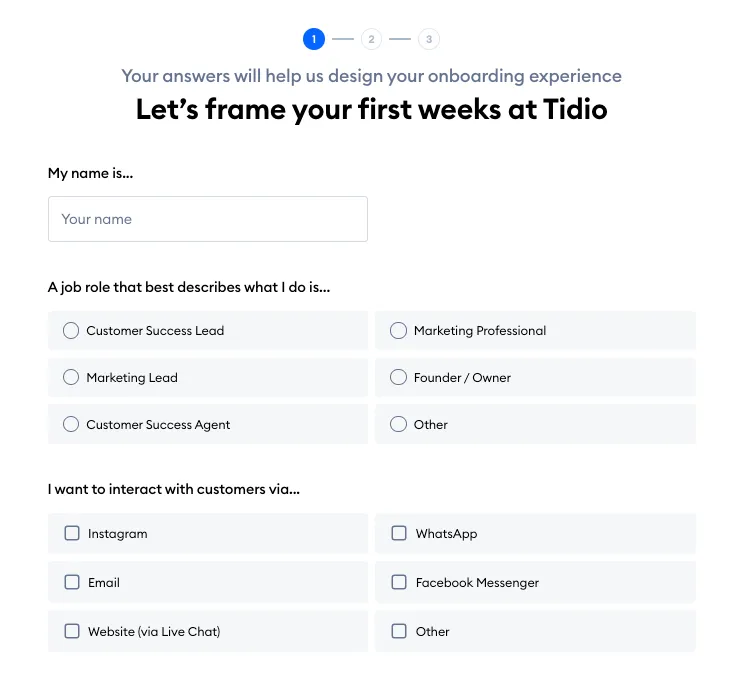
After adding a project, you'll see a tour that allows you to set up a project. You will be asked for your name, role, industry, etc. This step helps you personalize the widget, the same as you did when installing Tidio for the first time.
After the configuration, you'll need to install the widget on your website.
Install the project on your website
You can install your project by heading to the Settings > Live Chat > Installation section.
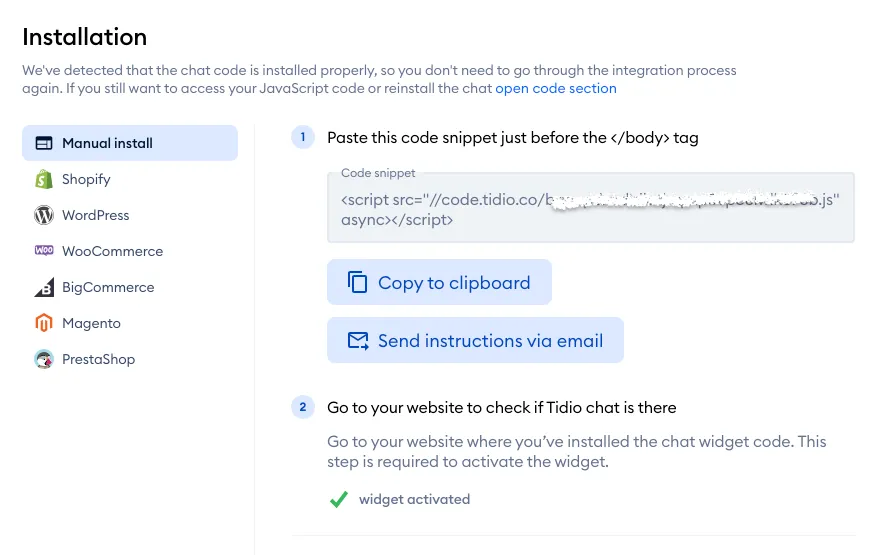
Click on the platform name to see the instructions for installation. If you don't see your platform listed - choose the JavaScript code instruction.
Switching between projects
Once you're done configuring and installing your project, you will get access to your new Tidio Dashboard. From there, you can manage the Conversations, Appearance, and all the other settings for that particular project (same as you did for your original project).
Click on your avatar in the bottom-left, and under Project, open the projects list to choose the project you'd like to log into. Projects are listed by their URL:
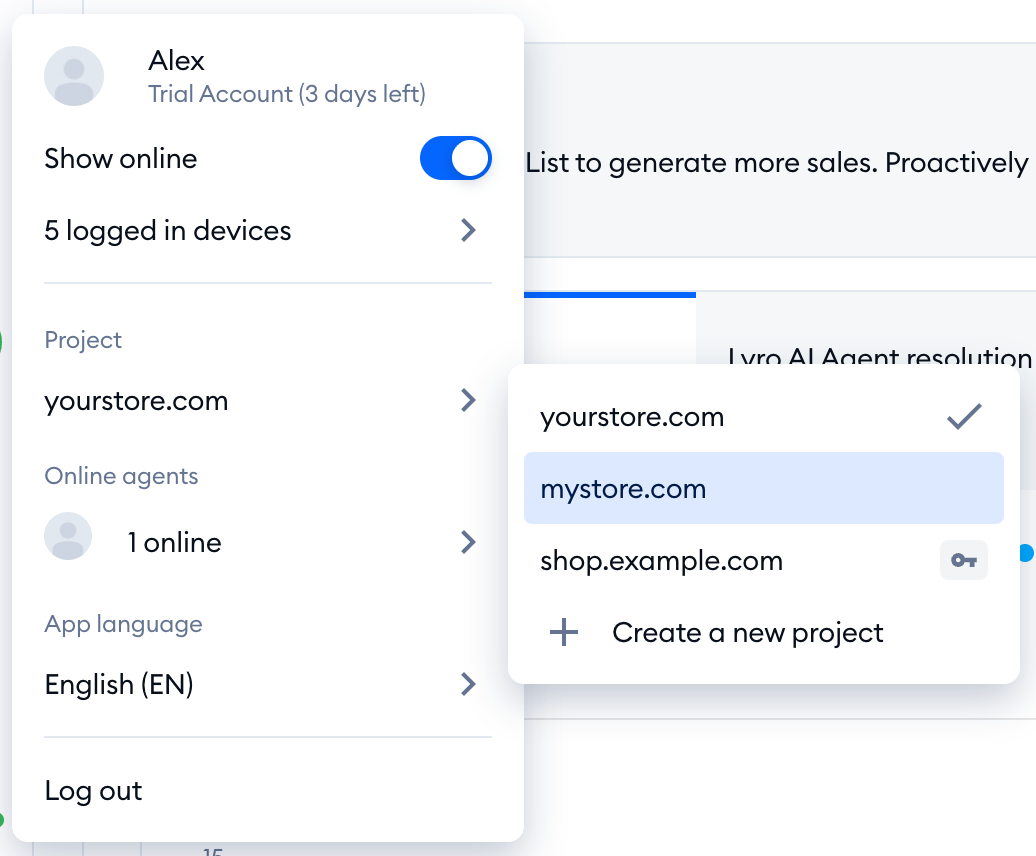
The page will refresh, and you'll be transferred to the chosen project.
A project with a small key icon next to it uses a different way of signing in (for example, Single Sign-On). When you choose it, you'll see Sign in to continue - click on Continue to Login to sign in to that project:
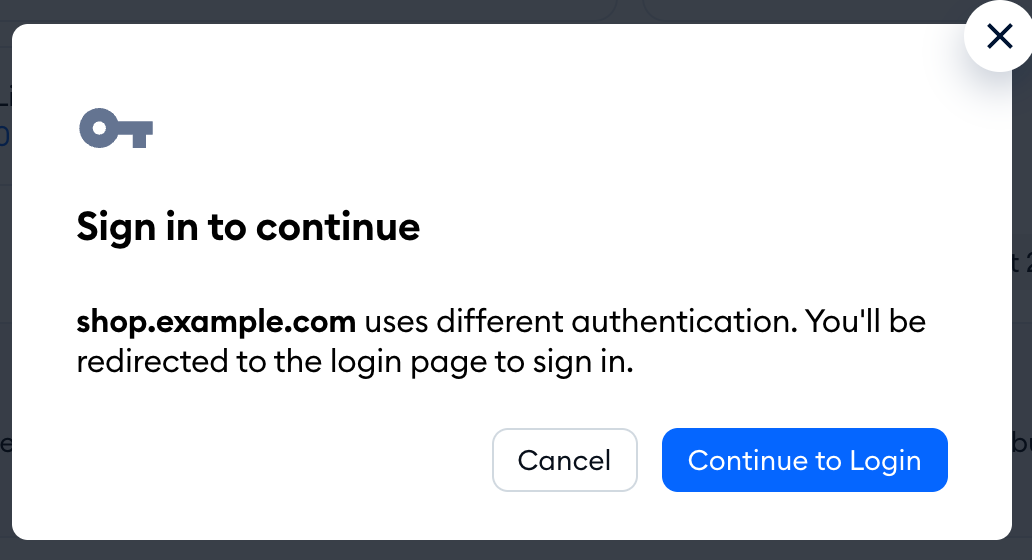
You can read more in our article on how to switch between projects, also in the mobile app.
Multiproject - all your projects in one panel
Multiproject lets you easily manage all your projects in a single Tidio panel. Instead of opening the avatar menu every time, you'll see a bar on the far left of the panel with all your projects (up to 100), each shown with its logo or the first letter of its name:
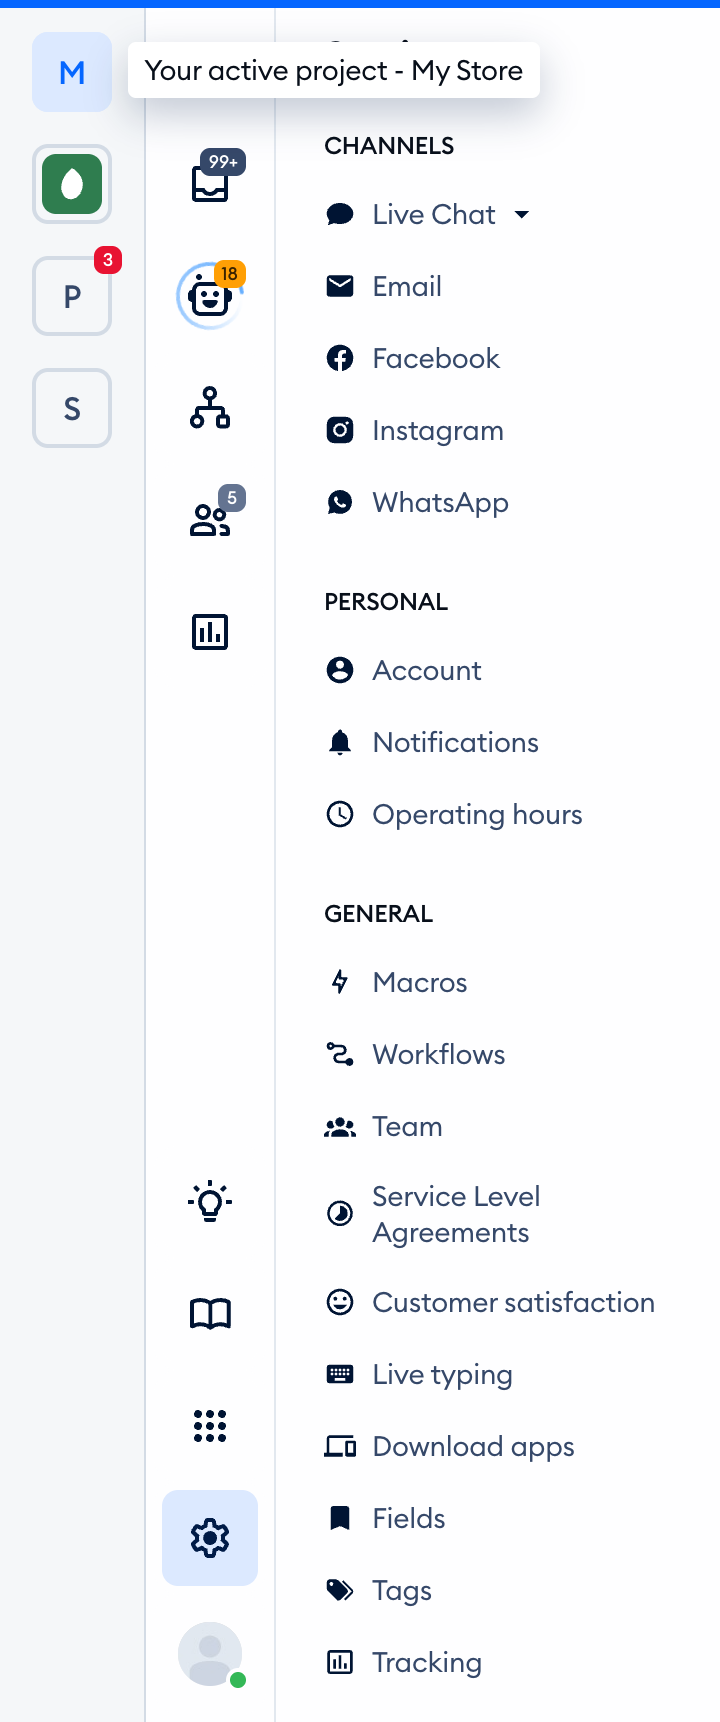
- Hover over a project to see its name. Your current project is highlighted at the top (Your active project).
- The counter on a project shows what needs your attention there: unread conversations, plus your open tickets and unassigned tickets.
- You'll get new message notifications from all your projects, not just the one you're in. Click on a notification to jump straight to that conversation.
- Click on a project to open its Inbox.
Please note: Multiproject is available on the Plus plan (see Which upgrades do I need?). If you're on Plus and don't see the projects bar yet, get in touch with our Support team.
Deleting projects
To entirely delete your Tidio project, you need to be a project owner of the account and make sure you're logged in to the project you wish to delete.
To delete the project, head over to the Settings > Preferences section:
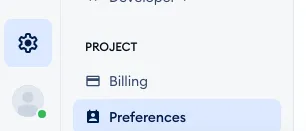
At the bottom, in the Delete project section, you'll see the red Delete project button:
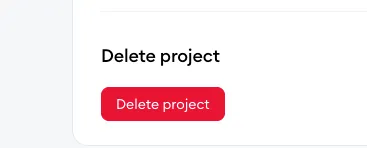
Click on it, and confirm with Delete in the window that opens. This will delete the whole project from our database - this action cannot be undone. If you have other projects, you'll be taken to one of them.
Please note: you can't delete a project with an active subscription - you'll see Sorry, you can't remove a chat project with an active subscription. Cancel your subscription first. On the Plus plan and custom plans, the Delete project section isn't shown in Preferences.
Editing the project's name
To edit a project name, log in to the correct project and head over to Settings > Preferences section. You can edit the project name in the URL: field, under General.
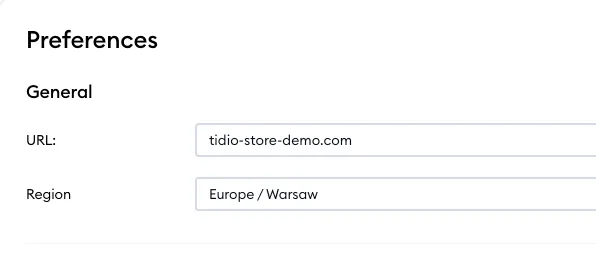
The URL will be visible for your customers in the footer of the emails sent from Tidio. It's also the name you'll see in the projects list.
