Tidio allows tracking chosen behavior of the visitors on your site. You can collect the data through the chat admin panel; that way, you can trace the most popular actions on your site and even set up a flow - or a Lyro proactive role - to react to them.
In this article, you'll learn:
- How to enable tracking for non-Shopify websites
- How to allow tracking for Shopify websites
- How to track custom events
Tracking for non-Shopify websites
To enable events tracking, go to Settings > General > Tracking in your Tidio panel.
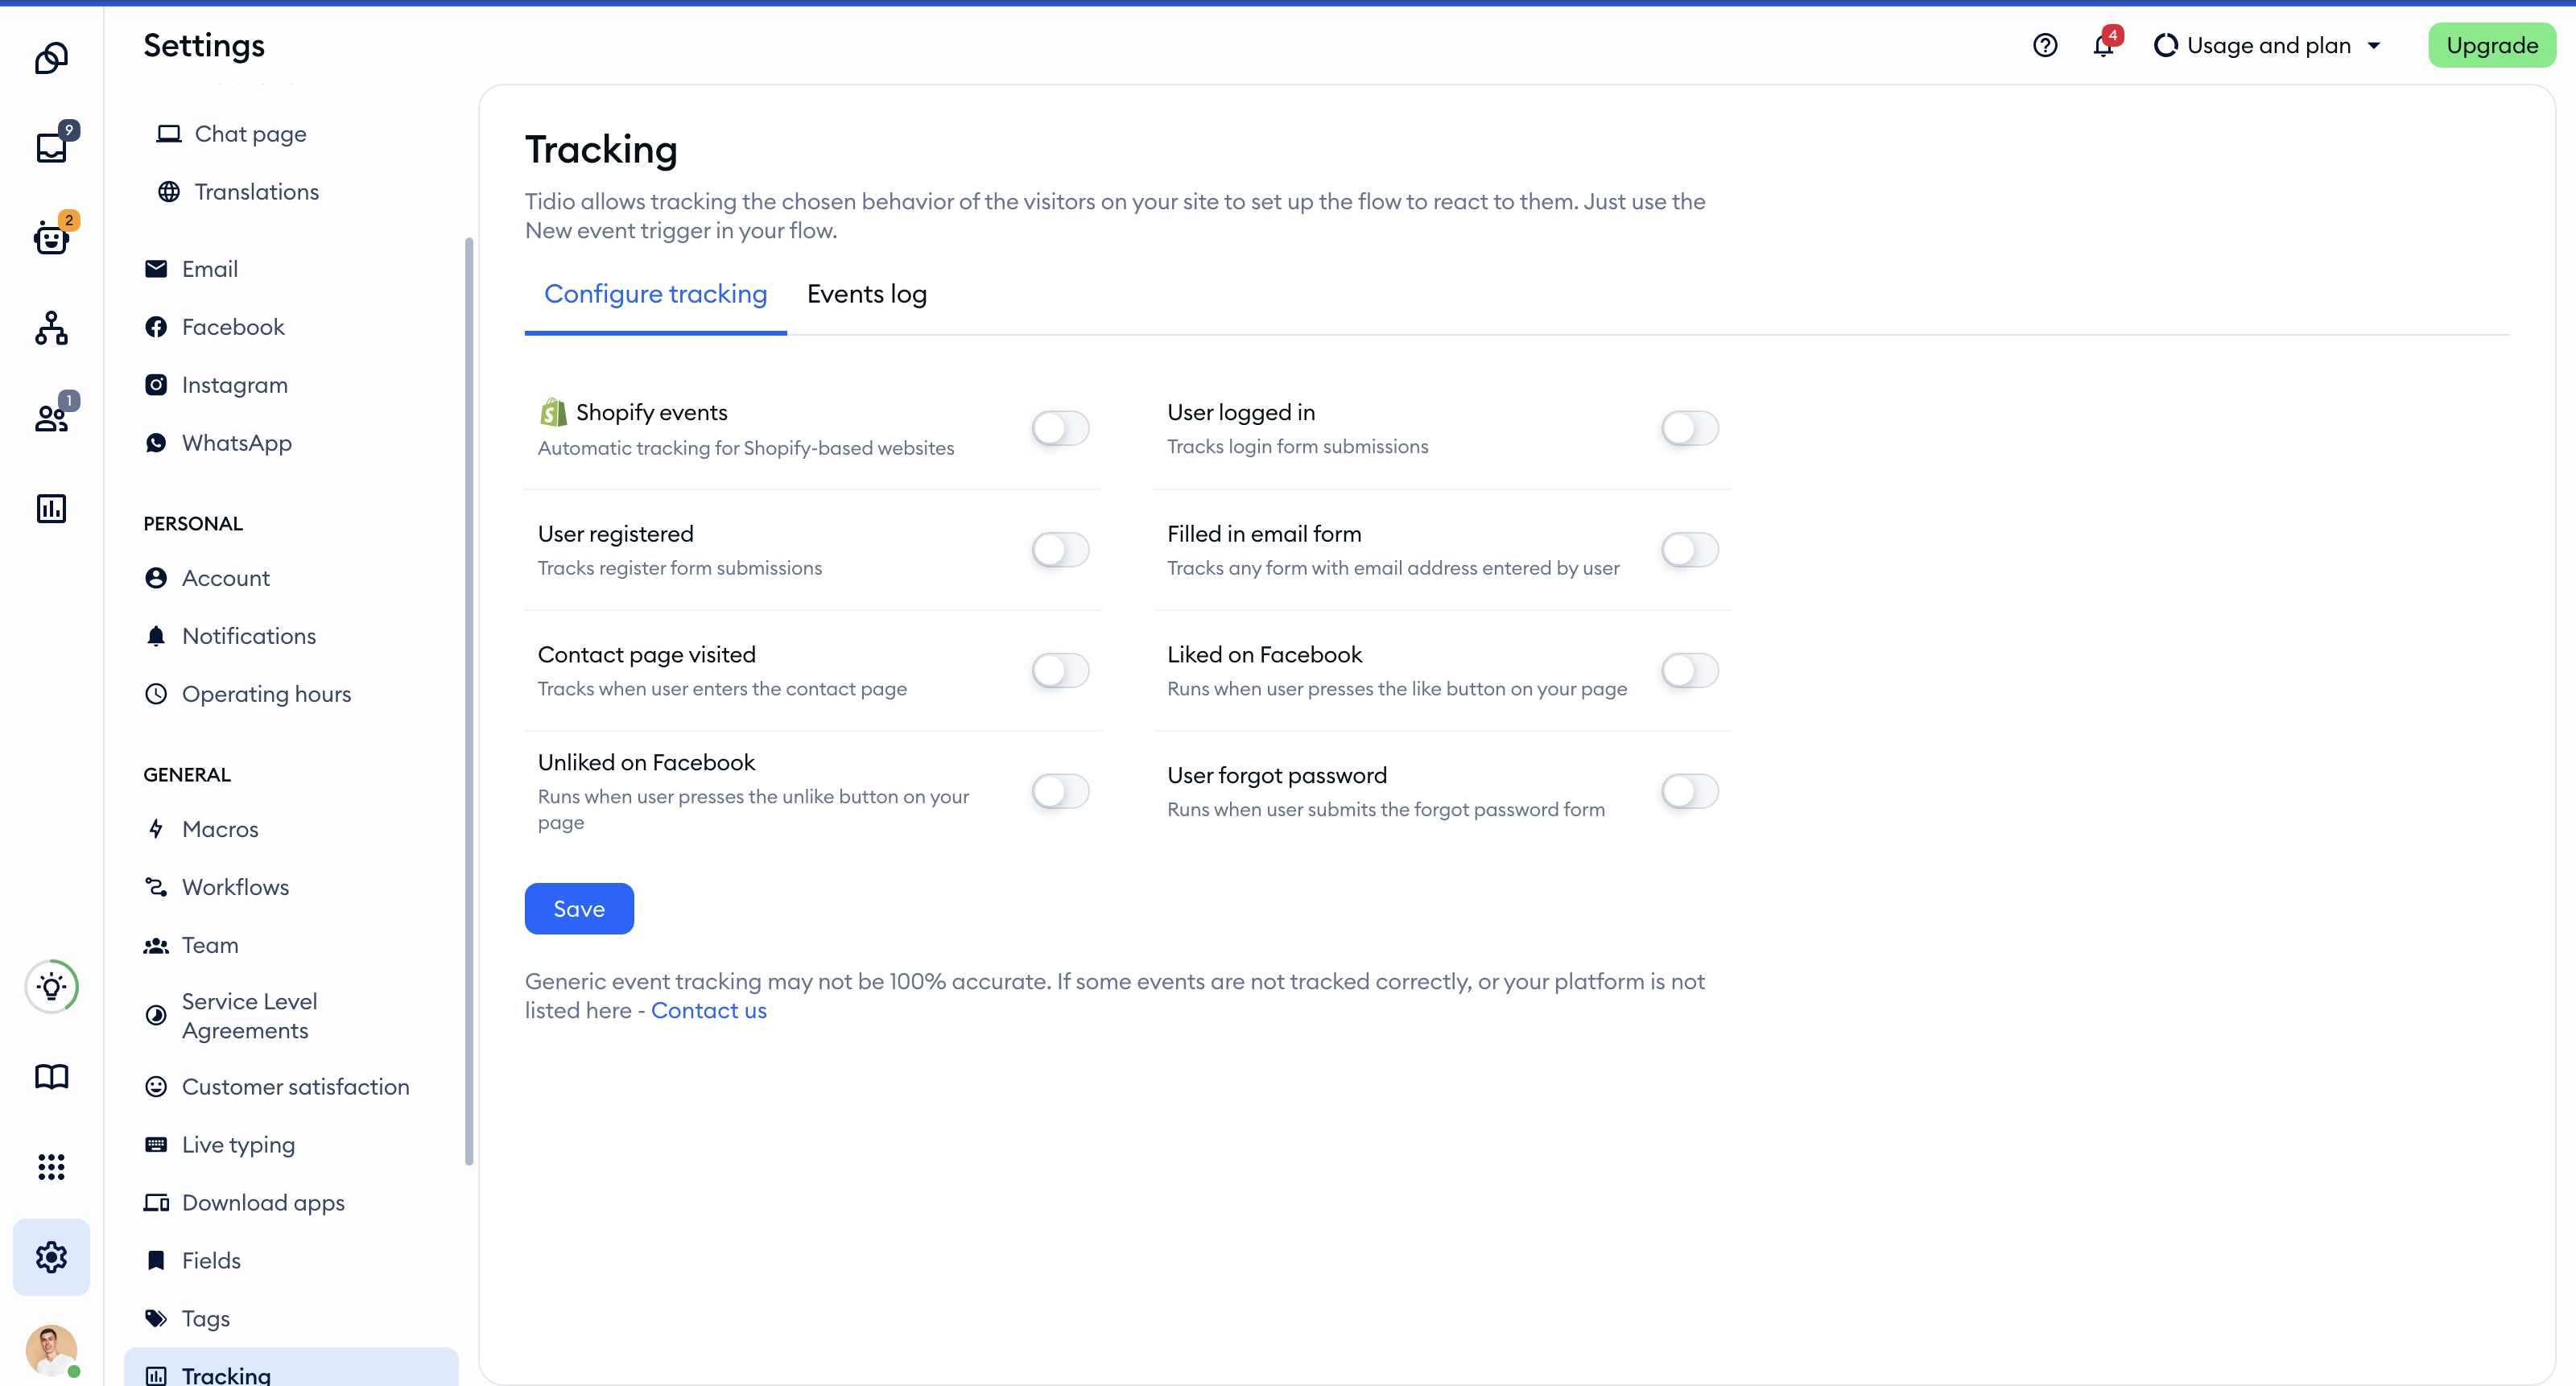
The page has two tabs: Configure tracking and Events log. In Configure tracking, turn on the switch next to each event you want to track. The generic events work on any website, so you can skip the platform switch at the top (such as Shopify events) and choose only the events you wish to trace:
- Contact page visited - tracks when a visitor enters your contact page
- Filled in email form - tracks any form where the visitor enters an email address
- User forgot password - runs when a visitor submits the forgot password form
- Liked on Facebook and Unliked on Facebook - run when a visitor presses the like (or unlike) button on your page
- User logged in - tracks login form submissions
- User registered - tracks register form submissions
Remember to hit the Save button at the bottom.
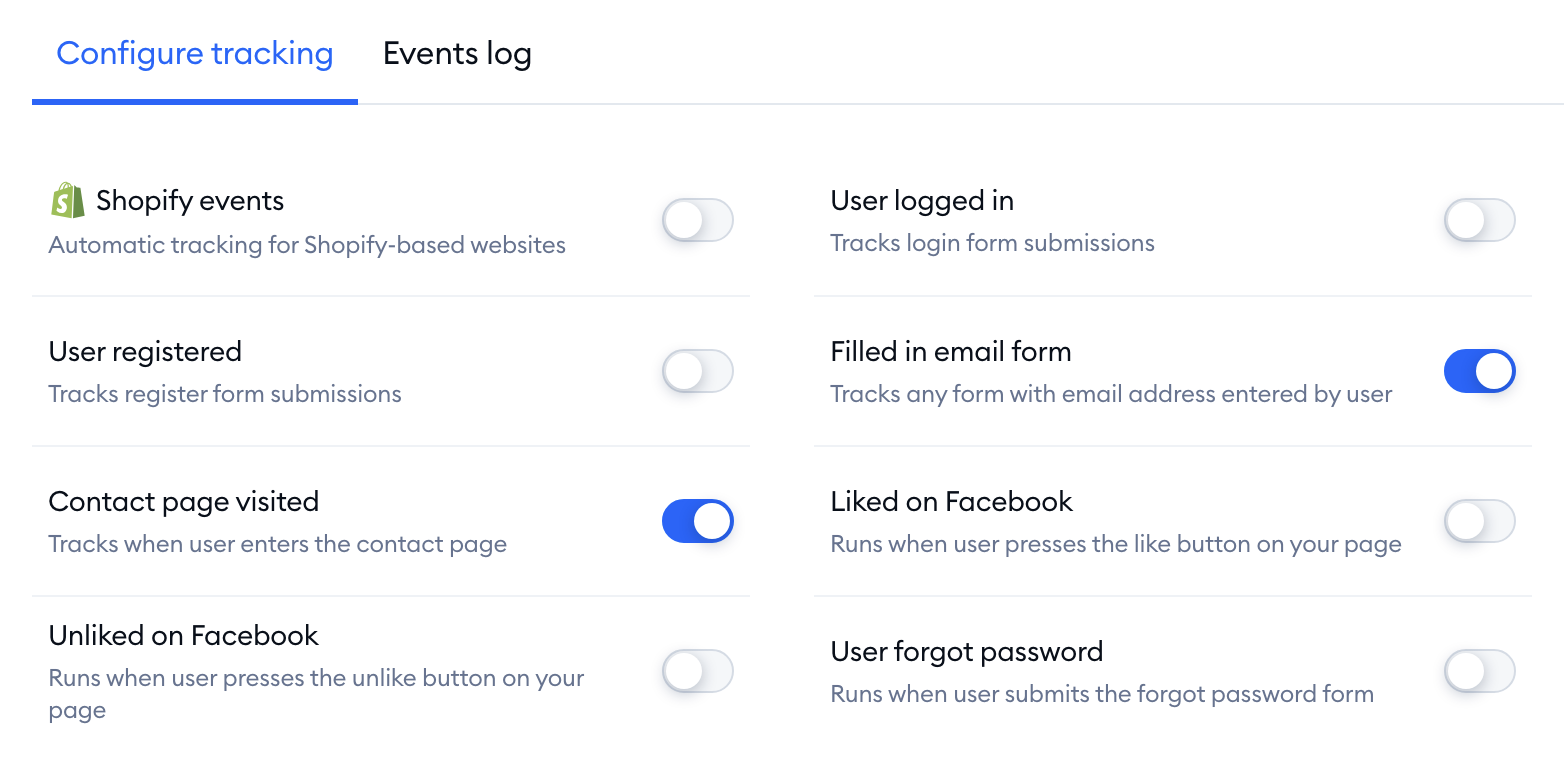
Please note: generic event tracking may not be 100% accurate. If some events aren't tracked correctly, or your platform isn't listed, click on Contact us below the Save button to get in touch with our team - or track the events yourself with custom events.
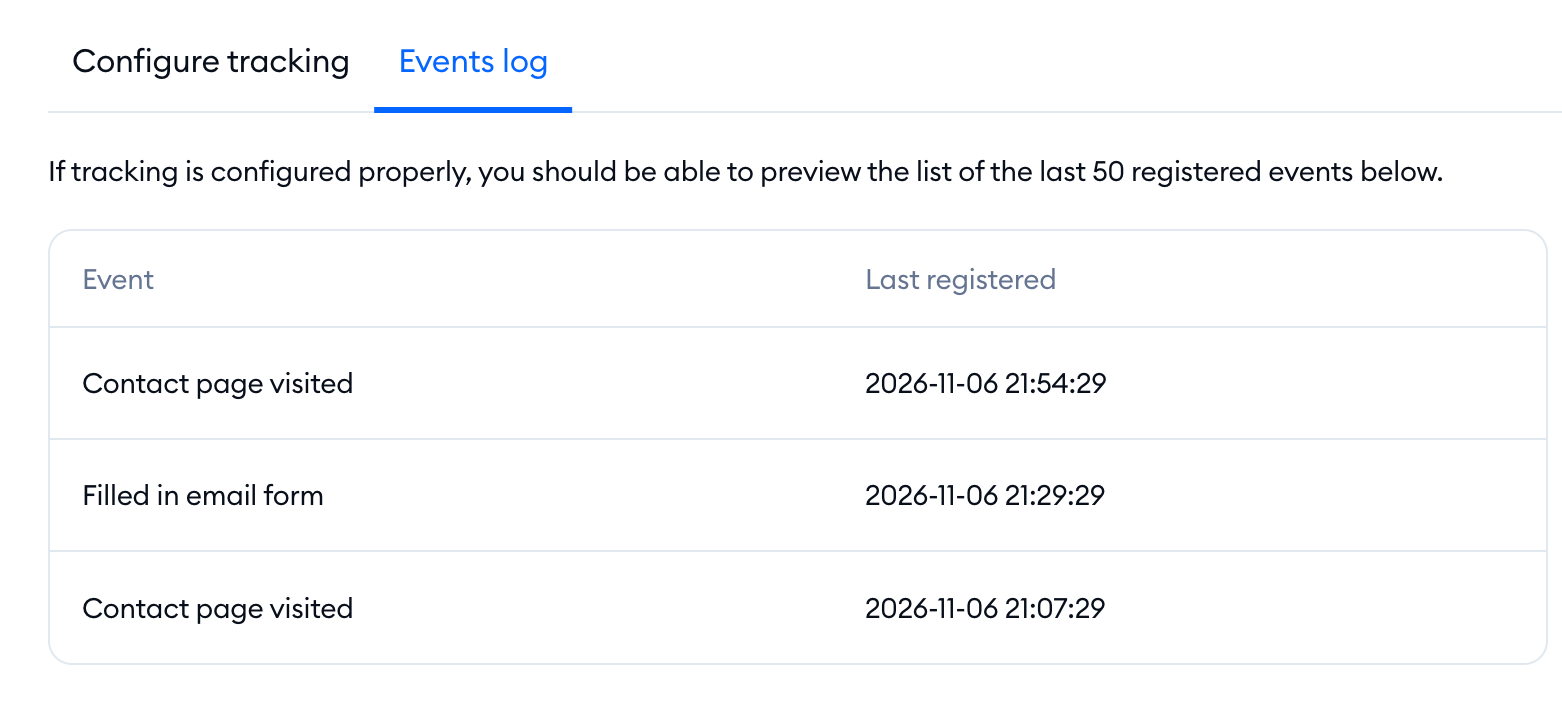
Once Tidio starts tracking the events, you can trace them in the Events log tab of the same page. It lists the last 50 registered events, with the Event name and when it was Last registered. If nothing has been tracked yet, you'll see No events executed yet. instead.
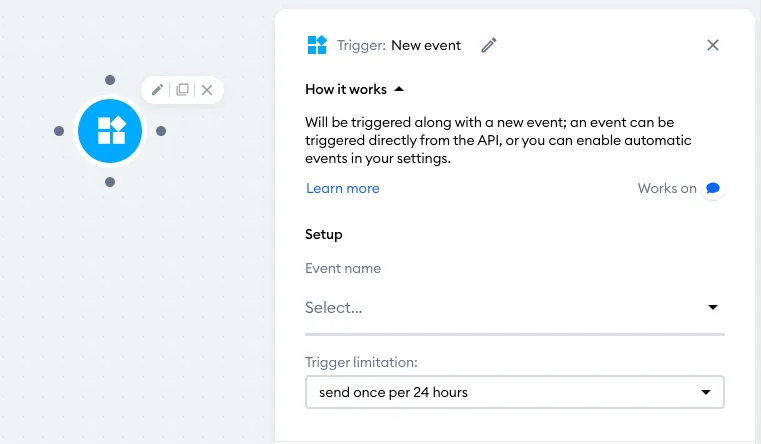
You can later create flows that will start when a specific event is performed on your website. You can do that by using the New event trigger in your flow editor.
The same events can also make Lyro (the AI agent) start a conversation. In Lyro AI Agent > Behavior > Proactive roles, choose the New event trigger for a role and pick the Event it should react to. You can learn more in Lyro - Proactive roles.
Tracking for Shopify-based websites
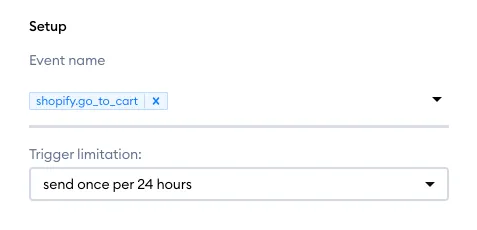
If your website is based on Shopify, by default, the tracking for Shopify will be enabled. You'll see it as the Shopify events switch (Automatic tracking for Shopify-based websites) at the top of the Configure tracking tab. This lets you track events dedicated to Shopify stores, such as Added to cart, Removed from cart, Cart updated, Abandoned cart, Go to cart, Go to checkout, Go to payment, Payment charged, Account created and Login. You'll see them in the Events log as they happen.
You can use these tracked events to create flows that react to such events as well:
Custom events (advanced)
You can also use scripting to create custom events; you can later track them in the admin panel or use them to trigger a custom flow. You would need to program the event into your website's code, so the option is reserved mainly for developers. Below is a snippet example you can use:
tidioChatApi.track("eventname");
Event name should be replaced by the specific event you wish to track.
As soon as an event is triggered once, it will become listed in the Events log tab of Settings > Tracking and will allow you to use the New event trigger when setting up flows.
This method is also useful when the available generic events are not working for you. In this case, you'll need to add them manually by using the API script from above and setting the events according to what they represent:
- generic.liked_on_facebook
- generic.contact_visited
- generic.forgot_password
- generic.user_registered
- generic.user_logged_in
- generic.filled_in_email_form
