Your AI agent can now go beyond customer support and start sending proactive messages to boost your conversion goals: sell more, generate leads, enrich visitor profiles, recommend tailored products or collect user feedback. With predefined setups that let you expand your AI agent's abilities, Lyro can easily step in at the right time (on pricing pages, during cart actions, or after repeated visits) and initiate a conversation automatically.
In this article, you will learn:
- What proactive roles are
- How proactive roles work
- How to use role templates
- How to create your own roles from scratch
- How to manage your existing roles
- What the limits of proactive roles are
What are proactive roles?
The proactive roles feature enables Lyro to start conversations automatically, without waiting for a user to type a message. Lyro can now proactively engage visitors based on their behavior or scripted events.
By setting up roles properly, Lyro can be used for lead capture, collecting feedback, onboarding users, or upselling. Providing detailed, specific instructions allows Lyro to deliver tailored experiences for different objectives. There are also several templates to choose from and customise for a quick start.
Apart from using several available triggers, it is also possible to set up custom events that Lyro can be triggered with.
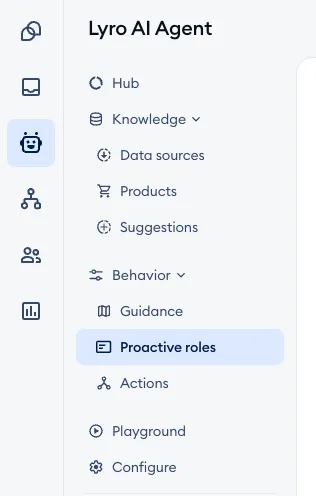
To manage your Lyro roles, head over to the Proactive roles tab inside the Lyro AI Agent > Behavior section:
How do proactive roles work?
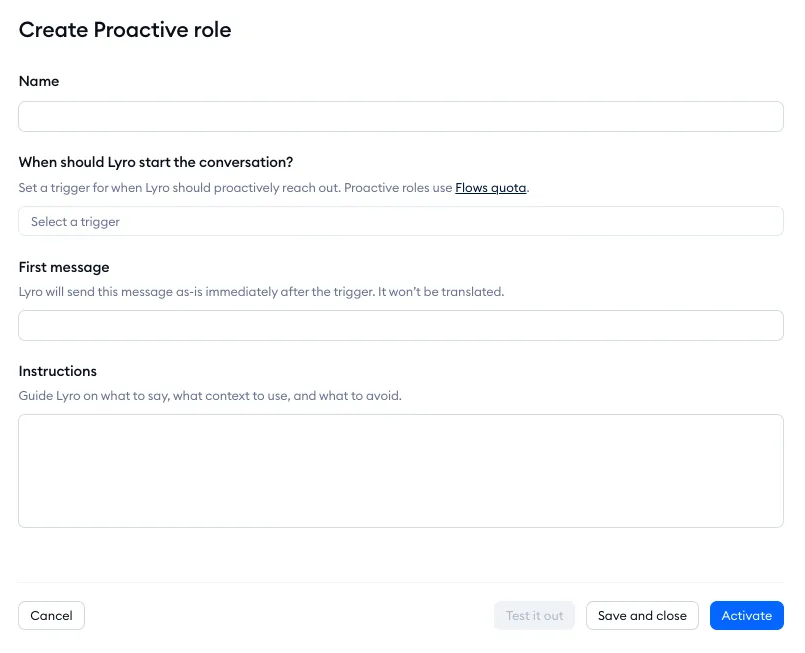
Each proactive role consists of three elements:
- one trigger (which decides when the proactive message should be sent);
- one proactive message;
- instructions (guidance that Lyro will follow for the rest of that conversation).
Once a trigger's conditions are met, a message is sent to your website visitor proactively (this is usually a question that the visitor will hopefully engage with). Once the visitor decides to interact and send a response, Lyro will start chatting with them, using the instructions set defined in the role.
For example:
- A user visits your pricing page (this serves as the trigger).
- The user receives a message saying "Need help choosing the right plan?"
- The user responds, and Lyro continues the conversation (obeying your instructions, e.g. "First understand what the visitor's real needs are, ask about company size, and then suggest the best plan.").
The proactive message itself uses your Tidio project's Flows quota (it counts toward your visitors reached), as it is essentially a simple flow that is being executed. Once the user responds to it, Lyro takes over, seeing the whole conversation and understanding the context.
Since proactive roles require creating Guidance instructions, each active proactive role is also counted as one piece of active Guidance. To learn more, please see the limits of proactive roles below.
Proactive roles only work inside the Tidio widget; they are not available for external channels such as Facebook Messenger, Instagram, WhatsApp, or email. That is because the triggers need to be tracked directly by the Tidio widget.
Please note that proactive roles do not integrate with external platforms; that is possible, however, with Lyro Actions (through the use of API).
Using proactive role templates
When you open the Proactive roles section, you will see the option to add a suggested template, or browse all of the existing templates.
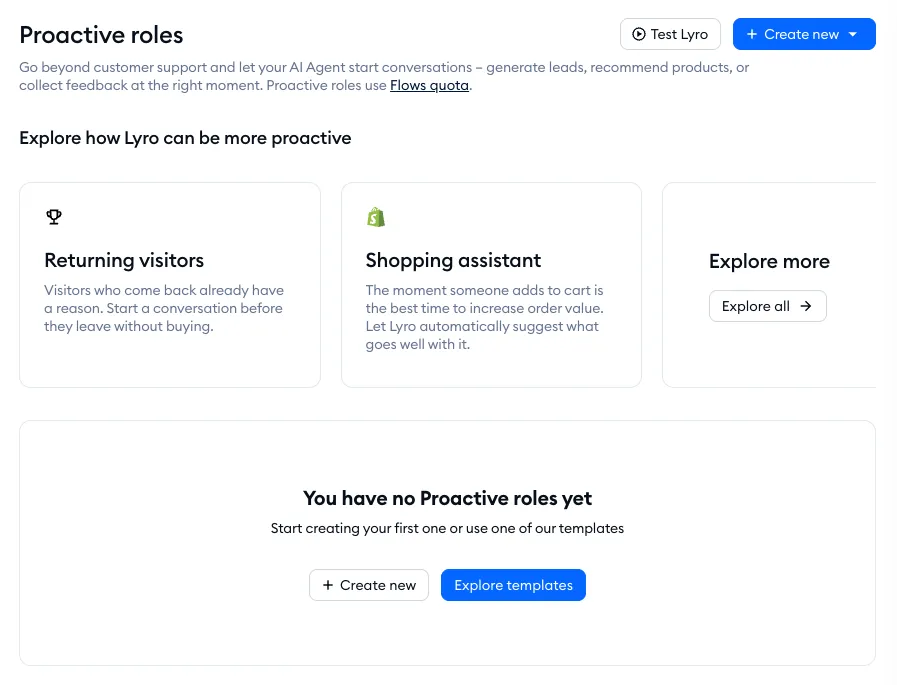
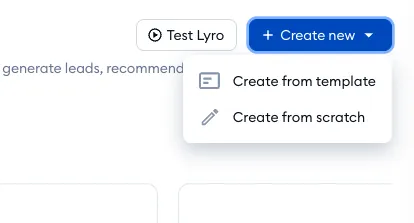
You can either use the Explore more or Explore templates buttons, or use the Create new button in the top-right, where the option Create from template is visible as well:
There are four different templates available to choose from. For the purpose of this guide, we will cover the Returning visitors template - it instructs Lyro to greet returning visitors and then find out what they need help with.
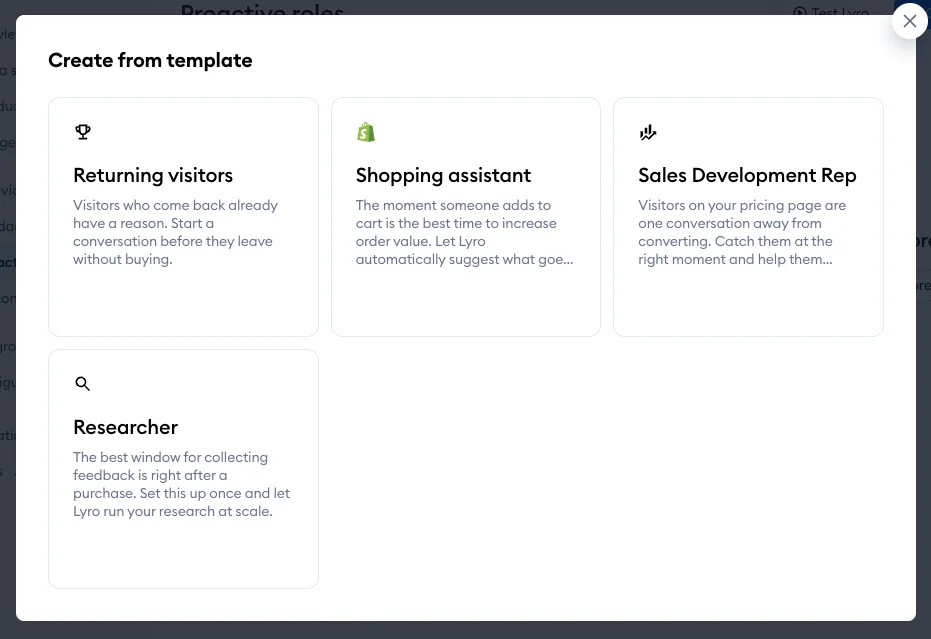
Once you click on the Returning visitors template, you will see the role creation page, with all the fields already configured. You can, of course, customize the template any way you wish.
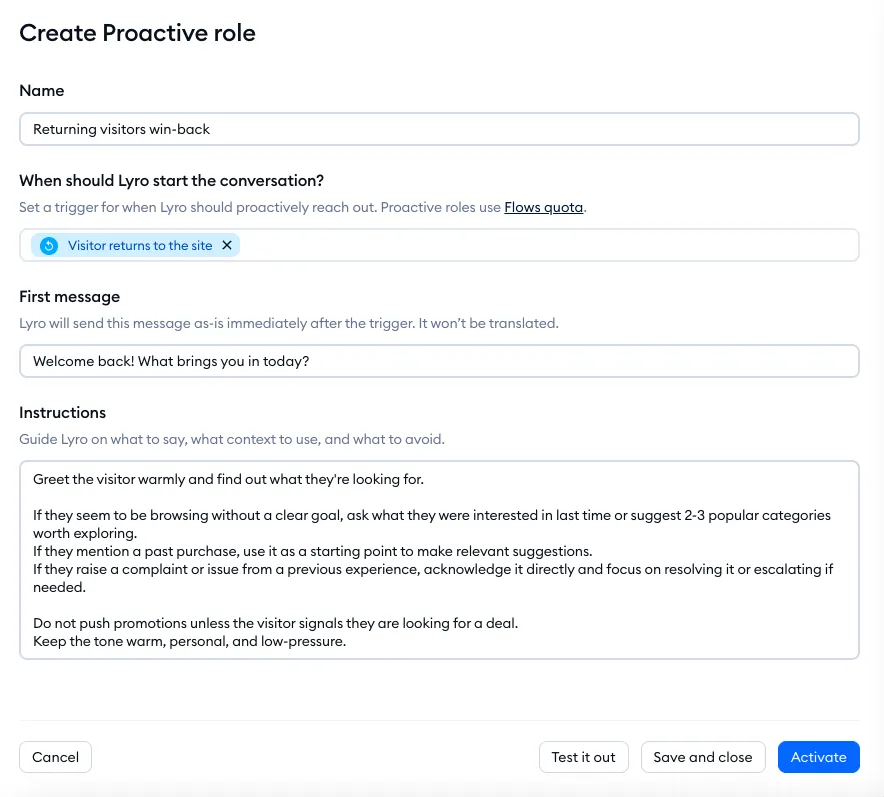
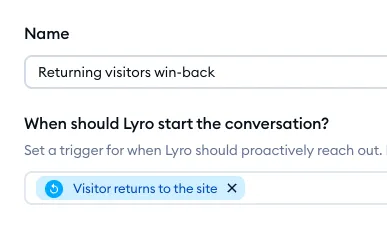
The first two fields define the role's name and trigger:
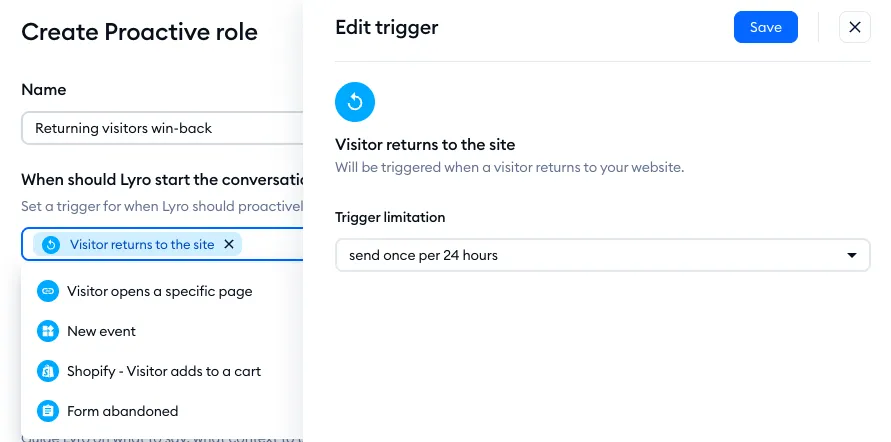
When you click on the trigger, you will see its available settings - in this case, that is the Trigger limitation setting, allowing you to decide how often the trigger should work: send once per 24 hours, send only once for a unique visitor, or unlimited (send on each visit):
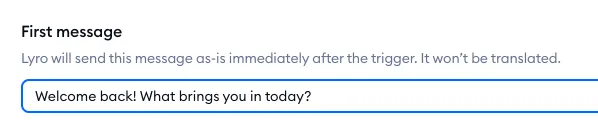
The next field is the first message that will be proactively sent to your visitor, once the trigger is executed. Lyro sends this message as-is, and it won't be translated. Sending this message consumes your Flows quota:
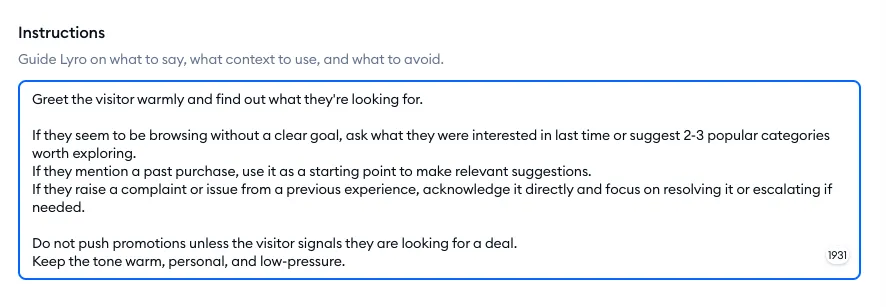
Lastly, the instructions field lets you define how Lyro should behave during the conversation. It is important to be as clear and detailed with this guidance:
You can use the Test it out option in the bottom-right, and see how the proactive role works. When testing, the initial proactive message is triggered and sent immediately, allowing you to respond to it. Please note: Test it out works once the trigger, first message and instructions are filled in.
Once you're happy with how the template works, you can either use the Save and close button (which will save the proactive role, but leave it inactive) or the Activate button (which will save the role and activate it immediately).
Creating proactive roles from scratch
When you open the Proactive roles section, you will see the option to use the suggested templates, but you can also create a brand new role from scratch.
To create a new role, click on the Create new button in the top-right, where the option Create from scratch is available:
You will be taken to the role creation page, with all of the fields empty:
Name
First, you need to define a name for your new role. This will only be used for easy identification inside your Lyro settings.
Trigger
Next, you need to decide about the trigger - only one can be used, and it will determine when your proactive message is going to be sent.
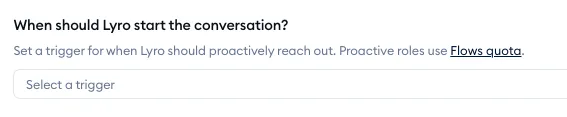
Once you click on the Select a trigger field, you will see a drop-down list with the available triggers:
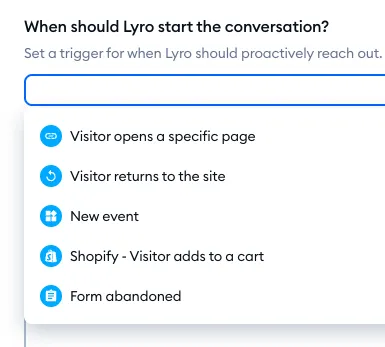
The available triggers are:
- Visitor opens a specific page
- Visitor returns to the site
- New event
- Shopify - Visitor adds to a cart (for Shopify stores)
- Form abandoned
If you are already familiar with Flows, then these triggers may be familiar to you as well!
Select a trigger that you'd like to use for the purposes of your new role, and configure it as needed. For example, the Visitor opens a specific page trigger needs you to define the URL (and choose Exact address or Address contains), so that the proactive message will be sent to any visitor who lands on that page:
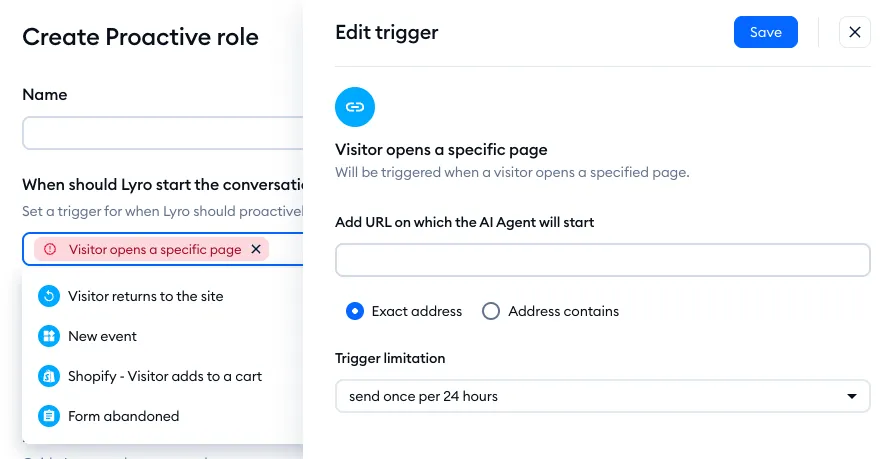
Every trigger also has the Trigger limitation setting: send once per 24 hours (the default), send only once for a unique visitor, or unlimited (send on each visit). The New event trigger starts the role after an event - one of your tracking events, or a custom one you fire through the OpenAPI.
If you'd like to learn more about triggers in general, please see this dedicated guide.
First message
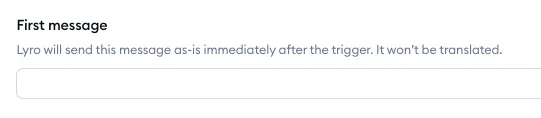
In this field, you compose the actual message that will be proactively sent to the visitor who has triggered the role. It is usually a question, encouraging the visitor to respond with their own message, which will start a conversation with Lyro. Lyro sends this message exactly as you write it - it won't be translated.
Instructions
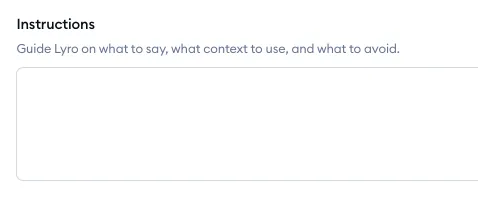
In this field, you compose a set of instructions for Lyro on how to behave during the conversation, once it starts. If you are already familiar with Lyro Guidance, then you may already be familiar with how these instructions work. Most importantly, be as detailed and clear as possible, defining any circumstances and scenarios that are relevant for this particular interaction.
To learn more about Guidance, please see this dedicated article.
Testing and saving your role
You can use the Test it out option in the bottom-right, and see how the proactive role works. When testing, the initial proactive message is triggered and sent immediately, allowing you to respond to it.
Once you're happy with how the role works, you can either use the Save and close button (which will save the proactive role, but leave it inactive) or the Activate button (which will save the role and activate it immediately).
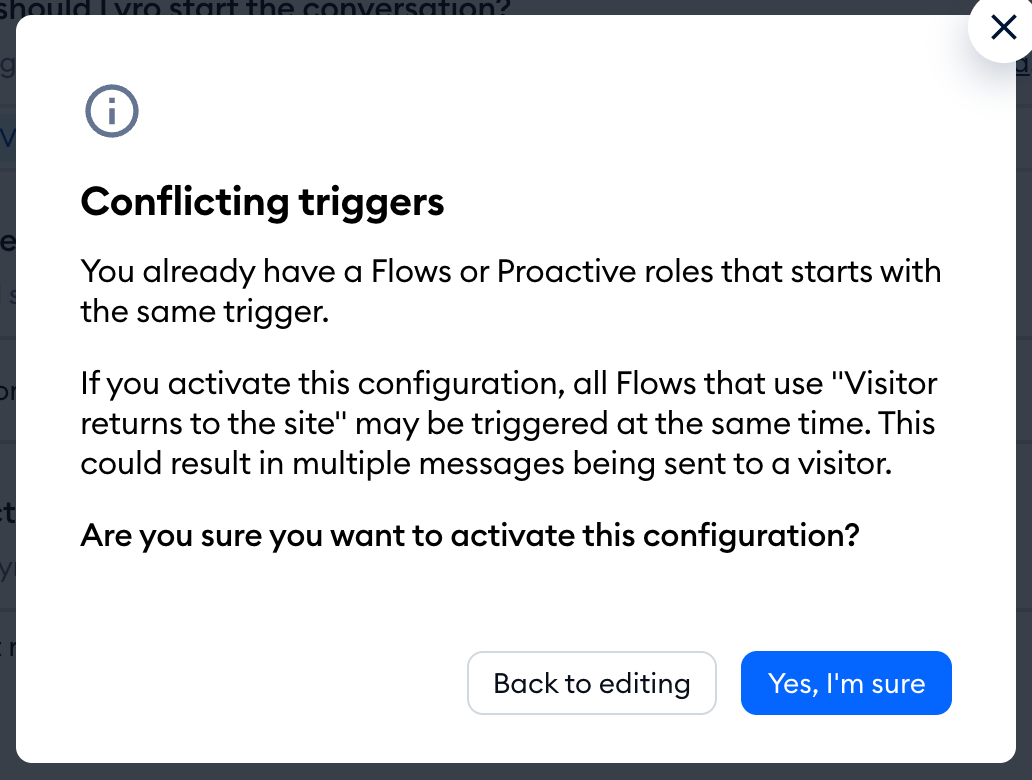
If one of your Flows or another proactive role already starts with the same trigger, you'll see the Conflicting triggers window when you activate the role: all of them may be triggered at the same time, and the visitor could get several messages at once. Click on Back to editing to change the trigger, or Yes, I'm sure to activate the role anyway:
Managing your proactive roles
Once you've added some roles, in the Proactive roles section you can see all of them listed, along with the number of times each one was Executed (proactive messages sent by Lyro in the last 30 days):
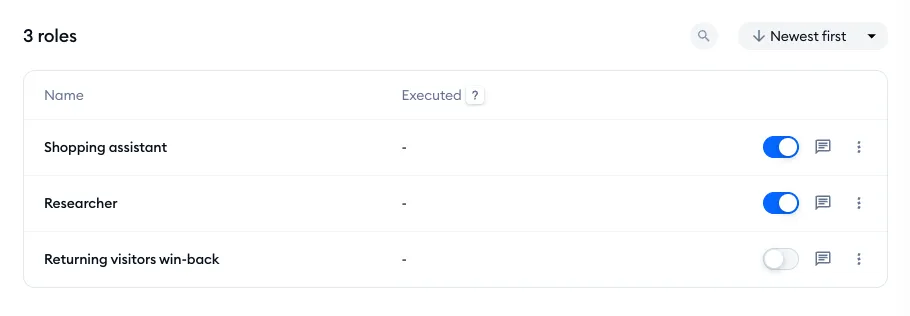
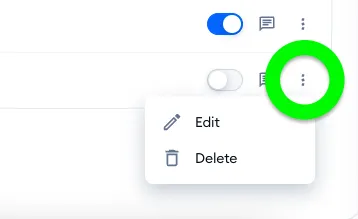
You can activate and deactivate each role using the toggles on the right. When you click on the three-dots menu, you can also see the option to edit the role, or to delete it entirely:
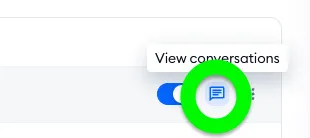
If a role has already been triggered and executed, you can use the View conversations icon to see the conversations where the role has been used:
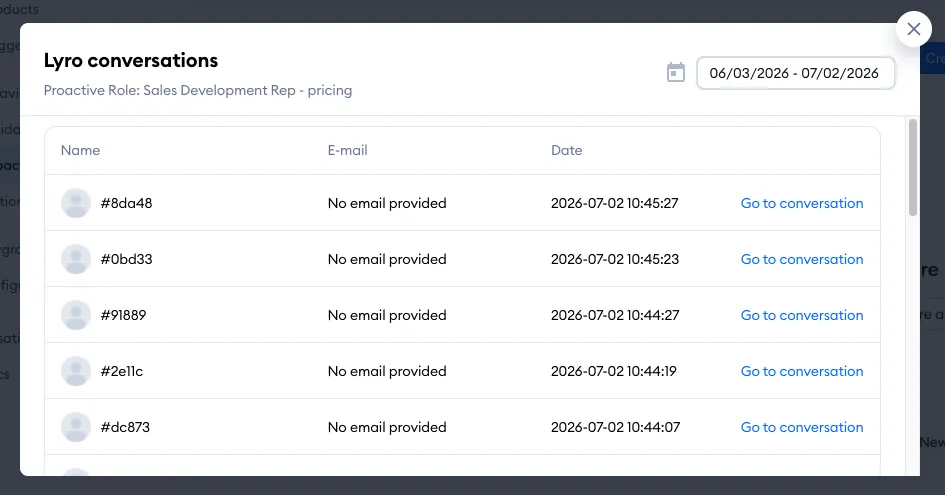
In the window that pops up, you will see a list of all the associated Lyro conversations, along with the visitors' names, emails, and the conversation dates. You can use the Go to conversation link to view each conversation fully within your project's Inbox, and use the calendar in the top-right to view conversations from a specific period:
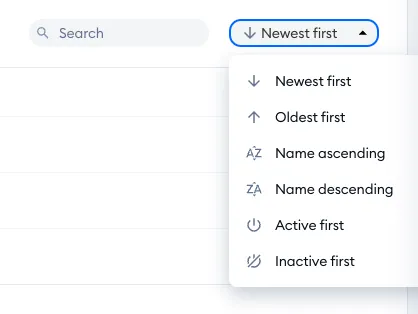
Back in your Proactive roles list: If you have many roles to browse through, you can use the Search field in the upper-right of the list and find the one you need quickly. You can also change how the list displays your roles - by date of creation, name, or status:
The limits of proactive roles
Proactive roles and your Guidance limit
Active proactive roles count toward the same limit as your active Guidance (including your handoff guidance): up to 5, or up to 10 on the Plus plan. For example, with a limit of 5, three active pieces of guidance and two active proactive roles use up the whole limit.
Once you reach the limit, the switch next to any inactive role is grayed out. Hover over it to see Your current plan includes 5 active Guidance. (with your plan's number). To switch on another role, switch off a role or a piece of Guidance first. For details, please see Lyro Guidance.
Proactive roles and your Flows quota
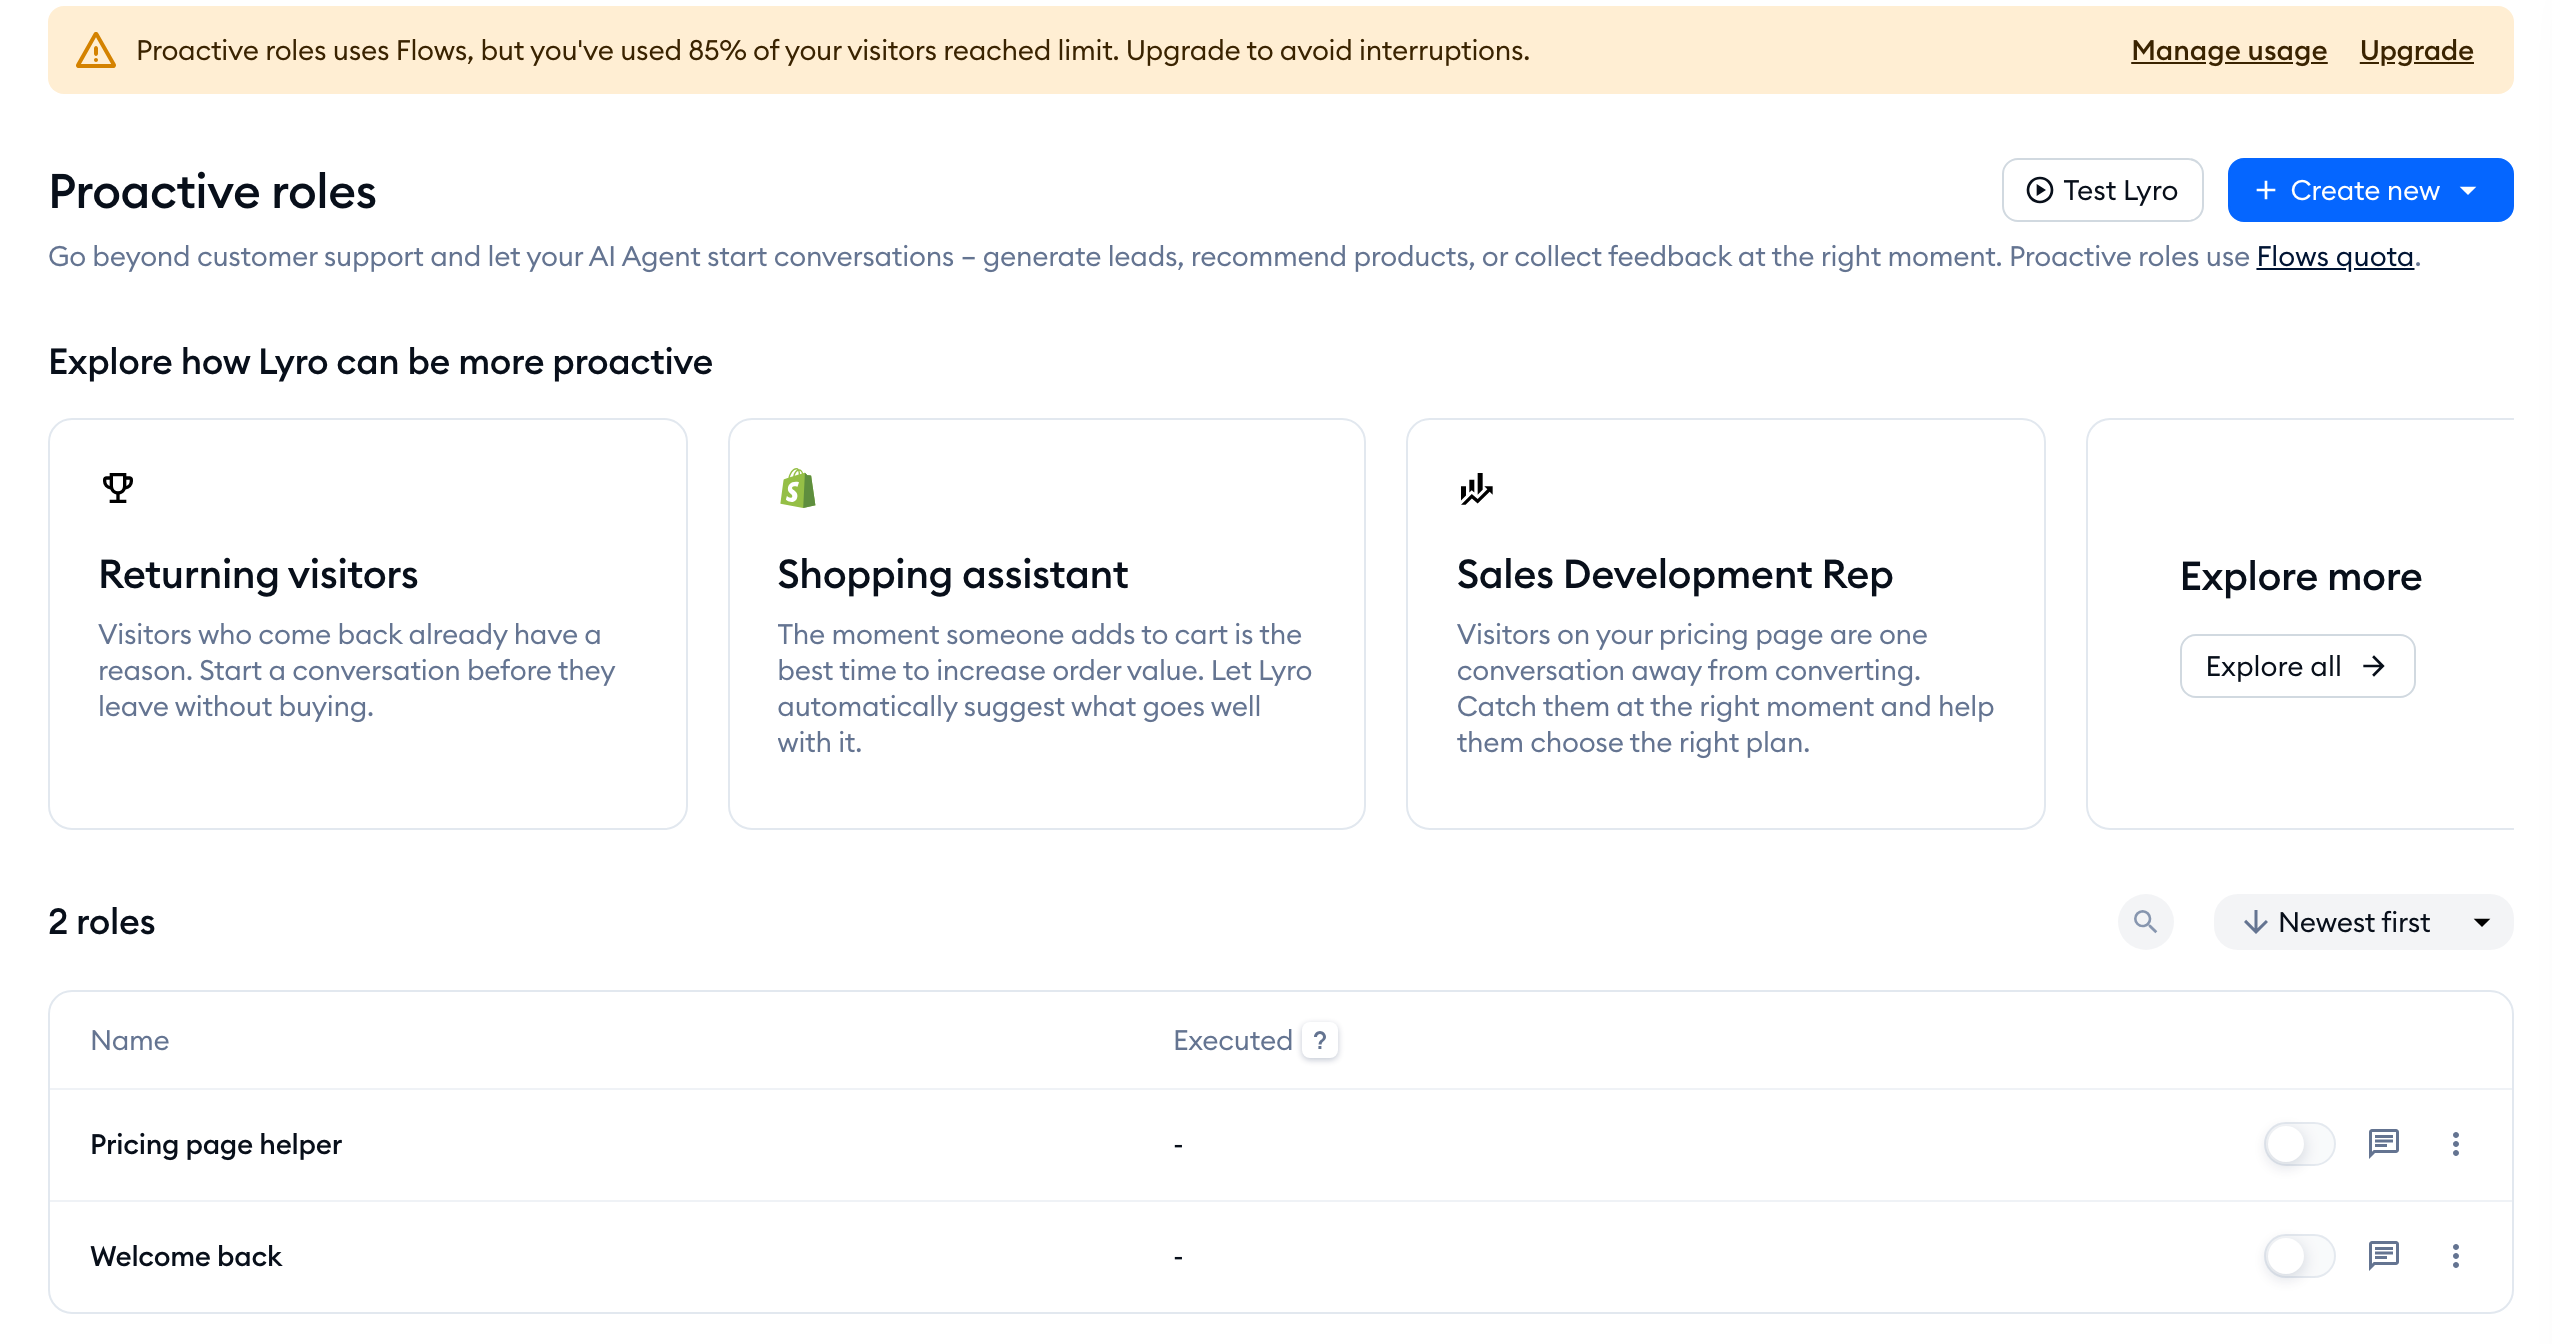
As proactive messages use your Flows quota, you'll see an alert at the top of the Proactive roles page once you've used 80% of your visitors reached limit, for example Proactive roles uses Flows, but you've used 85% of your visitors reached limit.:
If you activate a role after reaching the limit, the Flows limit has been reached window lets you know that you can still create and activate proactive roles, but they won't be triggered until the limit is replenished. Click on Got it to save the role.
To learn how the Flows quota works, please see The monthly flow limit.
Further reading
- Lyro Guidance
- Lyro - the conversational AI agent
- Test Lyro before it goes live
- Flow editor: Triggers
