Single Sign-On (SSO) is a login method that lets users access multiple apps or services with one set of credentials. Instead of signing in separately to each tool, a user can log in once through a trusted identity provider (such as Google, Microsoft, or Okta) - and is automatically authenticated across all their connected systems.
Tidio allows you to use SSO in your Tidio projects, and enforce this login method in your team of agents. This helps reduce password fatigue, simplify access management for the whole organization, and improve overall security.
Please note: SSO is available on the Premium plan (see Which upgrades do I need?). Only the project owner can set it up.
In this article, you will learn:
- How SSO works in Tidio
- How to configure and enable SSO in your project
- How to enforce SSO in your team
- How to log in with SSO
How does SSO work in Tidio?
Once properly configured and enabled by the project owner, all the agents in the given project will see the option to log in through SSO. This functionality can also be quickly disabled by the project owner if necessary, and enabled back again anytime. Each Tidio project needs to have its SSO configured separately.
This login method will allow the agents access only to that one specific project, even if the agents are added to other projects (and even if SSO is enabled there as well). Until SSO is forced, your agents can still log in with their password too. Once the project owner forces SSO on the entire team of agents, password login is turned off for the project.
A project that uses a different way of signing in is marked with a small key icon in your project list. When you switch to it, you'll see Sign in to continue - click on Continue to Login to sign in to that project (see Manage multiple projects).
If using the same identity provider for multiple Tidio projects, every Tidio project should be added as a separate app on the provider's side.
Configuring and enabling SSO
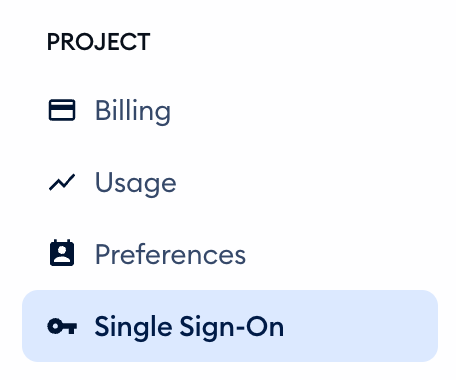
To manage your SSO setup, go to Settings > Project > Single Sign-On. This section is visible only to the project owner:
Inside, you will find all the information available on (and necessary for) SSO in your Tidio project: the current status and your SAML (Security Assertion Markup Language) configuration.
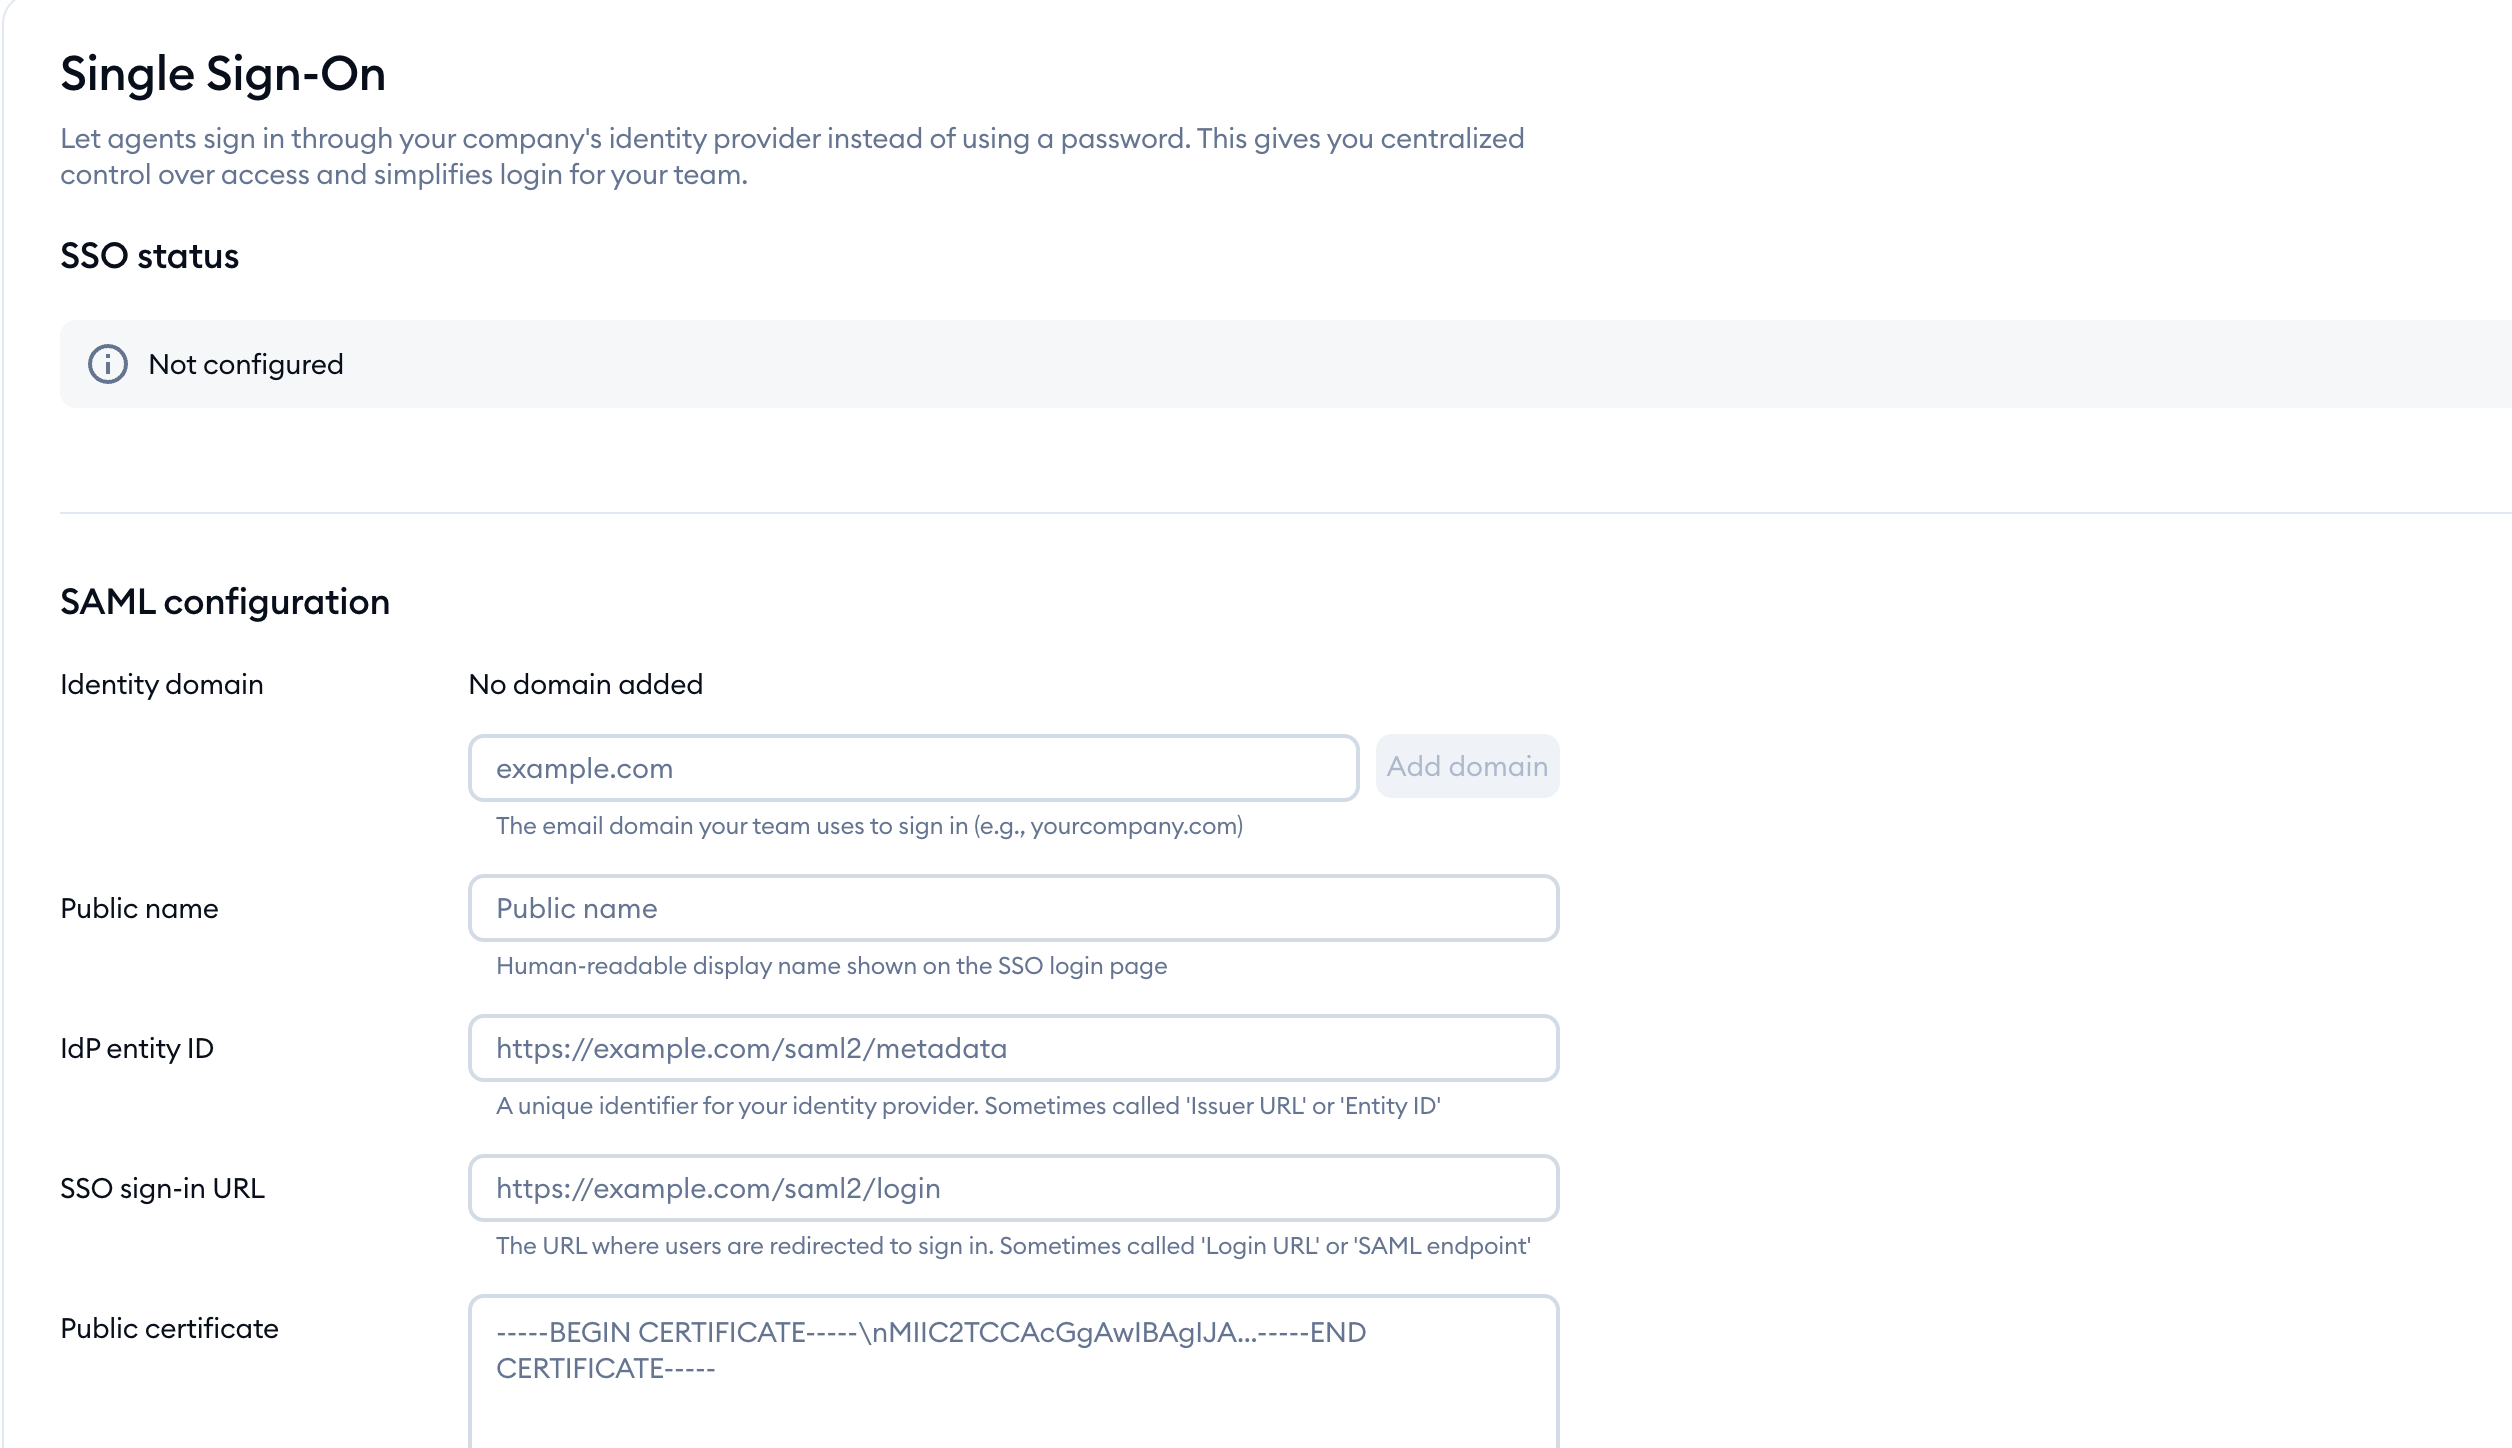
Tidio SSO configuration
To make SSO available for your project, you need to fill out all the fields in this section.
Identity domain
This is the email domain your team uses to sign in (e.g. yourcompany.com). You can add more than one domain - simply type it into the field under Identity domain, and click on Add domain.
Before the domain can be used, you need to prove you own it. Right after you add a domain, you'll see the Confirm you own this domain window with a DNS record (its Type, Name and Value). Copy them to your domain's DNS settings, and click on Verify:
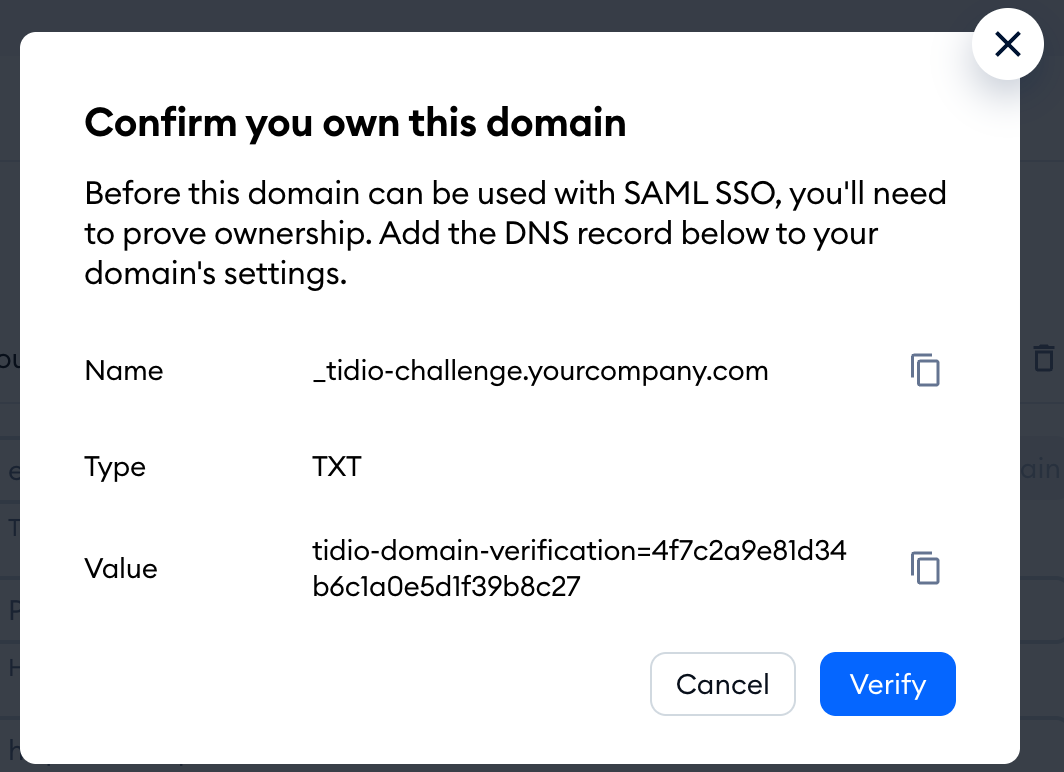
Each domain on the list shows its status: Verified or Verification pending. DNS changes can take a while - if your domain is still pending, come back later and click on Verify again. You need at least one verified domain to save your configuration.
Public name
This is the name of your project shown on the SSO login page. Your agents will pick it from the list of projects when they log in with SSO, so choose something they'll recognize, like your company's name.
IdP entity ID
This is a unique identifier for your identity provider (IdP), sometimes called the 'issuer URL' or 'entity ID'.
SSO sign-in URL
This is the URL where your agents are redirected to sign in from. It's sometimes also called the 'login URL' or 'SAML endpoint'.
Public certificate
A SAML public certificate is a security certificate used to verify that SSO login requests and responses are authentic and haven’t been tampered with.
Below is an example of a completed and valid SAML configuration:
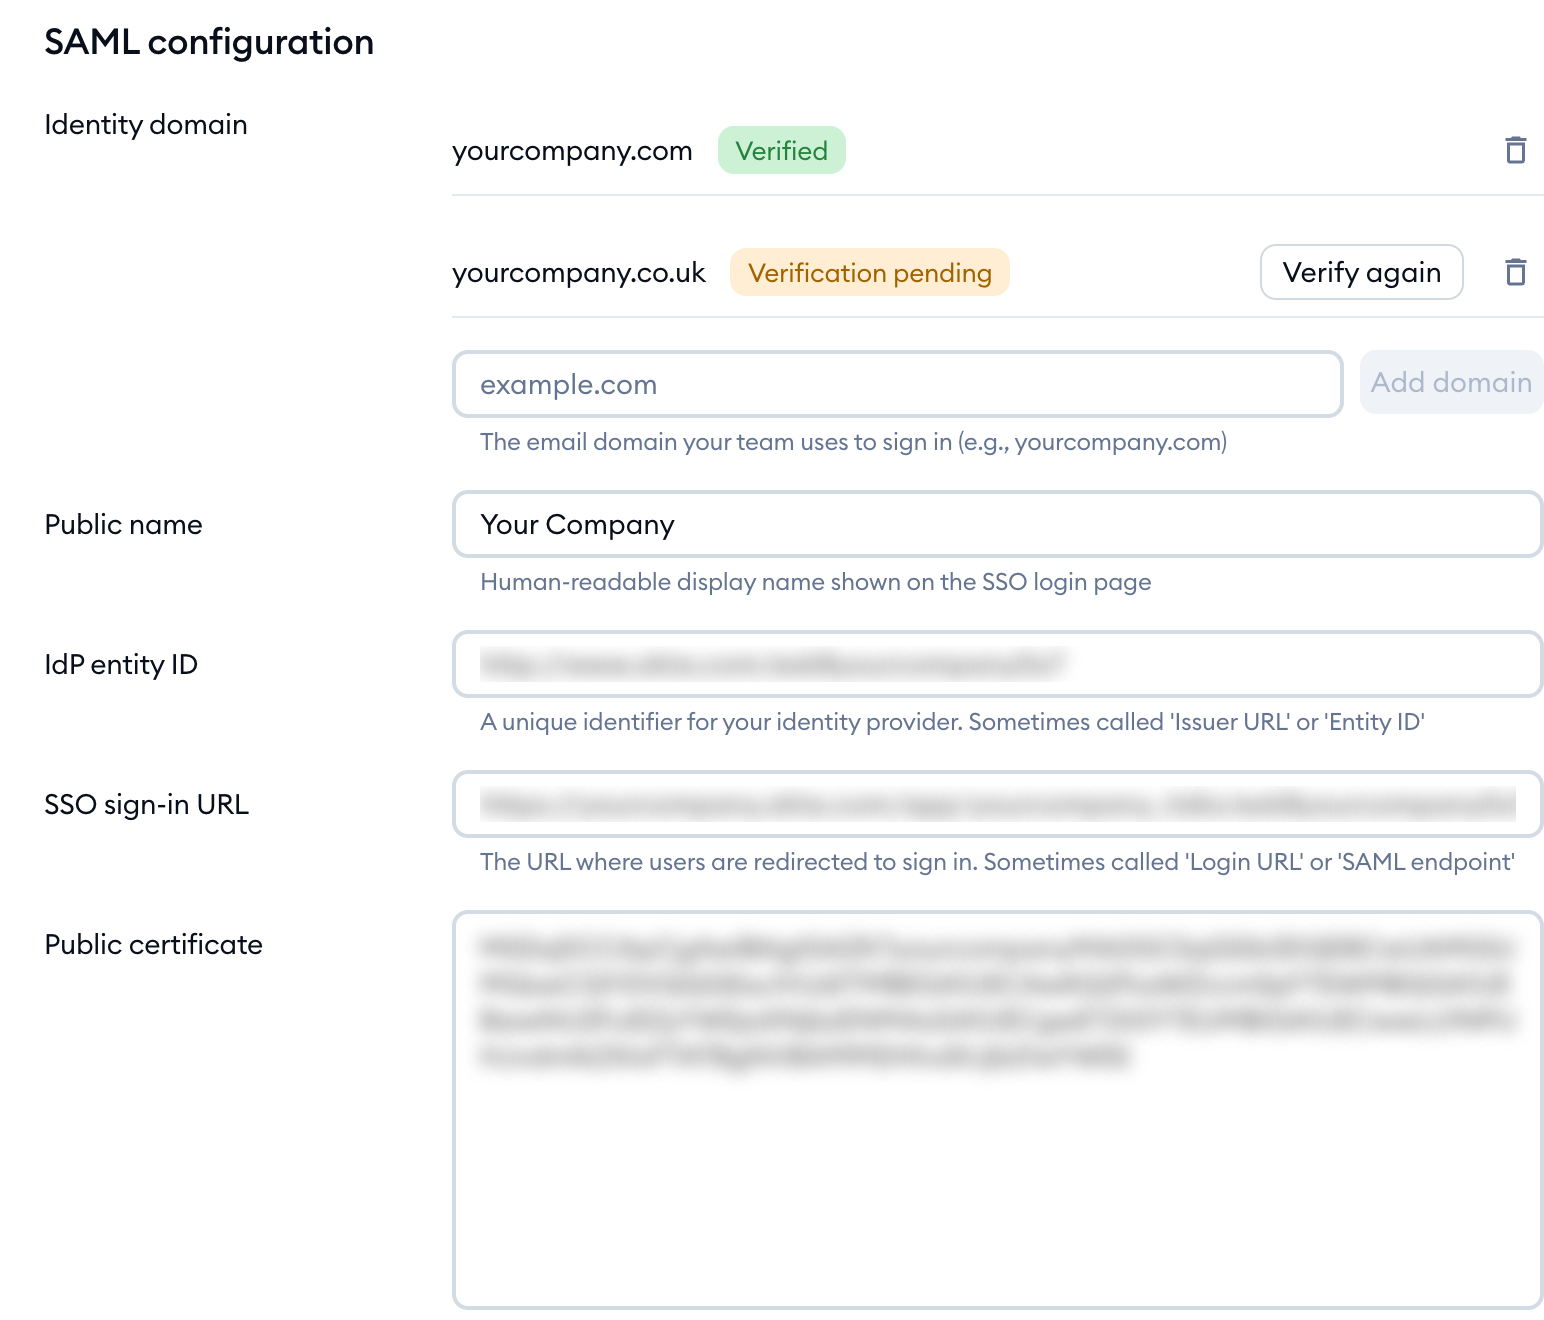
Once you're done, hit Save. Your configuration is saved, and the SSO status section now shows the Enabled switch - turn it on and Save again to make SSO available to your agents. You'll see Configured at the top of the section. To disable SSO later, simply turn the Enabled switch off and save.
Identity provider configuration
You will also need to configure some settings on your identity provider's side. Below you have three crucial URLs for this purpose - they aren't shown on the Single Sign-On page in Tidio, so copy them from here:
-
Entity ID:
https://api-v2.tidio.com/auth/saml/metadata -
Assertion Consumer Service URL:
https://api-v2.tidio.com/auth/saml/acs -
Logout URL:
https://api-v2.tidio.com/auth/saml/sls
Enforcing SSO in your project
As the project owner, you can force your entire team of agents to only use SSO (as opposed to having SSO as an option, alongside the traditional password login method). To do that, you need SSO already configured and enabled, and you also need to be logged in via SSO yourself.
Go to Settings > Project > Single Sign-On, and find the Force SSO configuration switch in the SSO status section, right below Enabled:
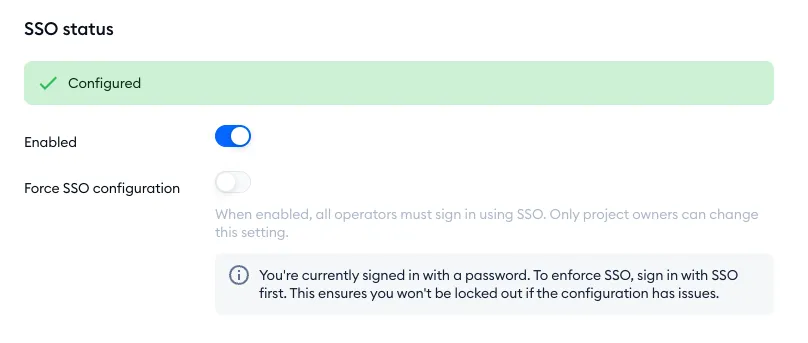
If you're logged in with your password, the switch is grayed out and you'll see: You're currently signed in with a password. To enforce SSO, sign in with SSO first. This ensures you won't be locked out if the configuration has issues. Simply log out, log back in with SSO, and come back here.
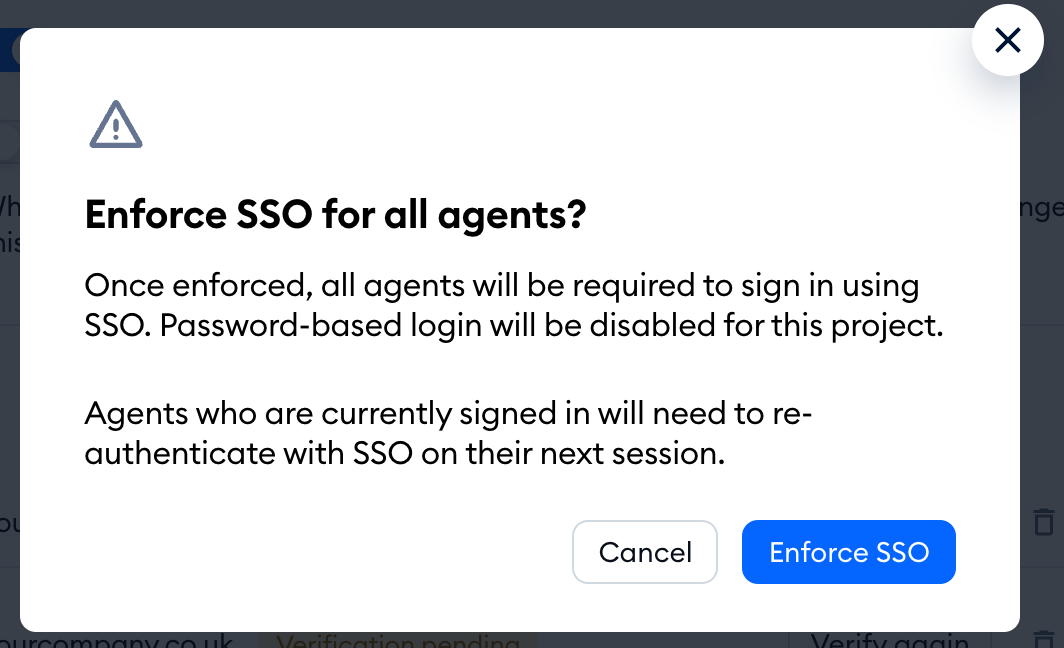
When you turn the switch on, Tidio will ask Enforce SSO for all agents? - once enforced, all agents will be required to sign in using SSO, and password-based login will be disabled for this project. Agents who are currently signed in will need to re-authenticate with SSO on their next session. Click on Enforce SSO to confirm:
You can disable this option anytime as well - just turn the Force SSO configuration switch off.
Logging in with SSO
Once SSO is enabled, here's how your agents log in:
- On the Tidio login page, click on Log in with SSO.
- Type in Your work email and click on Continue.
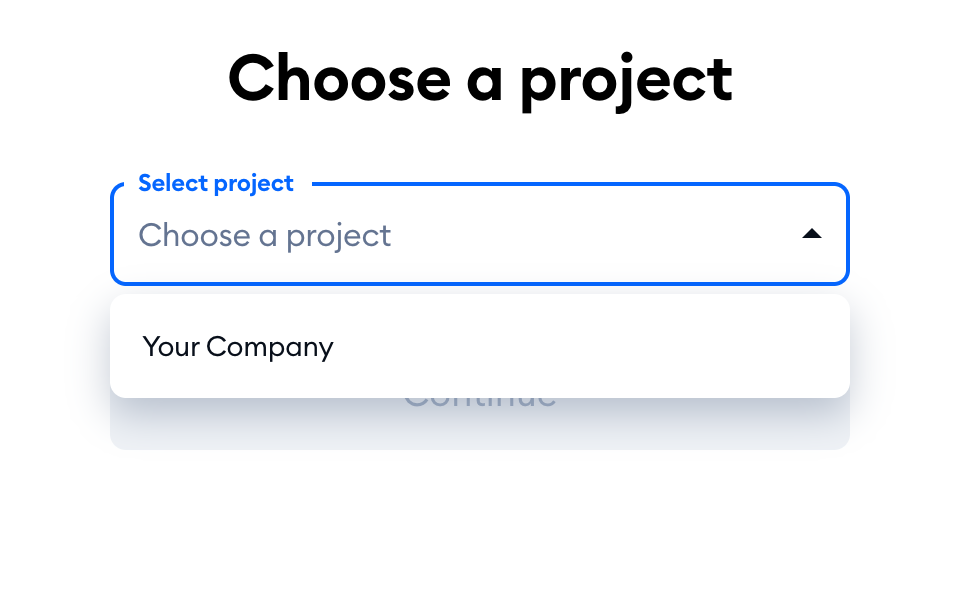
- Under Choose a project, select your project (by its public name) and click on Continue.
- Sign in with your identity provider - you'll be taken back to Tidio afterwards.
The Log in with SSO button is also available in the Tidio mobile app and in the desktop app (version 5.7 and above). If you see Unable to log in. Your email is not associated with an SSO account., make sure you've typed the email address you use in Tidio, or contact your project owner.
If SSO is forced in your project and you try to log in with a password, you'll see Your organization requires you to log in with SSO. Use Log in with SSO below. - simply click on Log in with SSO instead.
