Just created your Tidio account and not sure where to begin? The Getting started page has you covered. It's a short checklist of your first steps in Tidio - installing the chat widget, connecting your mailbox, adding knowledge for Lyro (the AI agent) and more - picked for the goal you chose when you signed up.
You can work through the tasks in any order, come back to them whenever you like, and mark the ones you don't need as done. Every task takes you straight to the right place in the panel, so you don't have to look for it.
In this article, you'll learn:
- How to find the Getting started page
- How to connect your support channels
- How to work through your tasks
- Which tasks you'll see for your goal
- How to mark a task as done
Finding the Getting started page
Right after you finish the sign-up survey, Tidio opens the Getting started page for you. While your 7-day full-featured trial lasts, you'll land here every time you open the panel, until all your tasks are done.
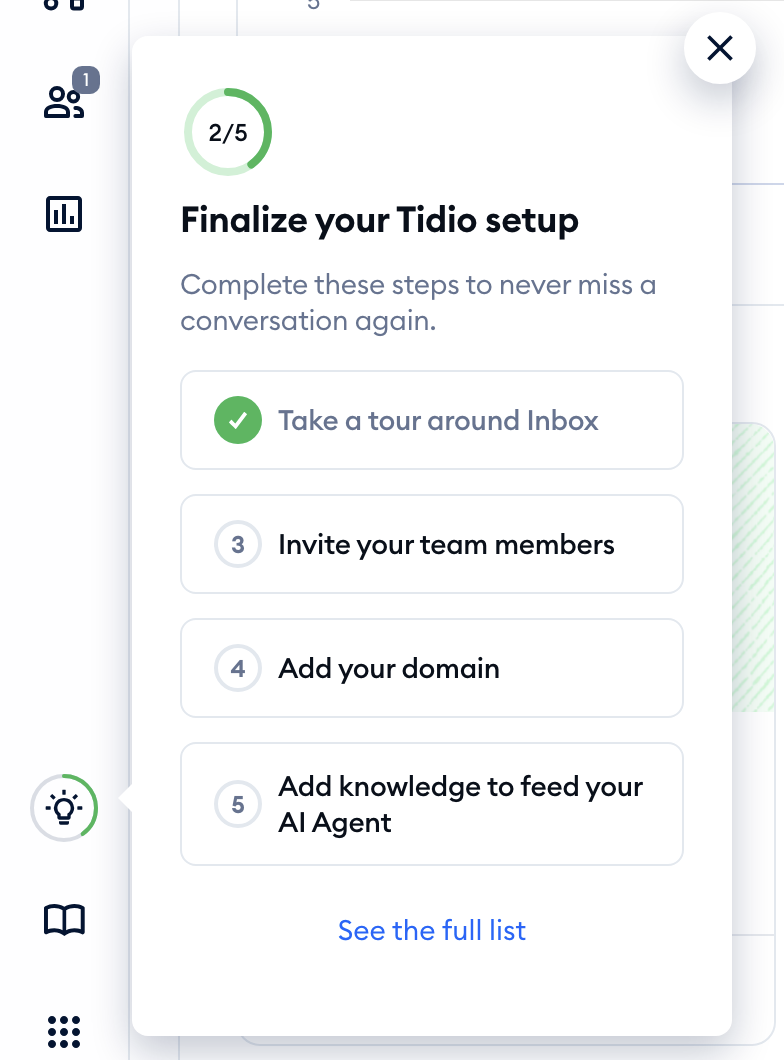
You can also open it at any time from the main menu on the left - simply click on the light bulb icon (Getting started). During your trial, the icon is surrounded by a ring that fills up as you complete your tasks, and you'll briefly see a checkmark there once you've completed them all. Hover over it to see a quick preview: Finalize your Tidio setup, with your tasks listed and the See the full list link:
The Dashboard shows a reminder too: Finalize your Tidio setup with your progress. Click on Finish setup to open the checklist, or Skip to hide the reminder from your Dashboard.
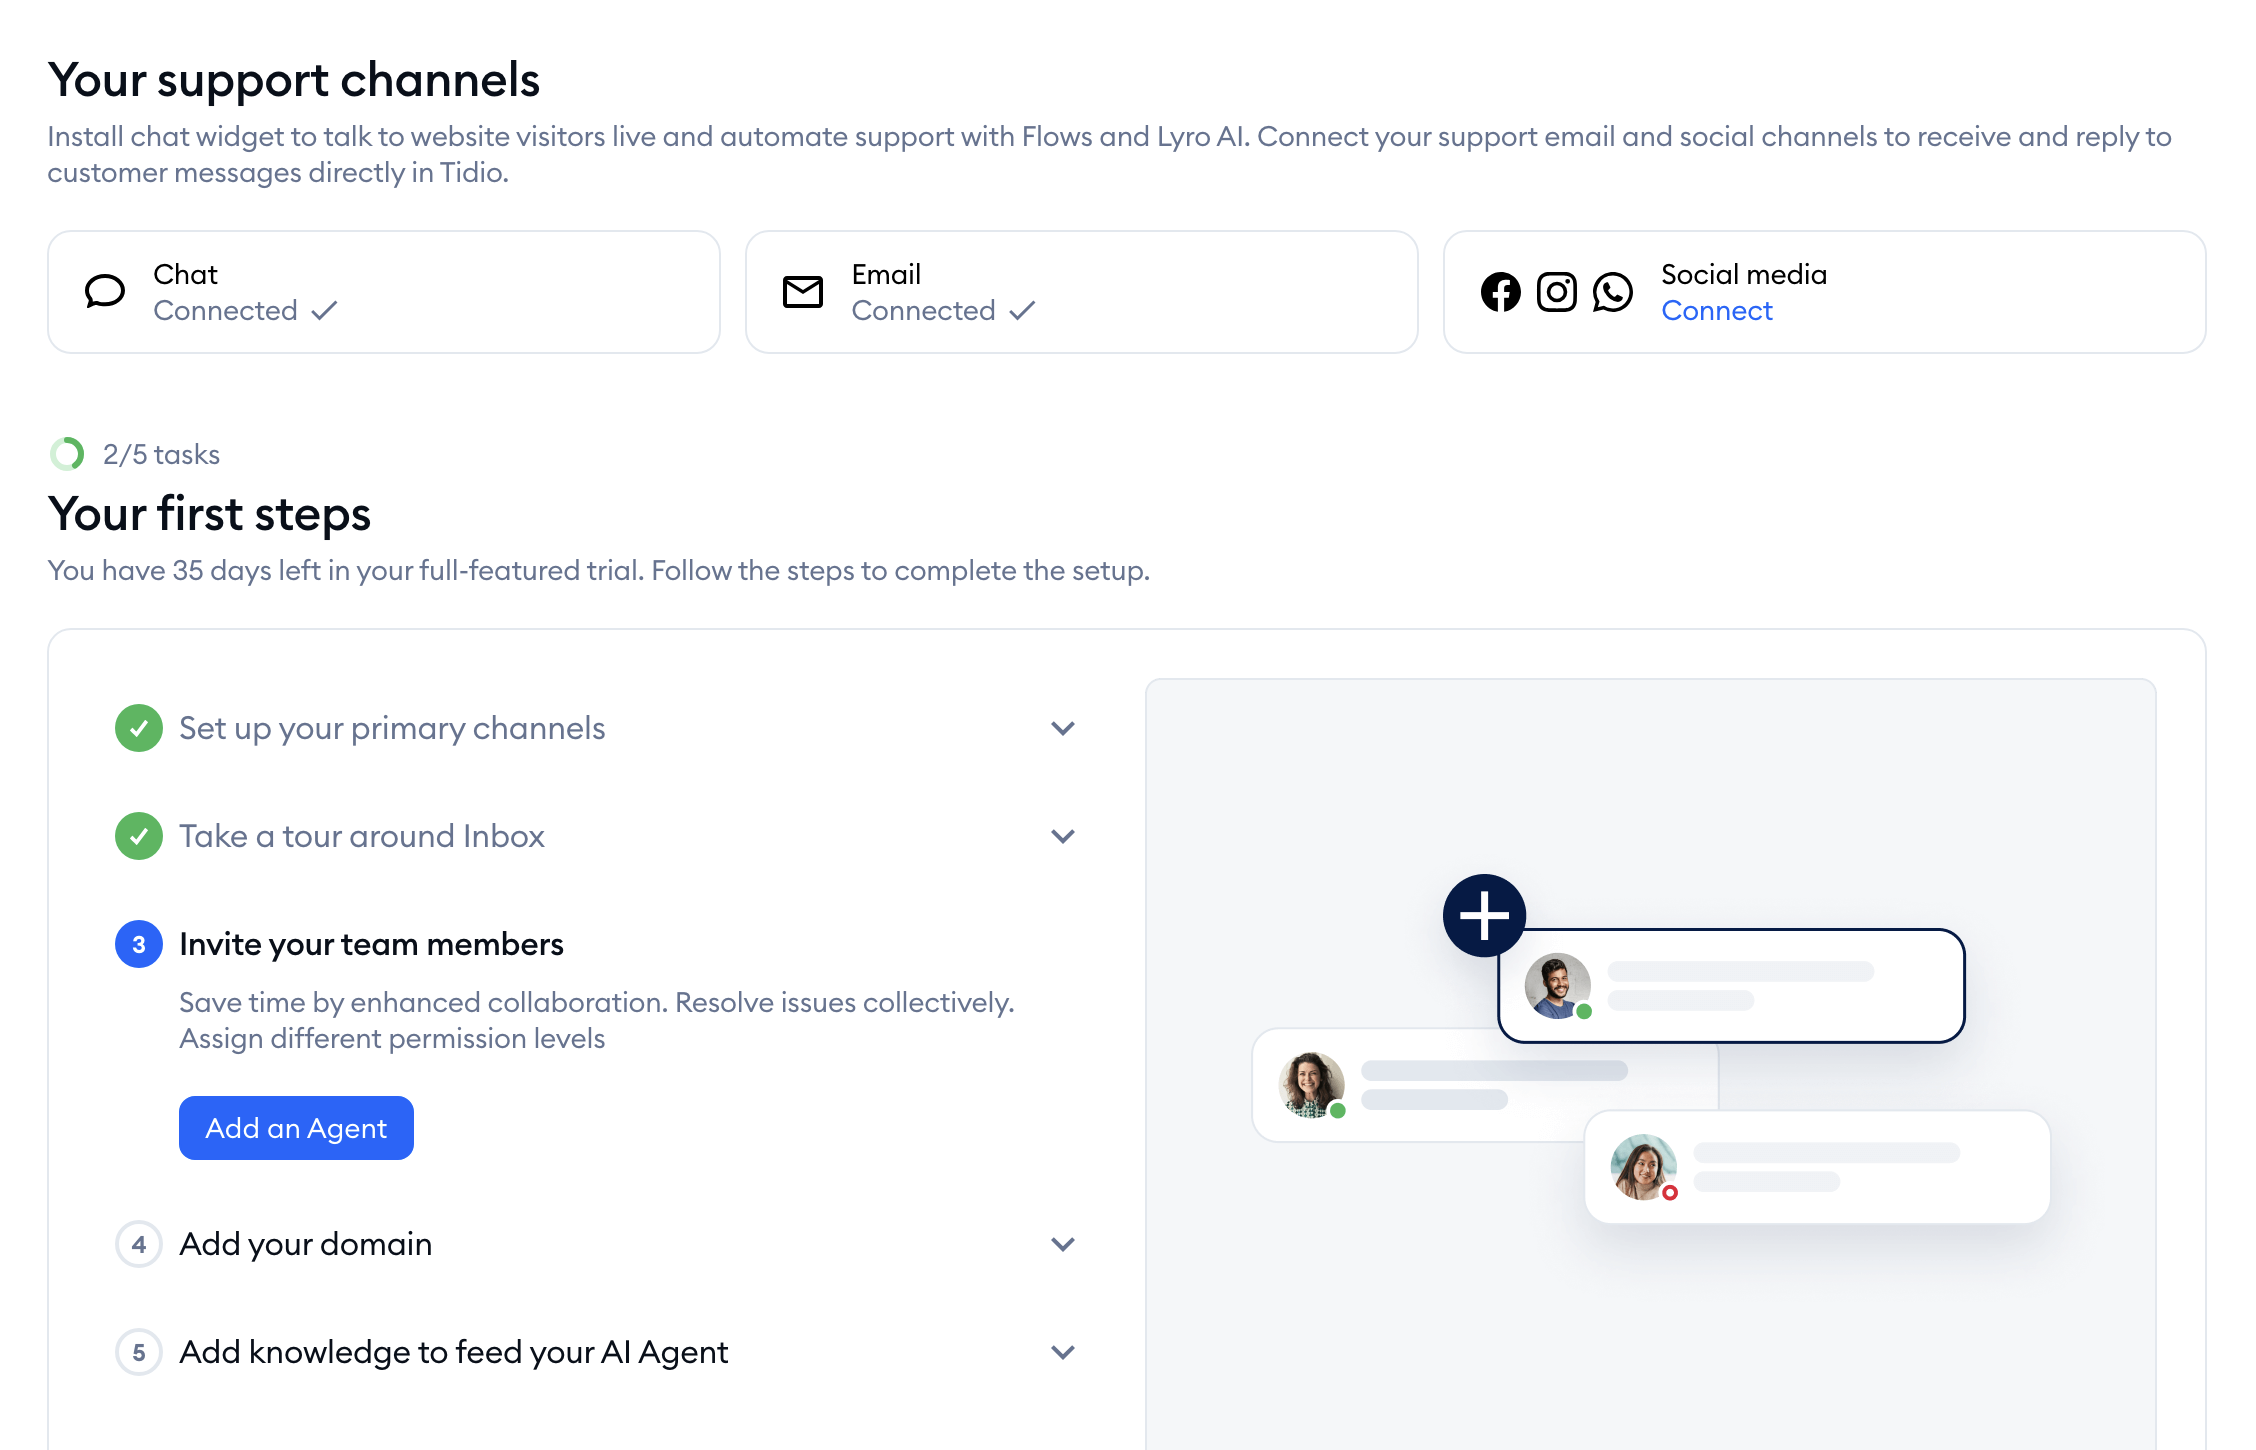
At the top of the page, you'll see your progress (for example, 2/5 tasks), the heading Your first steps, and how many days are left in your trial:
Connecting your support channels
The Your support channels section at the top lets you connect the channels your customers will use to reach you. The cards are ordered based on the channels you chose in the sign-up survey:
- Chat - click on Install widget to customize your chat widget and add it to your website. A short window will guide you: first adjust your widget's appearance and hit Continue, then choose your platform in Select platform and follow the instructions (or use Send instructions via email to send them to your developer).
- Email - click on Connect mailbox to connect your support mailbox in Settings > Email. Every email you receive there will become a ticket in your Inbox.
- Social media - click on Connect to start with Facebook Messenger in Settings > Facebook. Instagram and WhatsApp are right below it in the Settings menu.
Once a channel is connected, its card says Connected:

For the details of each installation method, see Install Tidio on your Website.
Working through your tasks
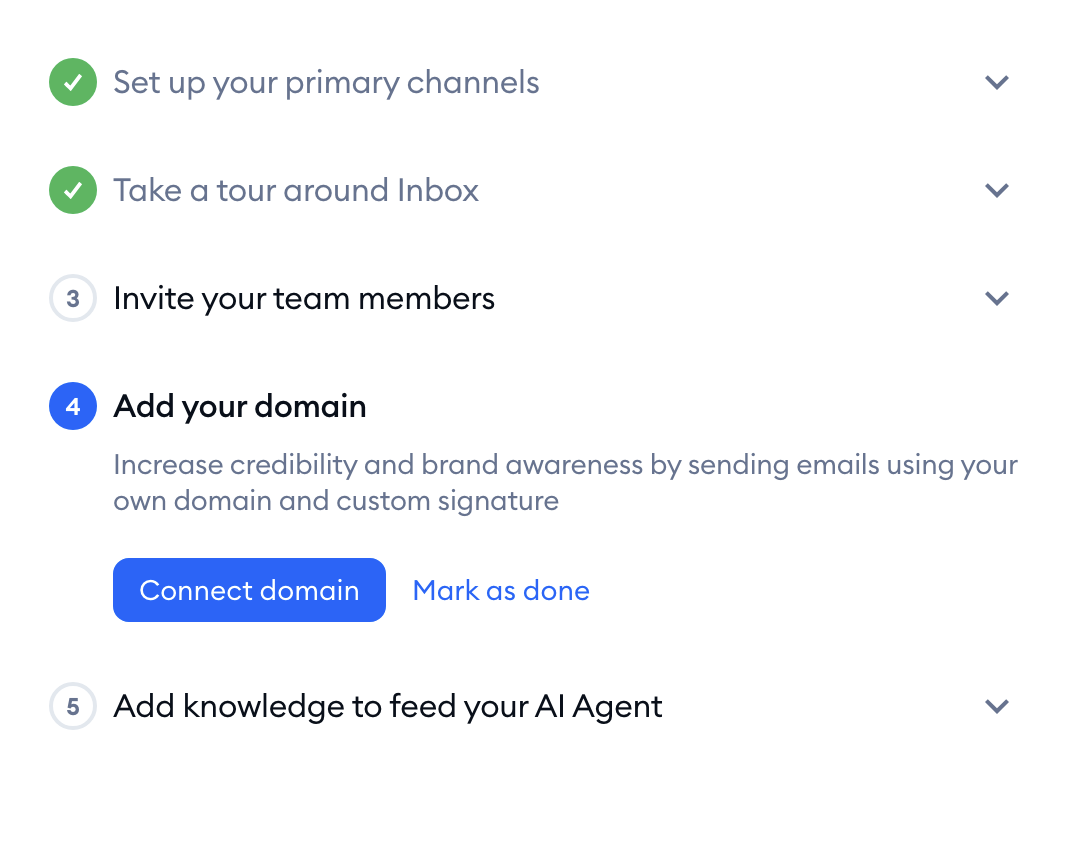
Below Your first steps, you'll find your numbered tasks, with the first unfinished one already open. Click on a task to expand it - you'll see a short description and a button that takes you right where you need to go. For example, Invite your team members has an Add an Agent button that opens Settings > Team:
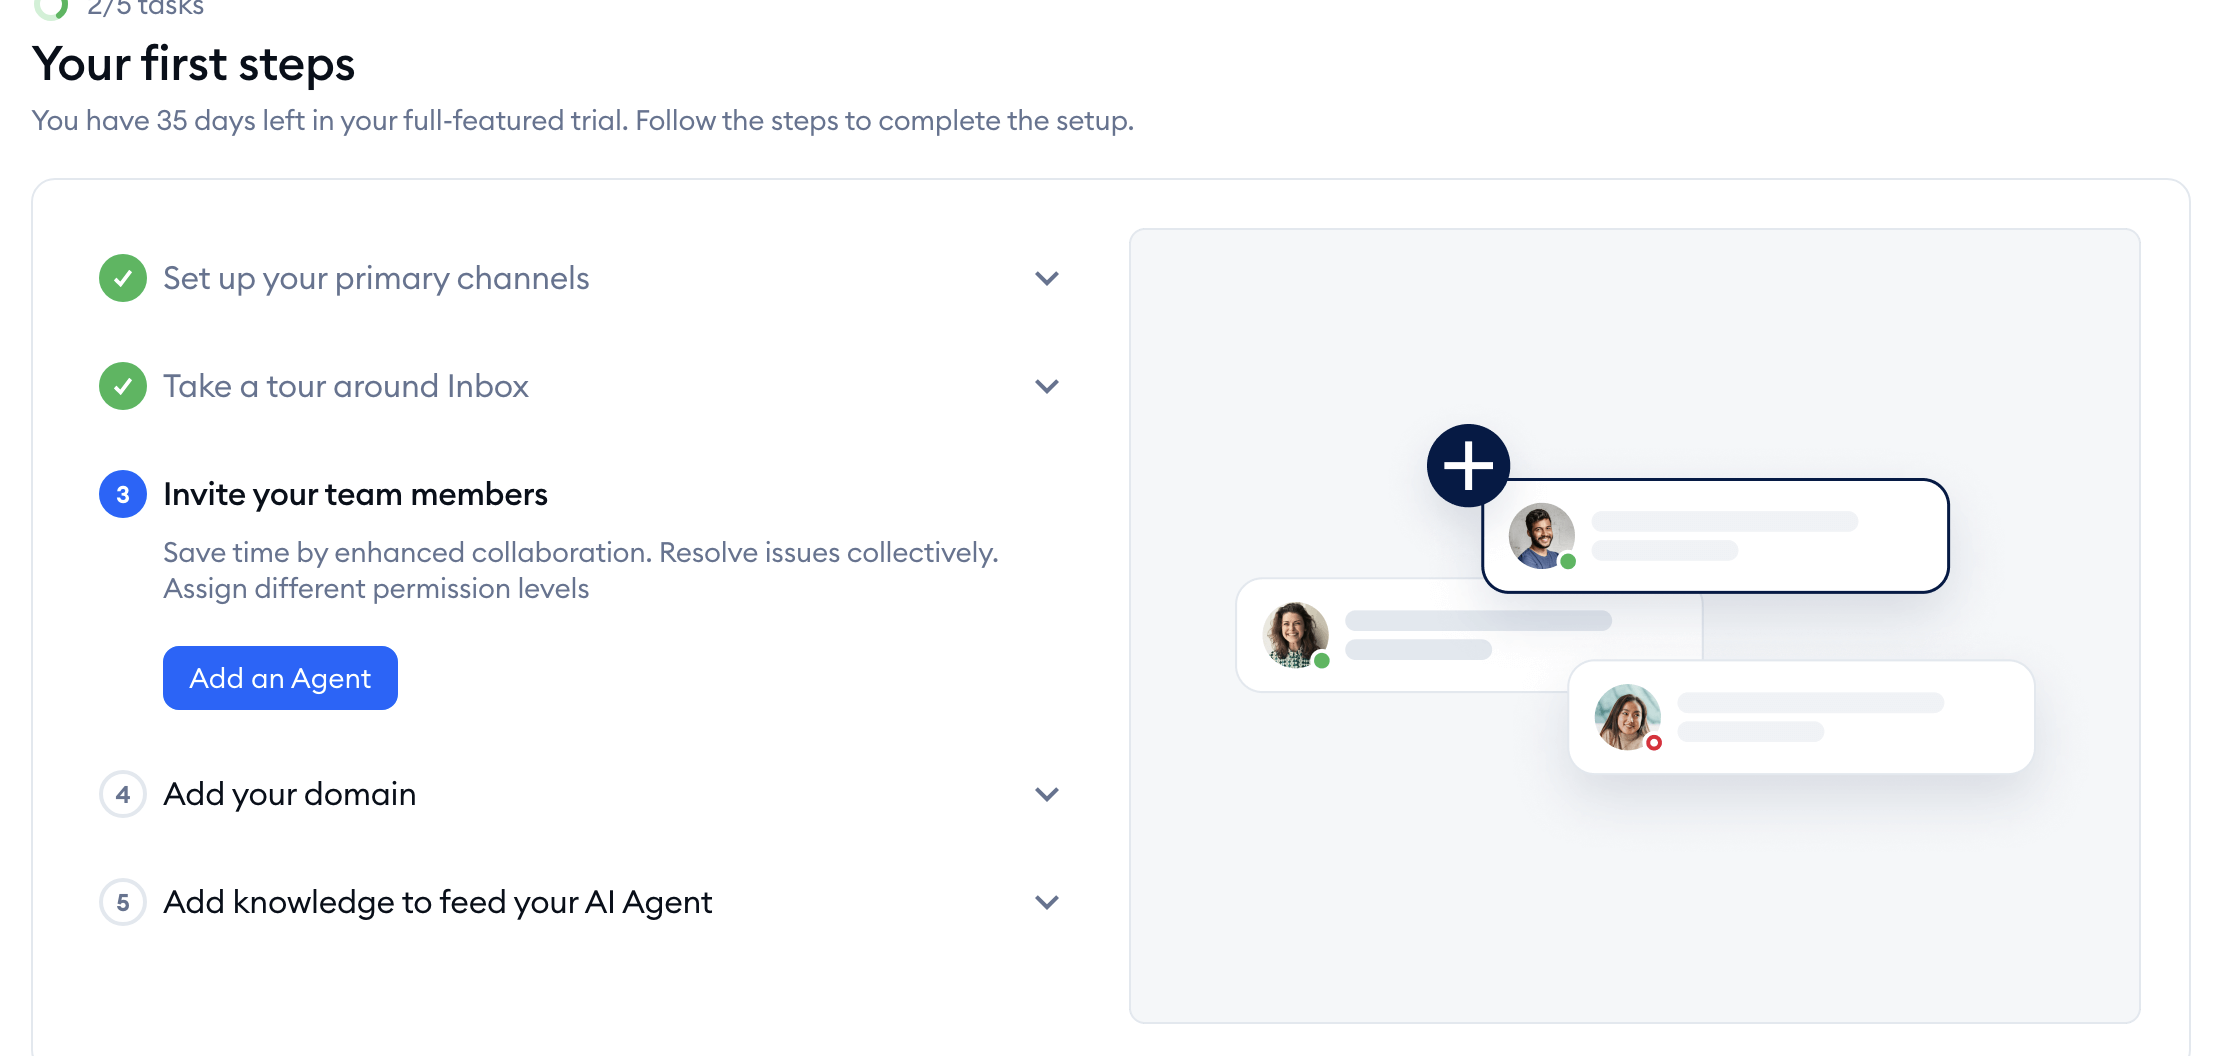
Many tasks are checked off automatically when Tidio sees that you've done them. For example, Set up your primary channels is completed once your chat widget is installed and your mailbox is connected, and Add knowledge to feed your AI Agent once Lyro has successfully learned from your website. A completed task gets a green checkmark in place of its number, and its name turns grey:
When every task is done, you'll see All tasks are completed. at the top of the page. That's it! From then on, Tidio will open your Dashboard when you log in, and you can still come back to your checklist from the main menu to recap what you've set up.
Tasks for your goal
When you signed up, you picked your main goal for using Tidio. That choice decides which tasks you'll see - you still get access to all the features, of course. Here's what each goal includes:
Offer human support
- Set up your primary channels - Install Chat Widget and Connect support email
- Take a tour around Inbox - Take a tour opens the Inbox with a short guided tour
- Invite your team members - add your agents (see Managing agents)
- Add your domain - Connect domain opens Settings > Email on the Domains tab (see Use your own Domain for tickets)
- Add knowledge to feed your AI Agent - Add knowledge takes you to Lyro, so it can learn from your website
Generate leads
- Set up your primary channels
- Start collecting leads with Flows - Edit Flow opens a lead generation Flow template
- Discover more lead generation strategies - Discover Flows opens the lead generation templates
- Take a tour around Inbox
- Add knowledge to feed your AI Agent
Automate my support system with AI Agent
- Set up Lyro AI Agent - add knowledge so Lyro can answer your customers' questions (see Lyro - a quick setup)
- Test Lyro AI Agent - Test Lyro opens the Playground, where you can check Lyro's answers (see Test Lyro before it goes live)
- Activate Lyro AI Agent - Activate Lyro makes Lyro visible to your visitors
- Review your welcome message - Edit Flow lets you adjust the message that greets new visitors (see The Flows launcher)
- Set up your primary channels
The test and activation tasks appear on your list once you've added knowledge for Lyro.
Increase sales
- Set up your primary channels
- Review your welcome message
- Reduce abandoned carts with Flows - Add Flow adds a Flow that offers a discount to visitors who are viewing their cart
- Engage with live visitors - Chat with visitors opens the live Visitors list (see The Visitors List)
- Add knowledge to feed your AI Agent
If you installed Tidio from the Shopify App Store, you'll also see Show widget to your visitors, which takes you to the last step of the setup.
Please note: we're always improving the first steps in Tidio, so your list may look a little different (for example, in a different order). The Getting started tasks are free to complete during your trial, but some of the features they lead to need a paid plan after the trial: for example, the live Visitors list is available on the Starter plan and above (see Which upgrades do I need?).
Marking a task as done
Don't need a task? Simply expand it and hit Mark as done. You'll find this button on tasks like Take a tour around Inbox, Add your domain, Review your welcome message and Reduce abandoned carts with Flows. For Test Lyro AI Agent, the button says I don't need to test Lyro:
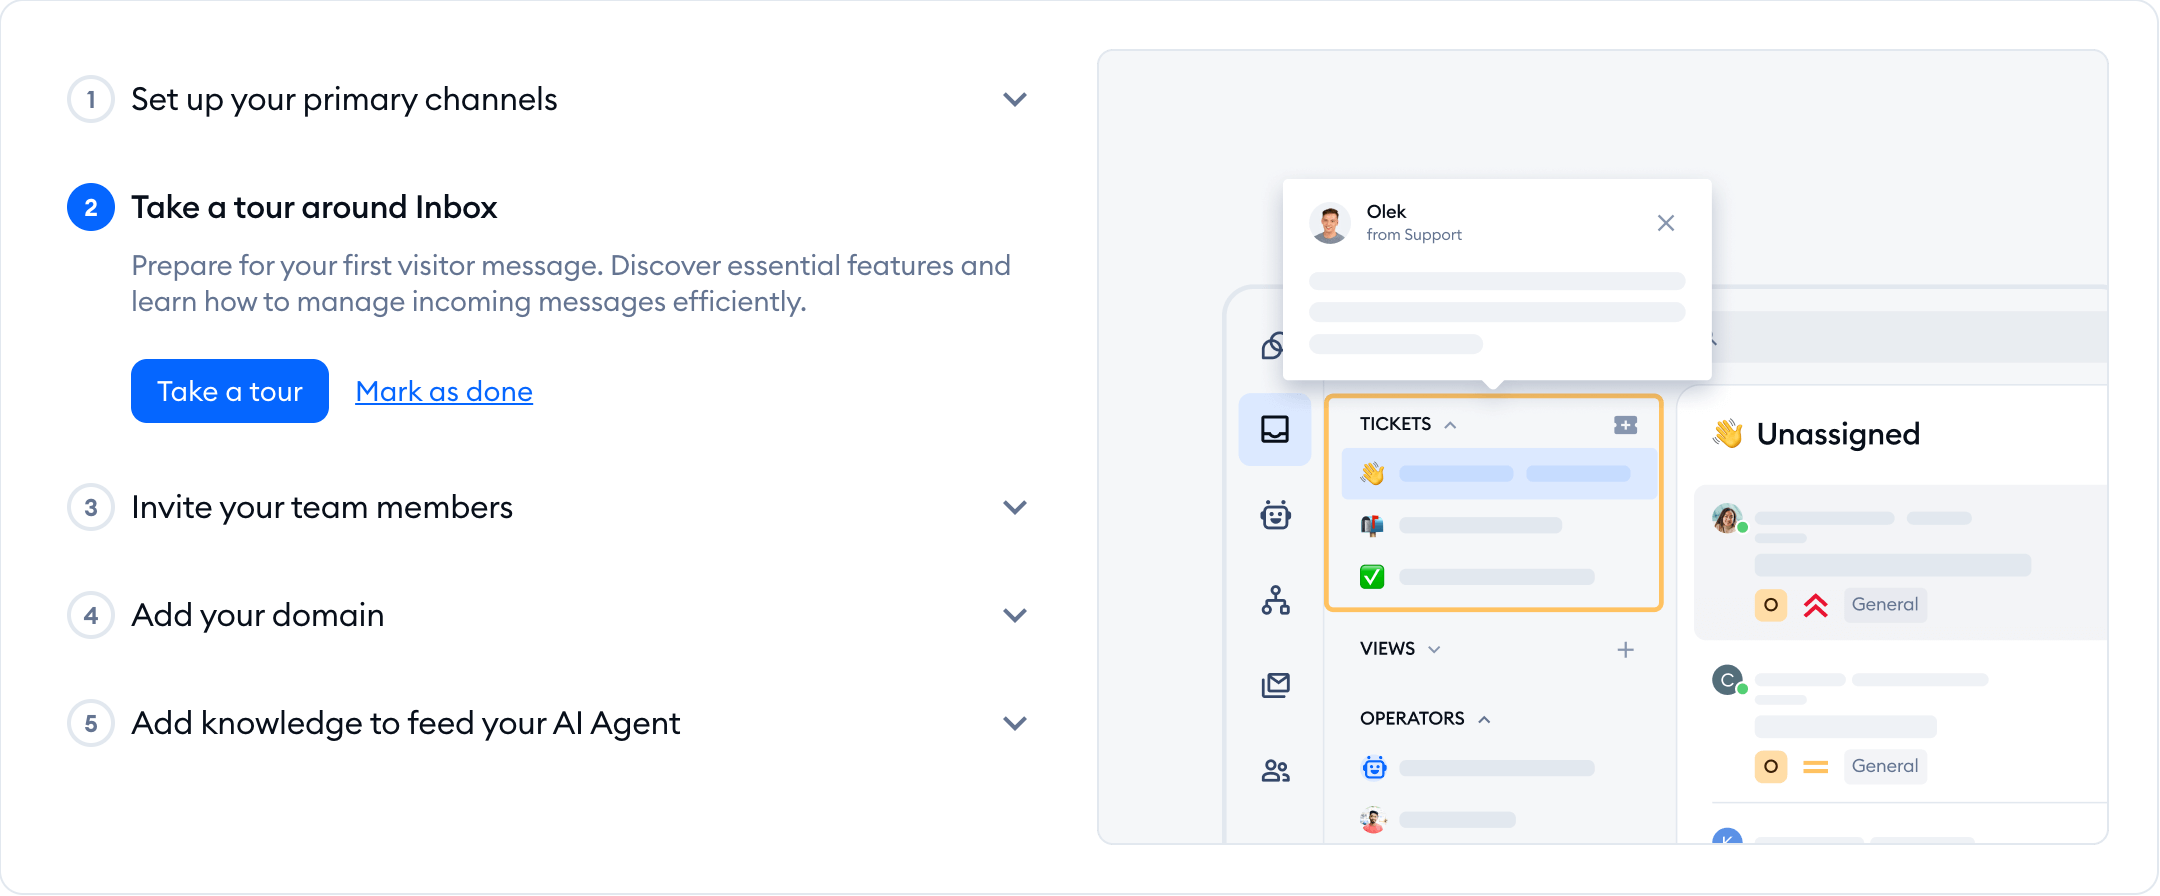
The task gets a checkmark and counts towards your progress, just like a completed one. Tasks without this button are checked off once you've actually done them.
