Want your chat widget to greet visitors with a short menu of things it can help with - "Track my order", "Talk about pricing", "Book a demo"? That's what the Flows launcher is for. It's where you set up the Welcome message, the Flow buttons your visitors can click to start a flow on their own, and the Flow ended chat message that lets them pick another flow once one is over.
Each Flow button belongs to one of your flows: a flow that starts with the Visitor clicks the Flow Launcher button trigger shows up as a button here.
In this article, you'll learn:
- How to open the Flows launcher
- How to edit the welcome message
- How to add, edit and hide Flow buttons
- How to turn the launcher on for live chat and Messenger
- How to set the Flow ended chat message
Opening the Flows launcher
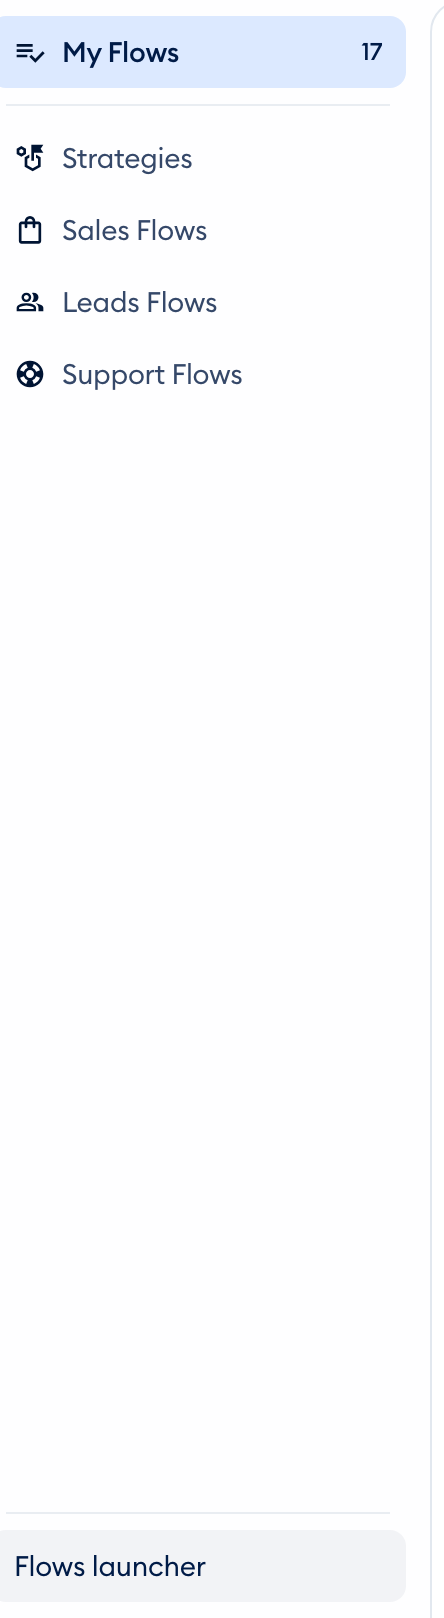
Head over to the Flows section, and click on Flows launcher at the very bottom of the menu on the left:
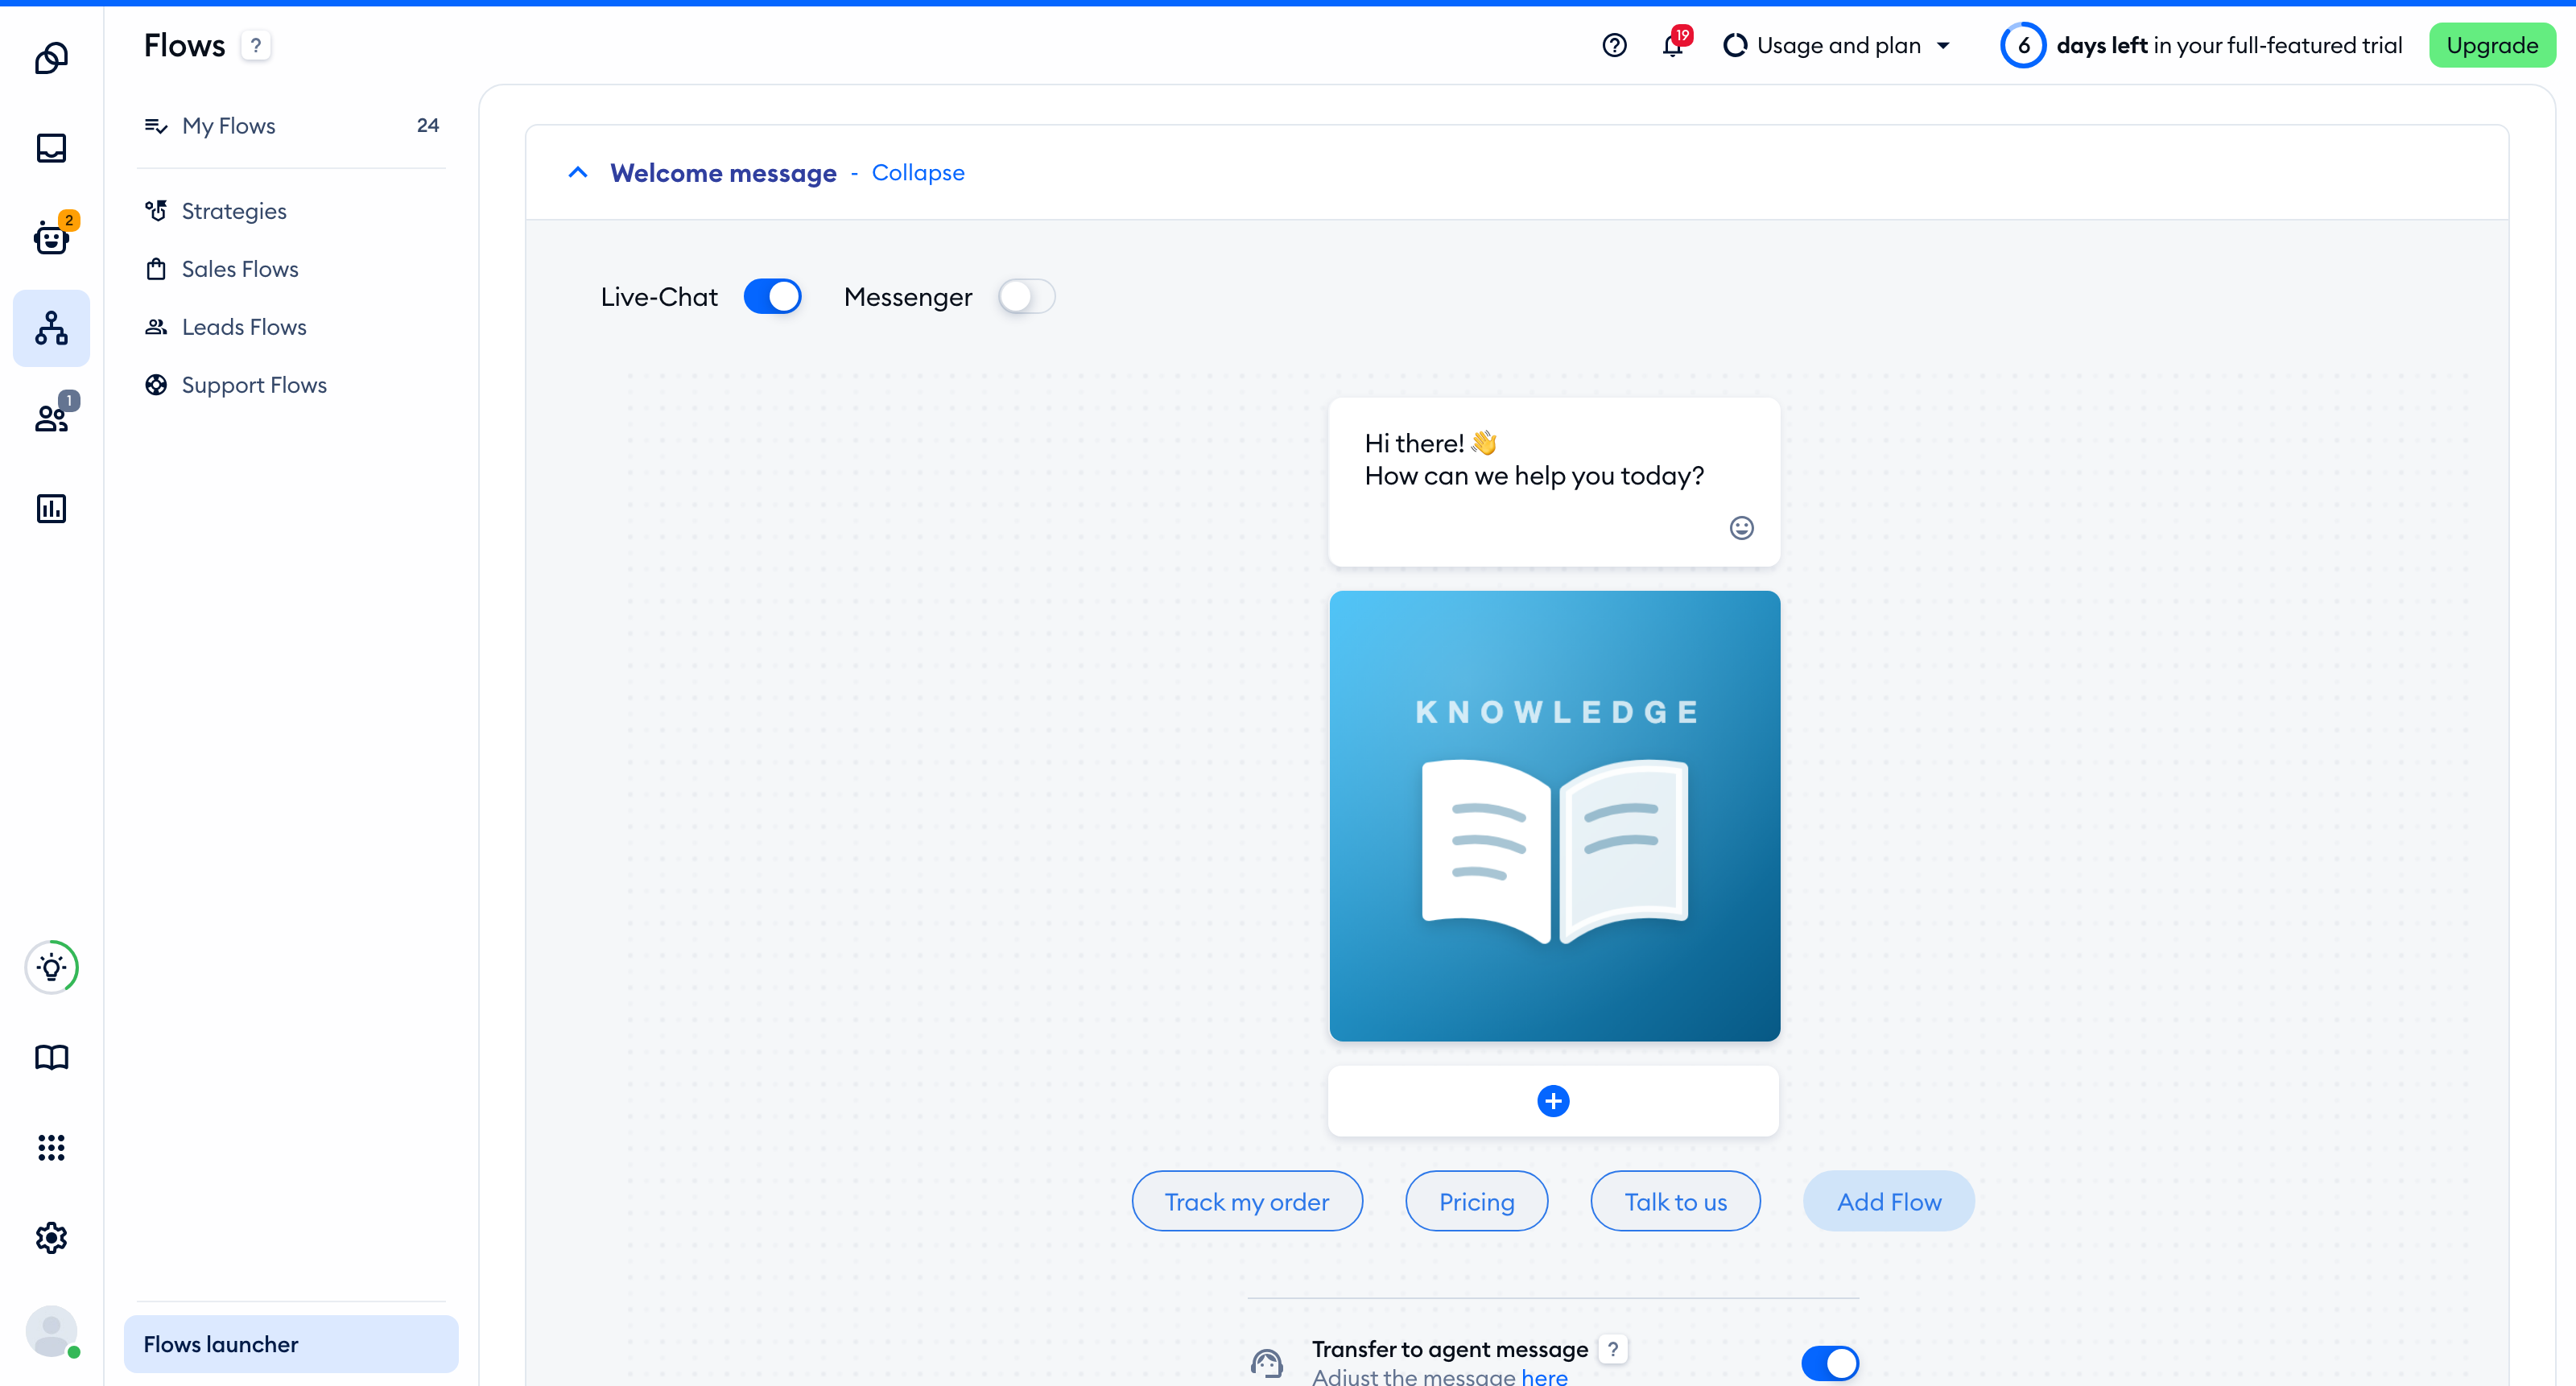
You'll see two sections: Welcome message (open by default) and Flow ended chat message. Click on a section's name to open it.
Please note: each section is saved separately. Hit Save before you switch to the other section - if you open the other one first, your unsaved changes are discarded.
Editing the welcome message
The Welcome message section shows a preview of the conversation: your welcome message on top, and your Flow buttons below it. Click on a message to change its text - you can add emoji, too:
Want to send more than one message? Click on the + button below your messages, and choose Text or Image:
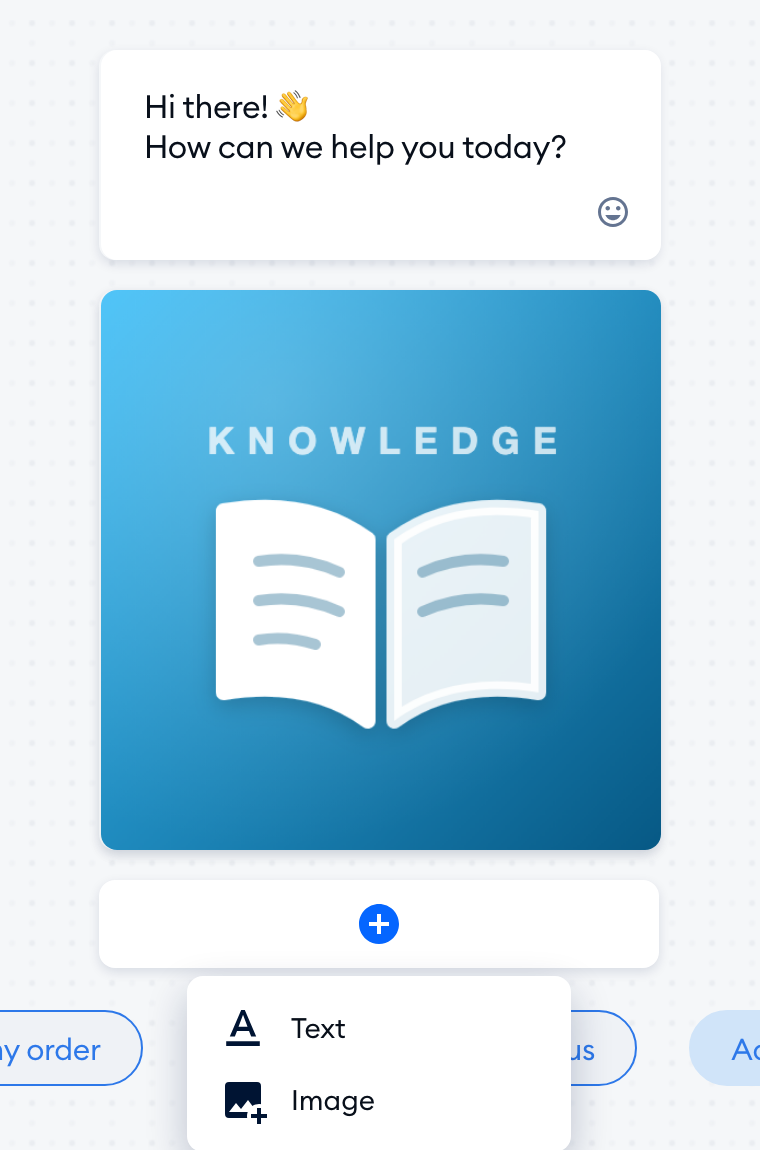
- Text adds a new message bubble, ready for you to type in.
- Image adds an image message: click on Click here to upload an image, or drop it here and pick a JPG, JPEG, PNG or GIF file of up to 4 MB.
Once you have more than one message, you can drag them to change their order or delete the ones you don't need. Empty messages aren't saved - and if every message is empty, you'll see Not all fields are filled when you try to save.
When you're done, hit the Save button in the top-right. It shows up as soon as you change something.
The Transfer to agent message
At the bottom of the section, you'll find the Transfer to agent message switch. Turn it on, and if a visitor types a message instead of clicking one of the Flow buttons, the conversation is handed over to your agents. To change what your visitors see in that case, click on the here link in Adjust the message here. The text is the same for all your flows - see The "Transfer to agent" message for details.
Adding, editing and hiding Flow buttons
Adding a Flow button
To add a button, click on Add Flow after your last Flow button. The flow editor opens with the Visitor clicks the Flow Launcher button trigger already in place:
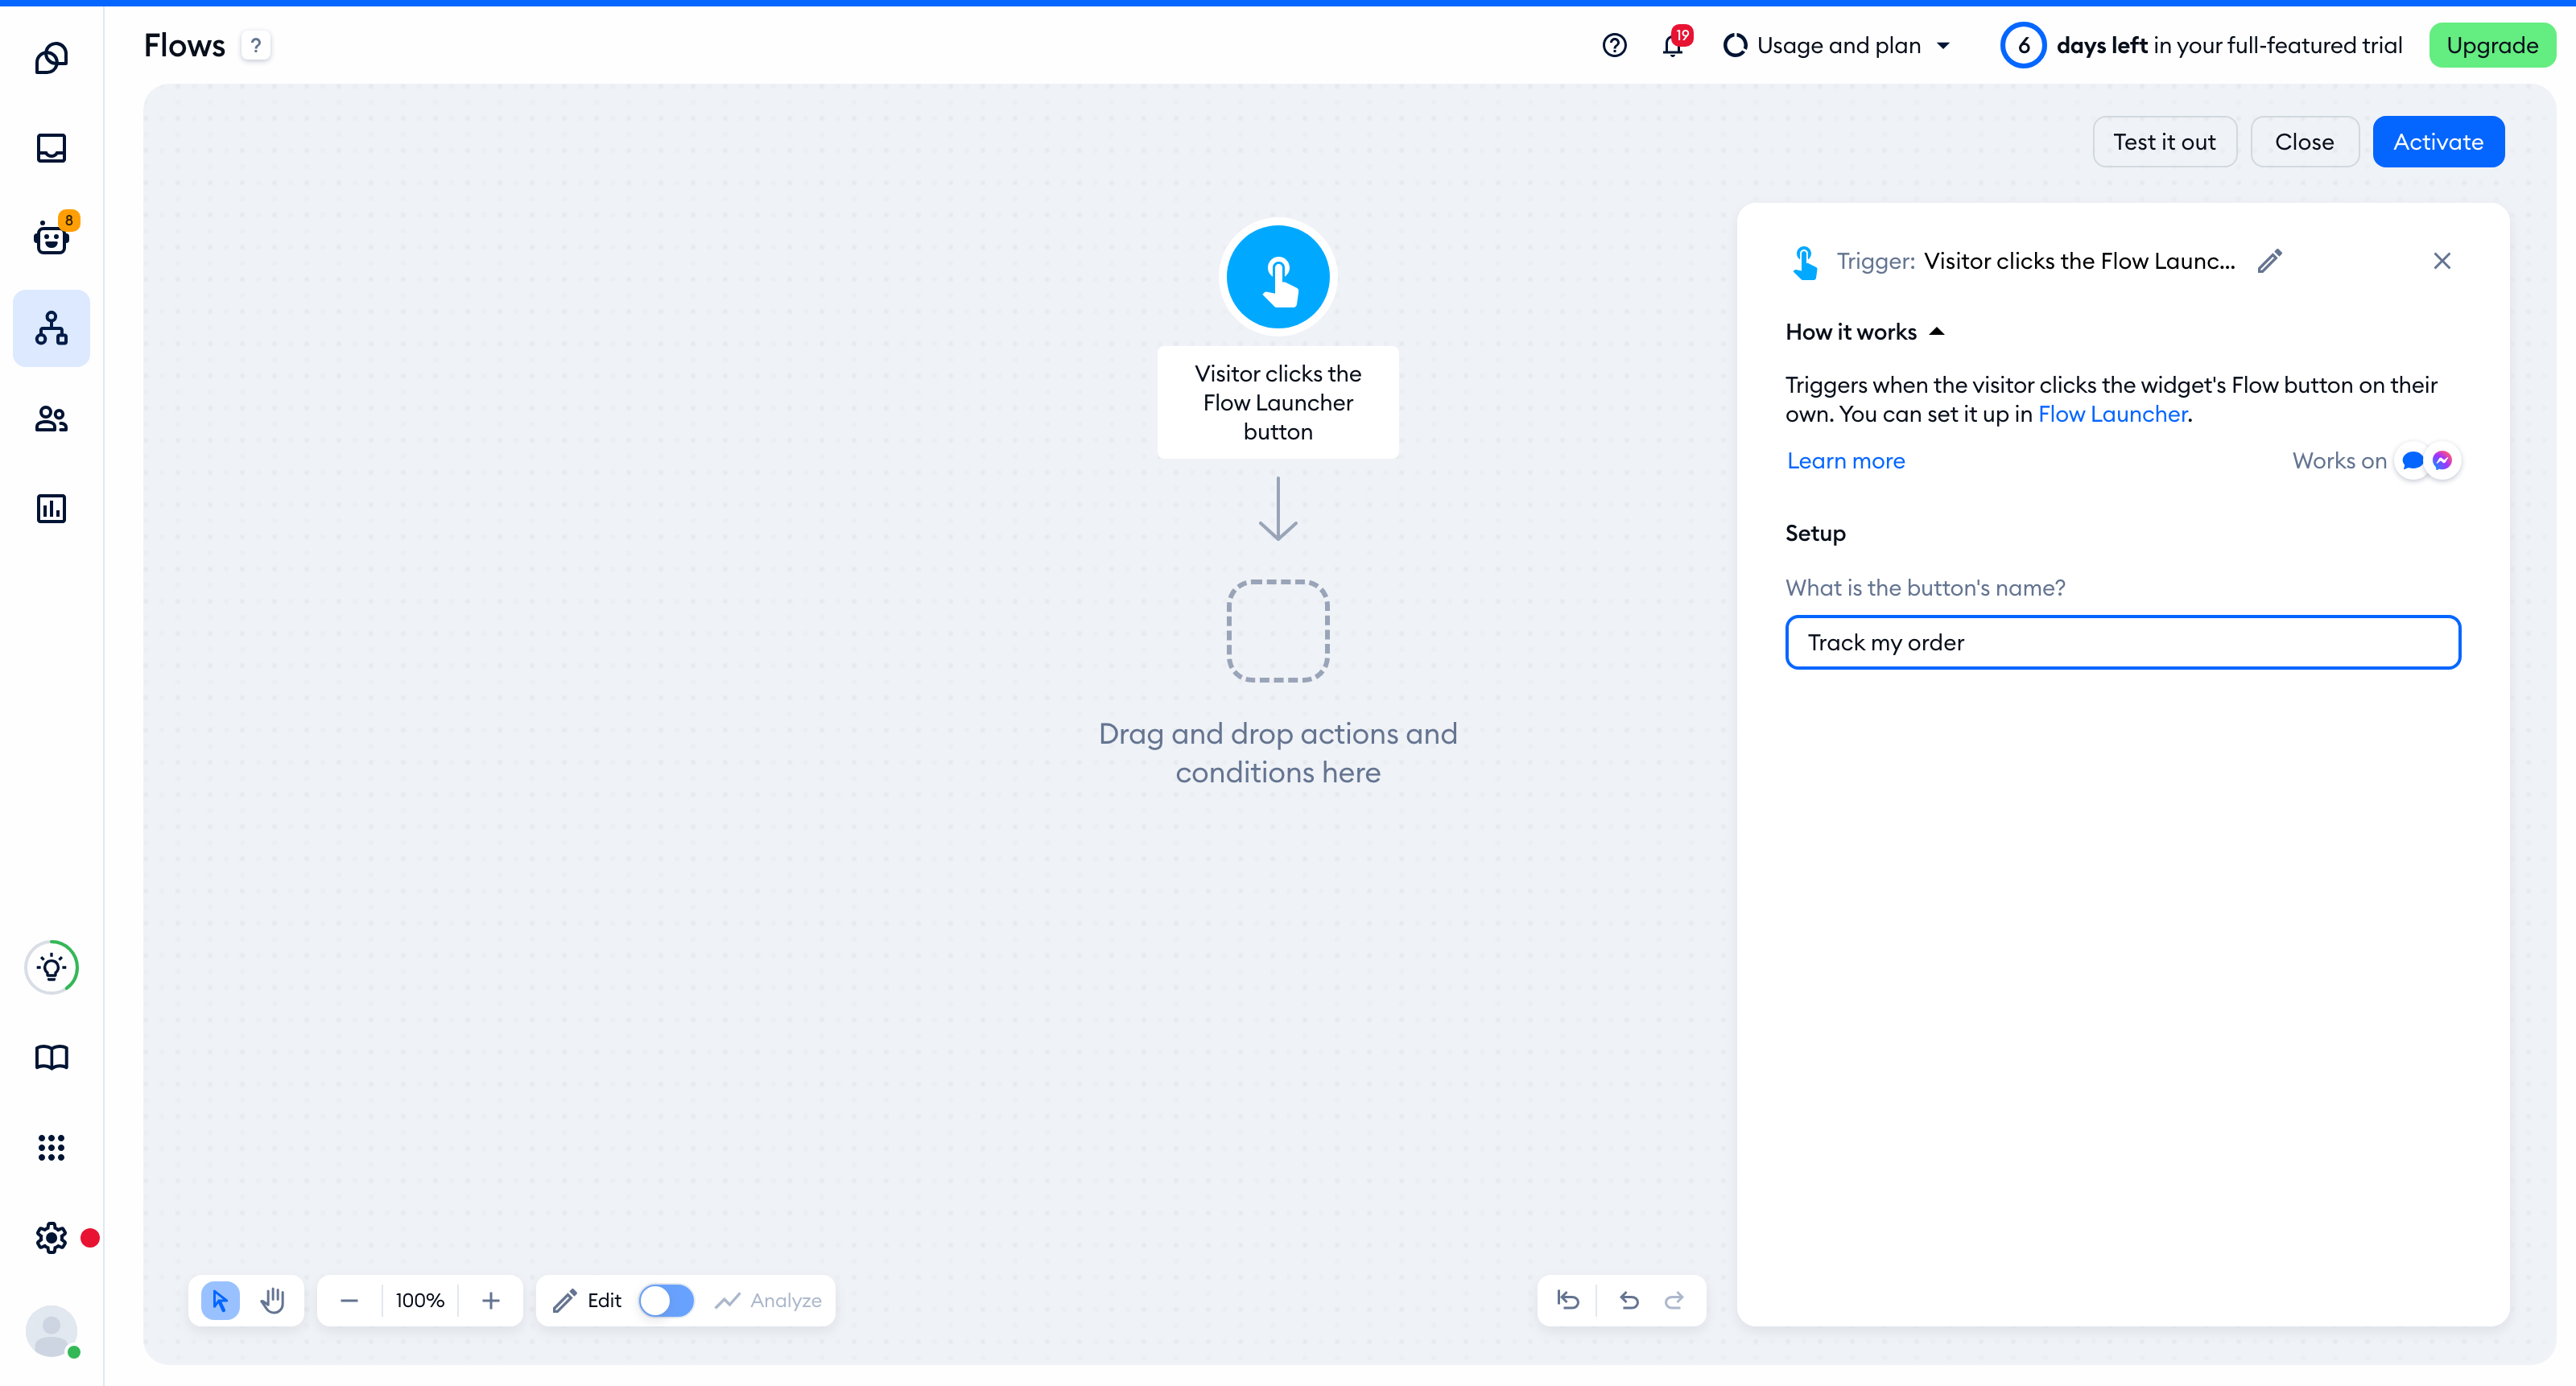
Type the button's text in What is the button's name? - that's what your visitors will see on the button. Then build the rest of the flow (see Flow editor: Actions), and hit Activate in the top-right.
You can also add the Visitor clicks the Flow Launcher button trigger to any flow you already have - you'll find it among the triggers based on the visitor's actions in the widget (see Flow editor: Triggers).
Editing or hiding a Flow button
Click on a Flow button to see its options:
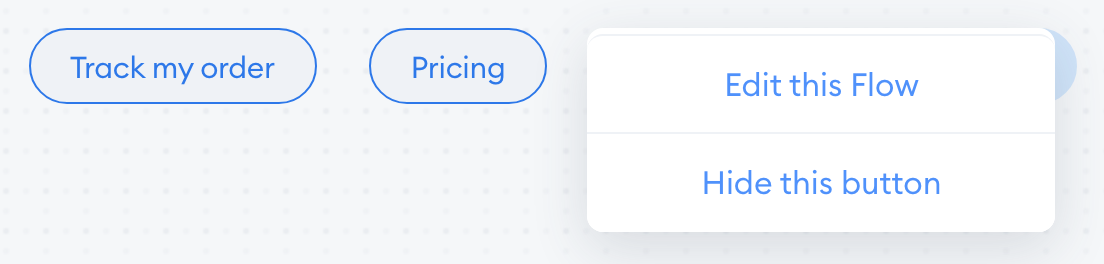
- Edit this Flow opens the flow behind the button in the editor.
- Hide this button takes the button off the launcher without touching the flow. A hidden button stays on the list, grayed out - click on it and choose Show this button to bring it back.
After you hide or show a button, hit Save in the top-right to apply the change.
Prefer a shortcut? Hover over a button, and you'll see a small icon on it - its tooltip says Click to hide this button (or Click to show this button).
Turning the launcher on for live chat and Messenger
In the top-left of the Welcome message section, you'll find two switches: Live-Chat and Messenger. They turn the Flows launcher on or off for your chat widget and for Facebook Messenger. Remember to hit Save after you flip one.
- Messenger needs the Messenger integration set up in Tidio first. If it isn't, you'll see To turn this channel on you should integrate with Messenger first. - click on OK to go to the Messenger settings (any unsaved changes are saved first).
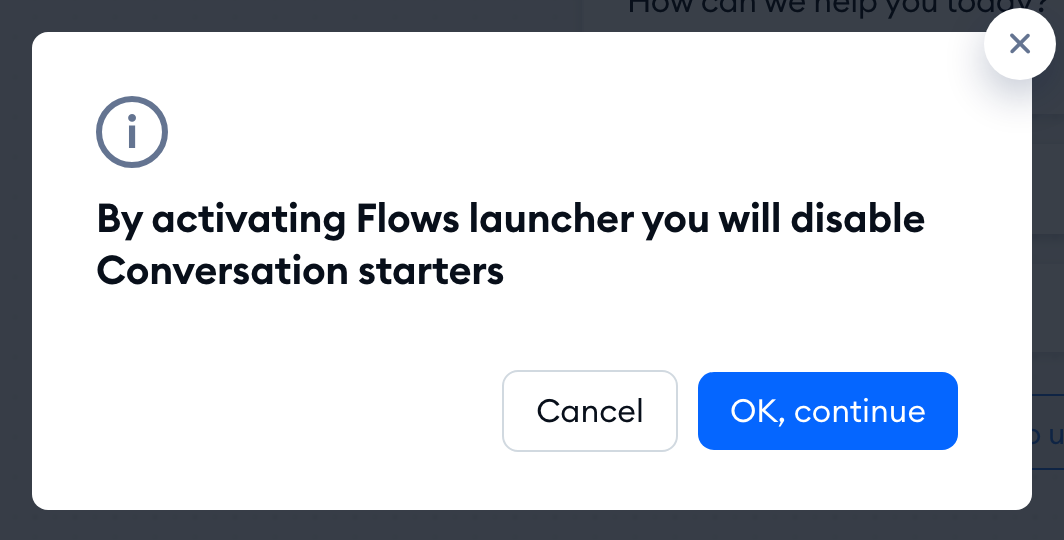
- Live-Chat and Conversation starters (in Settings > Live Chat > Appearance) can't work at the same time. If you have Conversation starters turned on, you'll be asked to confirm: By activating Flows launcher you will disable Conversation starters. Click on OK, continue to switch:
Please note: once your project reaches its monthly Flows limit, the Live-Chat and Messenger switches are grayed out, with the tooltip You have reached your monthly Flows usage limit. To increase your limit, get the Flows upgrade. And if your role doesn't let you manage Flows, the whole page is locked - please ask an admin to change your permissions.
Setting the Flow ended chat message
When one flow is over, you can let your visitors start another one. That's what the Flow ended message action is for: add it at the end of a flow in the editor, and your visitors get the Flow ended chat message you set in the Flows launcher:
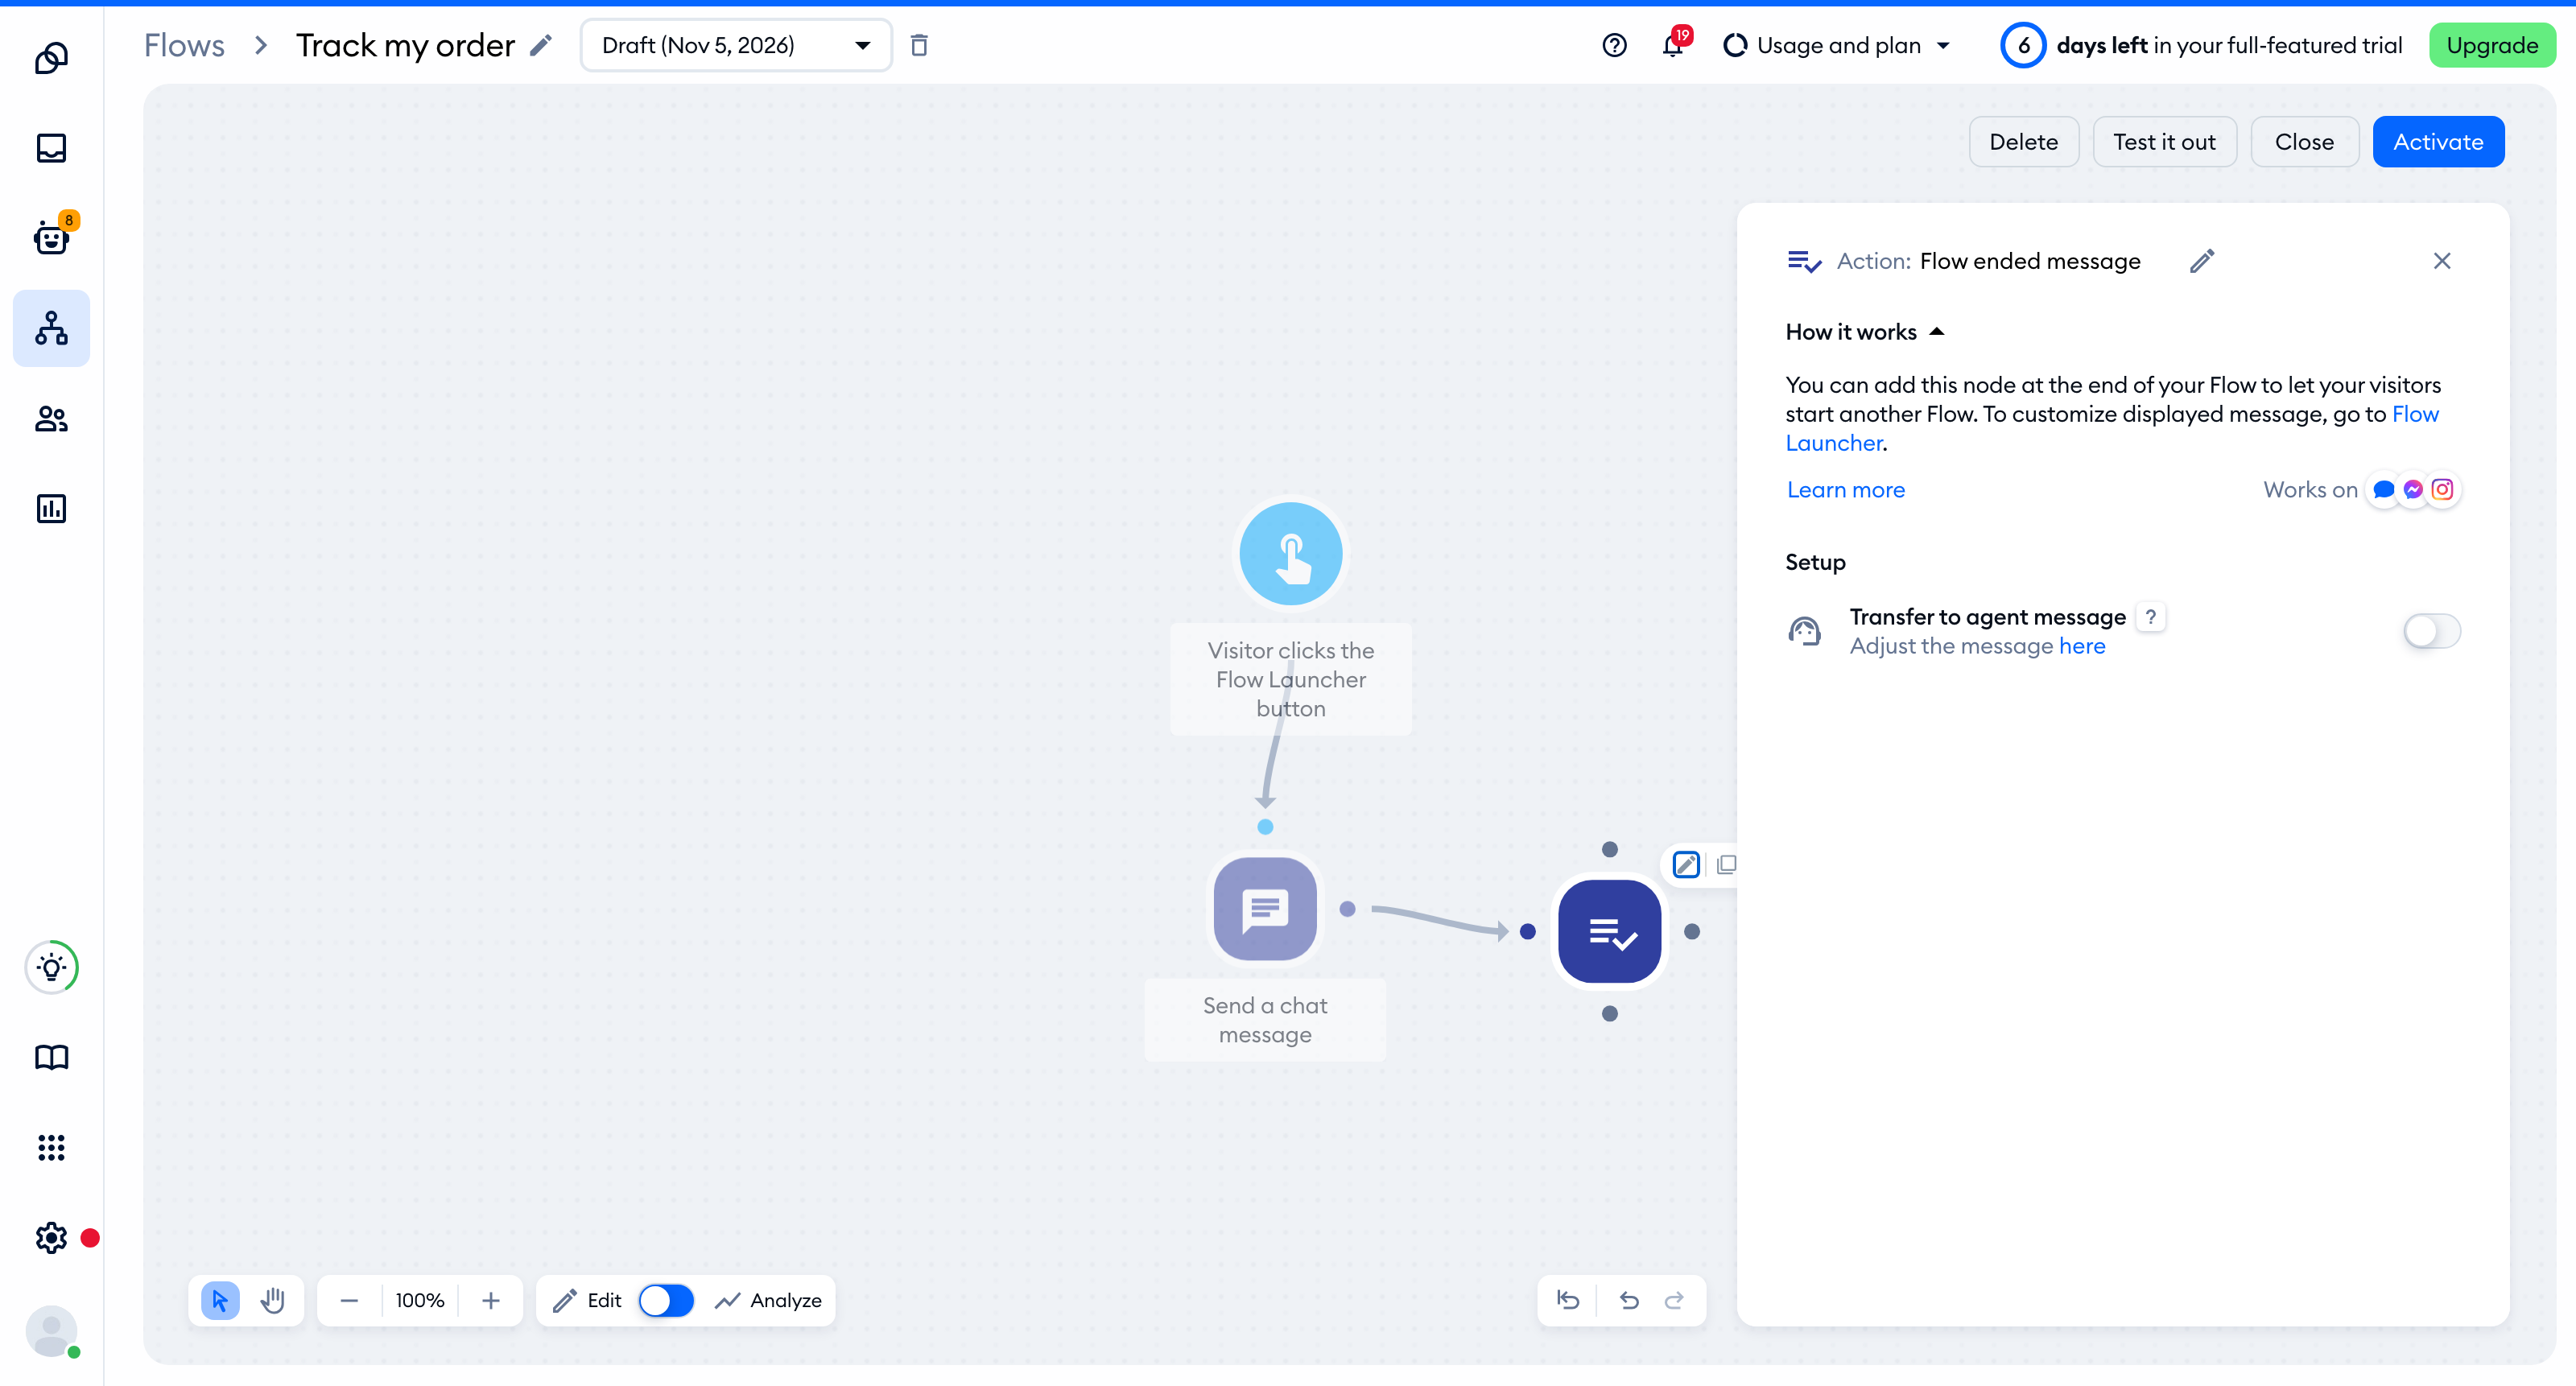
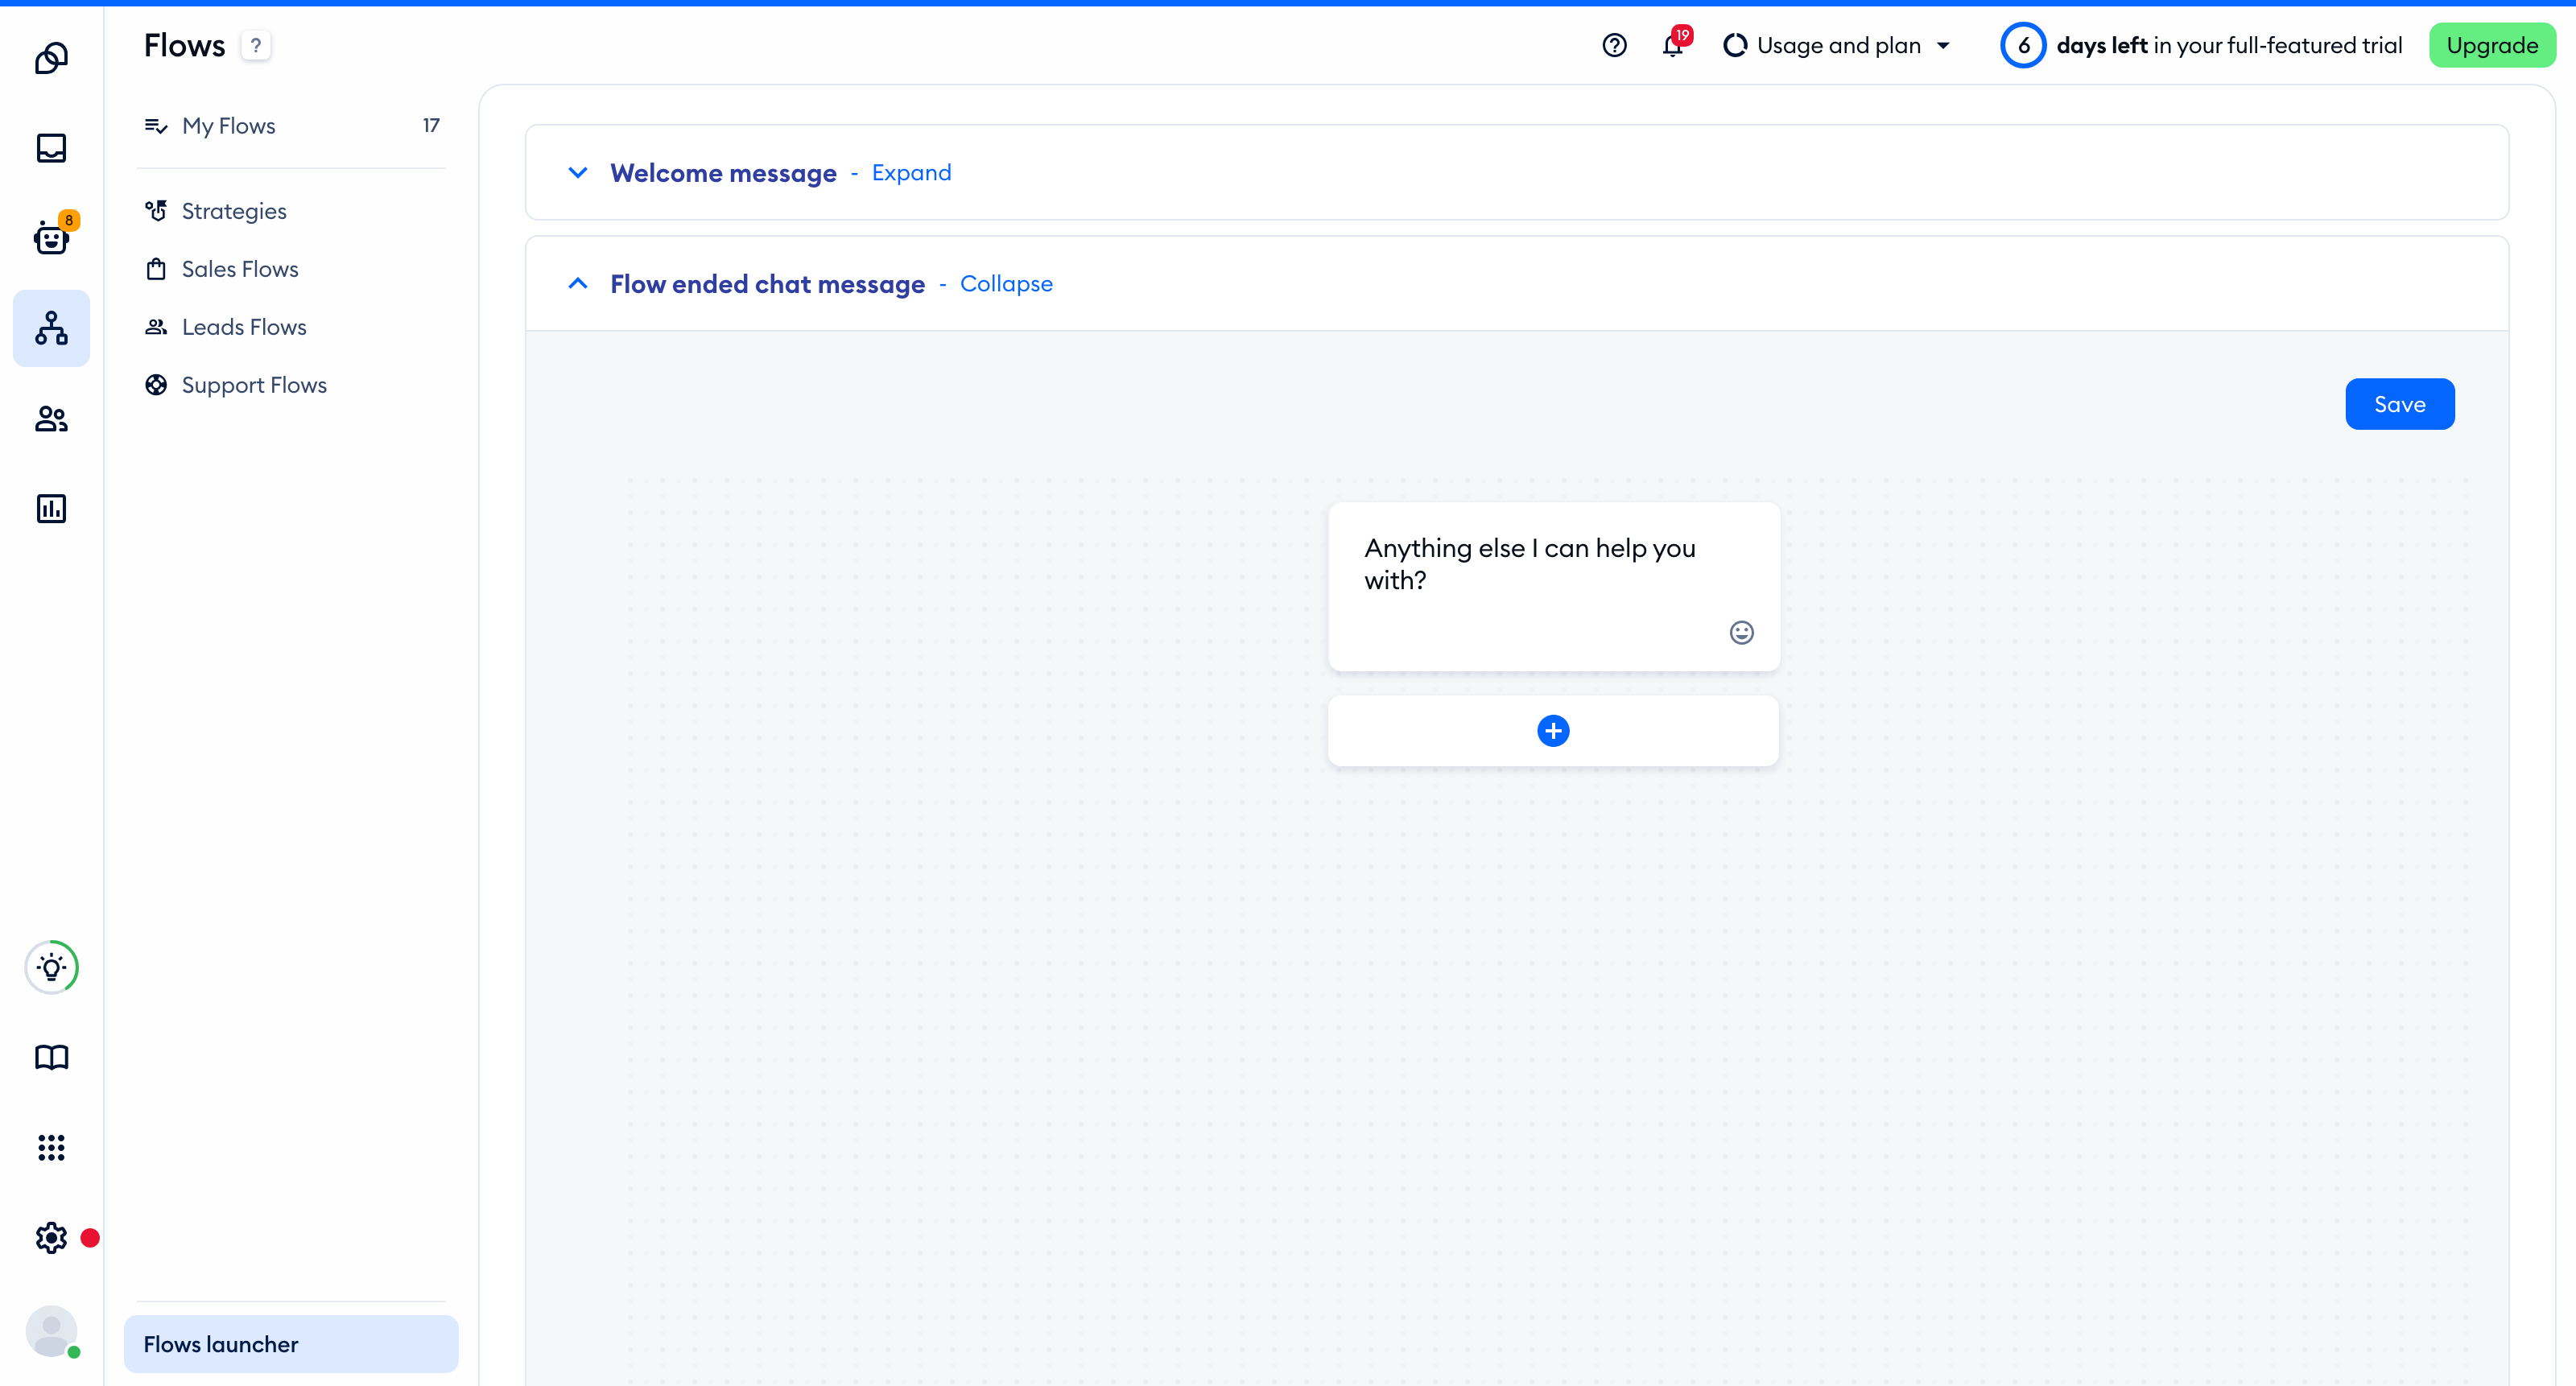
The Flow Launcher link in that action takes you straight to the launcher. Open the Flow ended chat message section, and edit the messages just like the welcome message - click on a message to change it, or use the + button to add text or an image. Then hit Save:
The Transfer to agent message switch for this message is in the Flow ended message action itself, so you can turn it on separately in each flow.
