Create a new flow from a template or from scratch. You can also import an exported flow.
In this article, you'll learn:
- How to create a flow from scratch
- How to add nodes in the editor
- How to connect, disconnect, move, and delete nodes
- How to save your flow
- How to use a pre-made flow template
- What other materials to check out
Creating a flow from scratch
If you already have an exported flow file, use Import in My Flows to add it as a draft. Open the imported flow to complete its setup before activating it.
To build a custom flow, open the Flows section in your Tidio admin panel and click on the Create from scratch button - you will find it in the My Flows section, as well as the Templates section.
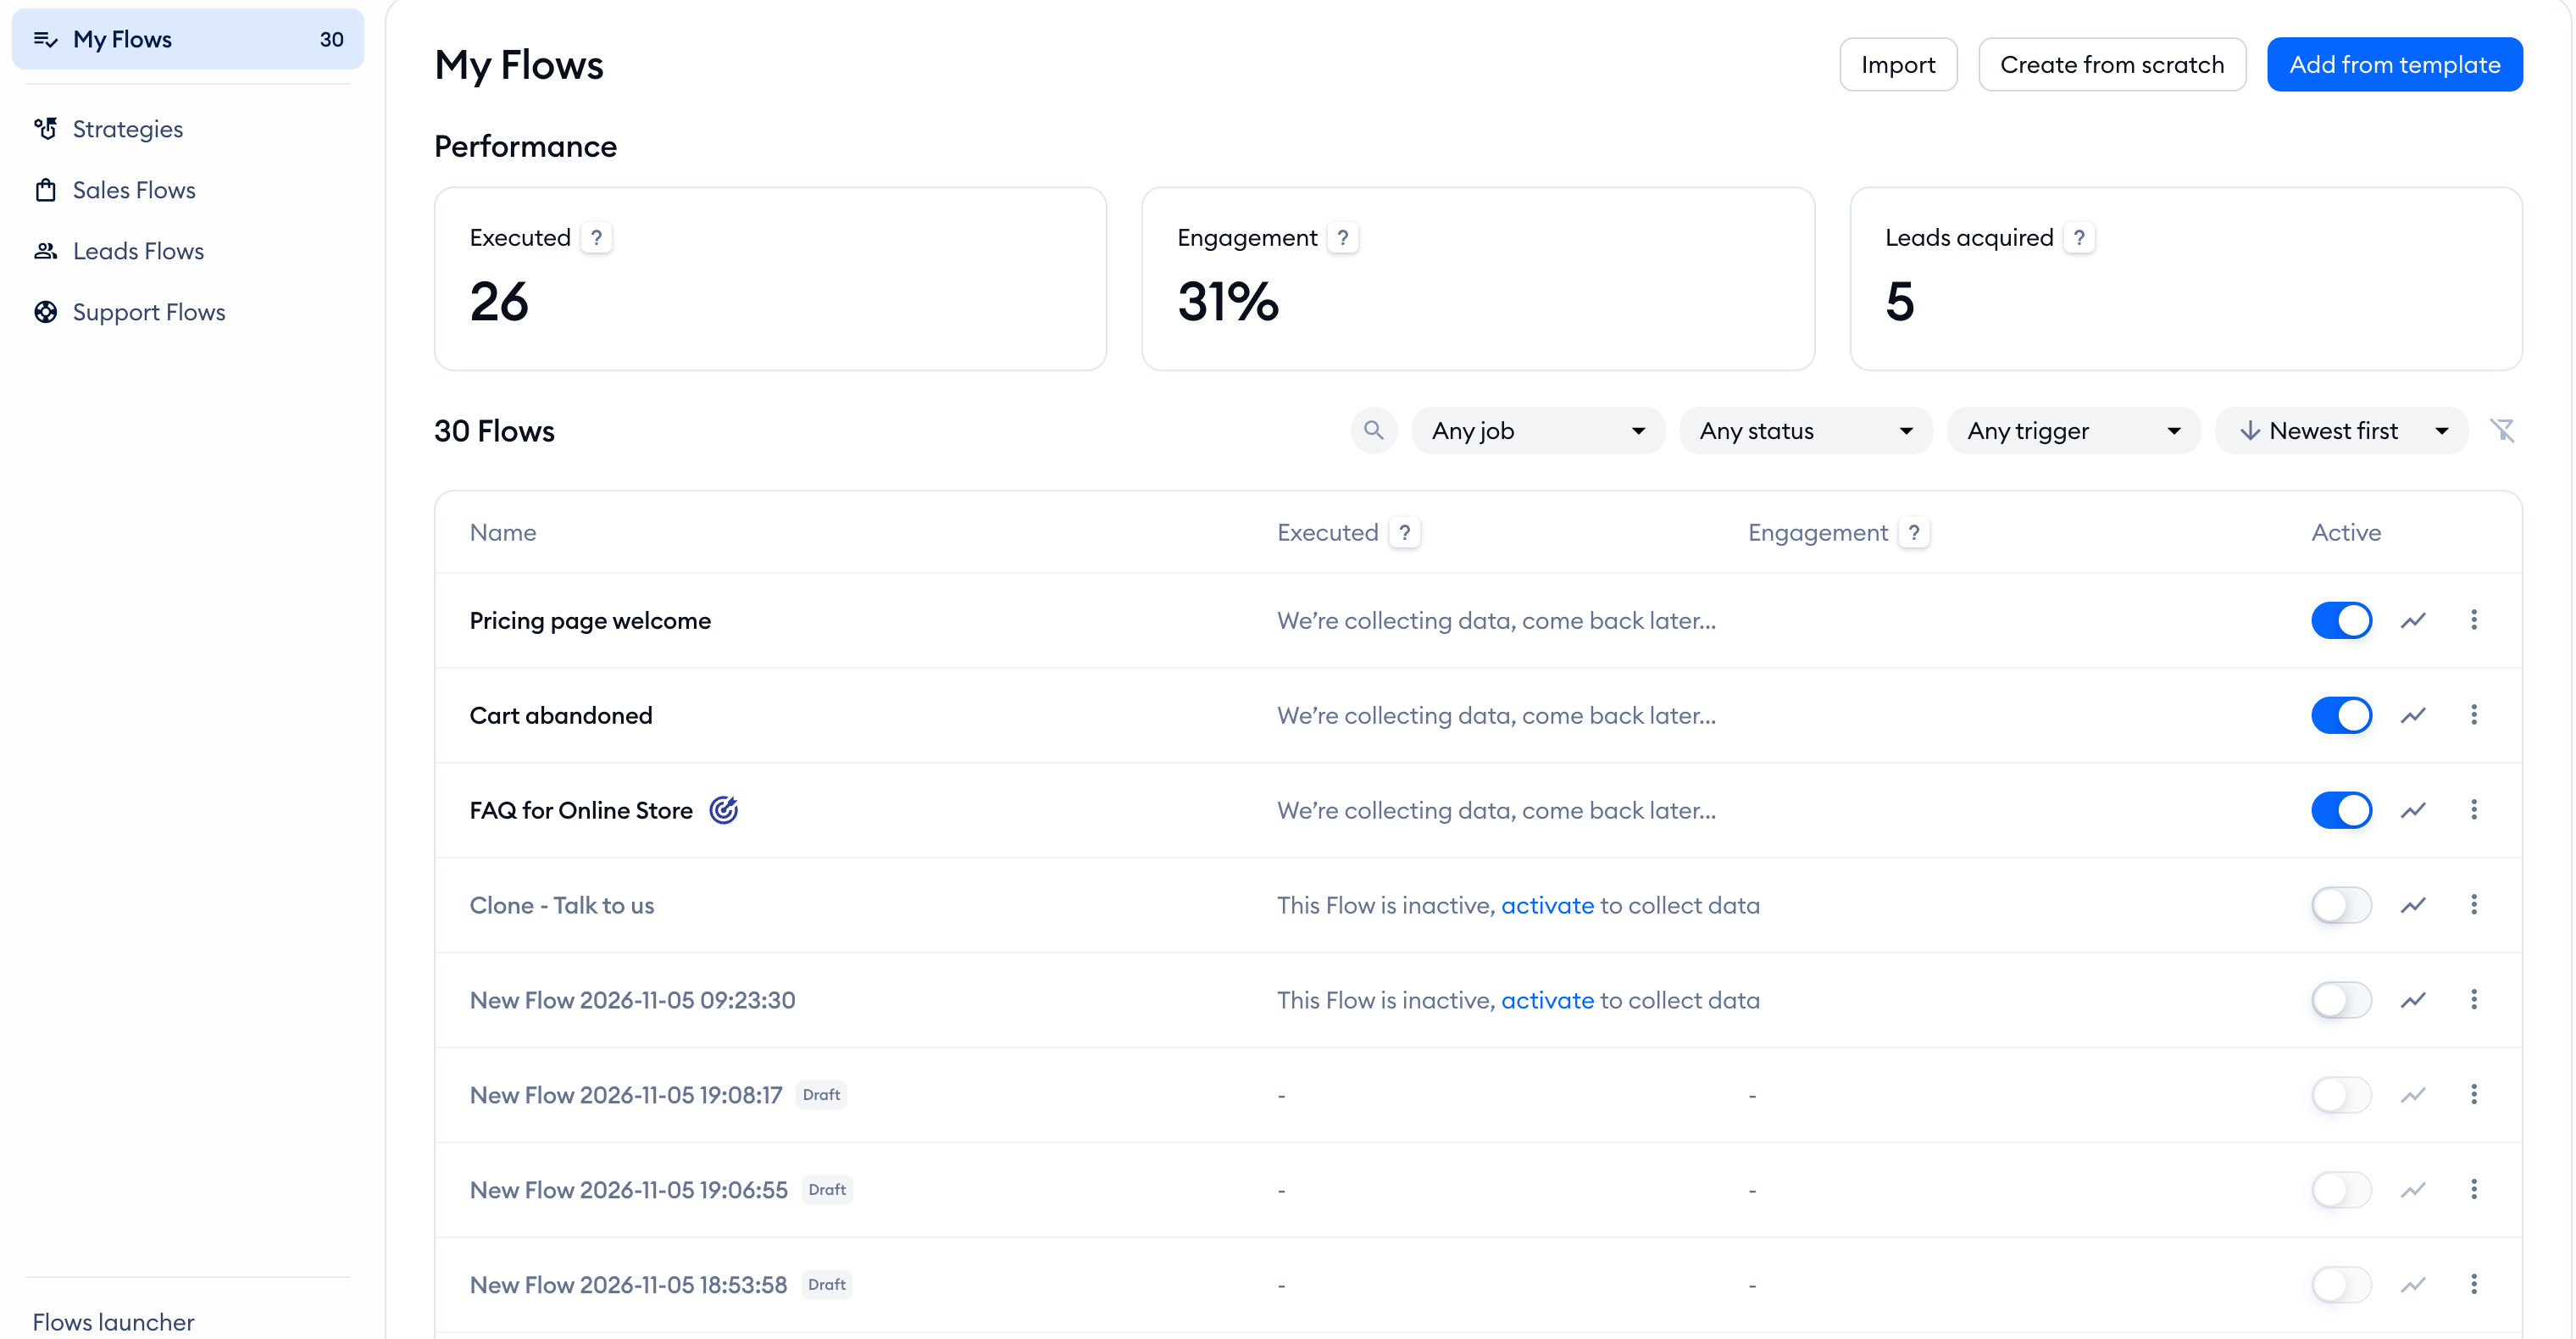
Creating a flow manually allows you to build a scenario using available nodes. Each flow needs to begin with a trigger that tells the flow when to start. After setting the trigger, you can add actions and conditions to complete your flow. Of course, you can modify the trigger(s) later as well.
Adding nodes (triggers, actions, conditions)
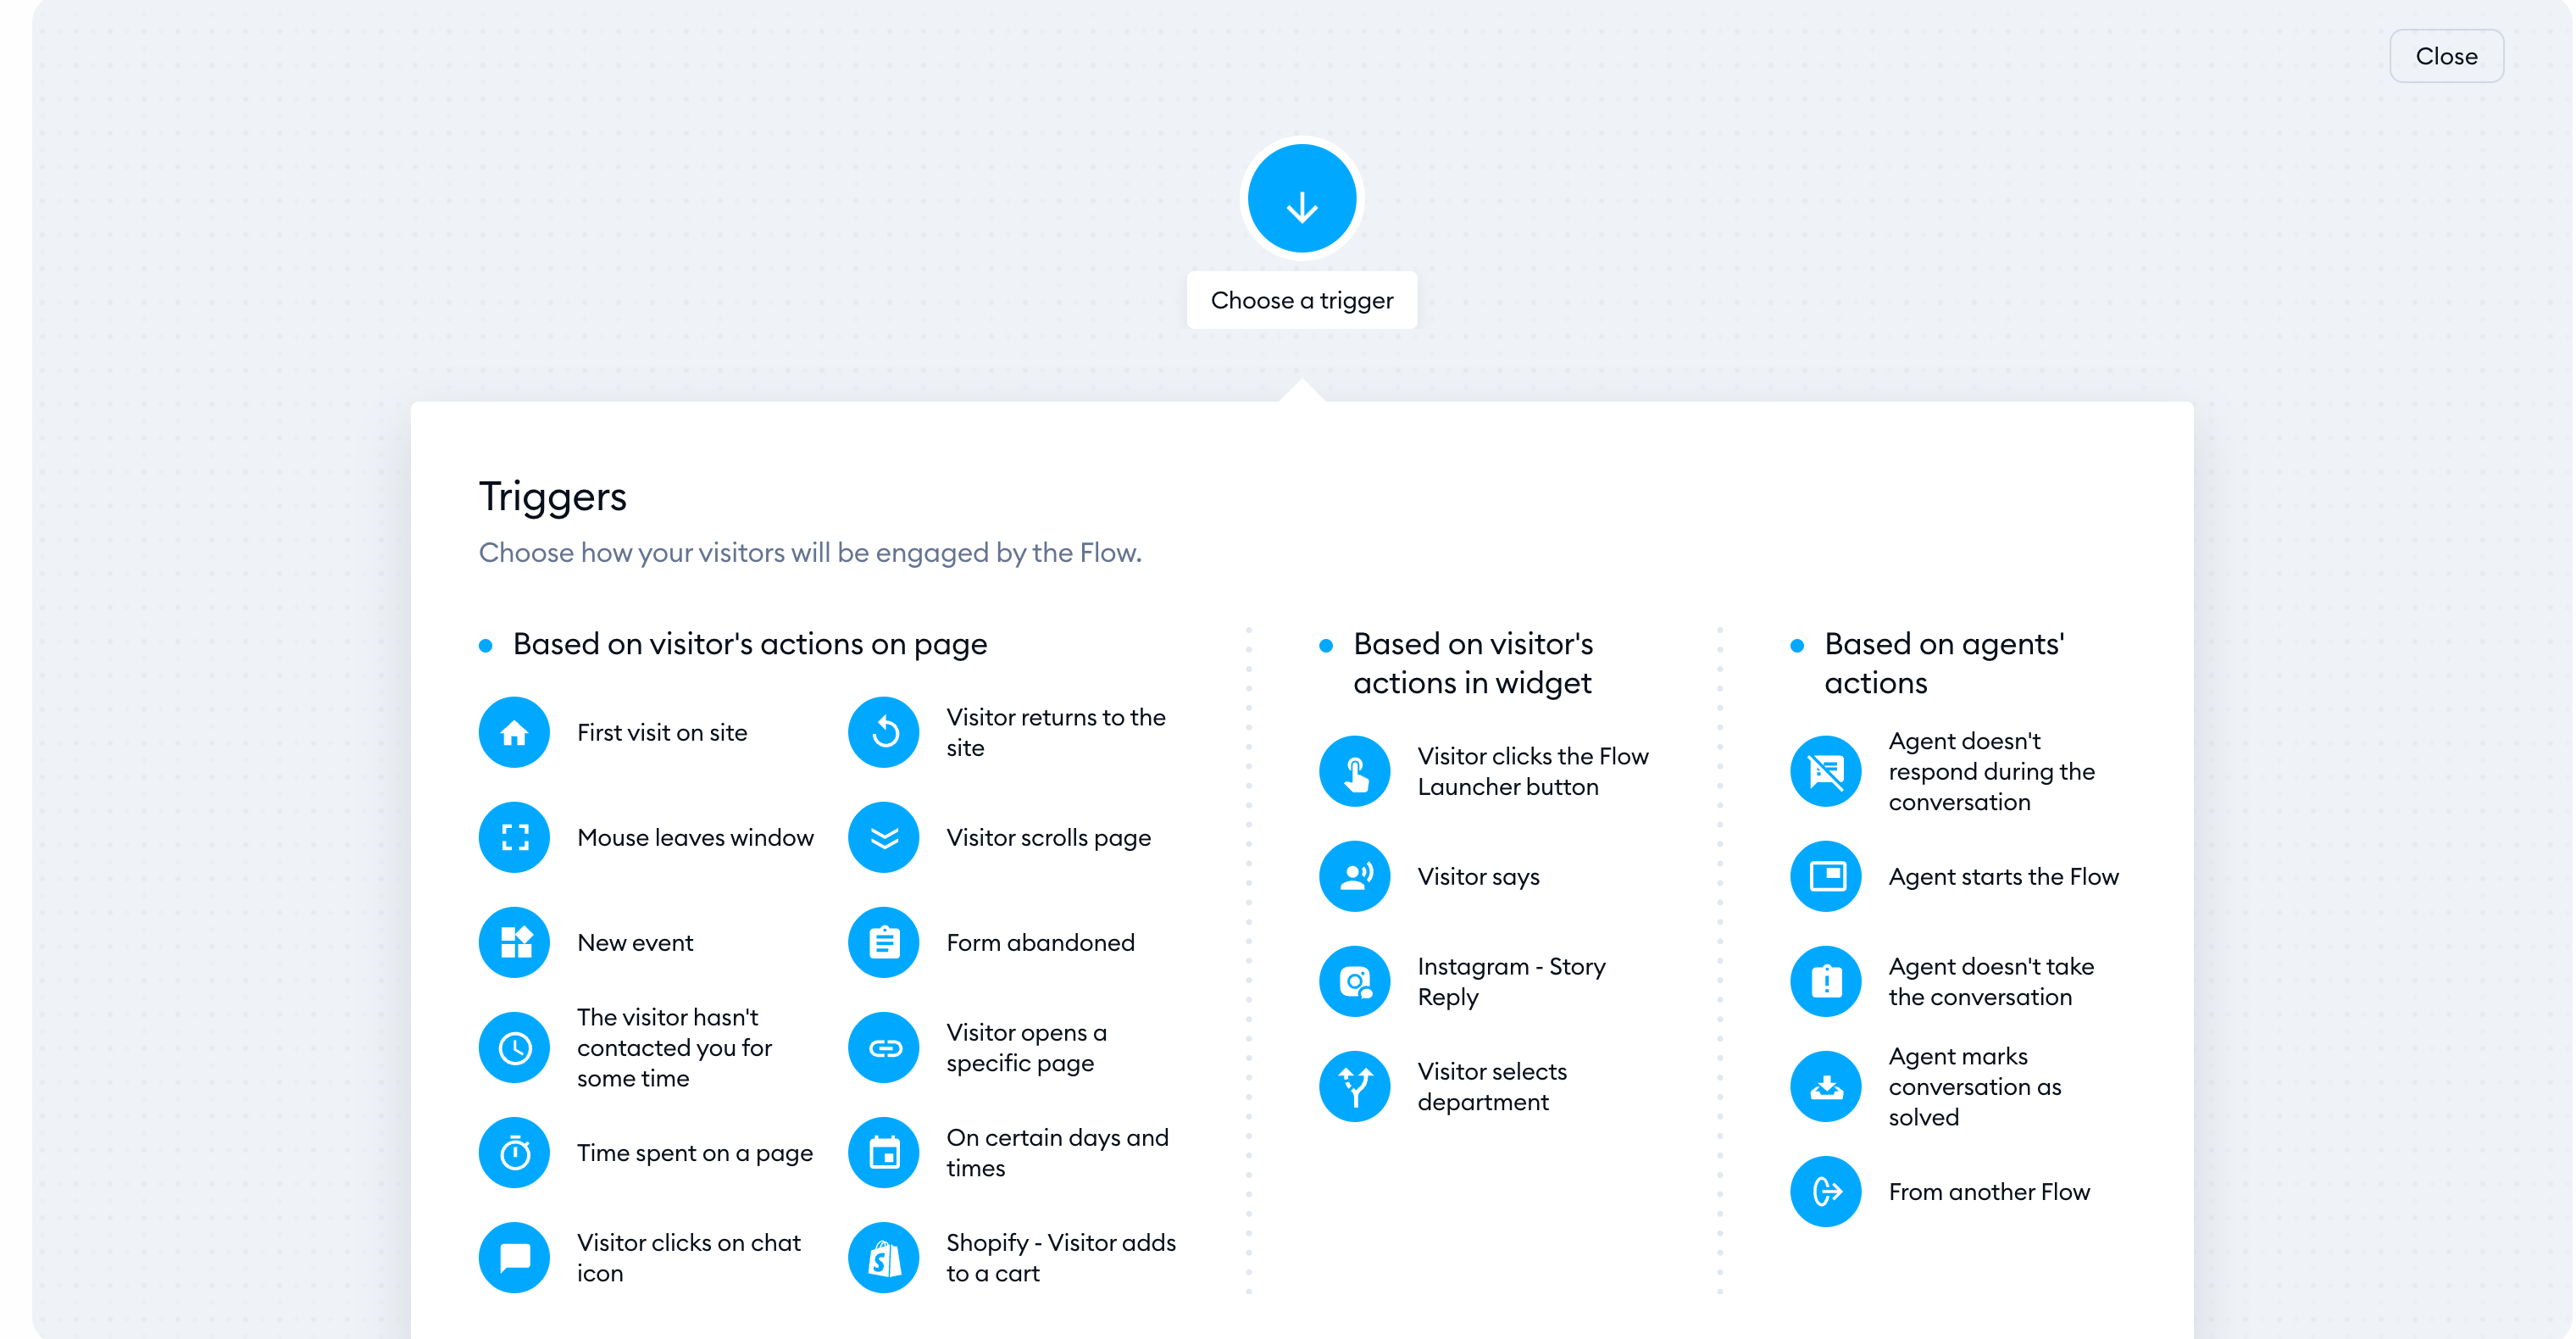
The first thing you'll see when creating your flows is a window with all available triggers. Triggers are categorized by visitor actions on your page or widget, and by actions you initiate:
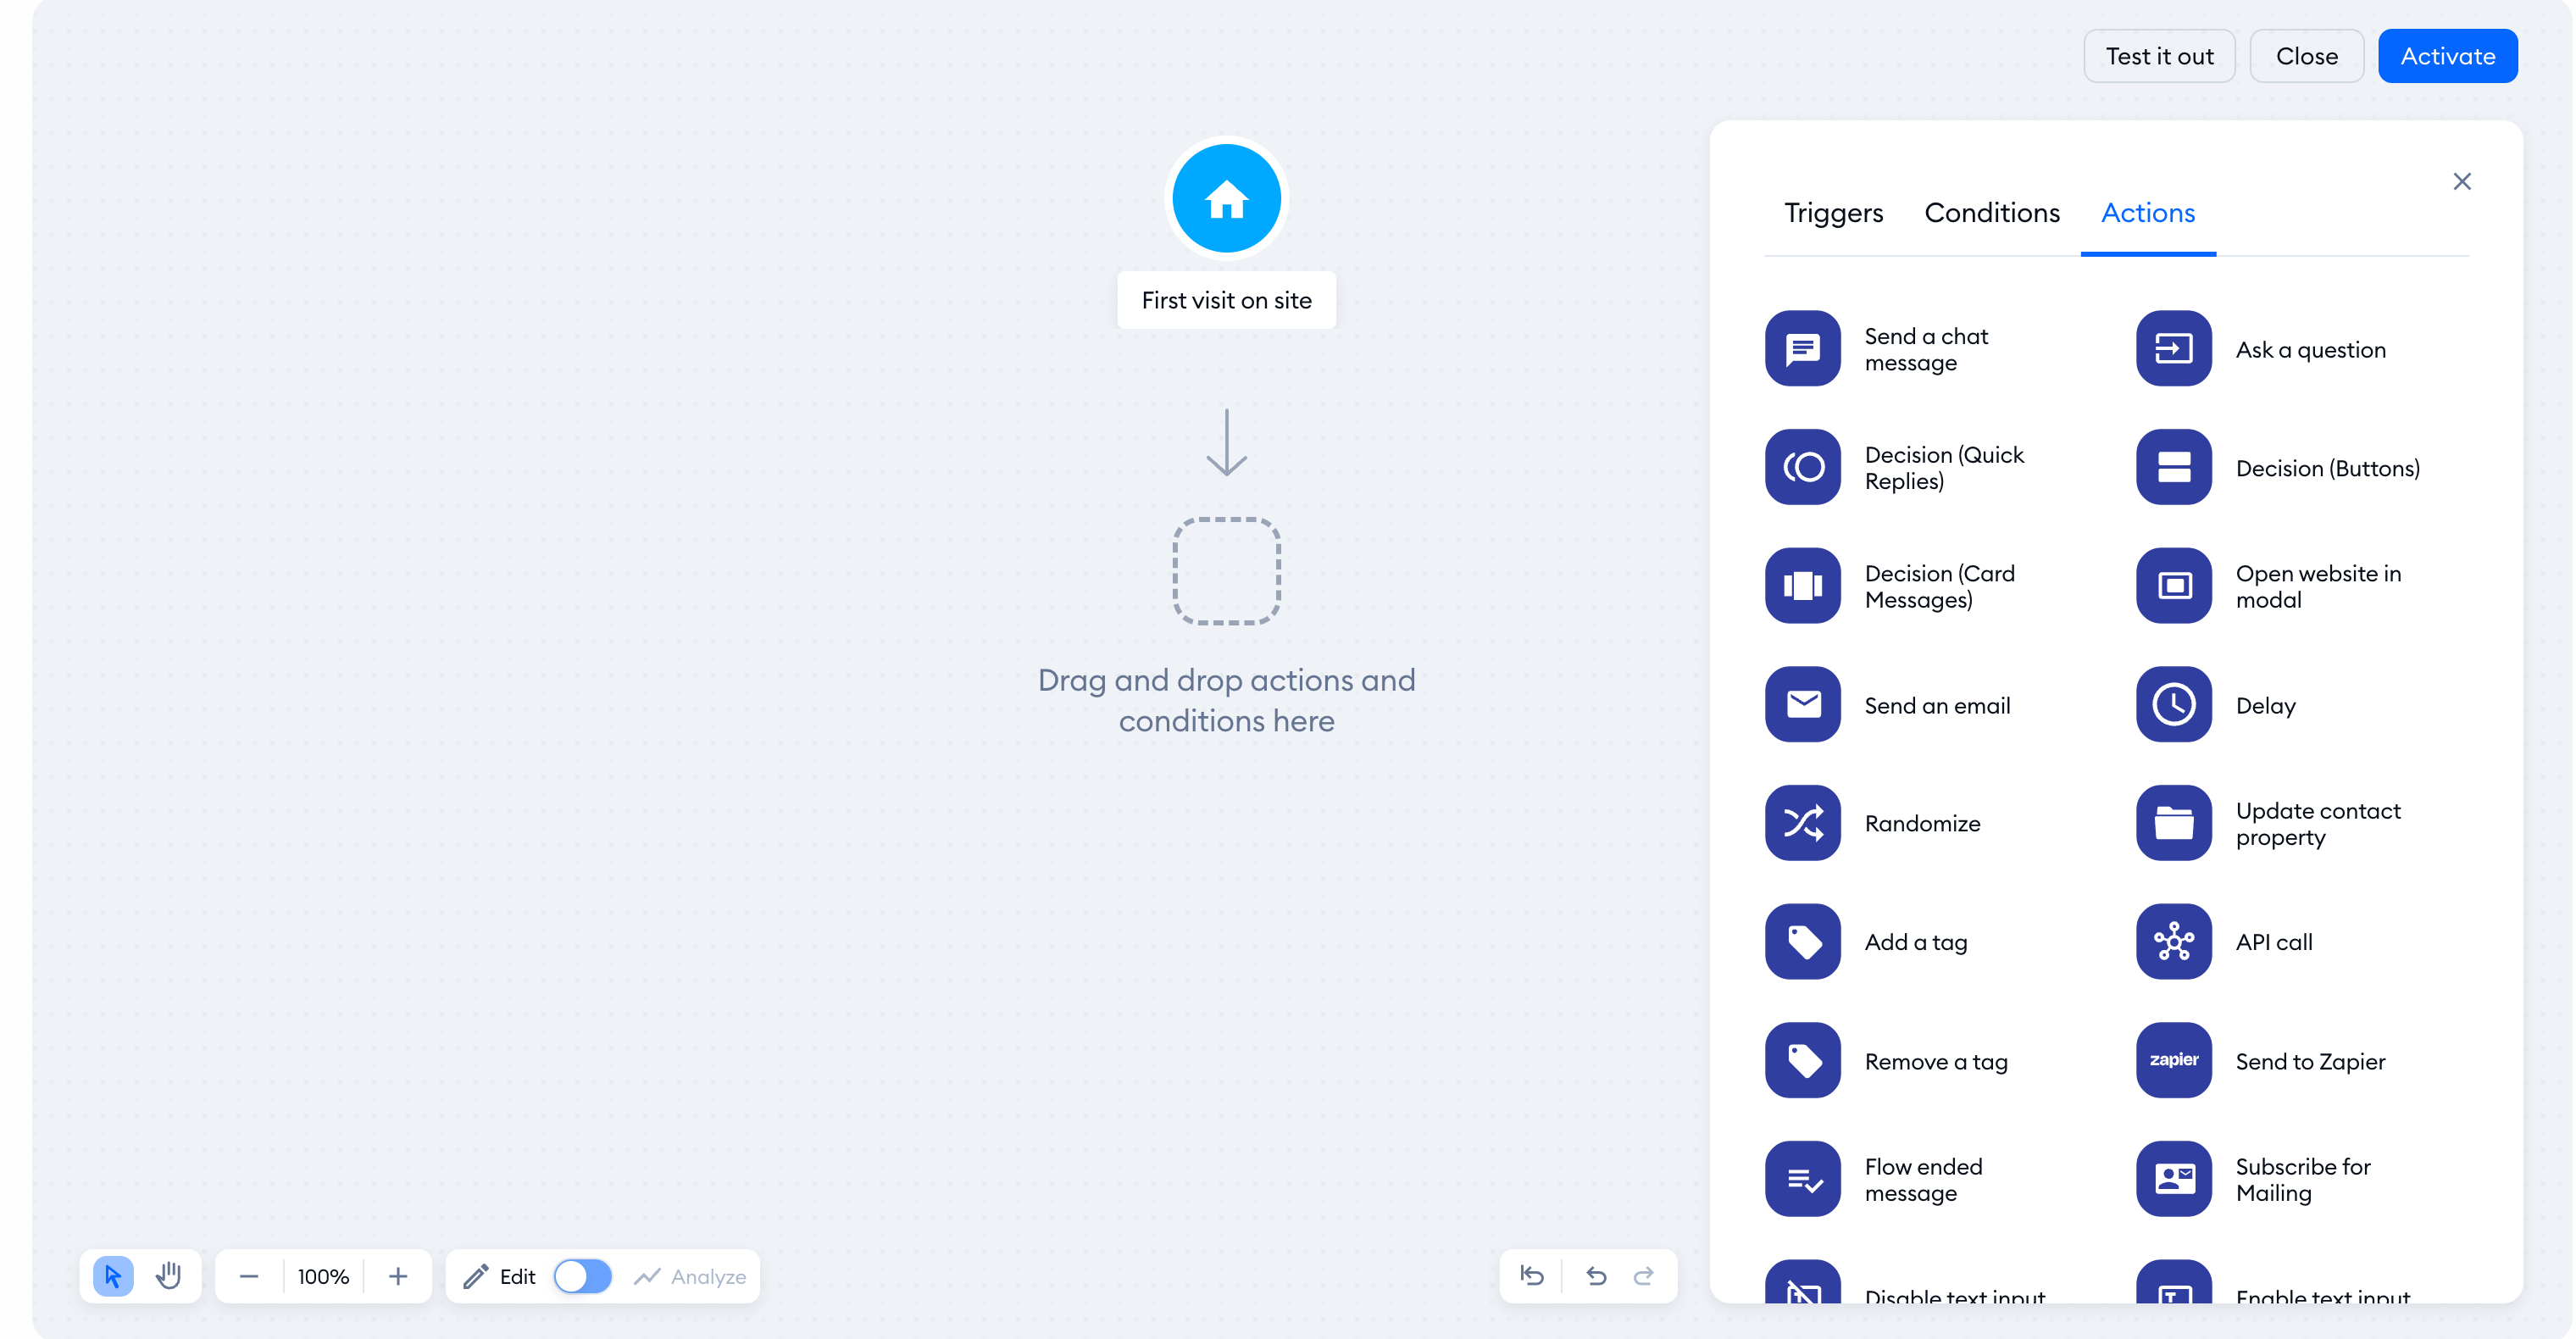
After choosing your trigger, you'll see the visualflow editor. It provides a grid where you can add and connect nodes (such as triggers, conditions, and actions). Think of it as creating a "map" for your flow , a logical chain of events that occur on the visitor's side, often referred to as a flow decision tree.
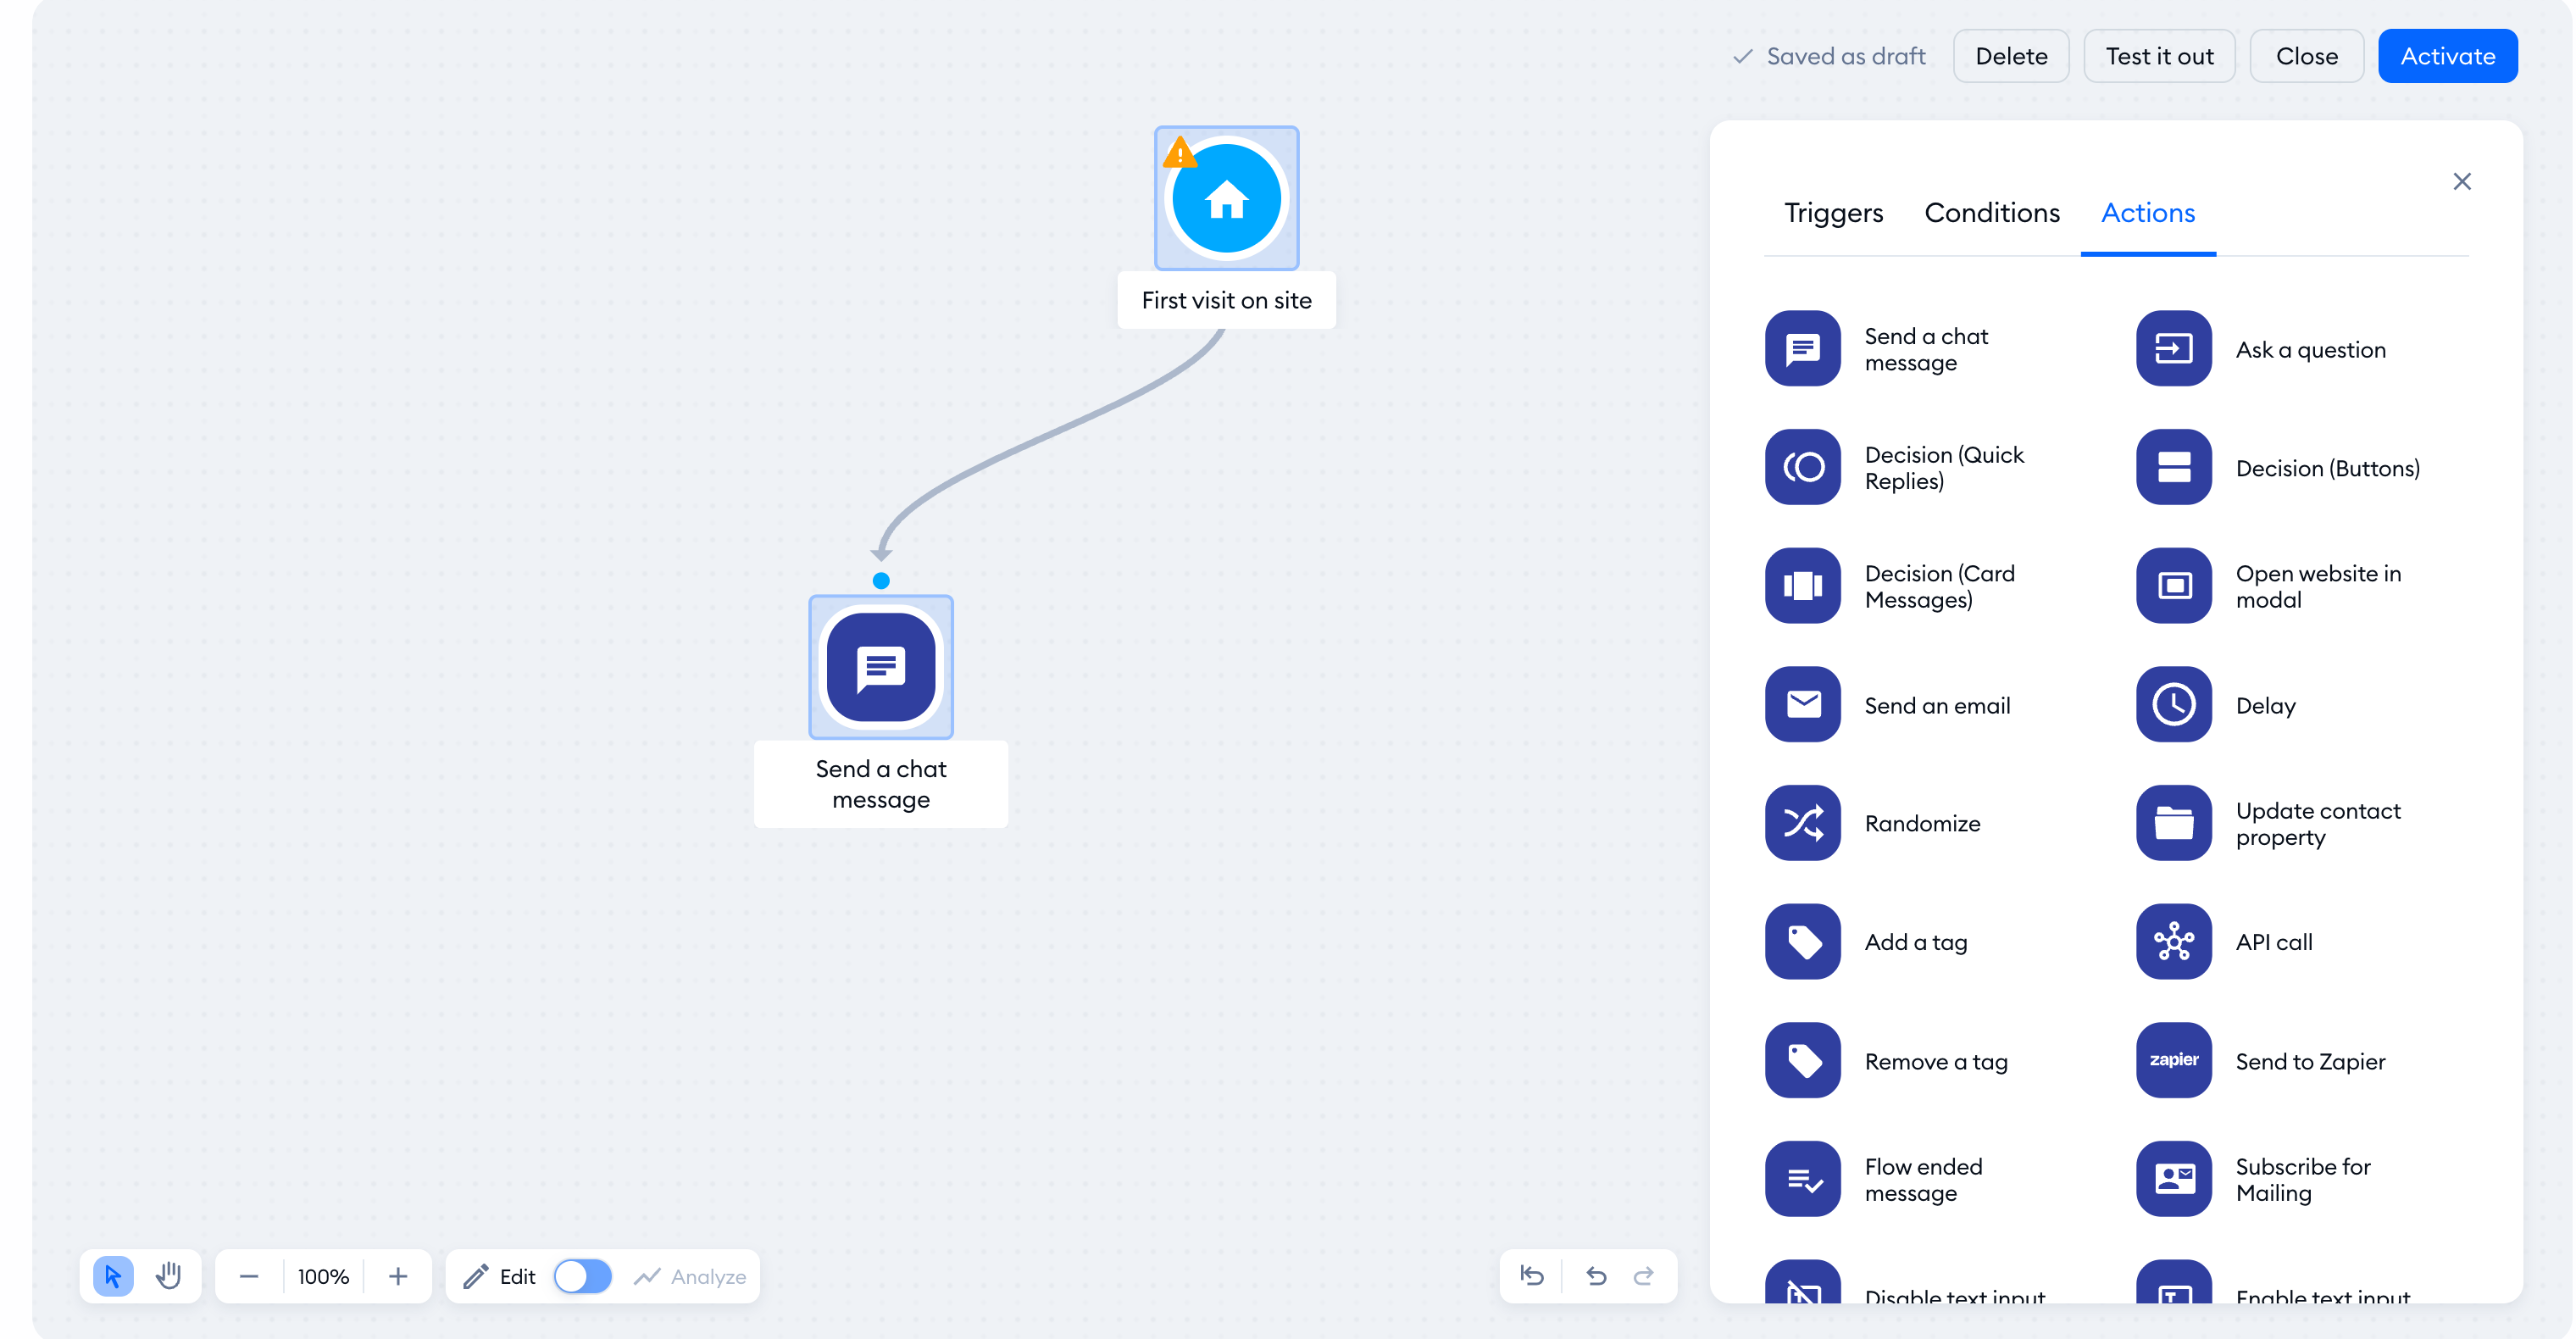
On the right, you will see a menu with all the available nodes: triggers, conditions, and actions. That is where you select all your building blocks for the current flow; to place a node, simply click on it and drag it onto the editing area.
Connecting, disconnecting, and moving nodes
Connect the nodes on your flow map manually. To do that, click on one of the node's points (located around each node) and drag a link towards the other node:
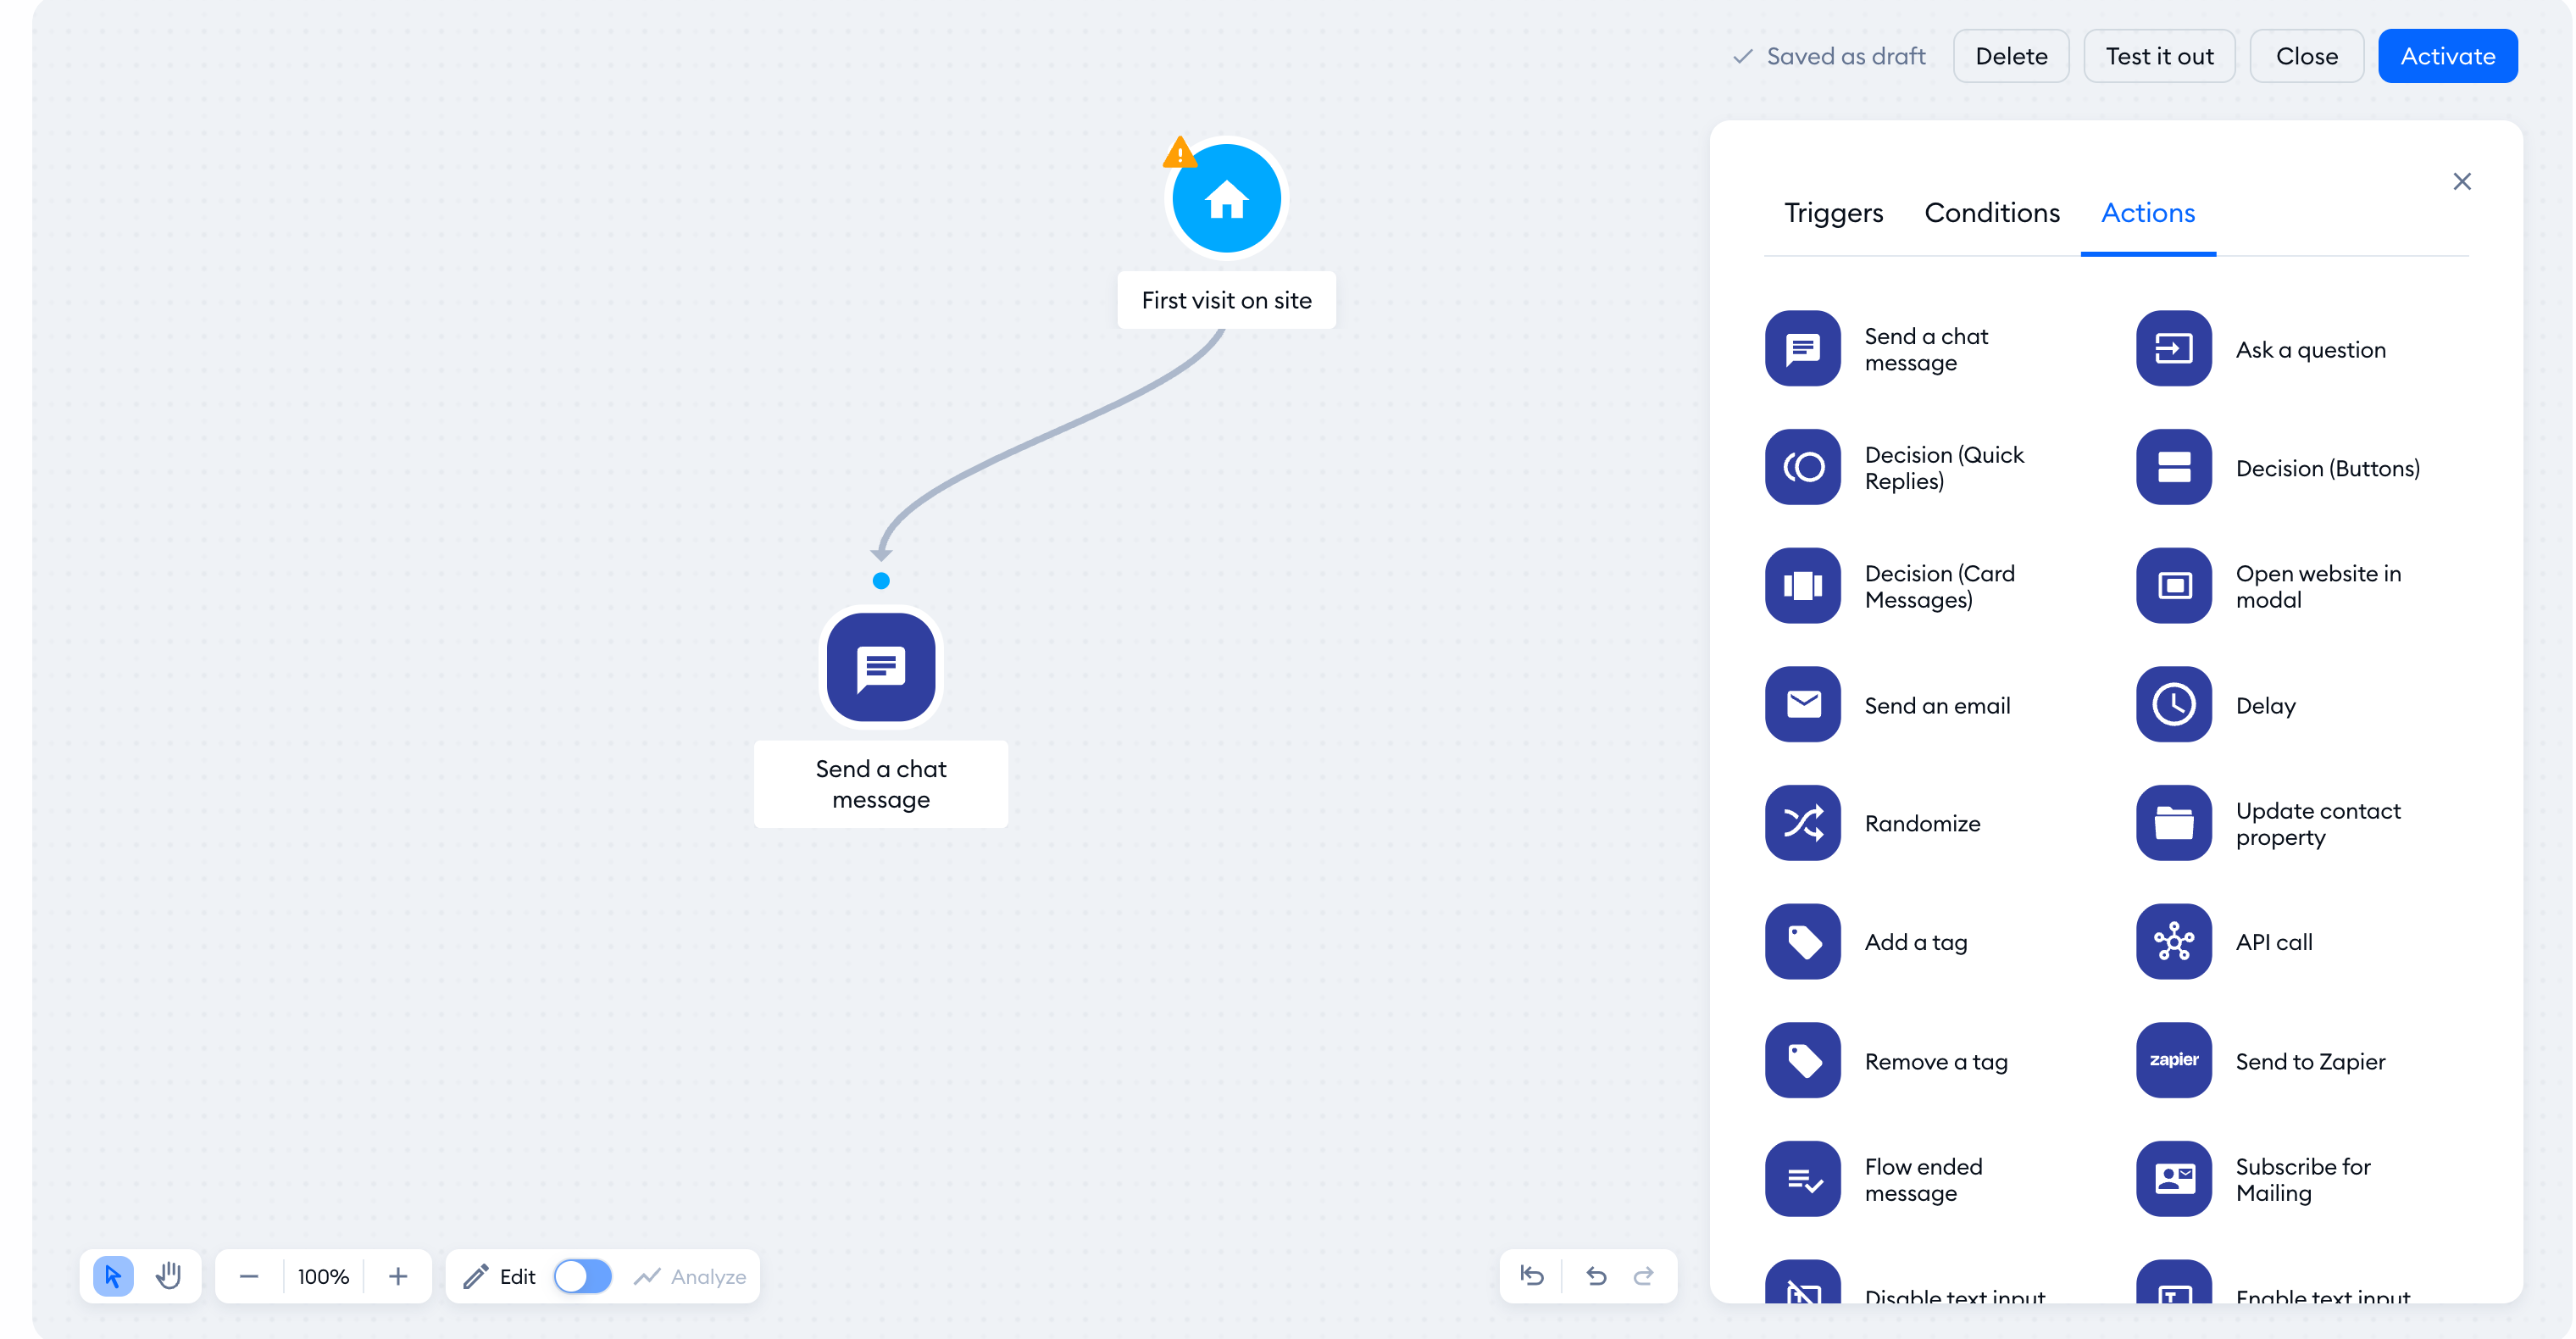
You can easily reorganize and reconnect these nodes. To disconnect a node, hover over the link and click the X icon:
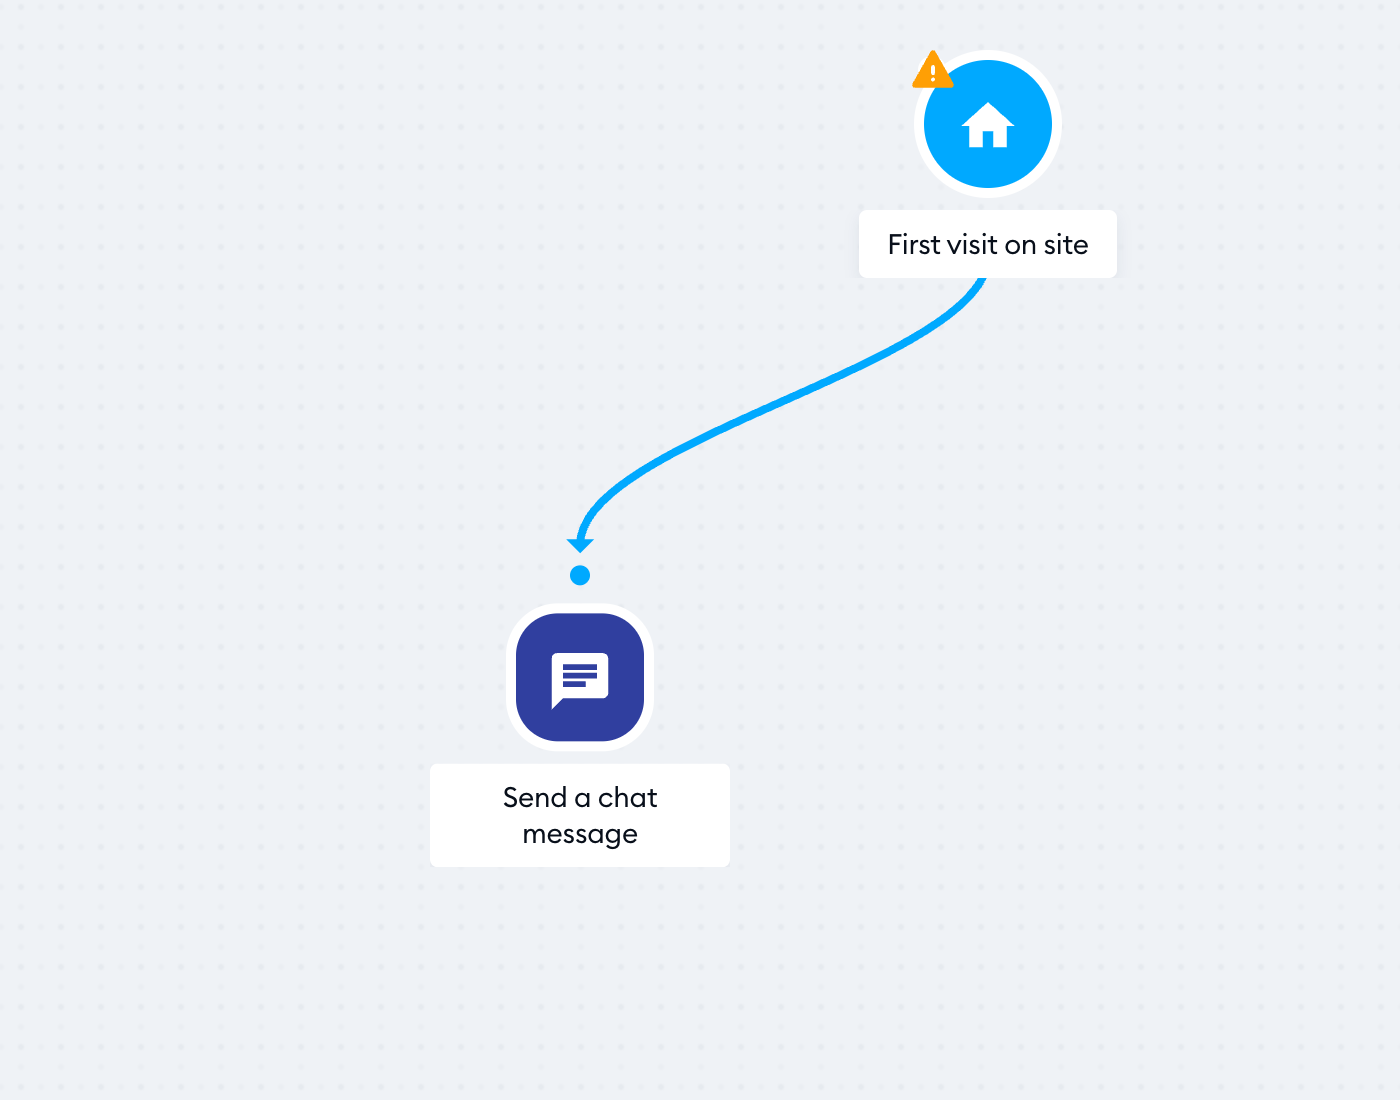
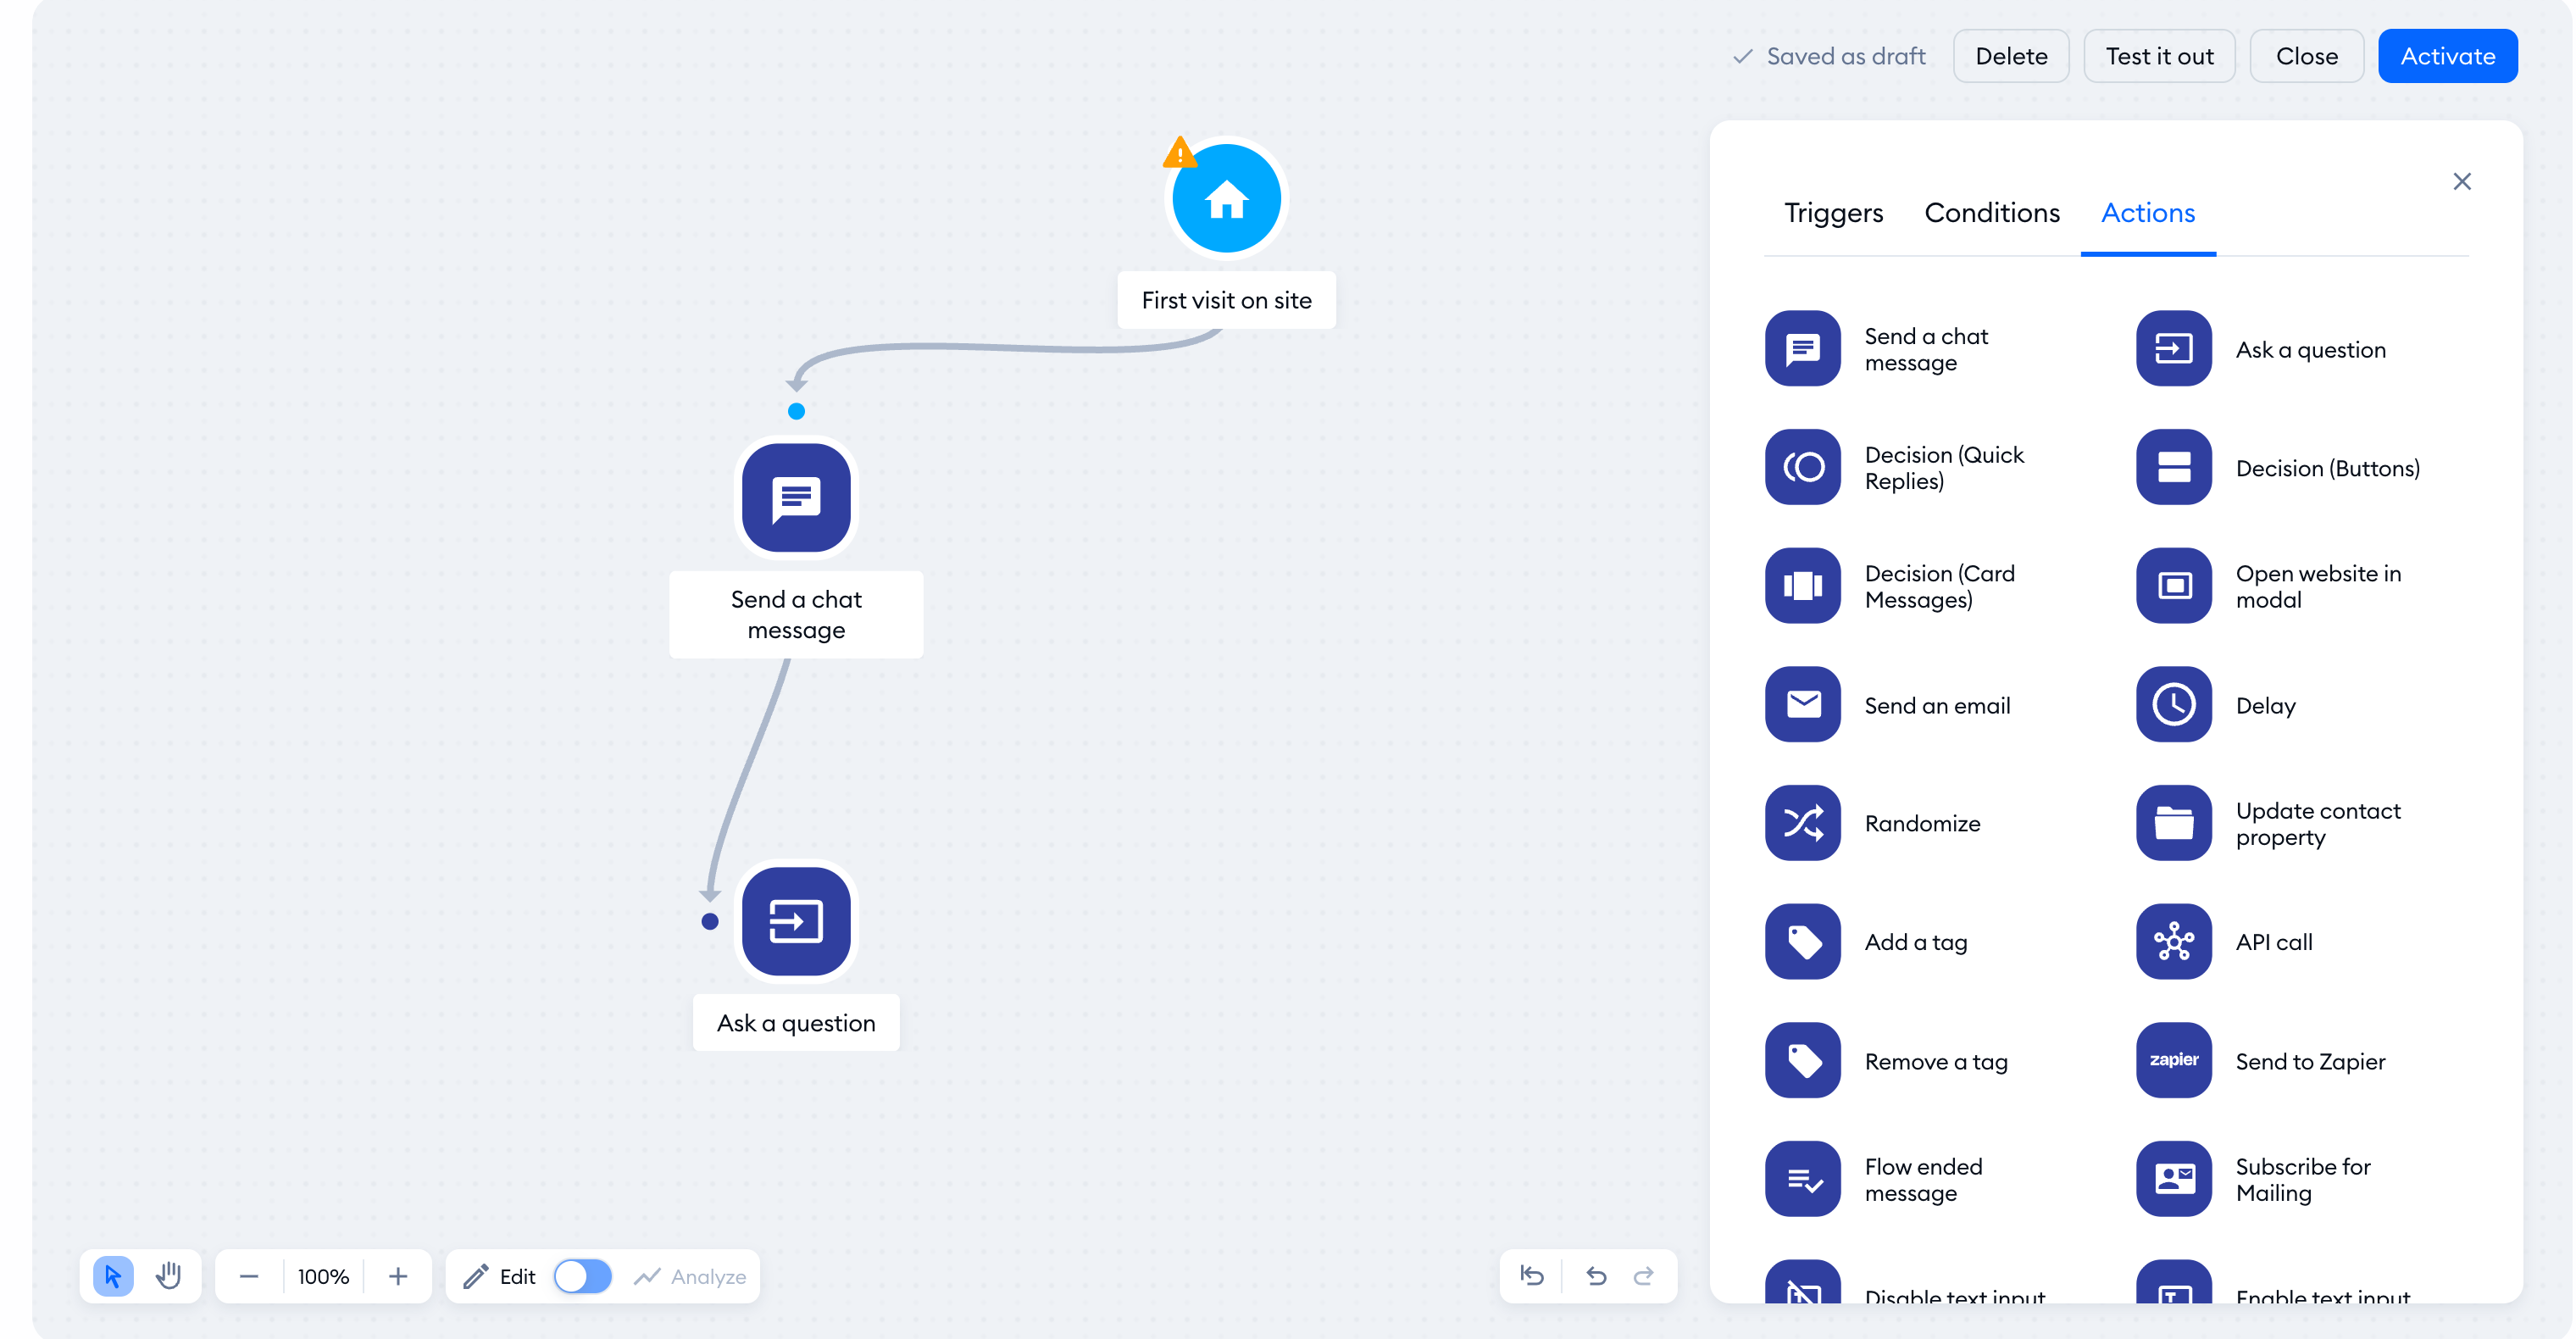
After disconnecting one node, you can link another one that you prefer:
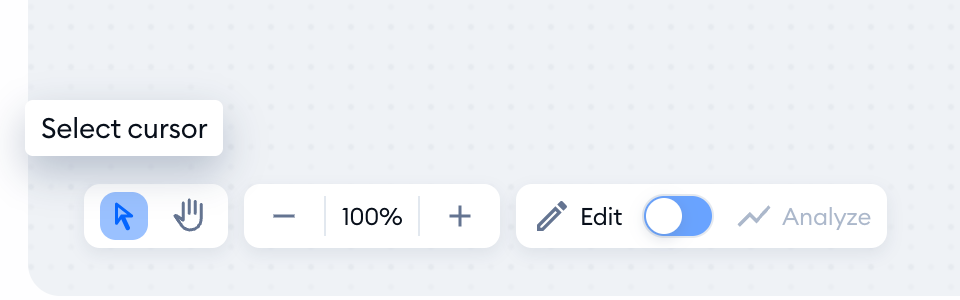
If you wish to move several nodes at once, first ensure that you have the Select cursor enabled in the lower-left of the editor (that is the default):
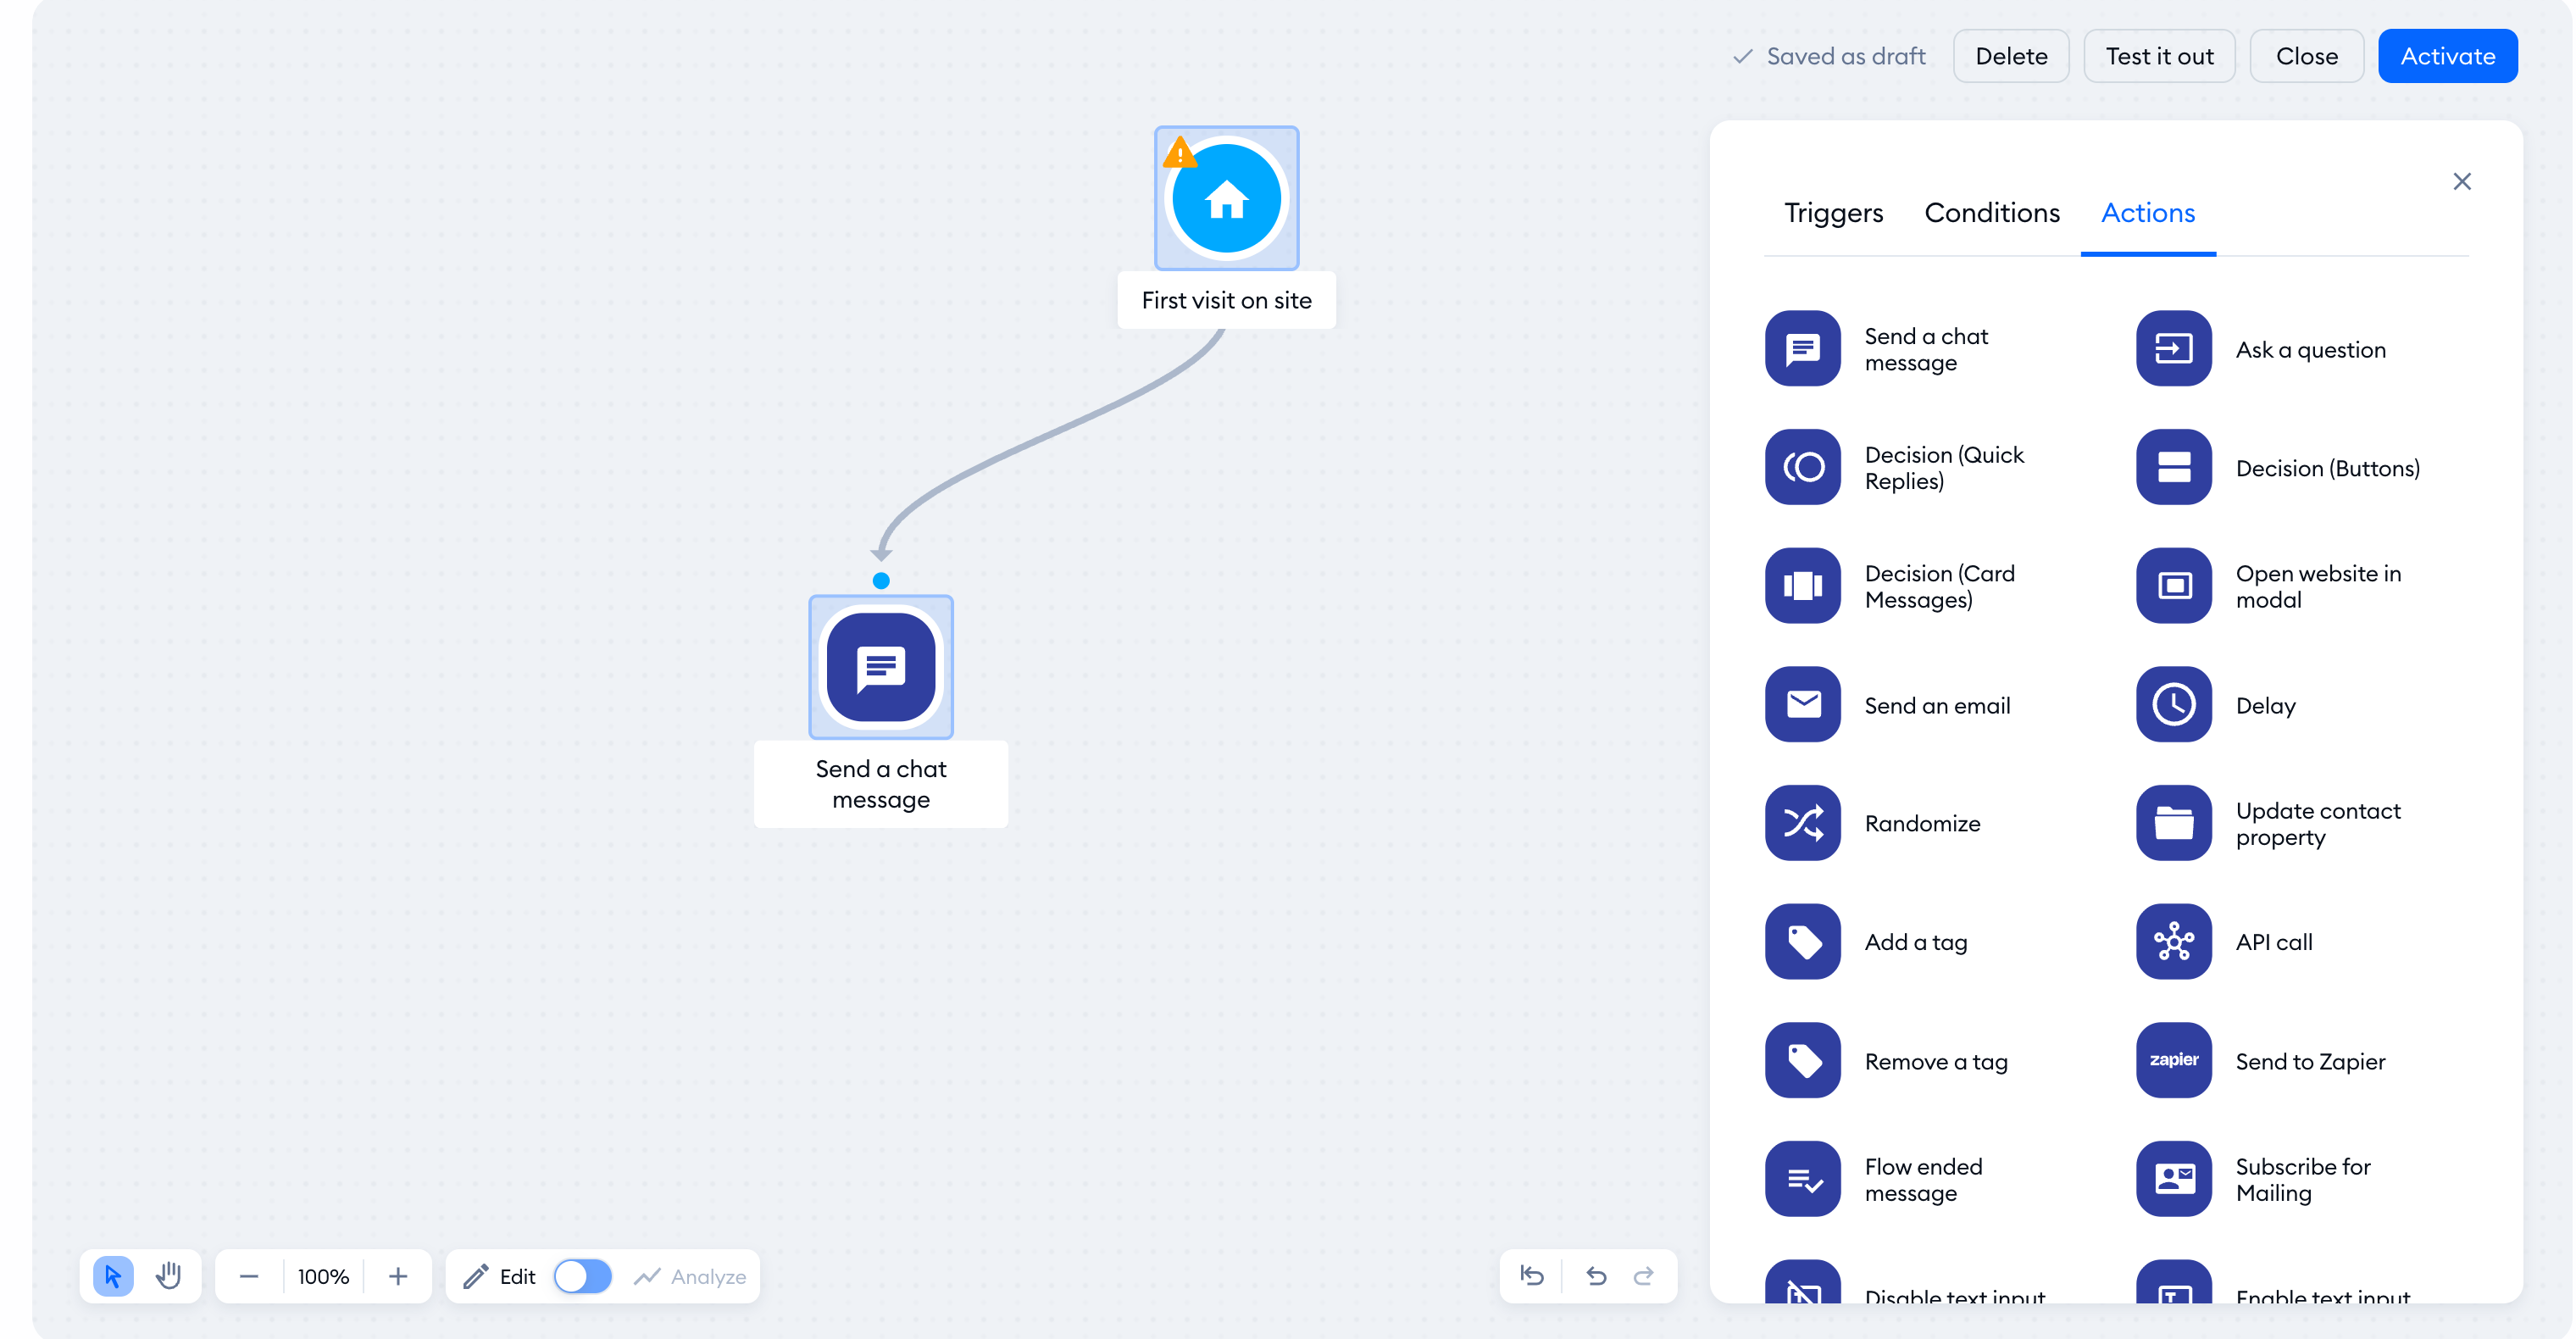
This mode allows you to select nodes and move them around, using your left mouse click. You can select a larger area with multiple nodes as well:
The other option is the Move cursor:
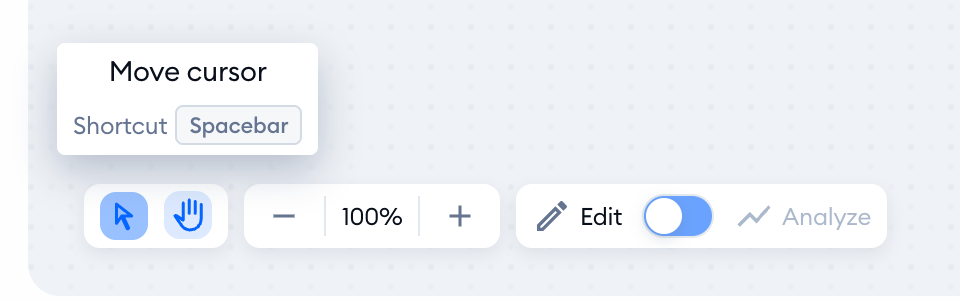
This mode will aid you with dragging and moving the screen around for better visibility and navigation (using the left mouse click). You can still select and edit nodes, but only one at a time.
To delete a node, hover your mouse pointer over the node and click on the X button on the right:
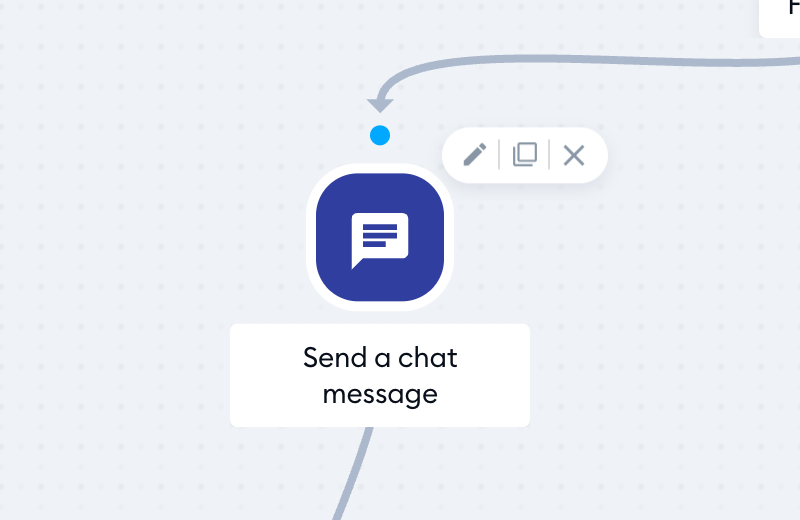
You can also delete multiple nodes at once. First, select the nodes you wish to delete (by clicking and dragging, as explained earlier). You can't use the X button to delete them all at the same time, however; you need to use either the backspace or delete key on your keyboard.
Saving your flow
While the editor will save your progress automatically (creating a draft version of your flow), you can manually save any changes by hitting the Activate button in the top-right. That will also enable your flow, so that it starts working.
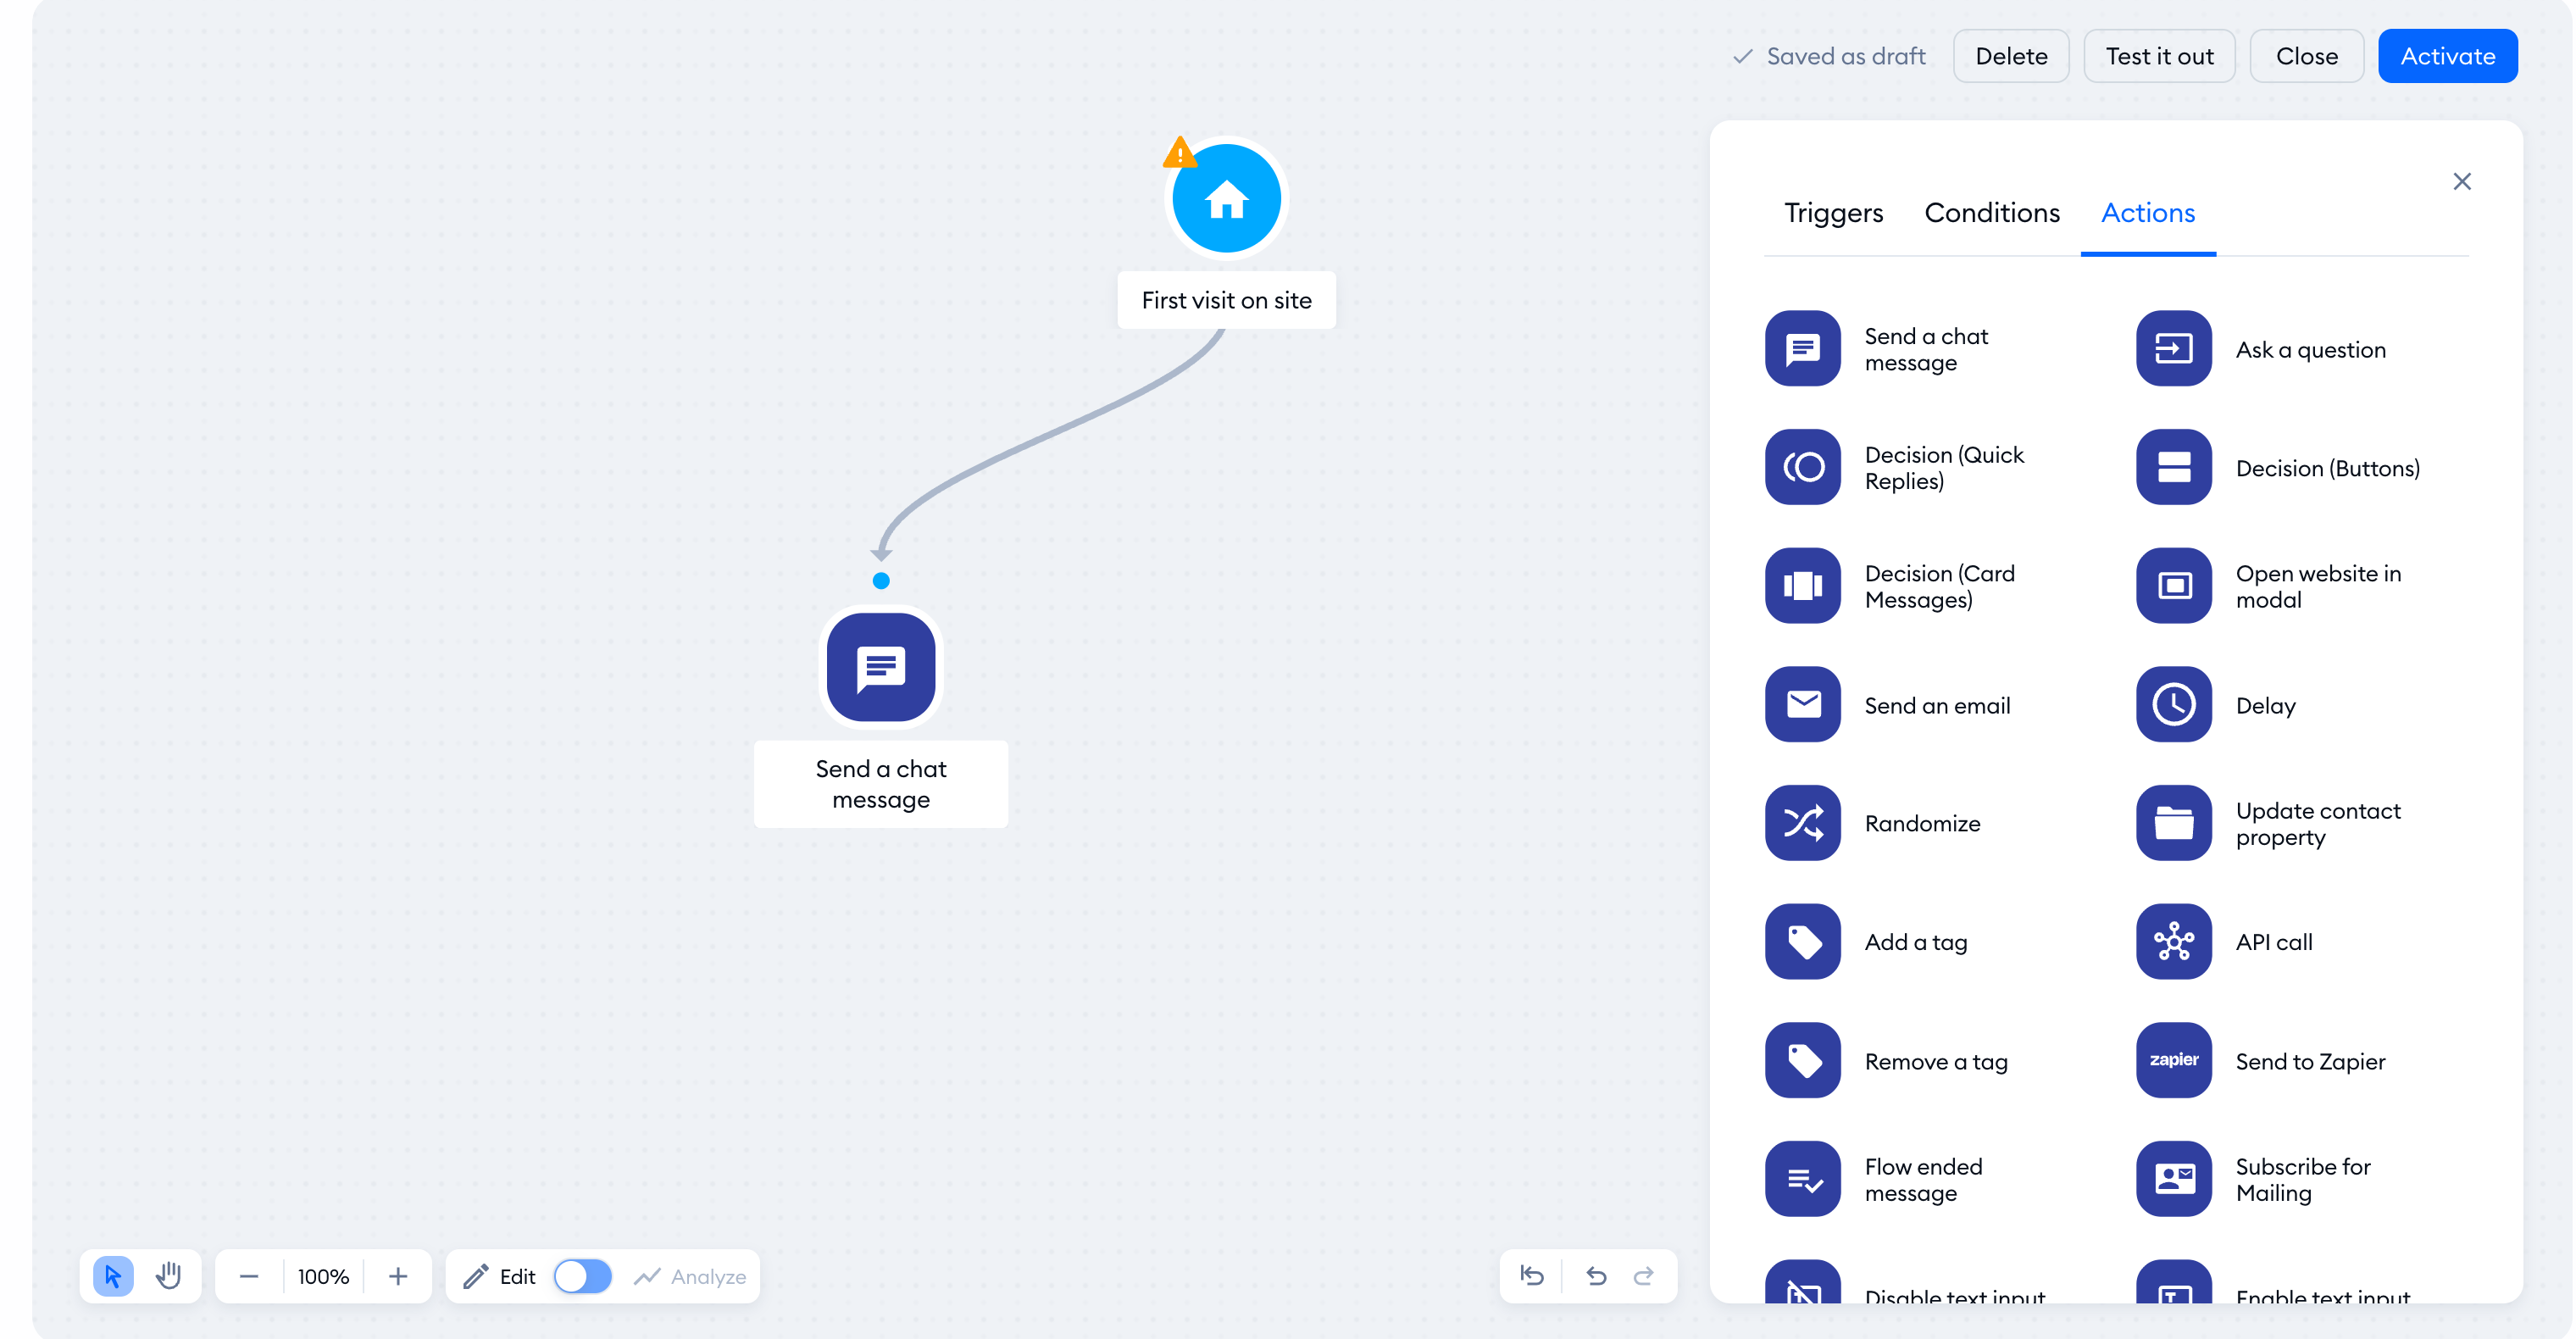
Of course, you can simply use the Close button as well, to exit the editor and keep your changes saved as a draft - you can keep editing the flow later on.
Adding a Flow template
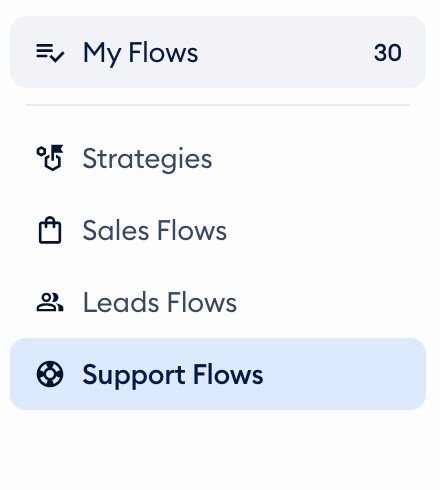
If you prefer a quicker start, Tidio offers a variety of pre-designed flow templates categorized by goals - inside the general Flows section:
- Sales Flows
- Leads Flows
- Support Flows
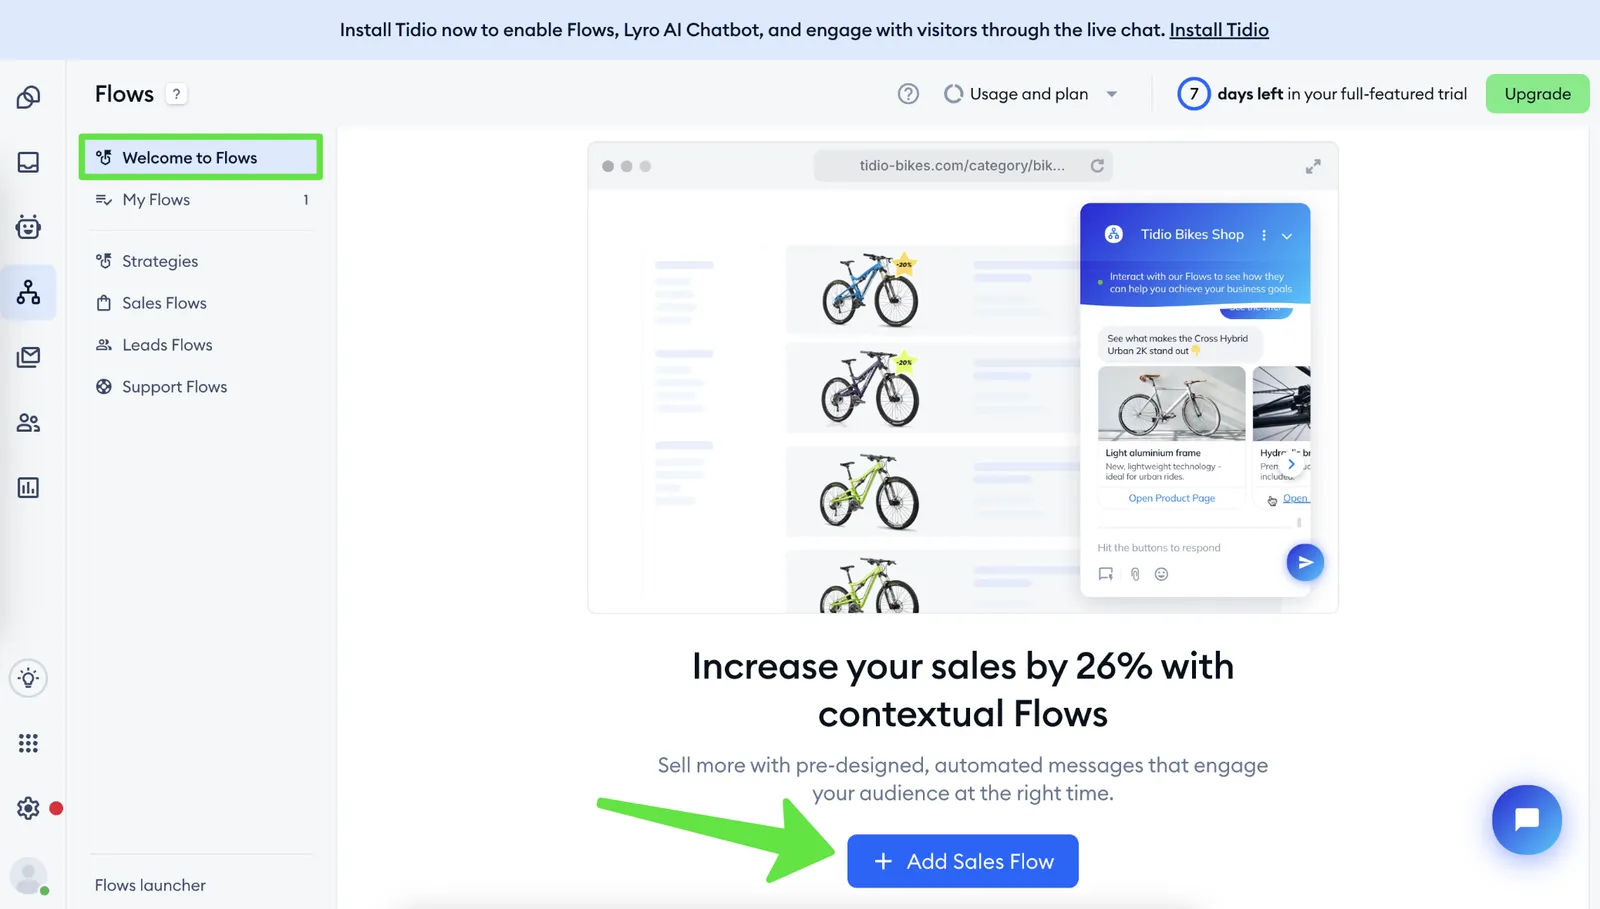
If Welcome to Flows is available in your project, you can open it from the Flows menu to see a recommended starting flow. Not every project shows this tab.
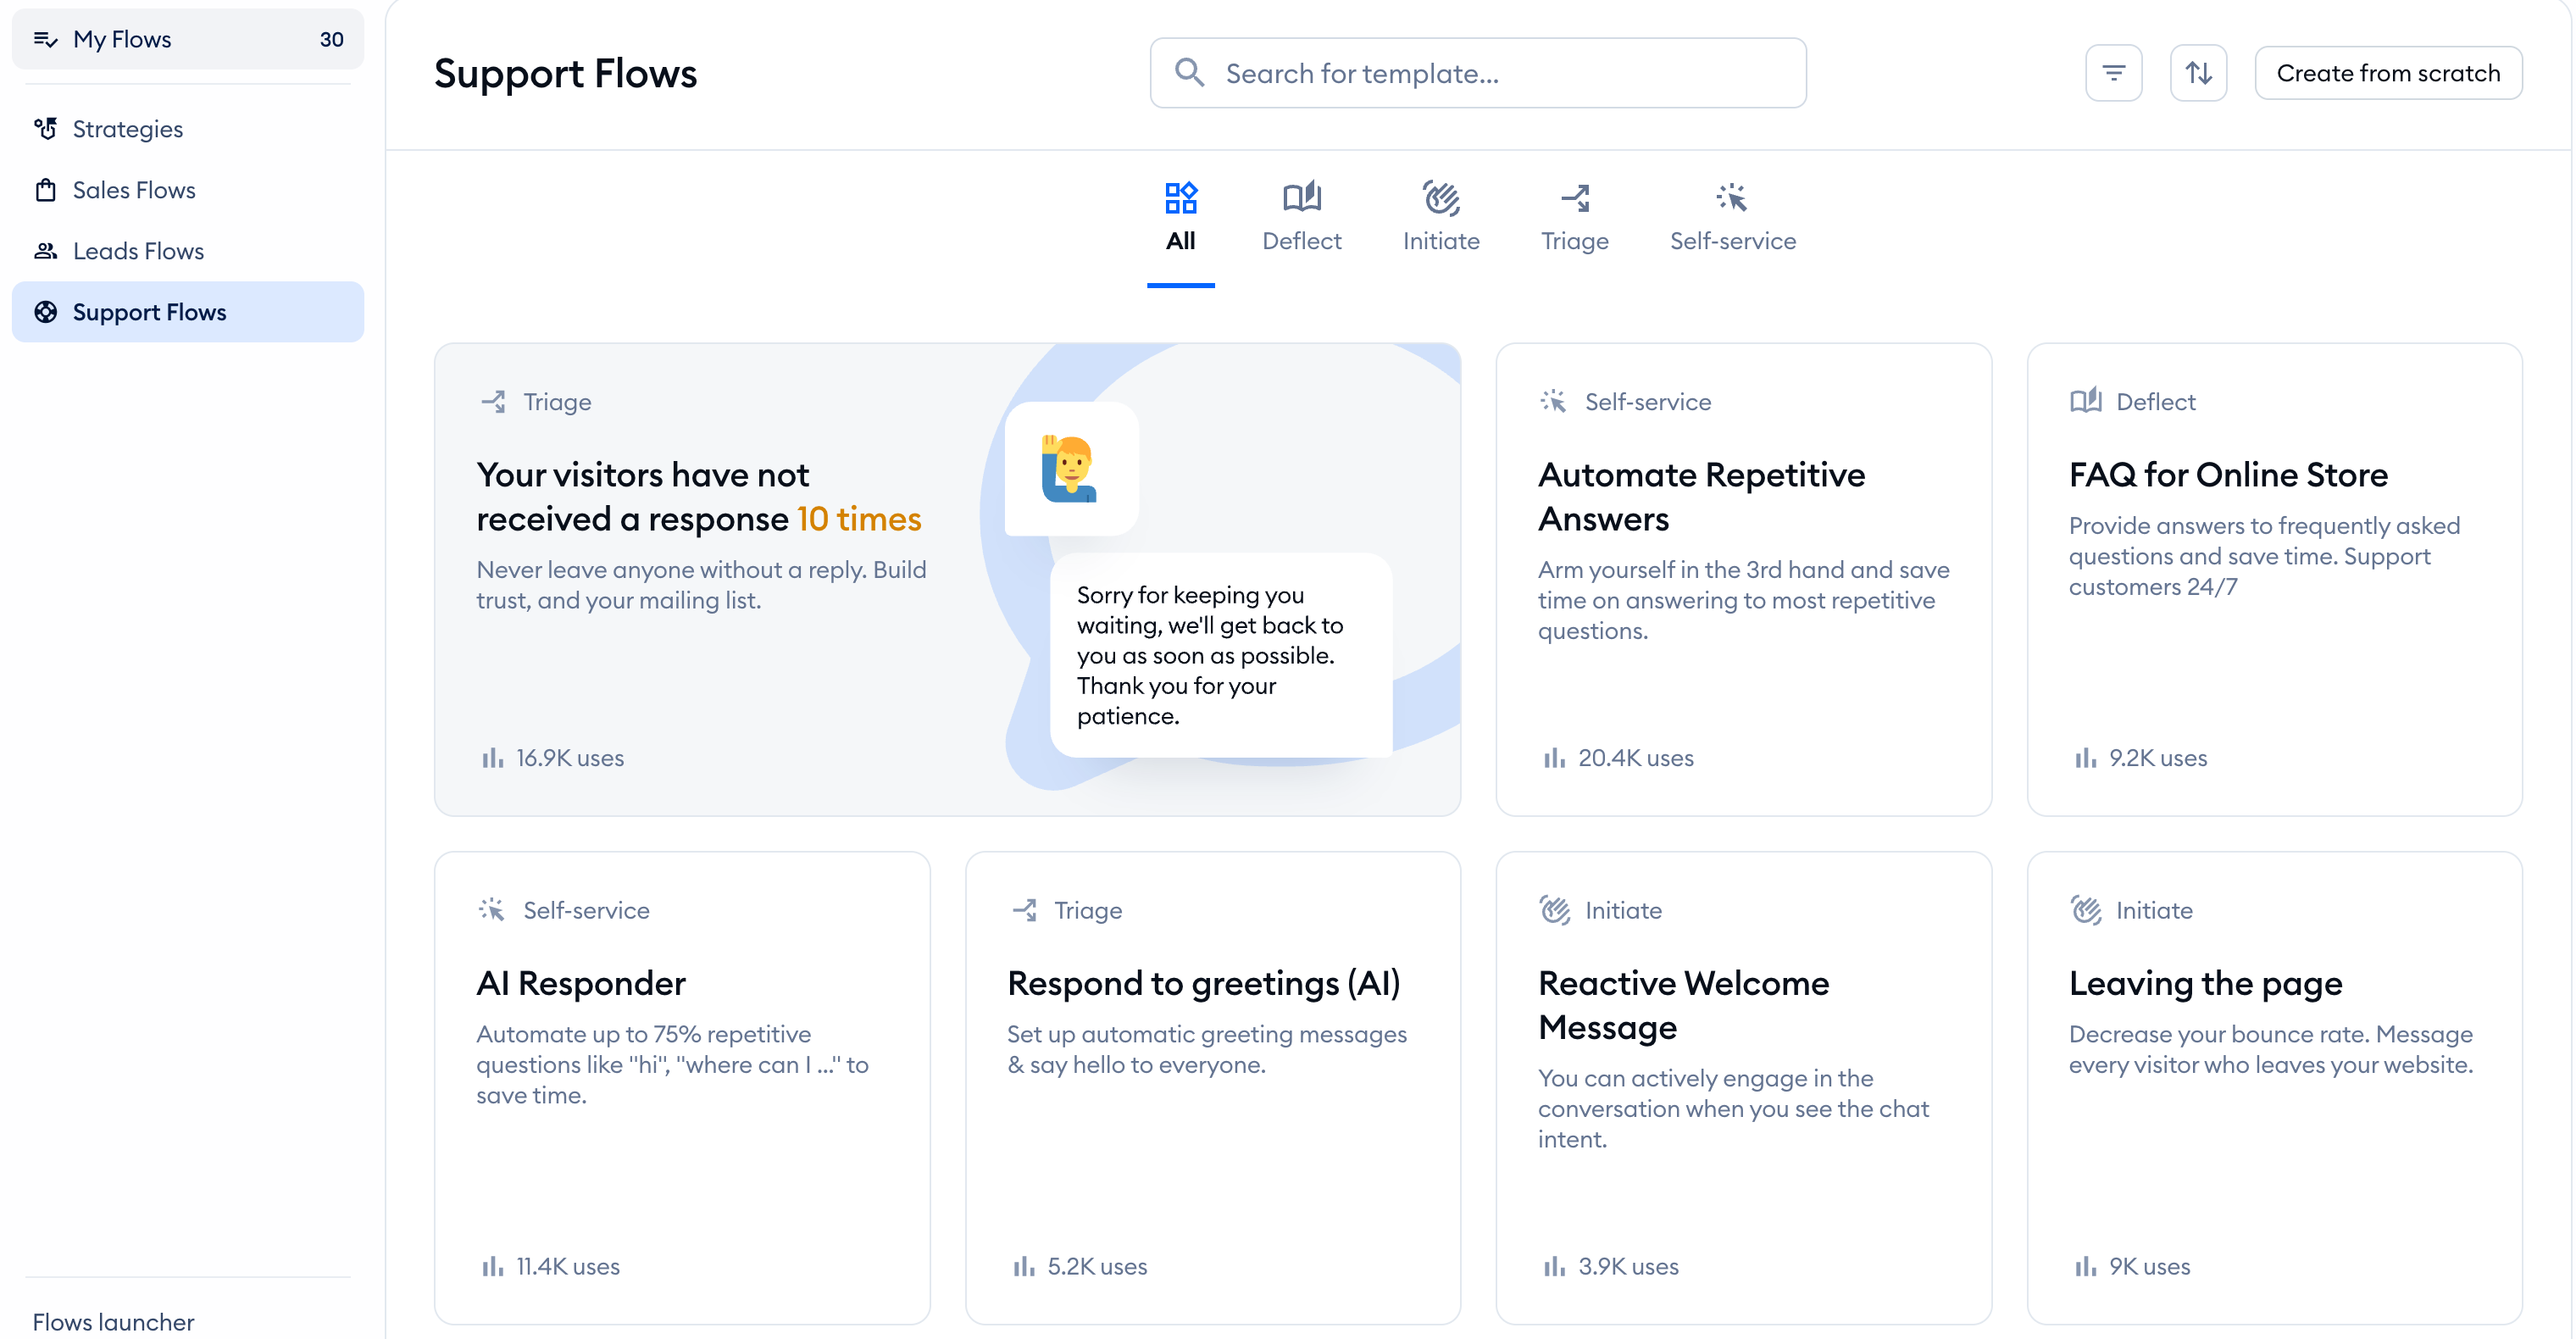
Navigating the templates
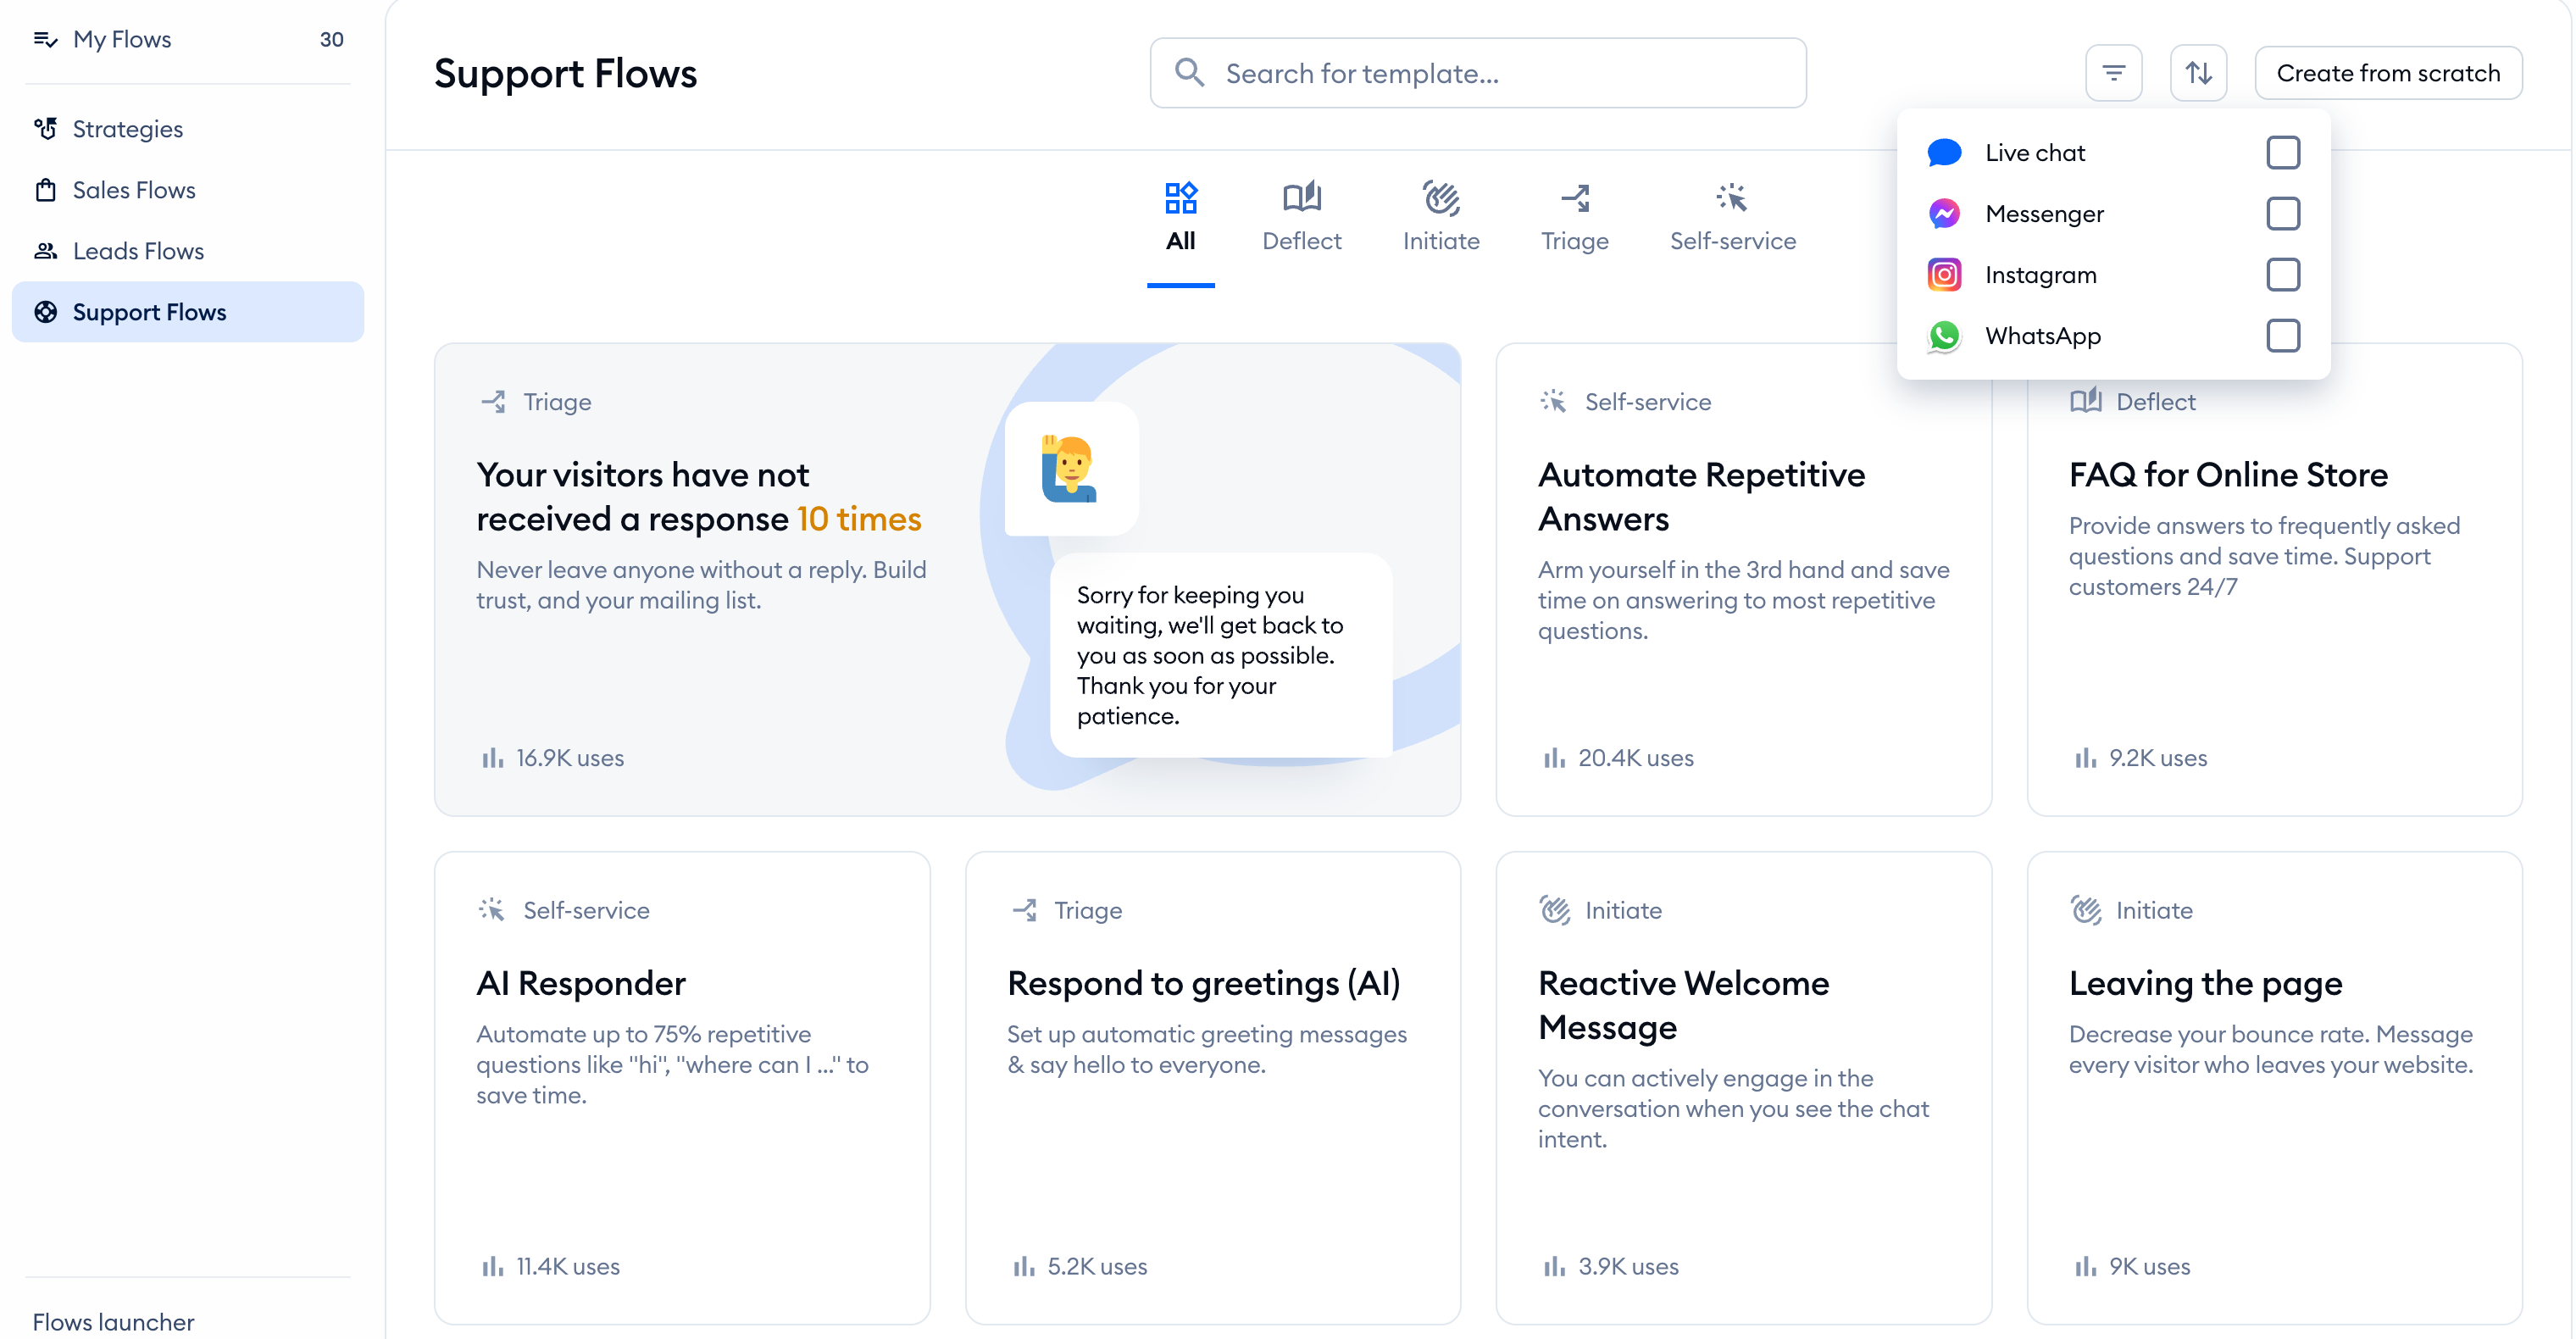
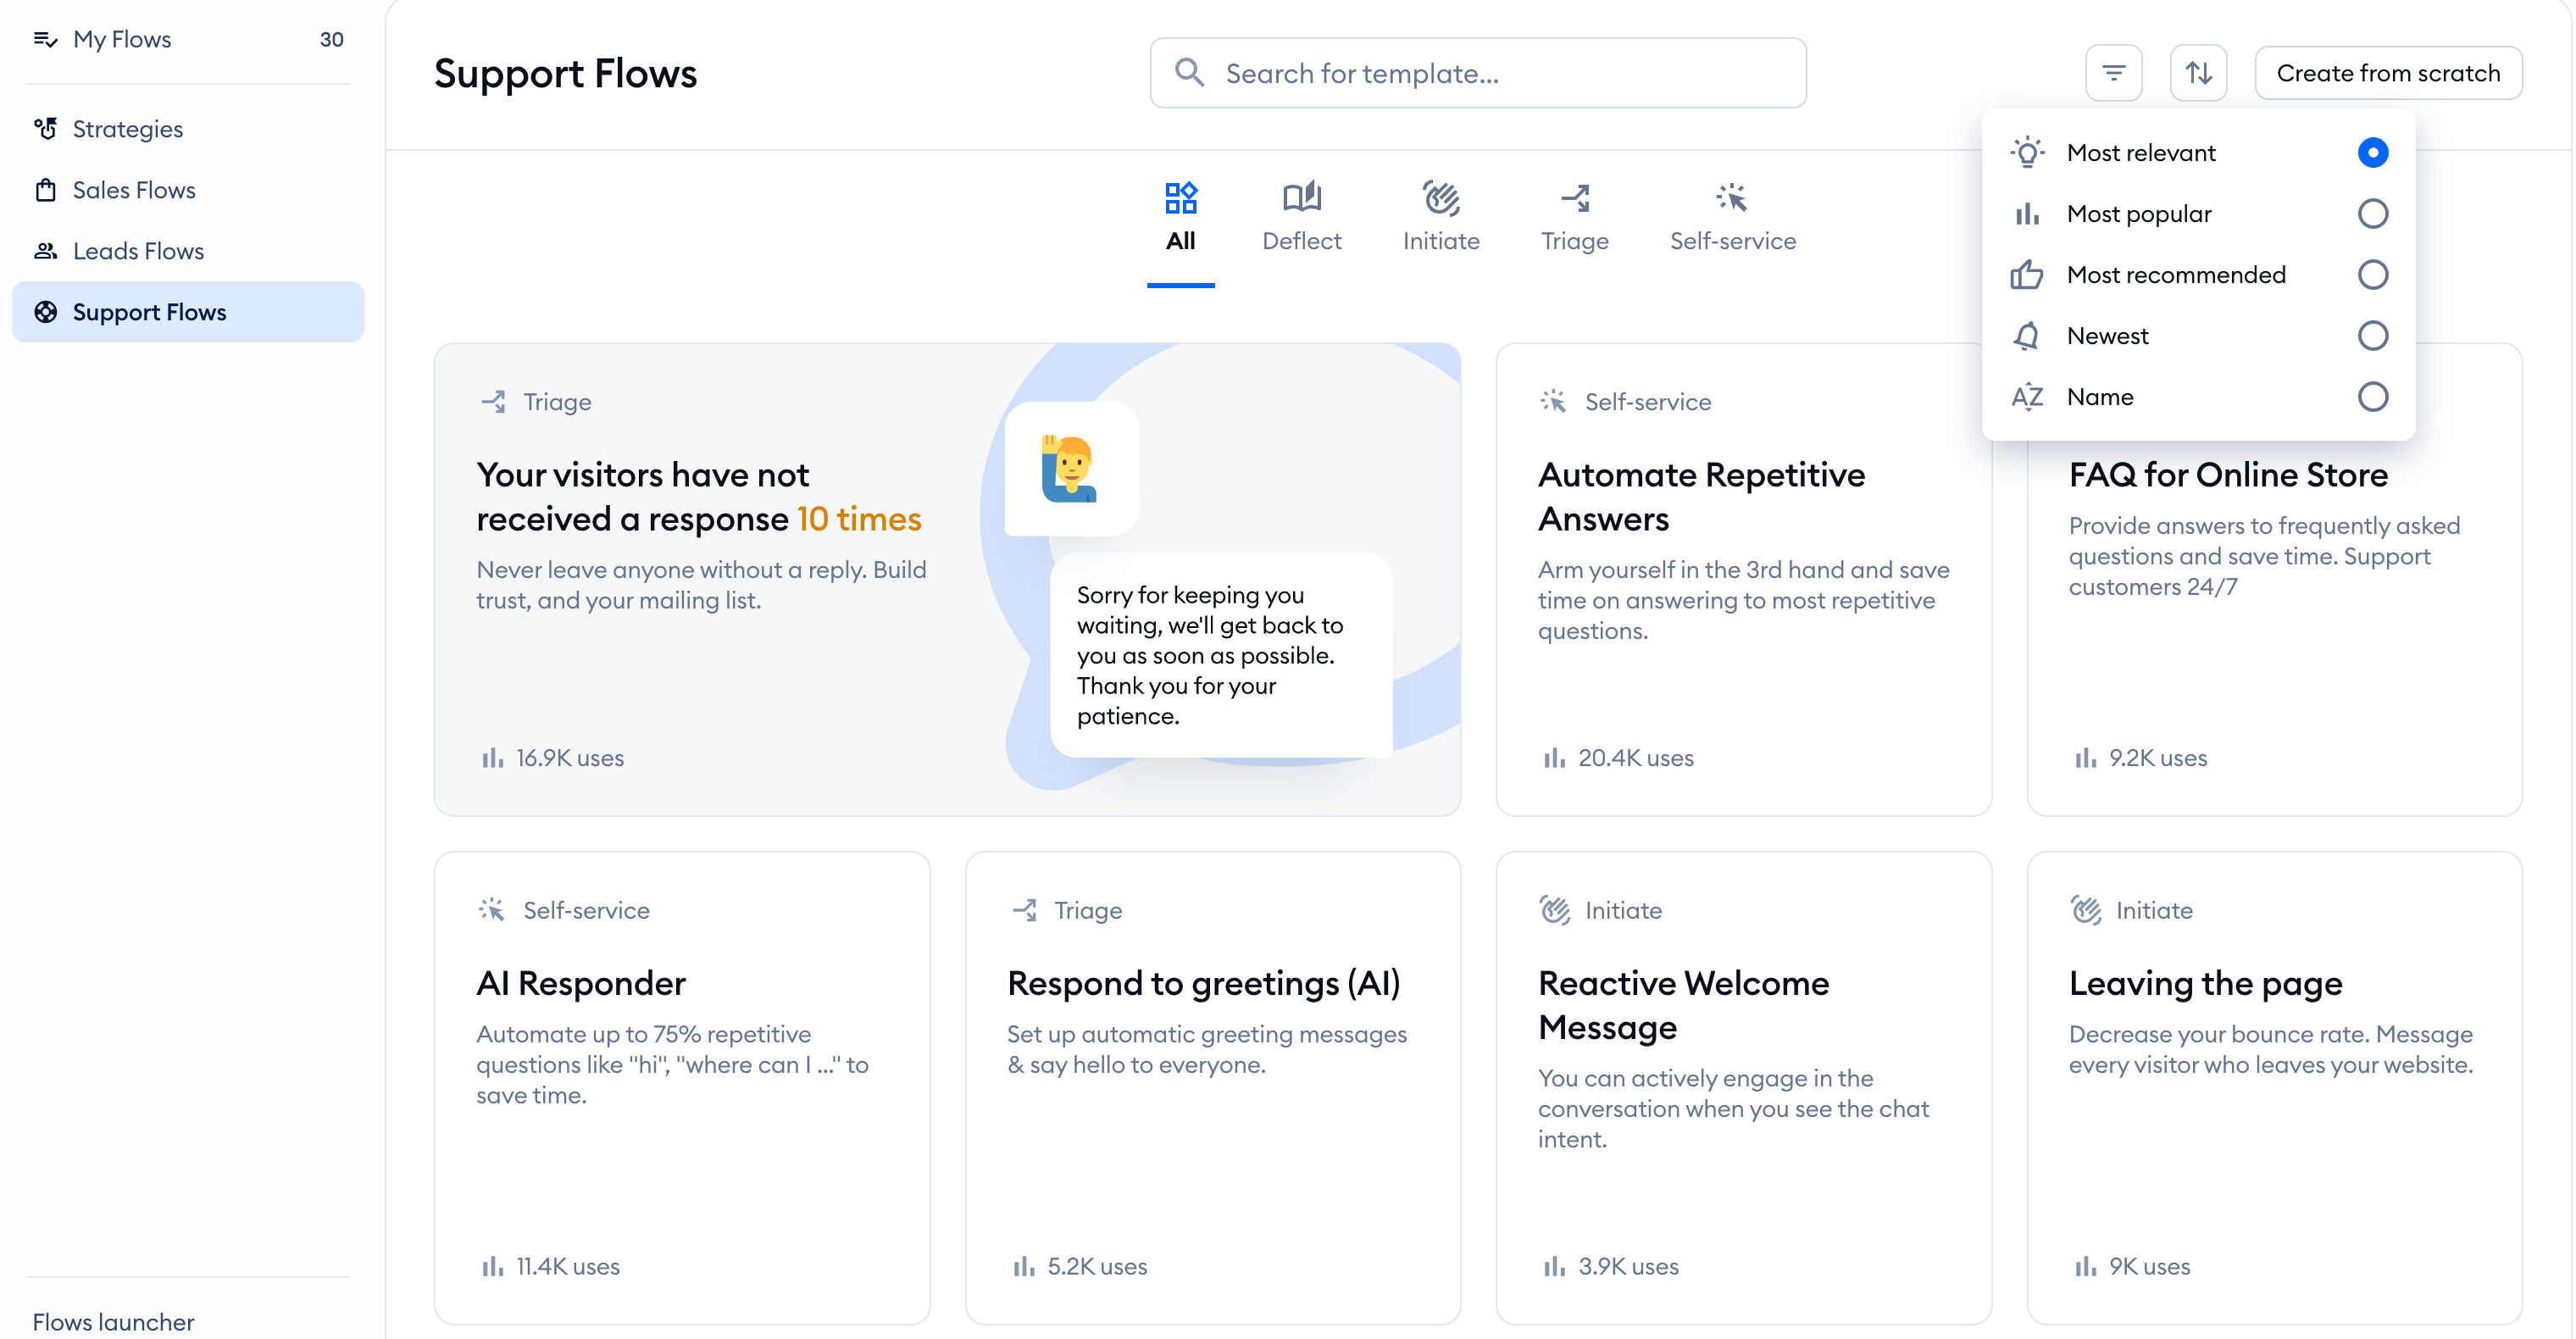
You can see all the available templates when you access a specific list. You can use the Search for template... option if you know what you're looking for; you can also limit your view by using the filter and sorting options at the top:
For example, you can select the communication channel where the template should work (live chat, Messenger, Instagram, WhatsApp):
... or sort the templates by relevance, popularity, recommendation, date added, or name:
When available in your project, you also get access to Strategies - a quick way of adding several flows that work well together. You can learn more about this particular tool in this article.
Adding a template
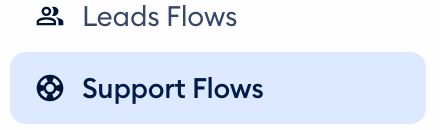
To add and activate a template, you first need to decide which one(s) you like. Find a template in one of the lists, e.g. the Support Flows list:
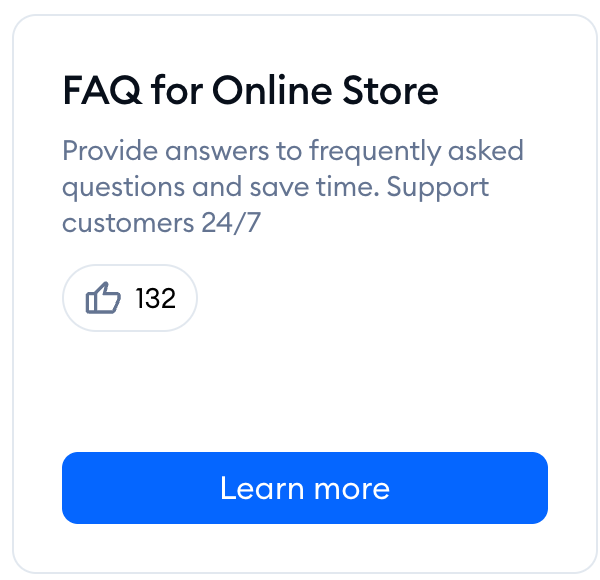
All of the relevant templates will be listed there in the form of tiles. Hover your mouse over a chosen template to see some more information - and click on the blue Learn more button:
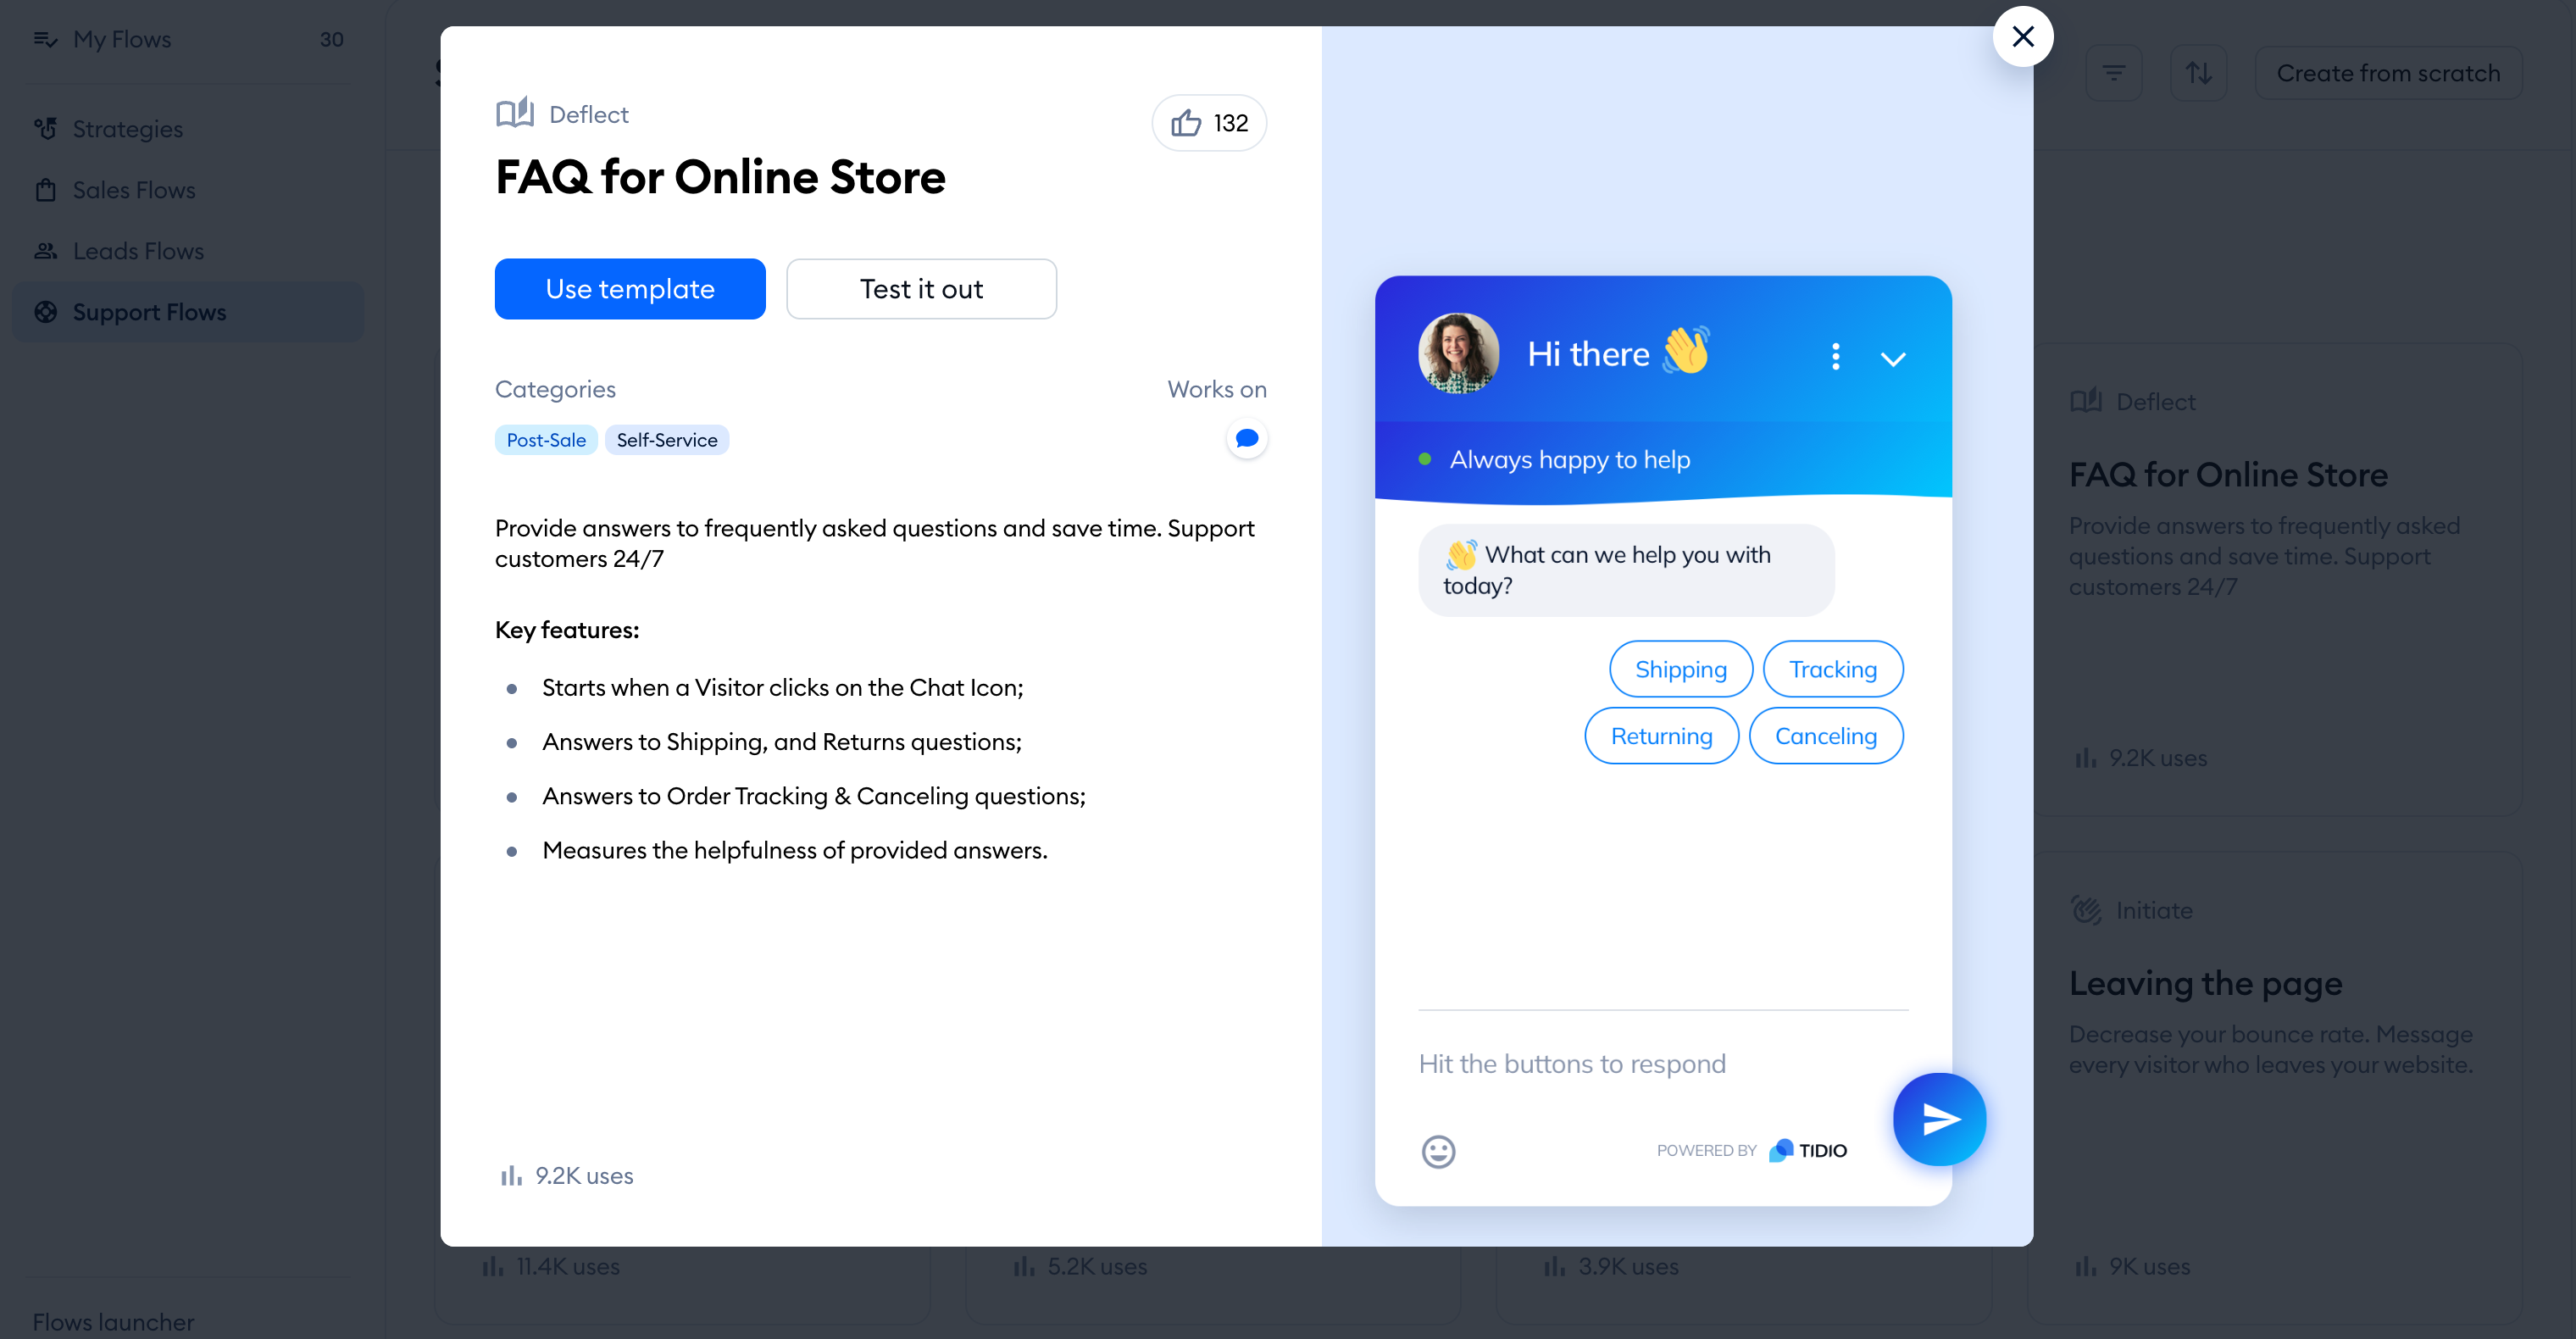
You'll see a new window where you can test the flow (as it would appear in your chat widget) by clicking on the Test it out button, or customize (and later activate it) by clicking on the blue Use template button.
When you choose Use template, templates with a setup wizard show basic customization options, such as message fields. Other templates open directly in the flow editor:
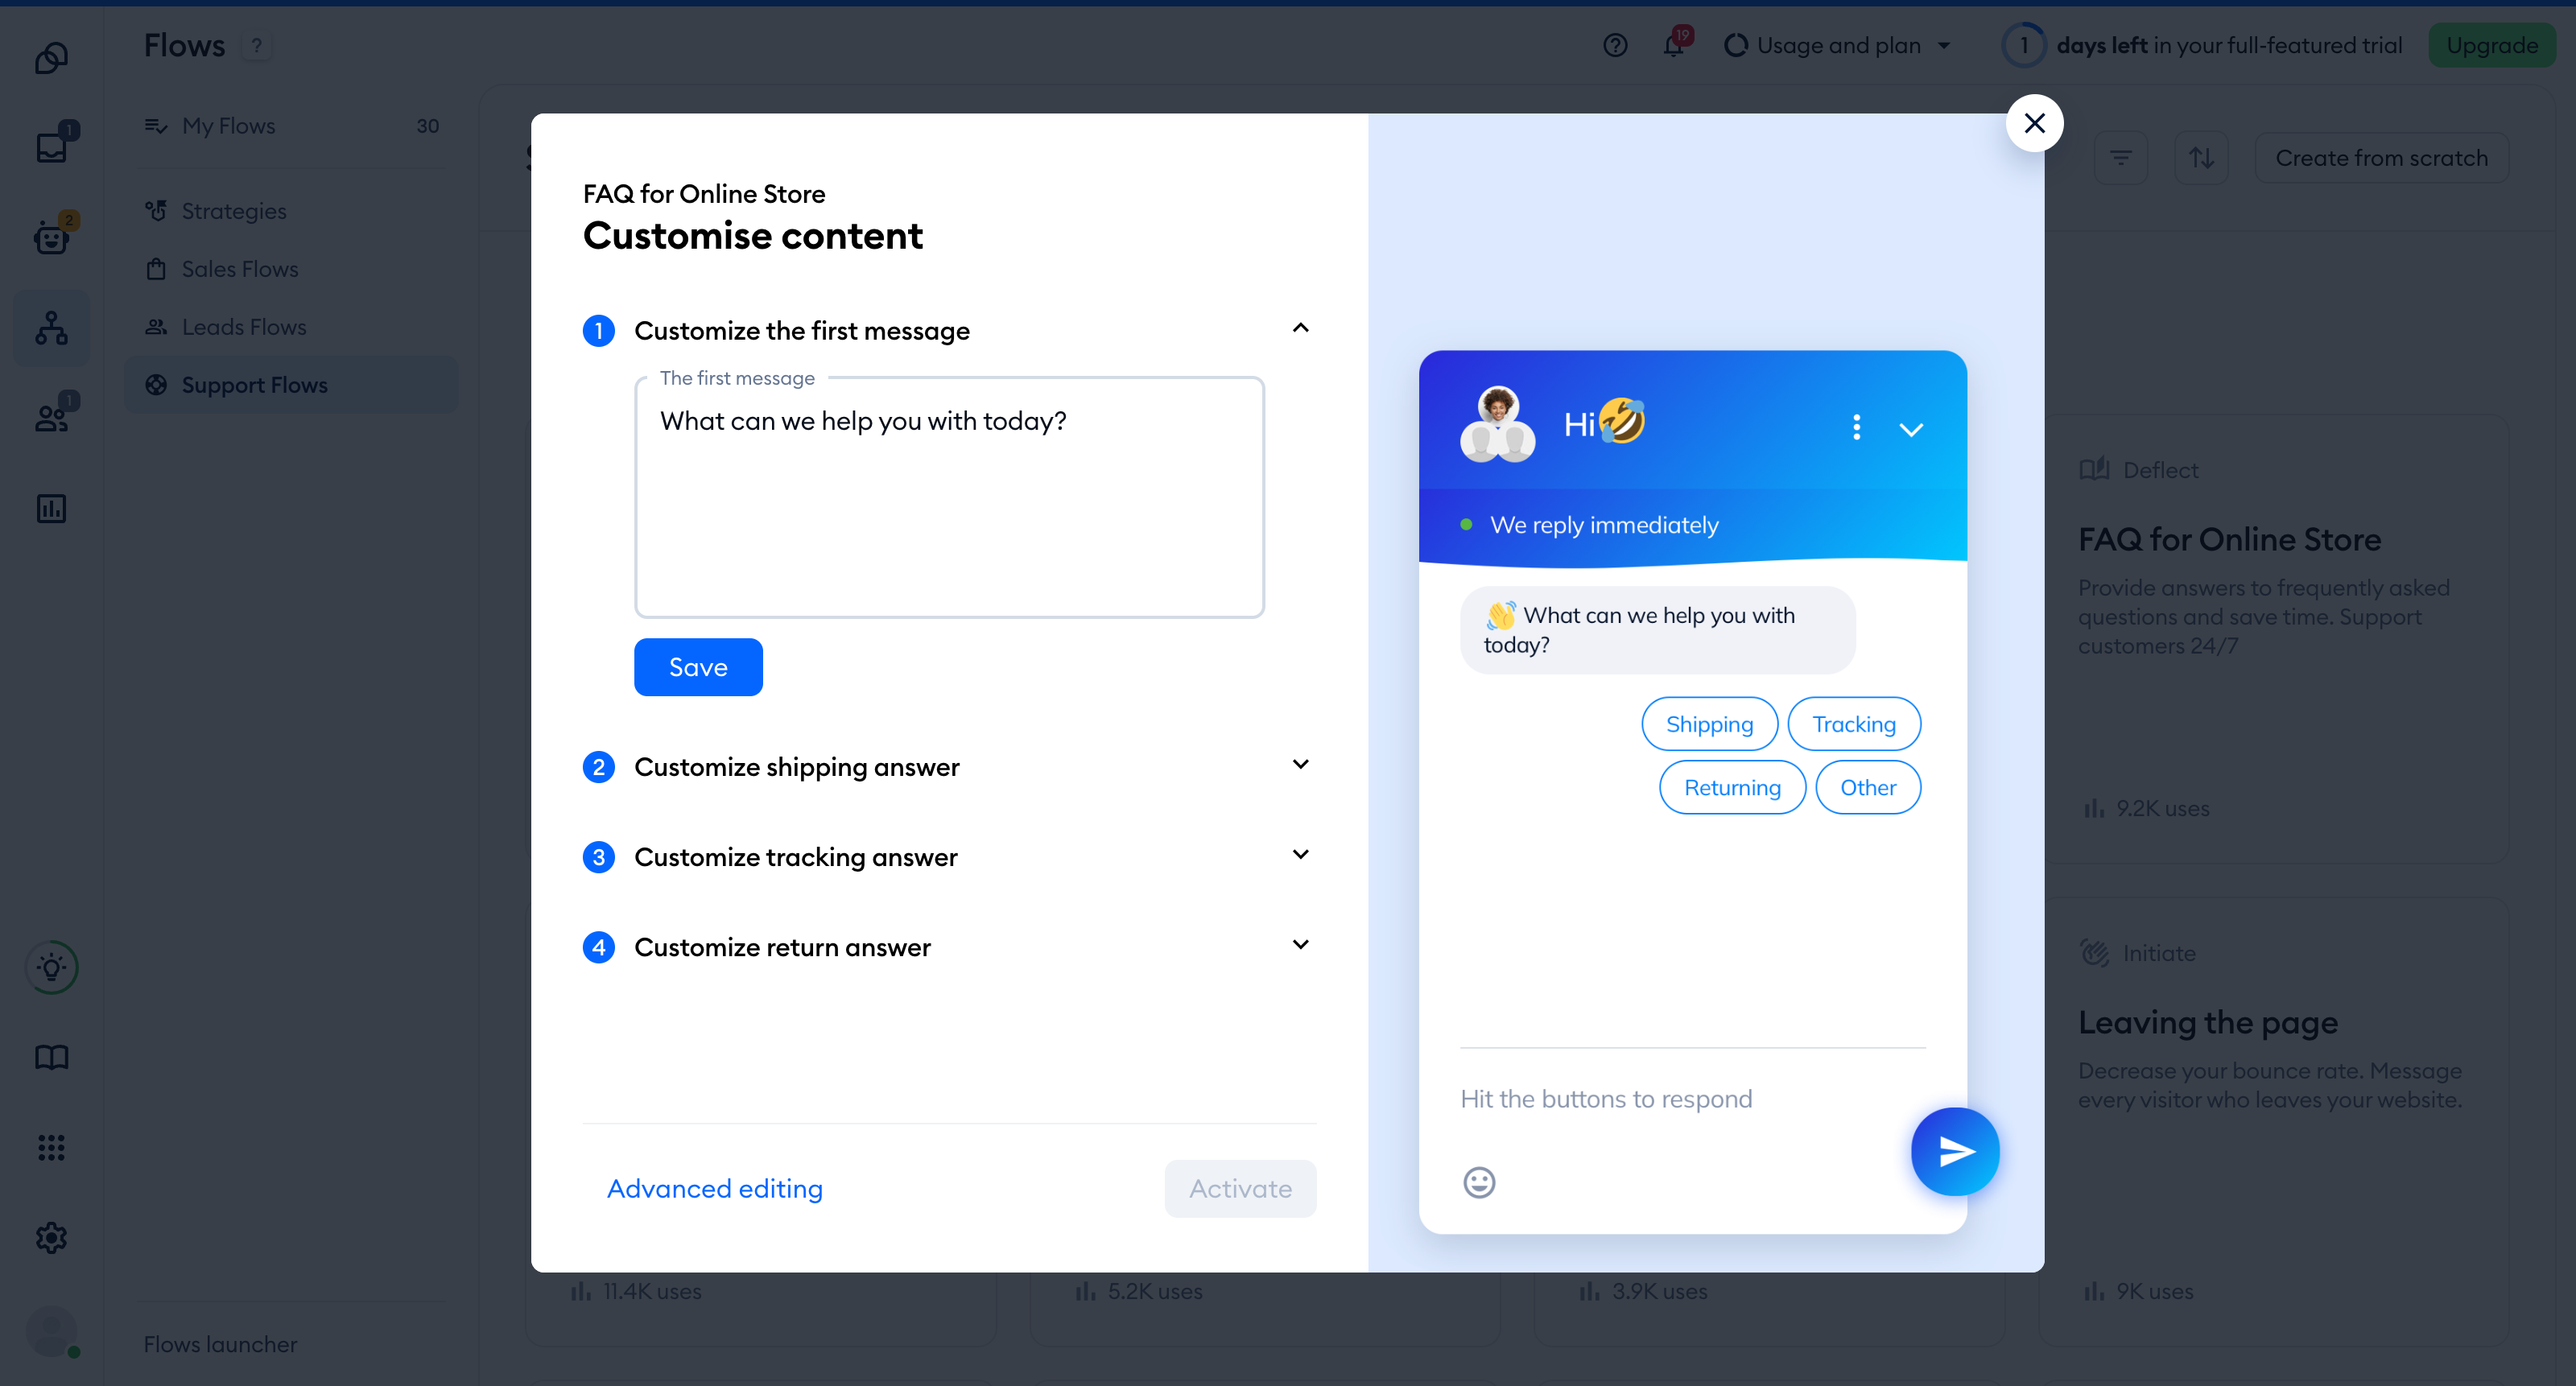
From the setup wizard, click Advanced editing at the bottom to open the flow editor. If you have changed anything in the wizard, a warning explains that continuing will discard those changes.
Click on each of the nodes you see on the editing map, and modify the texts to your preference:
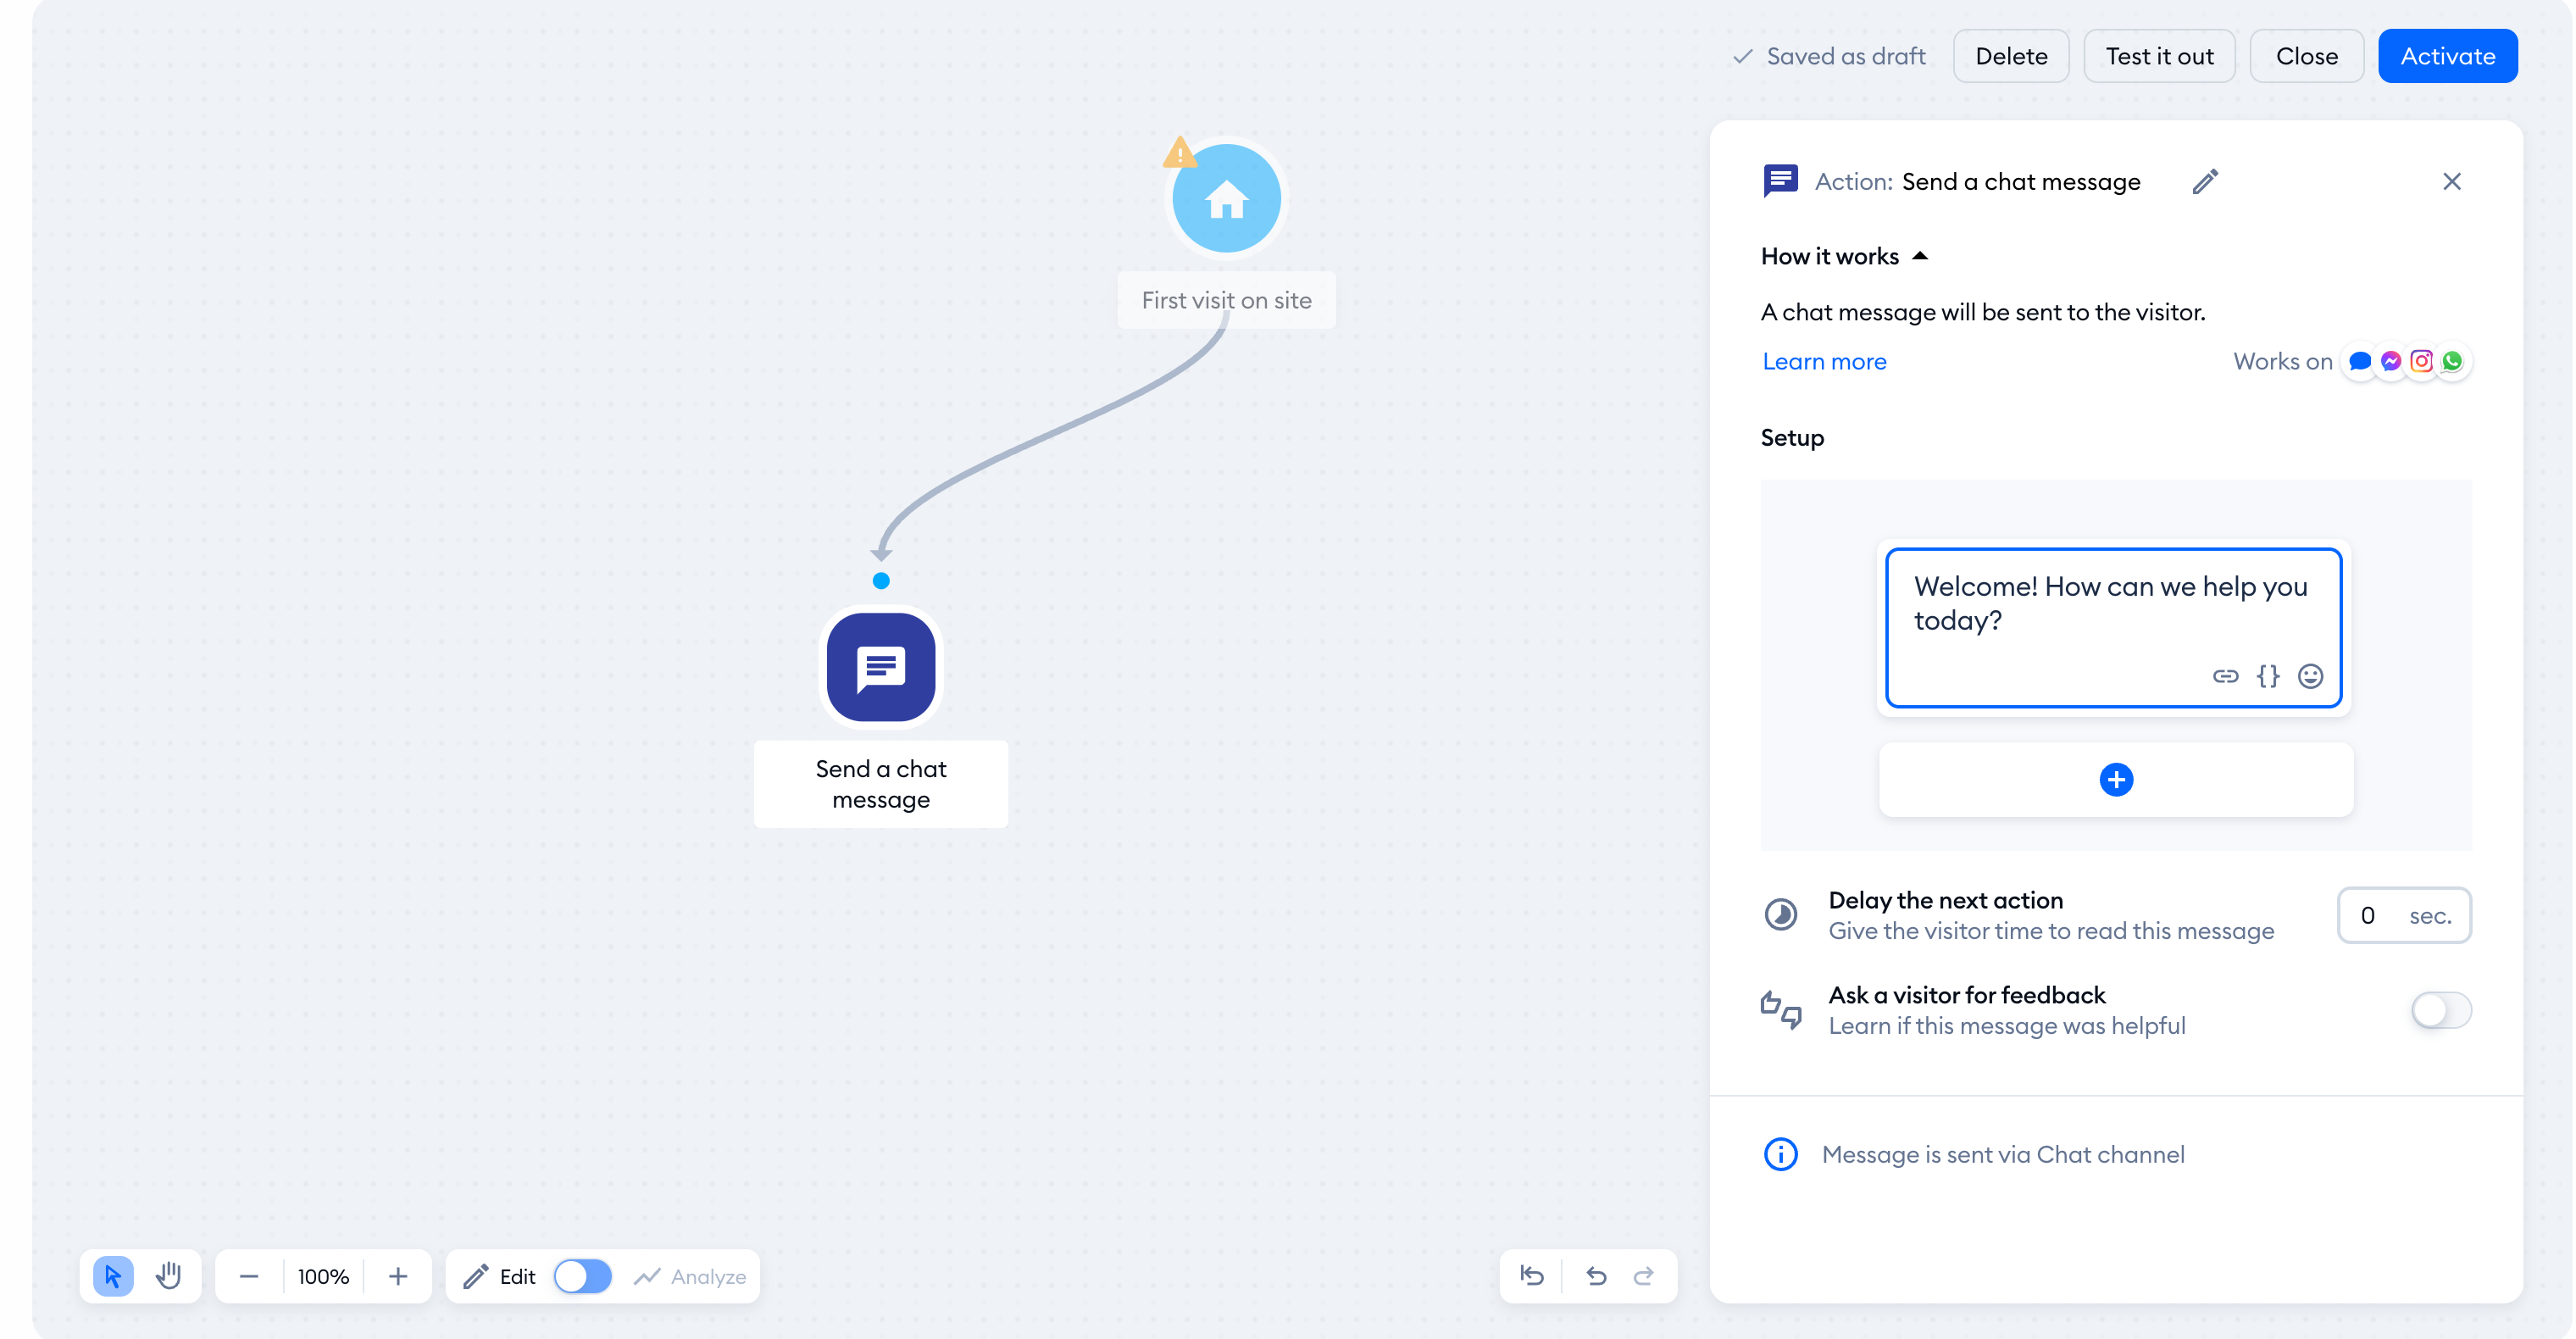
Remember to click Activate when finished to ensure the changes are saved, and your new flow is enabled.
Further reading
If you wish to learn more about the manual flow creation process (or you're just looking for inspiration), see some of our other articles:
- Collecting valuable data with the Send a Form node
- Create an FAQ flow
- Flow portals - start one flow from another
- Create an autoresponder for missed conversations
- Adding links to flows
- Using the Visitors Says trigger
