You can automate your work even faster by using our flow templates. Ready-to-use templates are available for your adjustment in the Flows section.
In this article, you'll learn:
Flow templates
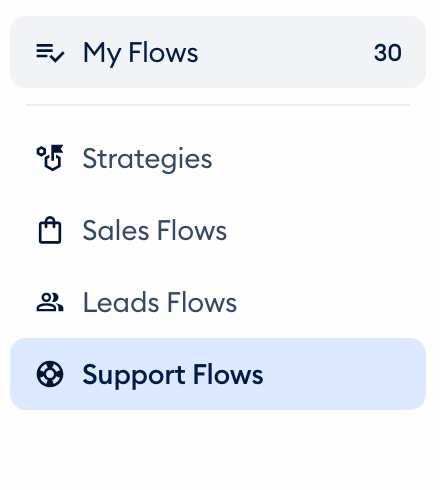
Flow templates are pre-designed setups that you can quickly add and modify to your needs. Tidio offers a variety of pre-designed templates categorized by goals - inside the general Flows section:
- Sales Flows
- Leads Flows
- Support Flows
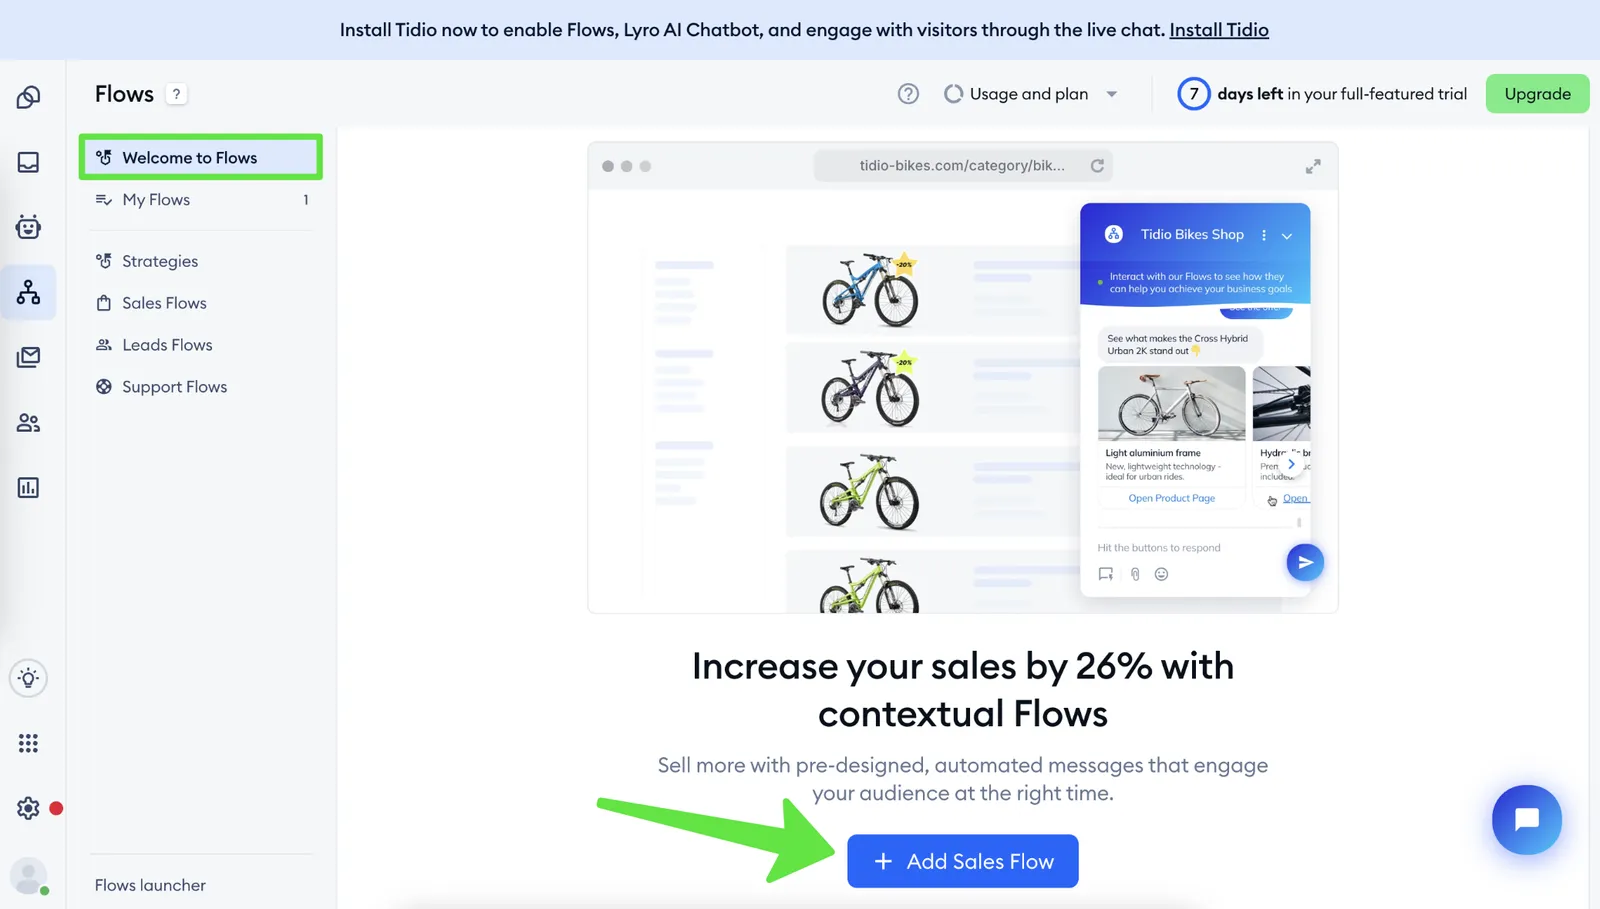
If Welcome to Flows is available in your project, you can open it from the Flows menu to see a recommended starting flow. Not every project shows this tab.
Navigating the templates
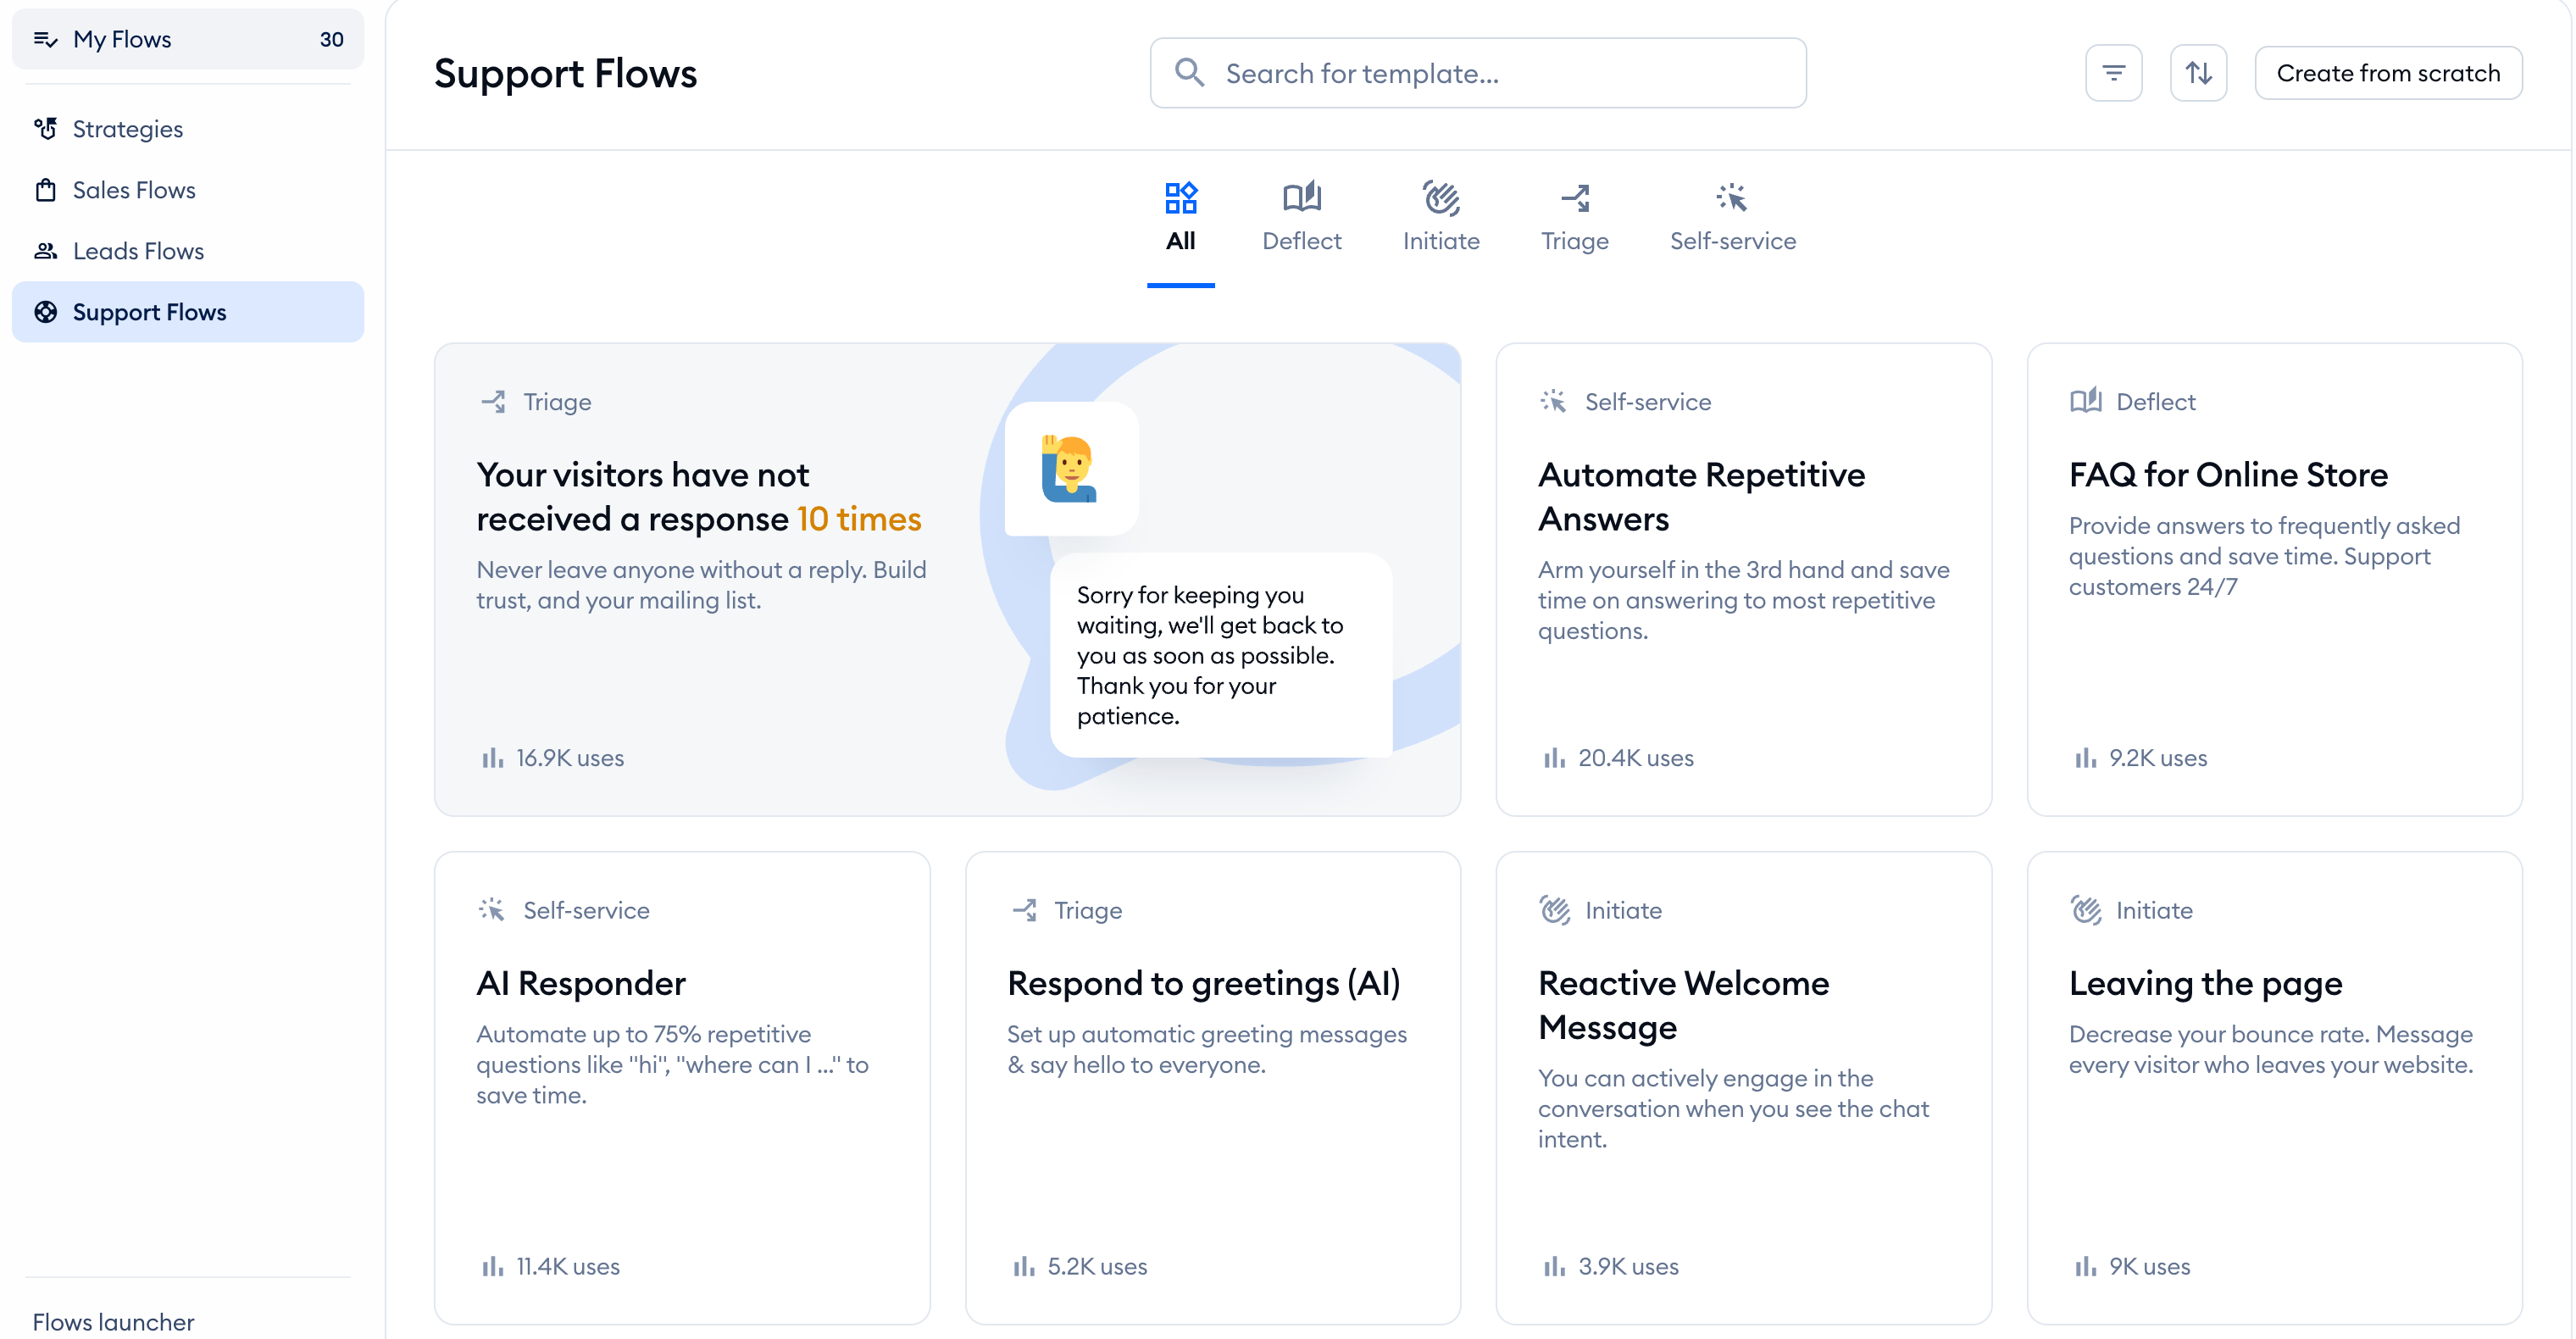
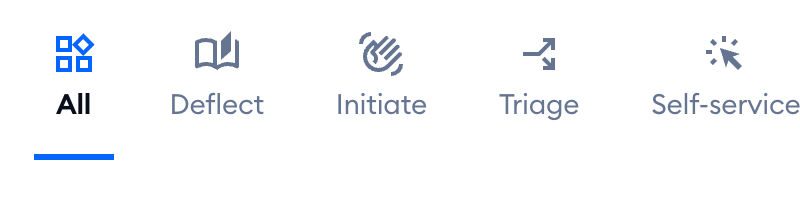
You can see all the available templates when you access a specific list. You can use the Search for template... option if you know what you're looking for; you can also limit your view by using the sub-categories, filter and sorting options at the top:
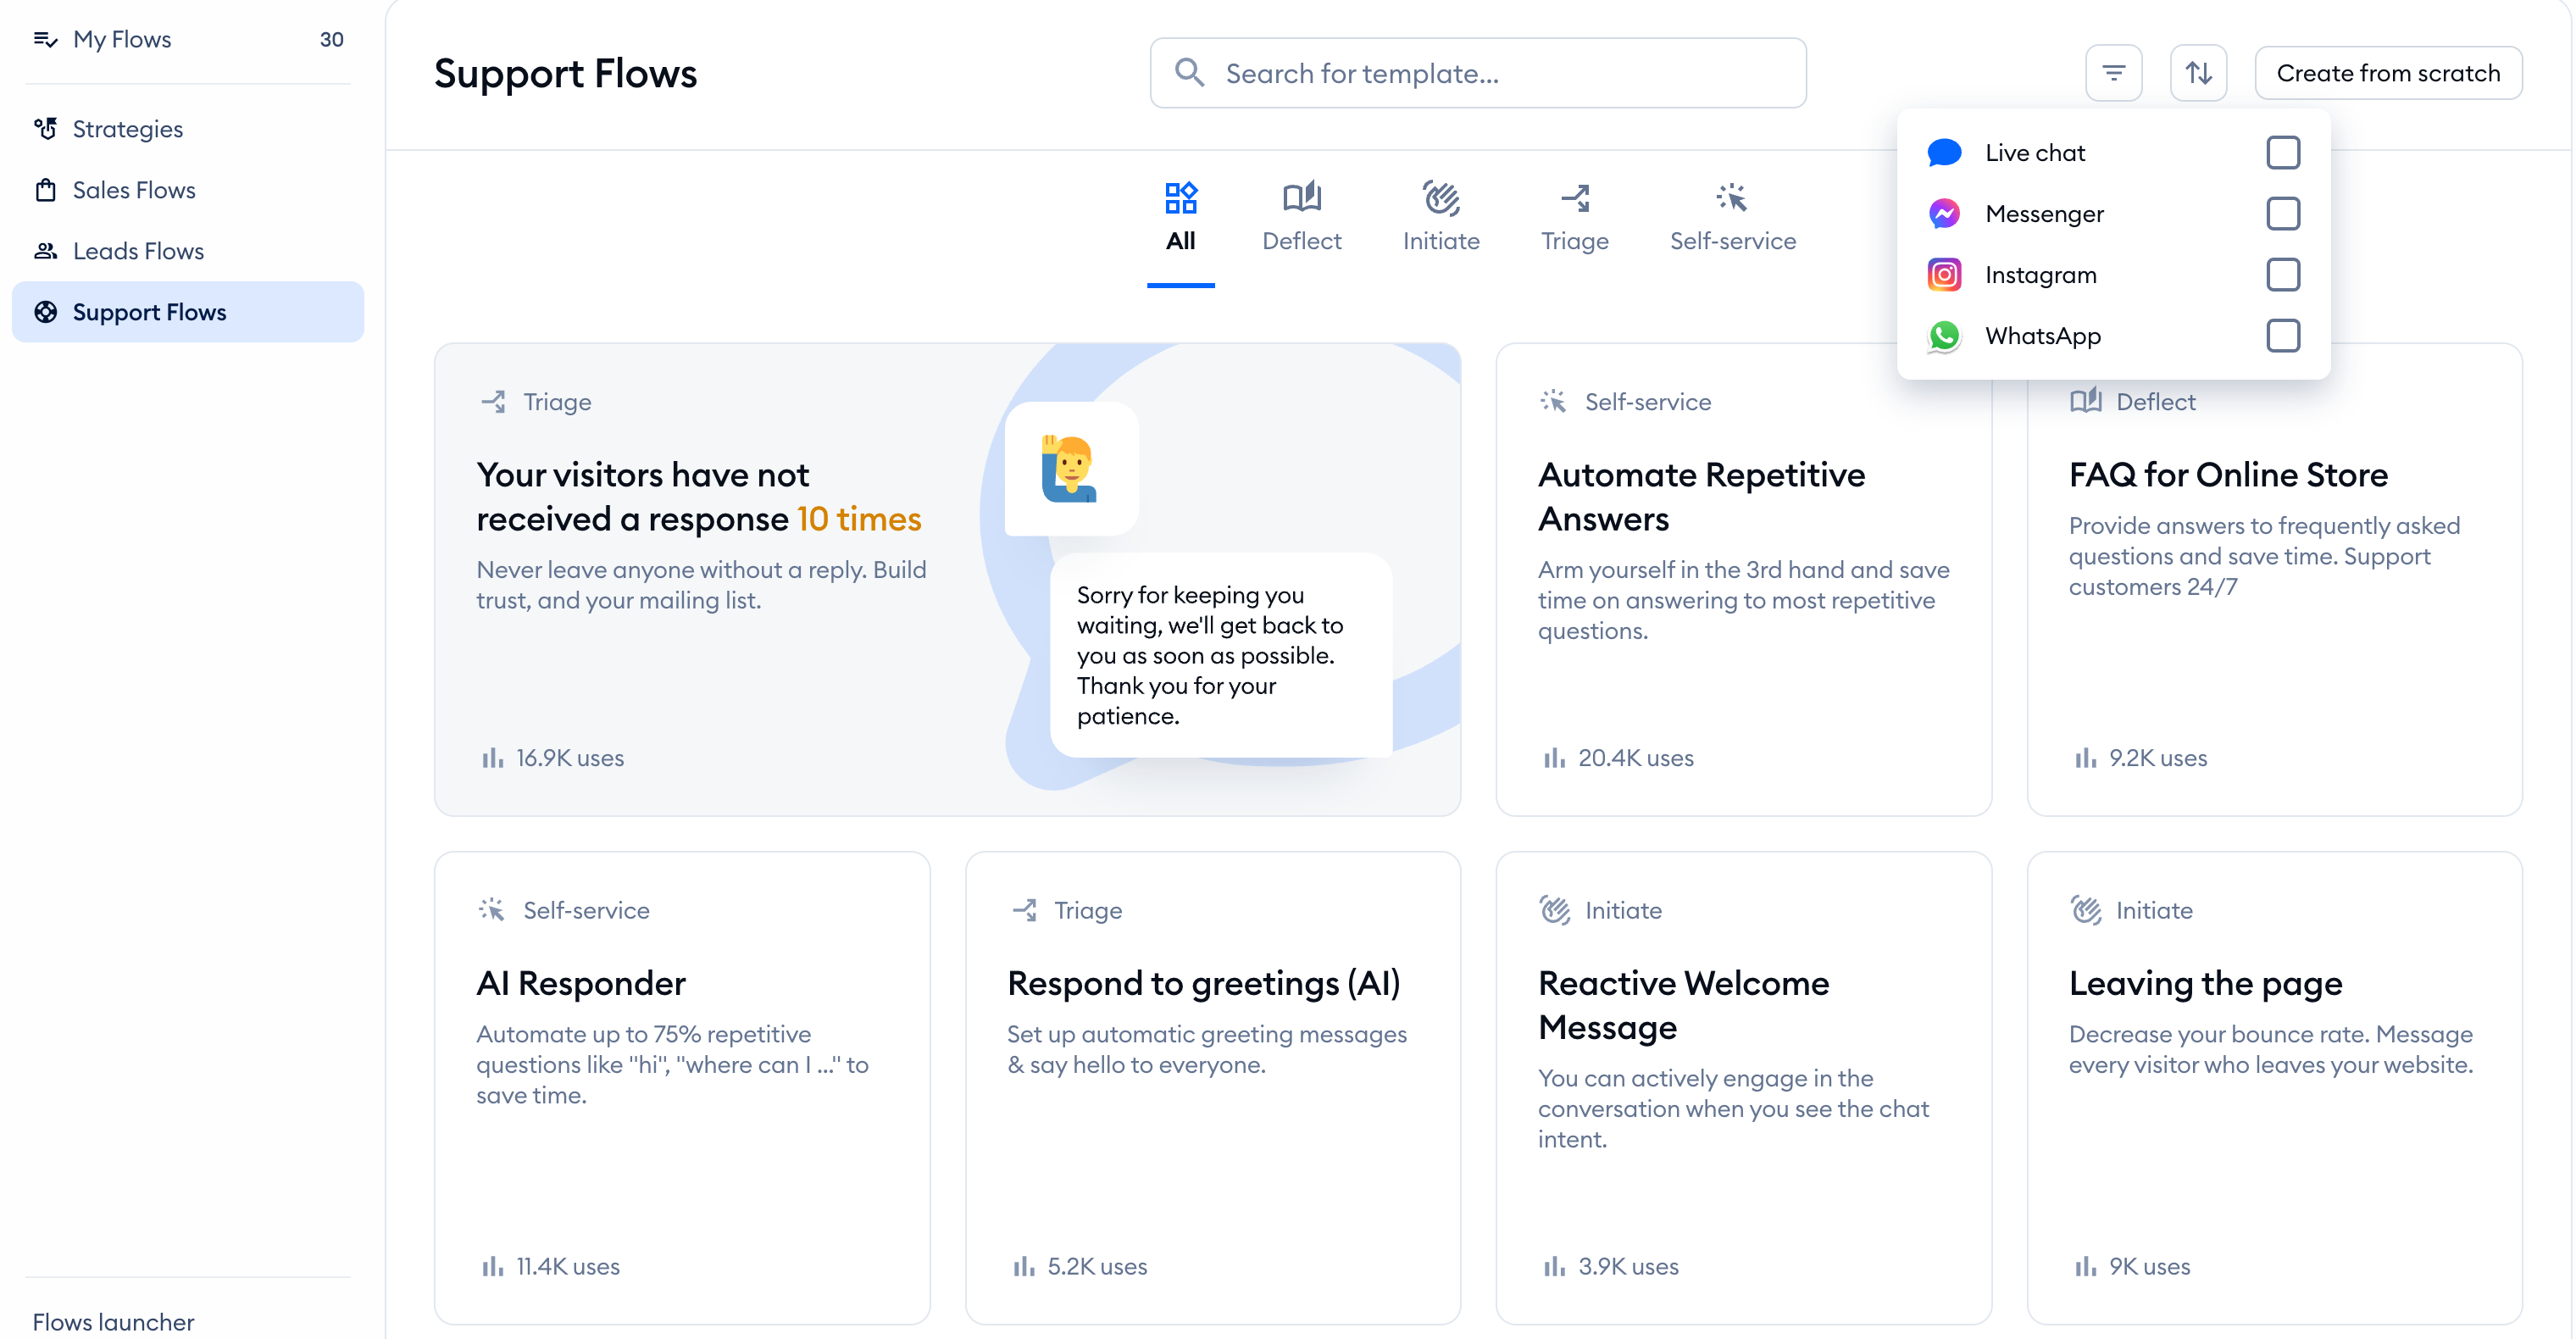
For example, you can select the communication channel where the template should work (live chat, Messenger, Instagram, WhatsApp):
Select one of the sub-categories and find proper use-cases more easily, with fresh, more professional designs.
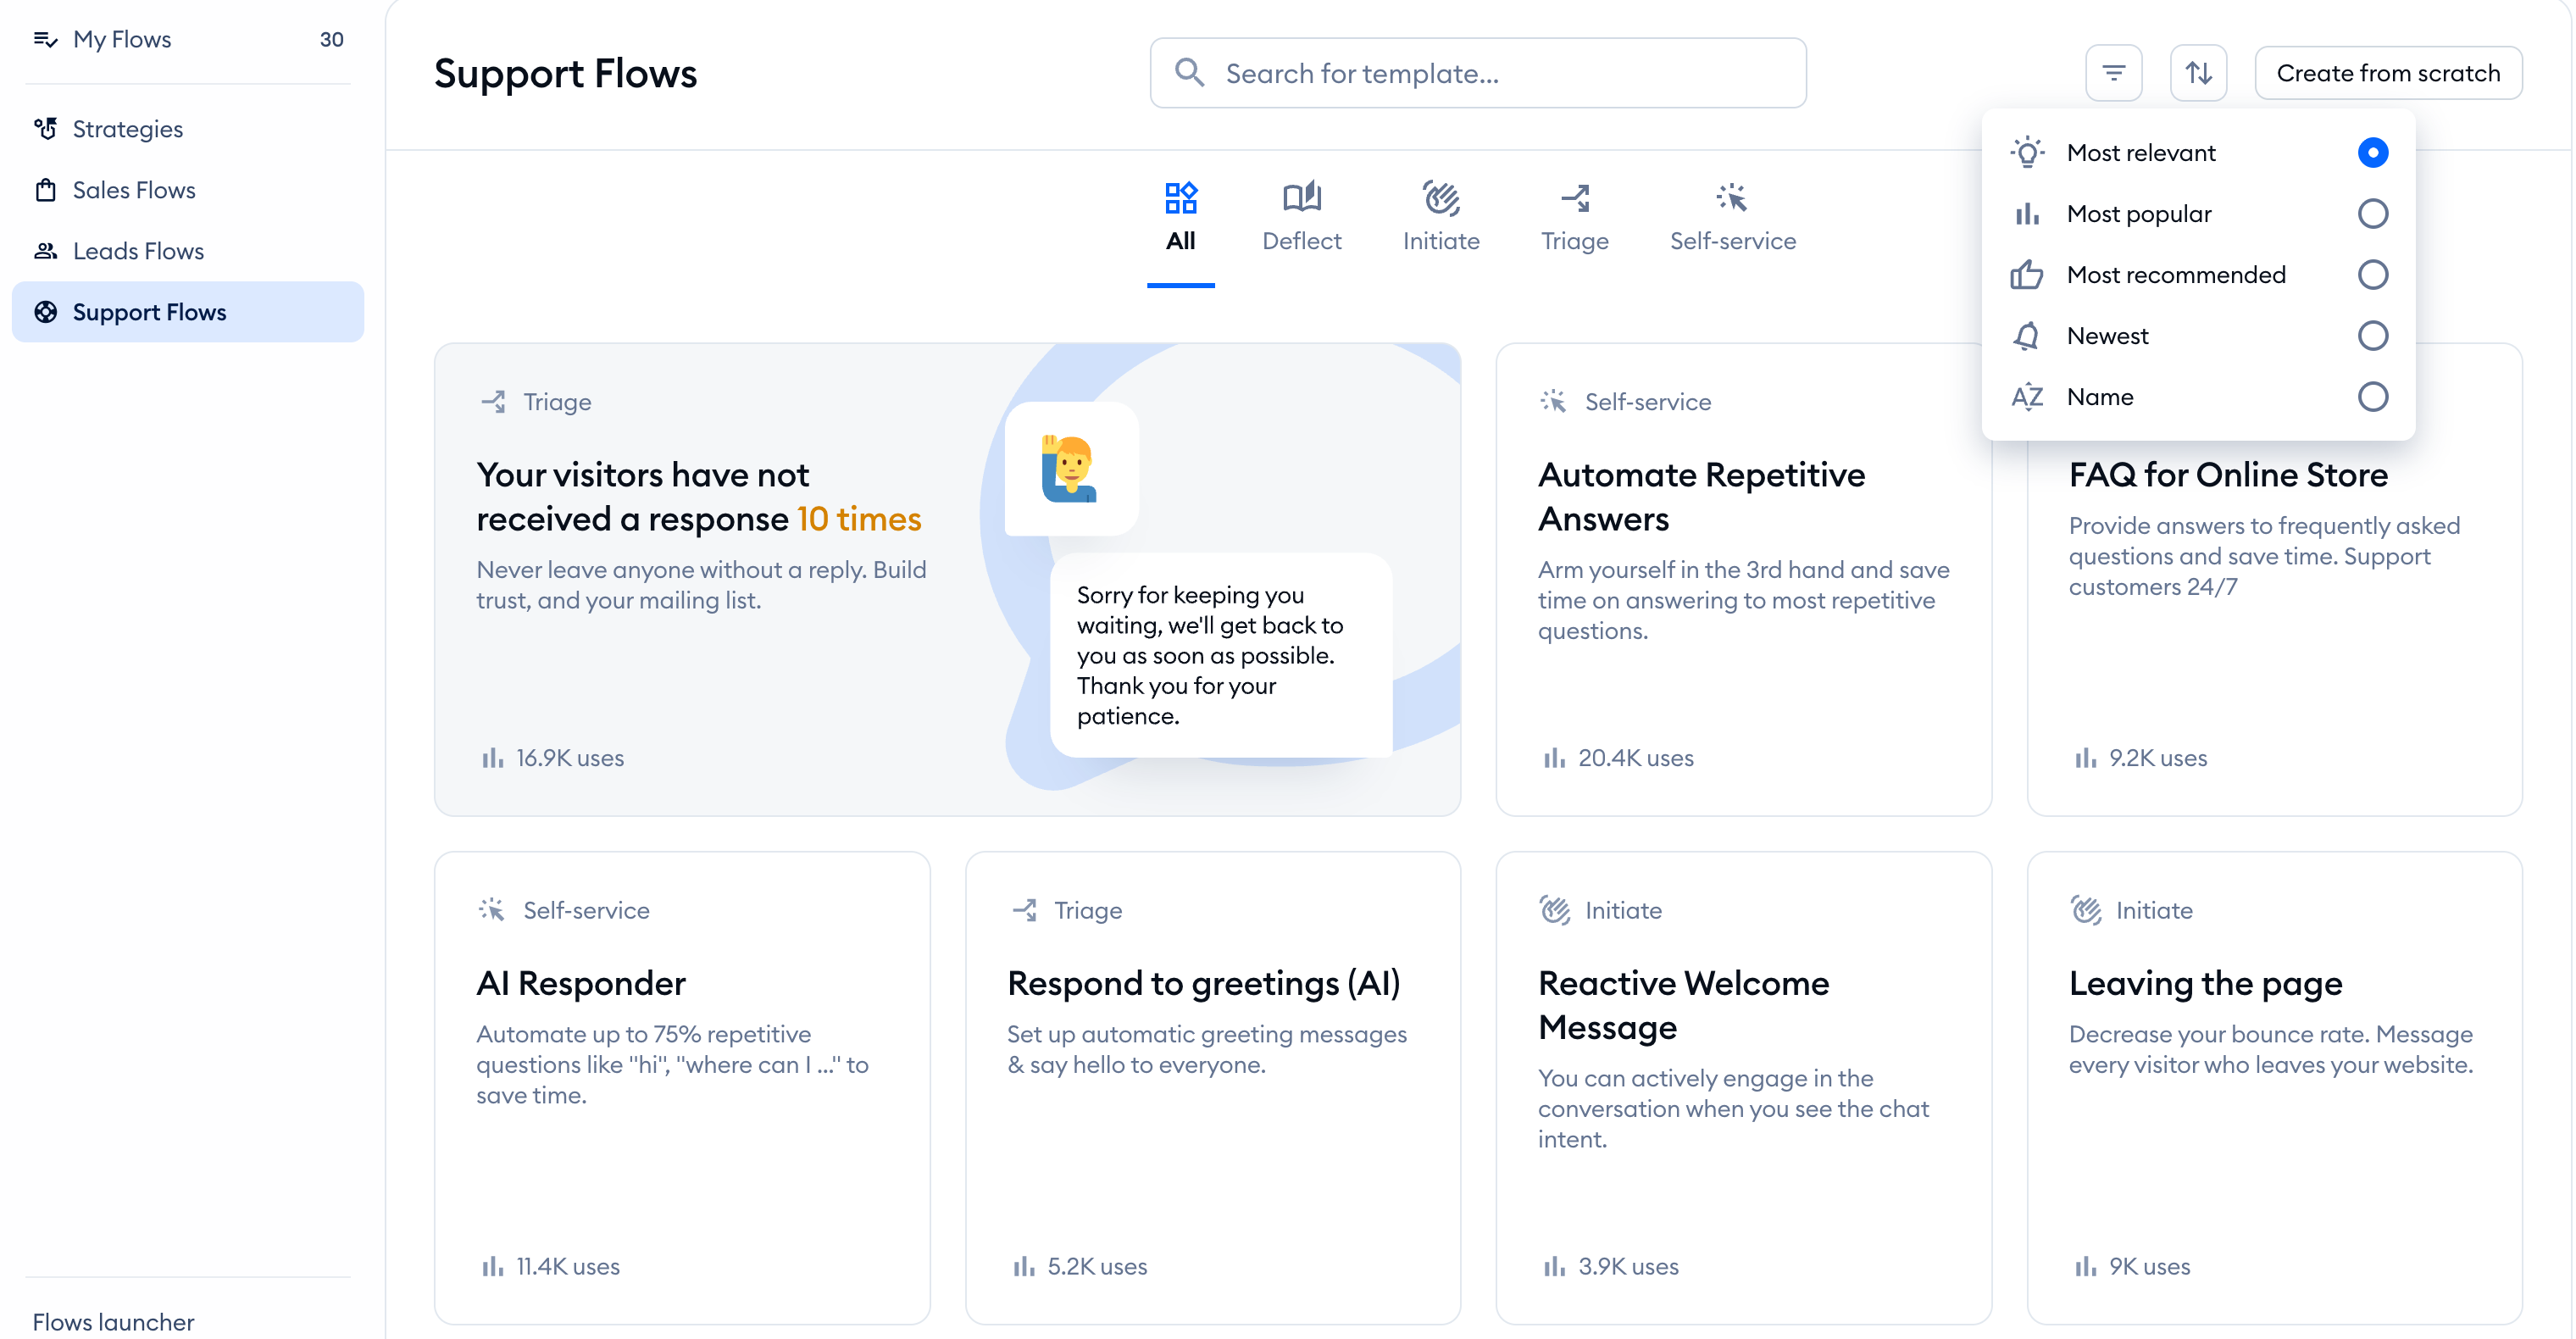
... or sort the templates by relevance, popularity, recommendation, date added, or name:
Adding a template
To add and activate a template, you first need to decide which one(s) you like. Find a template in one of the lists, e.g. the Support Flows list:
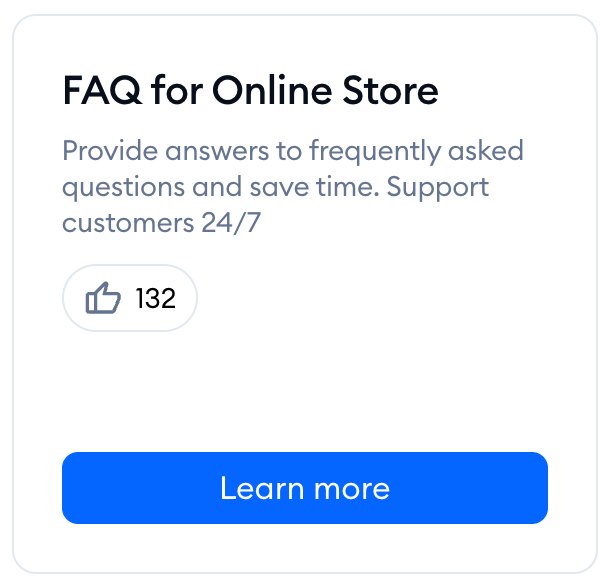
All of the relevant templates will be listed there in the form of tiles. Hover your mouse over a chosen template to see some more information - and click on the blue Learn more button:
You'll see a new window where you can test the flow (as it would appear in your chat widget) by clicking on the Test it out button, or customize (and later activate it) by clicking on the blue Use template button.
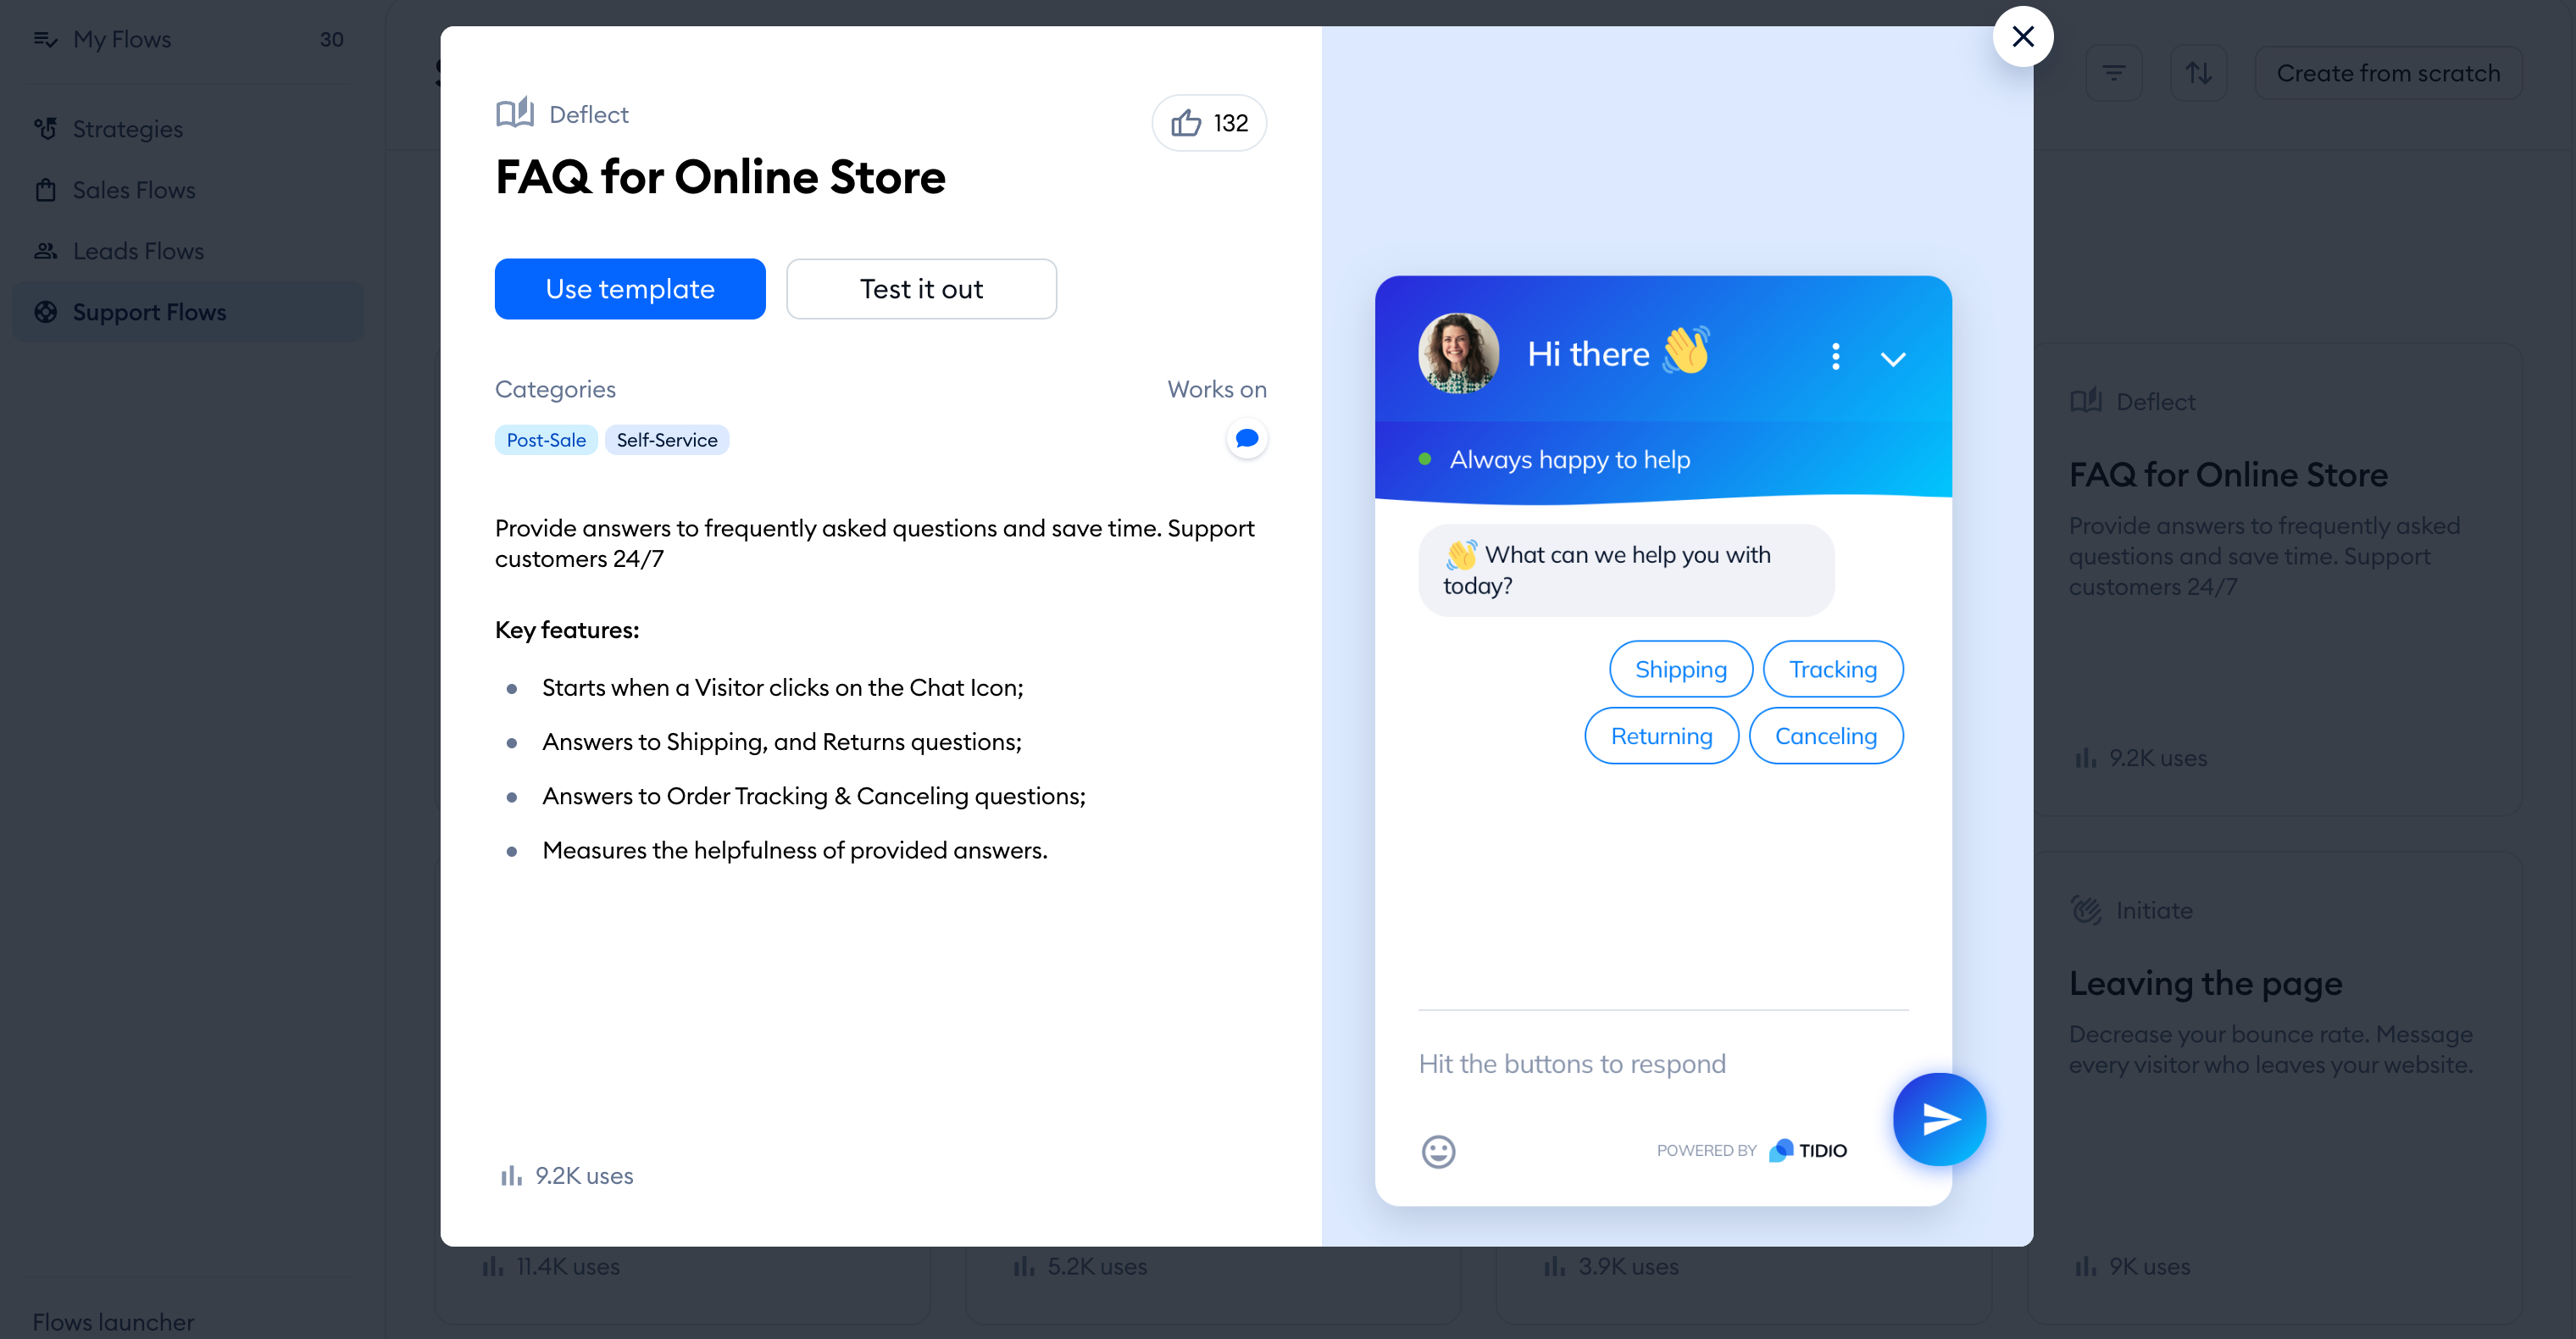
When you choose Use template, templates with a setup wizard show basic customization options, such as message fields. Other templates open directly in the flow editor:
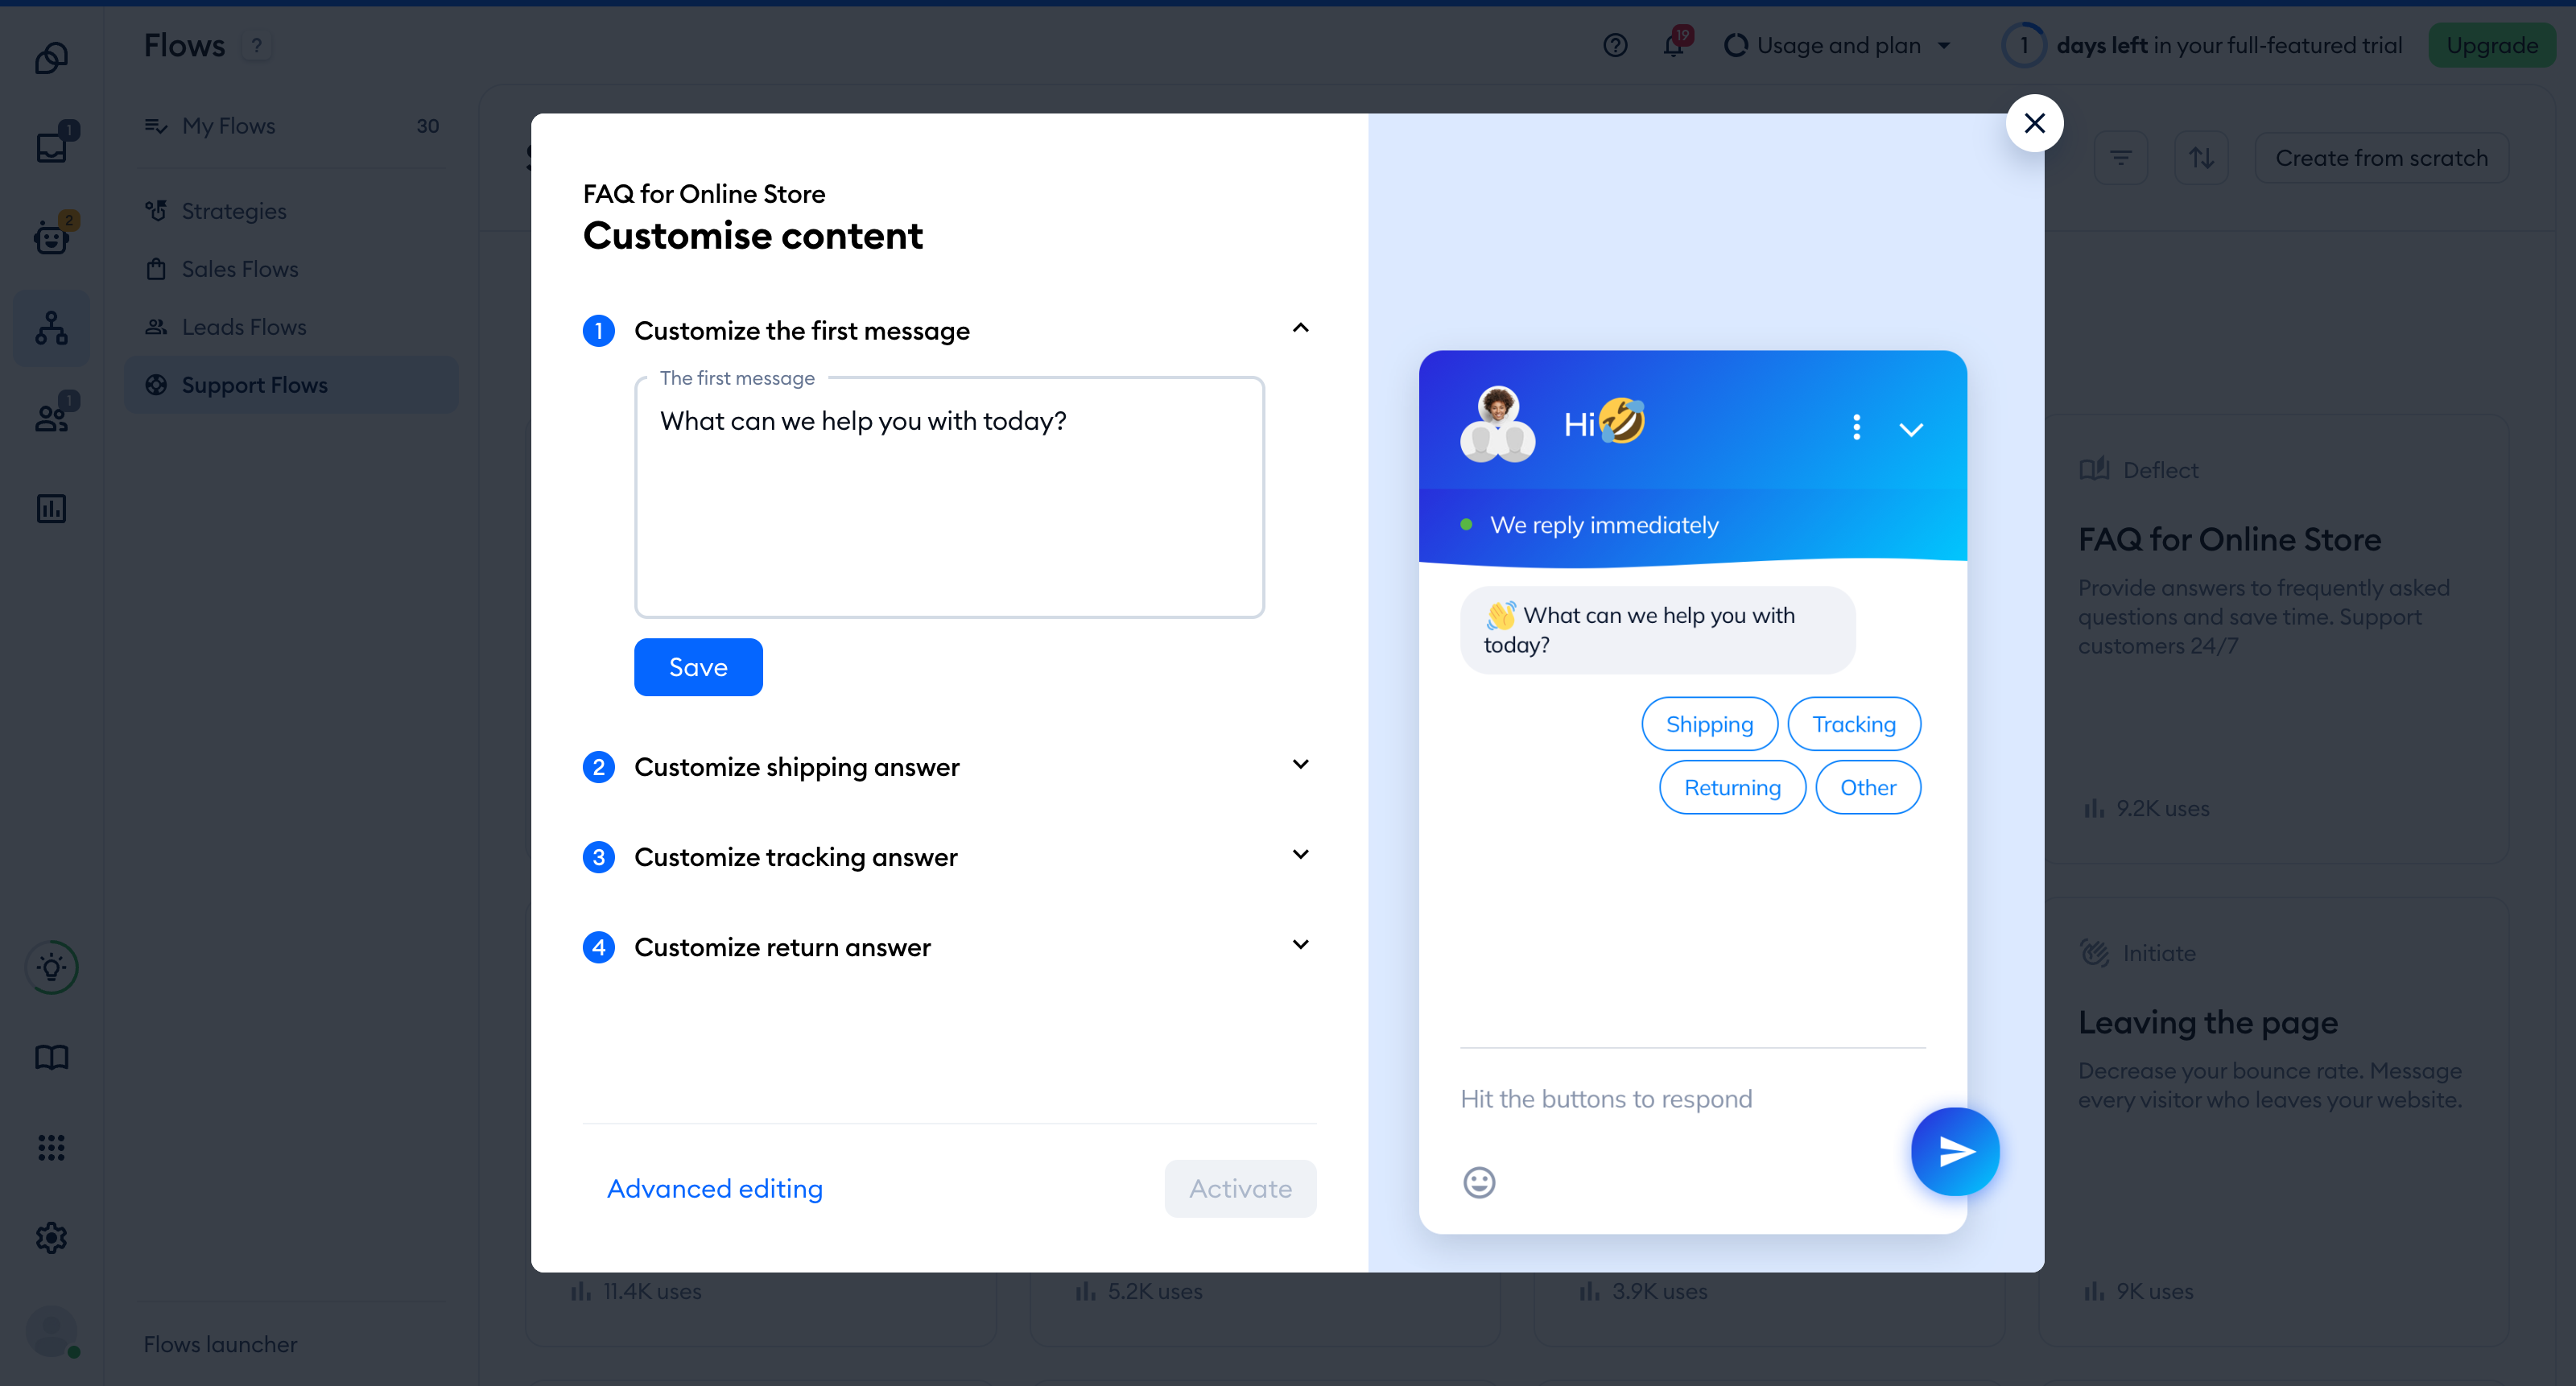
From the setup wizard, click Advanced editing at the bottom to open the flow editor. If you have changed anything in the wizard, a warning explains that continuing will discard those changes.
Click on each of the nodes you see on the editing map, and modify the texts to your preference:
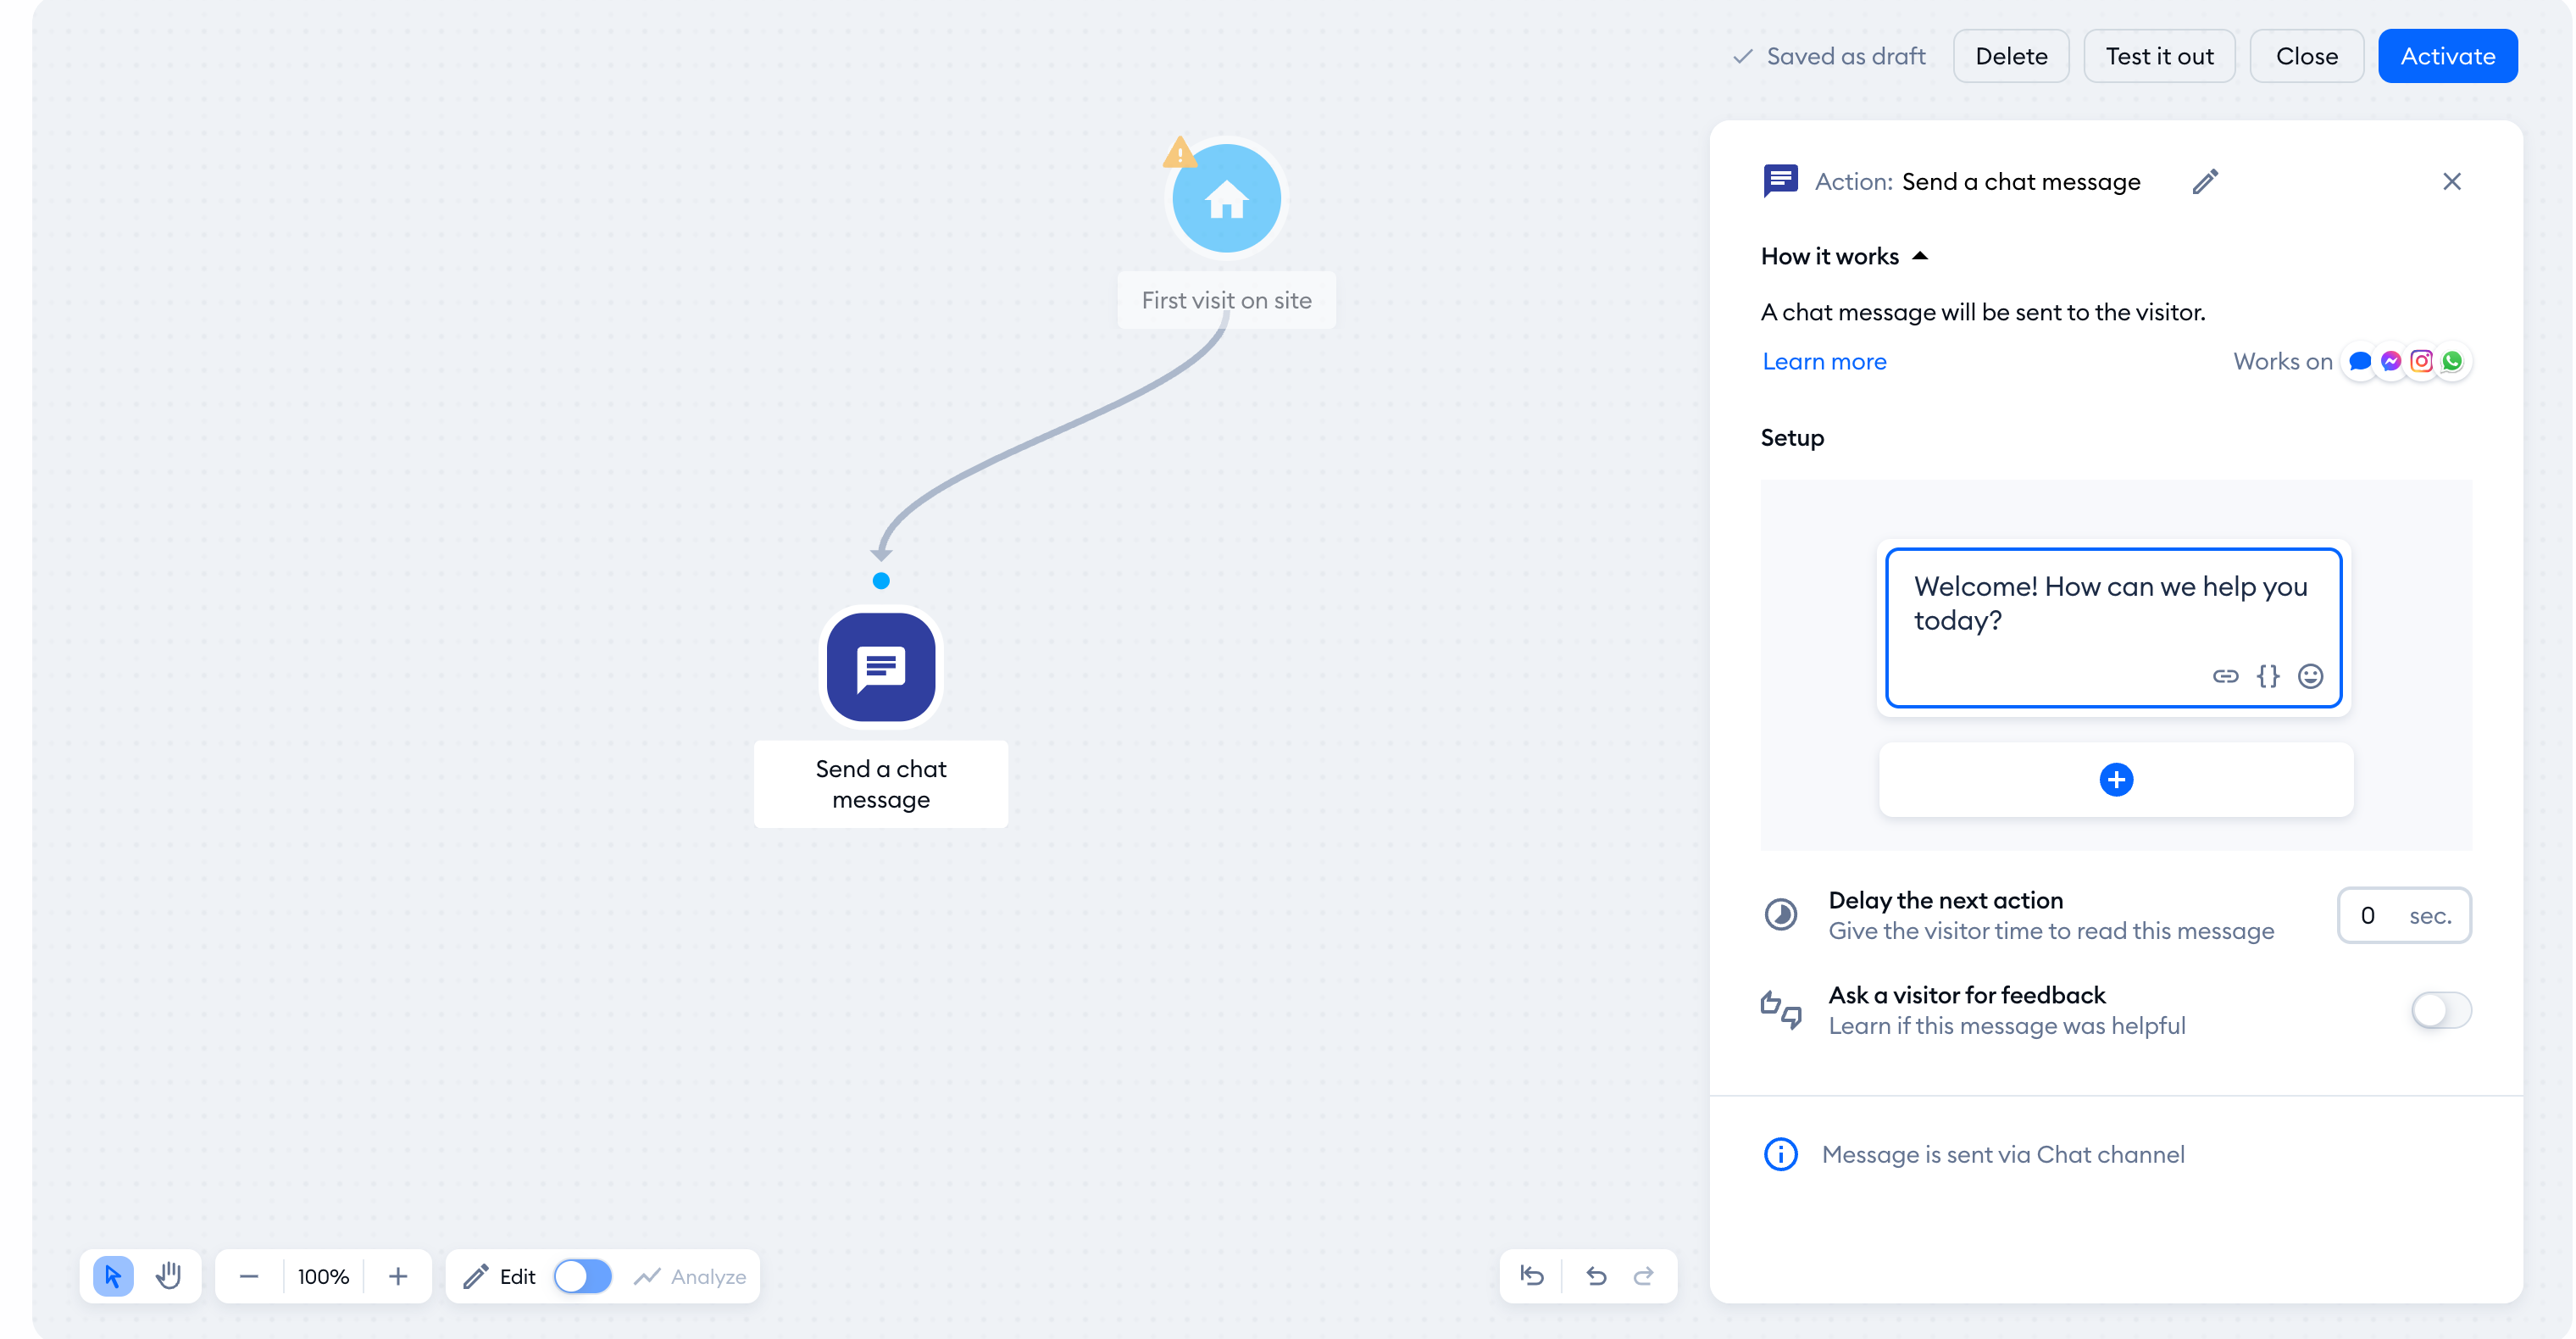
Remember to click Activate when finished to ensure the changes are saved, and your new flow is enabled.
Testing out added flows
To test out the flow you already added - head over to the Flows section and open the My Flows list. Click on the three dots menu on the right-hand side and choose the Test it out option (please note that the same option is available inside the flow editor directly):
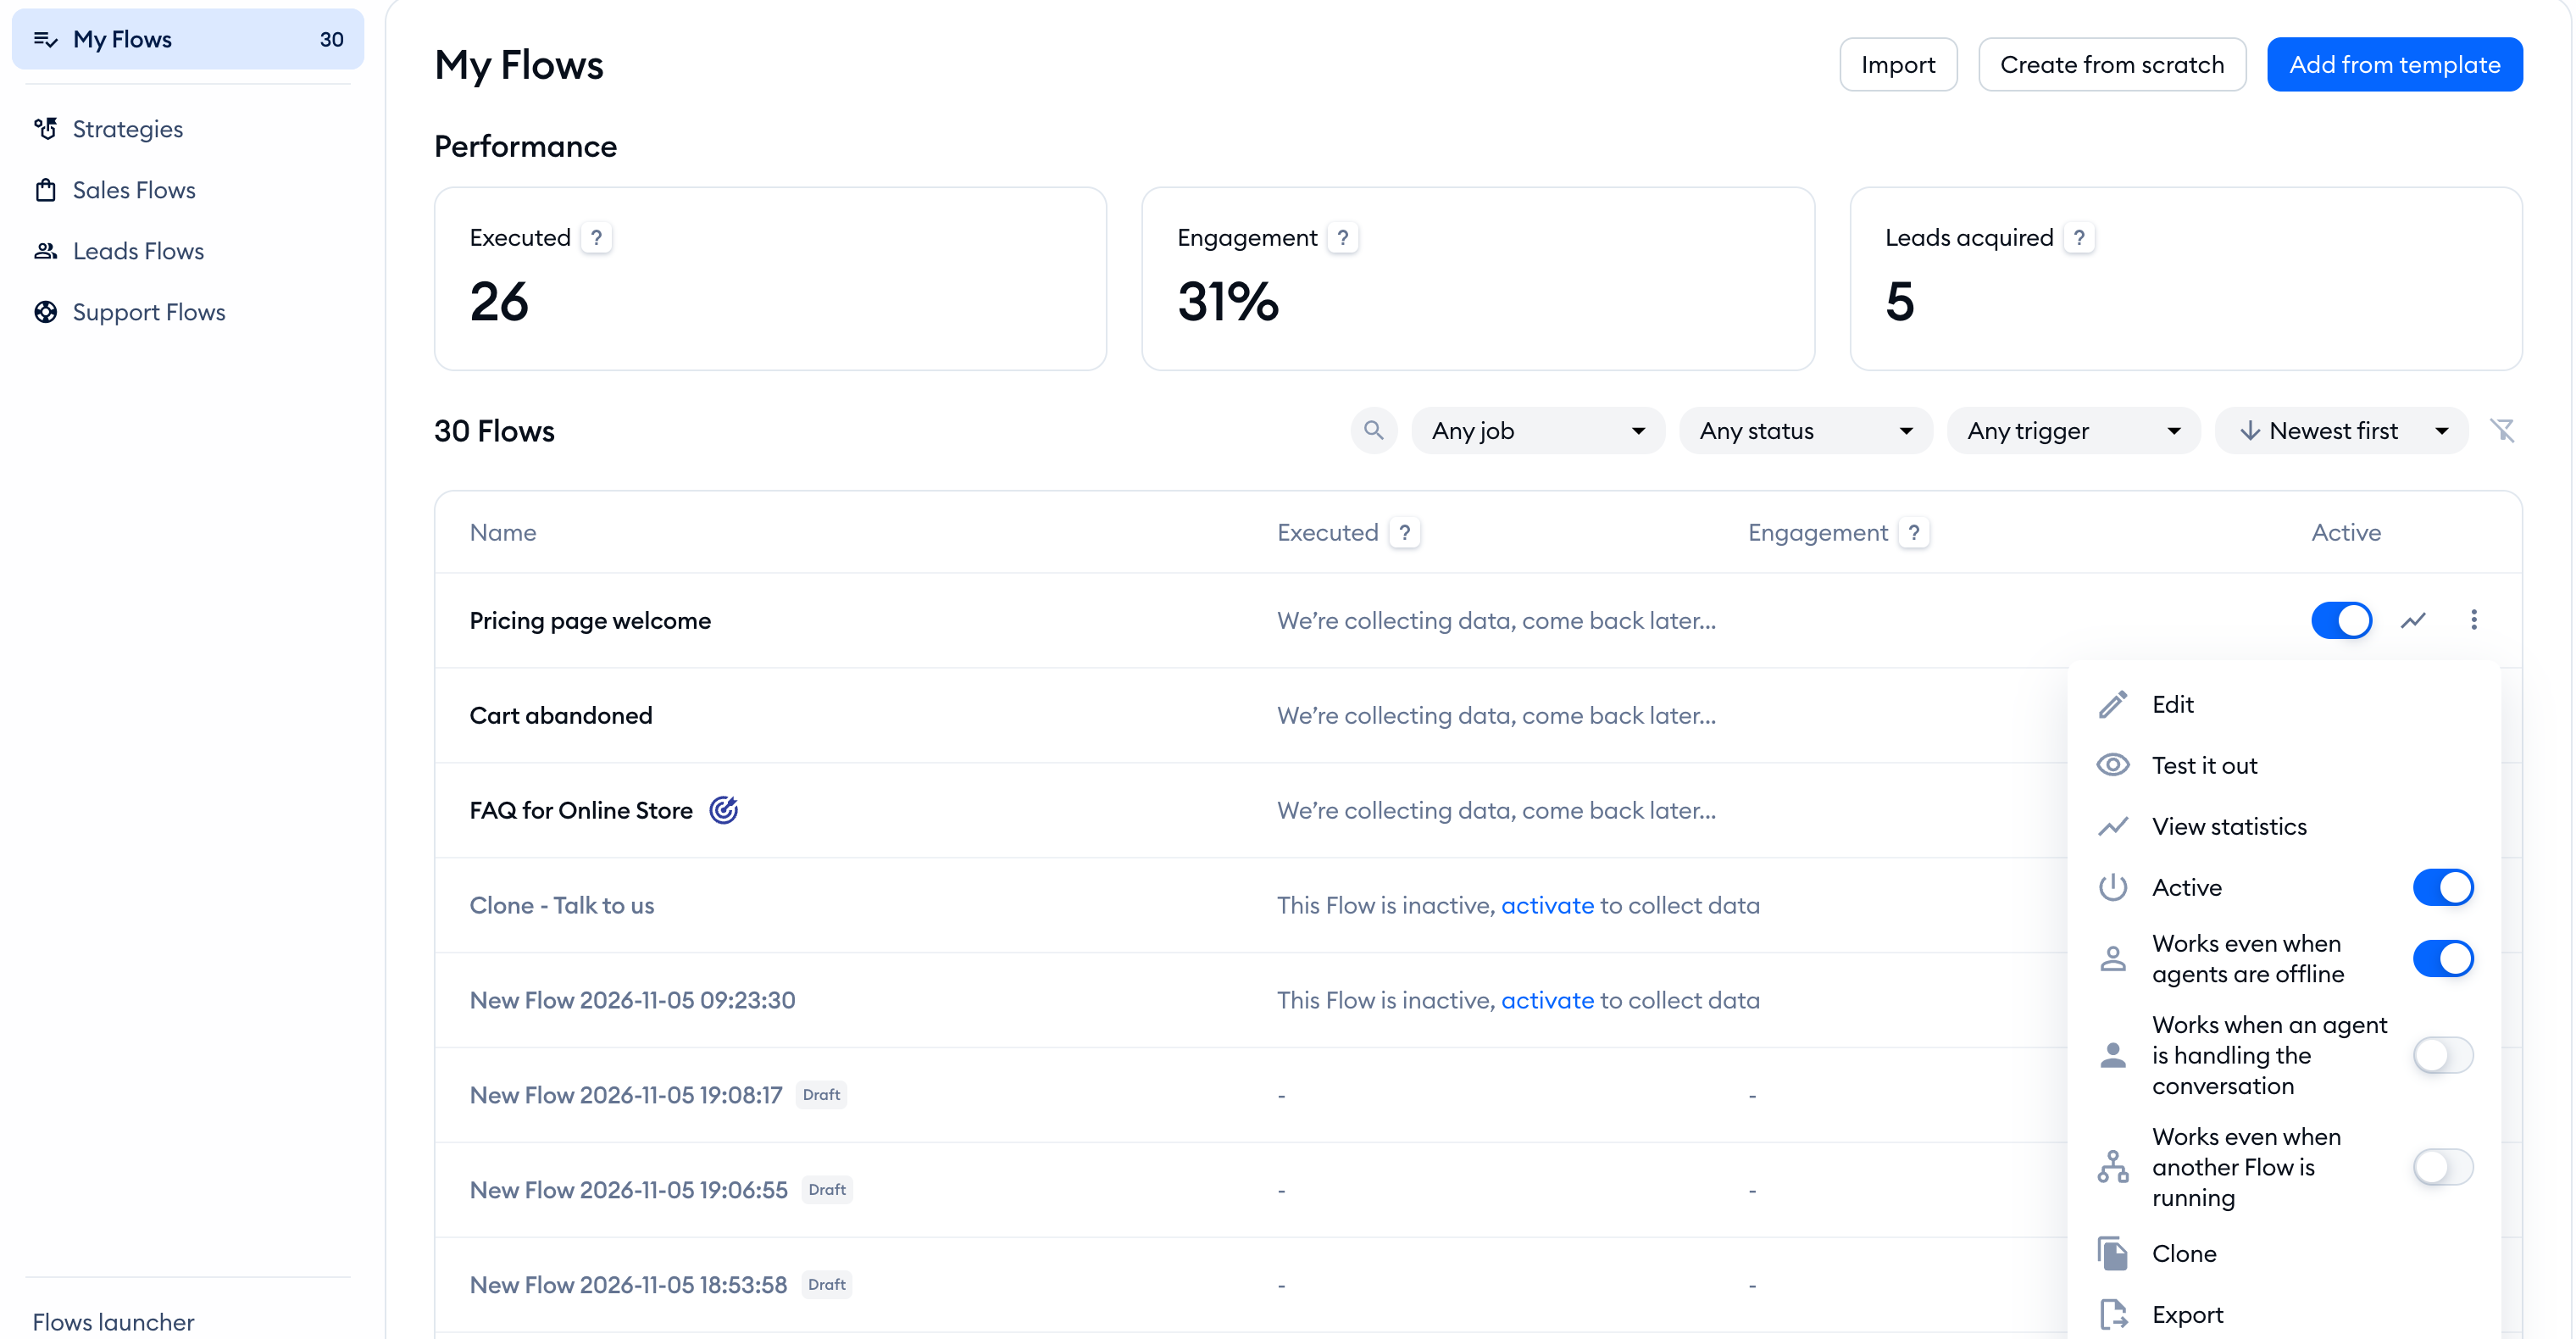
You'll see a new window appear with the preview of your widget and flow (which will be triggered immediately). Your website visitors will see the widget and the flow in the same general way, so this is a great tool to try your new flow for yourself before making it available on your website.
Requesting a template
Can't find the flow you need? Click Request a template below the template list and describe what you want the flow to do.
