At Tidio, you can send and answer emails directly from the Tidio panel. This feature is especially useful for following up with visitors who have left your website and can no longer access chat messages. By leveraging the email channel in Tidio, you can continue the conversation seamlessly and provide valuable information to your visitors.
In this article, you'll learn:
- How to respond to visitors who are already gone
- How to create and send emails
- What available options there are inside the email creator
- Why you need a physical address for sending emails
Using email to respond to offline visitors
In general, you will see any incoming chat messages in your Inbox, where you manage all your chats. Tidio allows you to message your chat visitors via email, if that is necessary or preferred at any point; for example, you can do that if a visitor is already gone and won't be able to see your live chat response.
When a visitor leaves your website, you will notice a red dot in the corner of the visitor's avatar; it indicates that the best way to continue the conversation is via email.
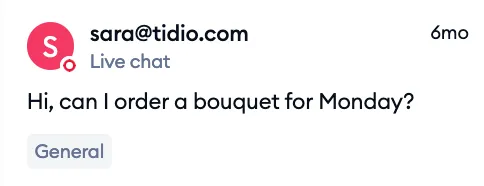
However, this option is only available if the visitor has provided an email address. To ensure you have the necessary information, we recommend enabling the Pre-Chat Survey feature, which automatically collects visitor details before they initiate a chat.
Once the visitor has left an email address, and Visitor notifications are turned on in Settings > Project > Preferences, you can simply reply in the conversation as usual. The reply box shows Visitor is offline. Your reply will be sent via email., with the visitor's address in the To: field and your sender address in the From: field:
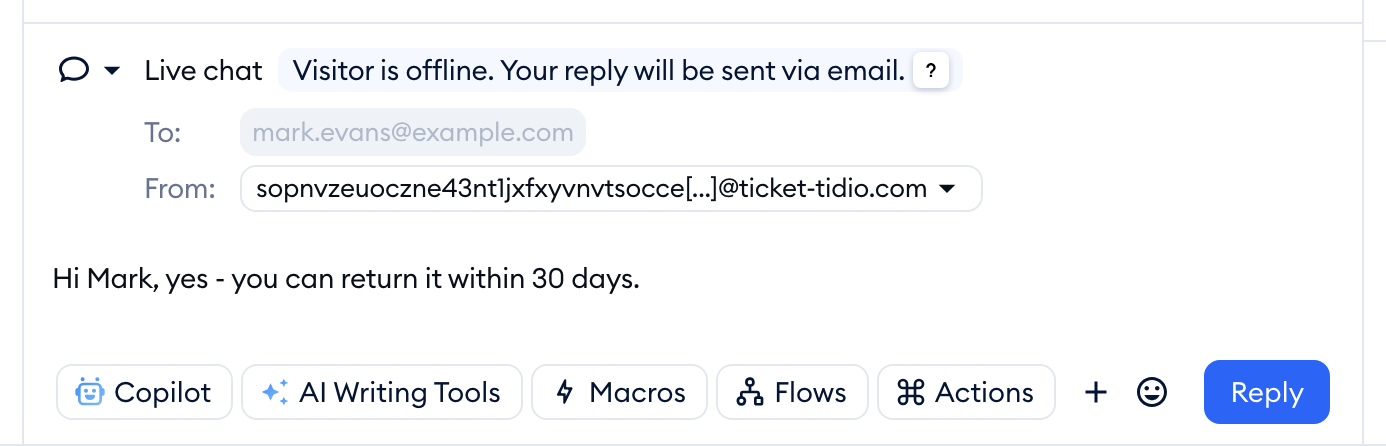
This works in website live chat conversations. For the details, please see Reply by email to visitors who left.
Create and send emails
To create an email thread from a live conversation, click on the Create ticket icon (a ticket with a plus) in the top-right of the conversation, or press Cmd + Shift + T (Ctrl + Shift + T on Windows):
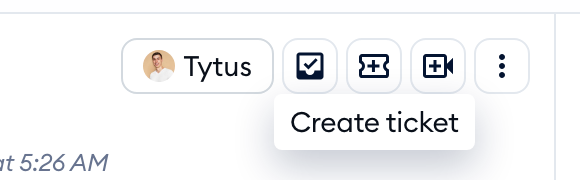
This is used in a separate tool called Ticketing, and you can learn more about it in this guide.
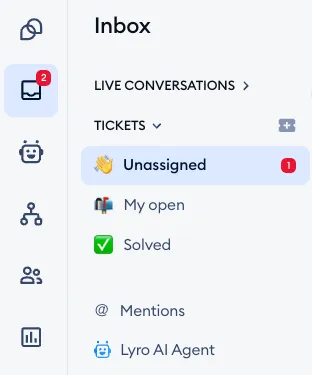
From the Inbox section, you can also create a completely new ticket (email). To create a completely new email (ticket), you'll need to click on the + icon next to the Tickets section on the left-side menu.
Tidio's Ticketing system offers a convenient solution for efficient customer query management. By moving time-consuming conversations to tickets, you can effectively manage your team's work. If you would like to learn more, see our article about the Ticketing in Tidio.
Available options inside the email creator
To send an email - you need to provide the subject, content, and other details of the ticket. You can also use the additional features of the editor. We explain them below:
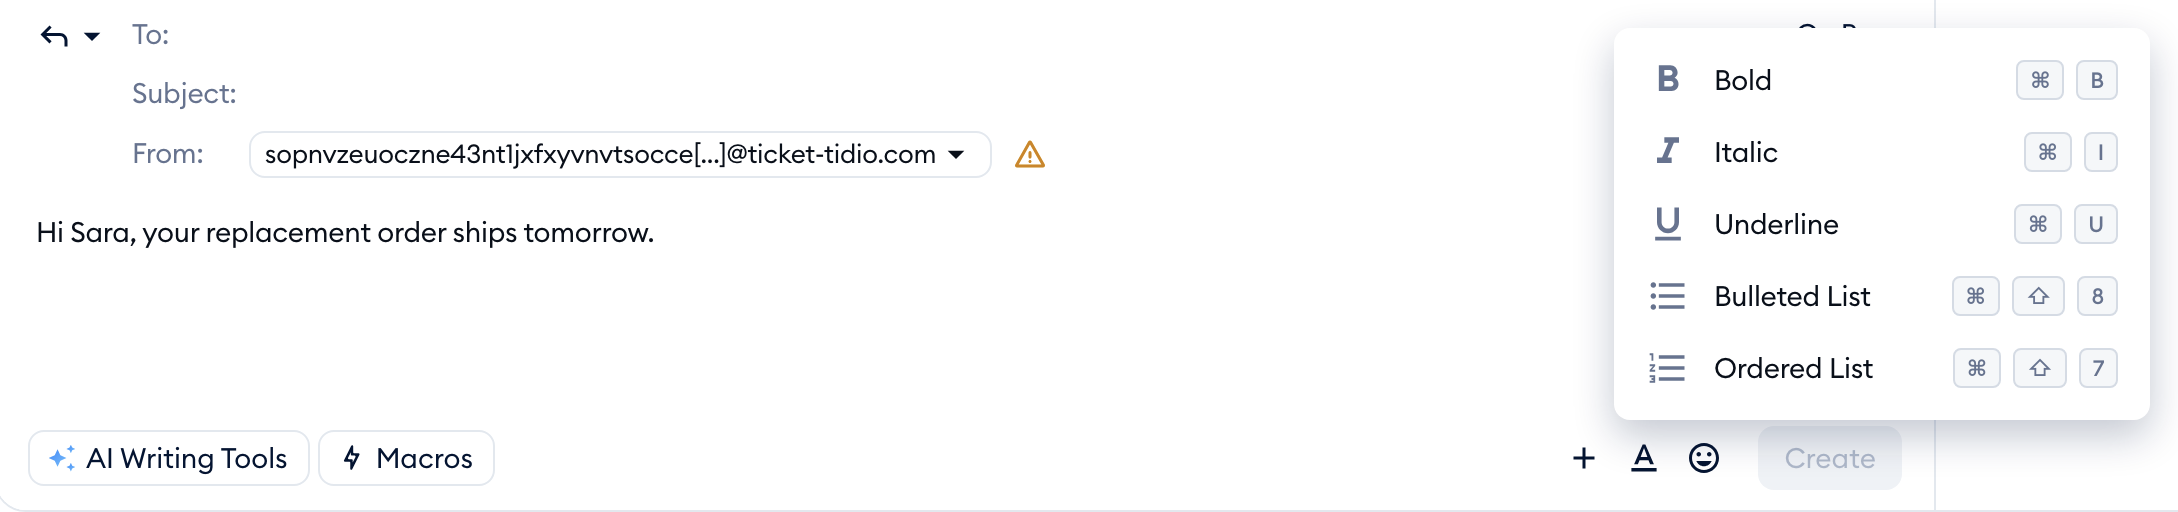
AI Writing Tools - an AI-powered reply assistant designed to help deliver high-quality, well-composed replies to customers faster. These tools allow you to quickly rewrite, elaborate, or shorten your response, helping your agents work more efficiently. If your project doesn't include them, clicking on the button opens an upgrade window instead. Please see this guide for more details.
Macros - pre-made messages (previously called Canned Responses) that can be called during conversations and in tickets. You'll manage them in Settings > Macros.
+ (Add to message) - a menu with three options:
- Insert link - text that can be a hyperlink with a redirection to a different page.
- Upload a file - a file that can be uploaded as an attachment to the email.
- Upload an image - an image that can be uploaded to the email.
Formatting - a menu with the text formatting options:
- Bold - usually used to emphasize something strongly in writing.
- Italic - used for emphasis or contrast - that is, to draw attention to some particular part of a text.
- Underline - section of text where the words have a line running beneath them.
- Bulleted List - allows you to create a list that stands out from the text.
- Ordered List - allows you to create a numbered list that stands out from the text.
Emojis - a small digital image or icon used to express an idea or emotion. Click on the smiley face icon (Add emoji) to pick one.
Physical Address - Email regulations
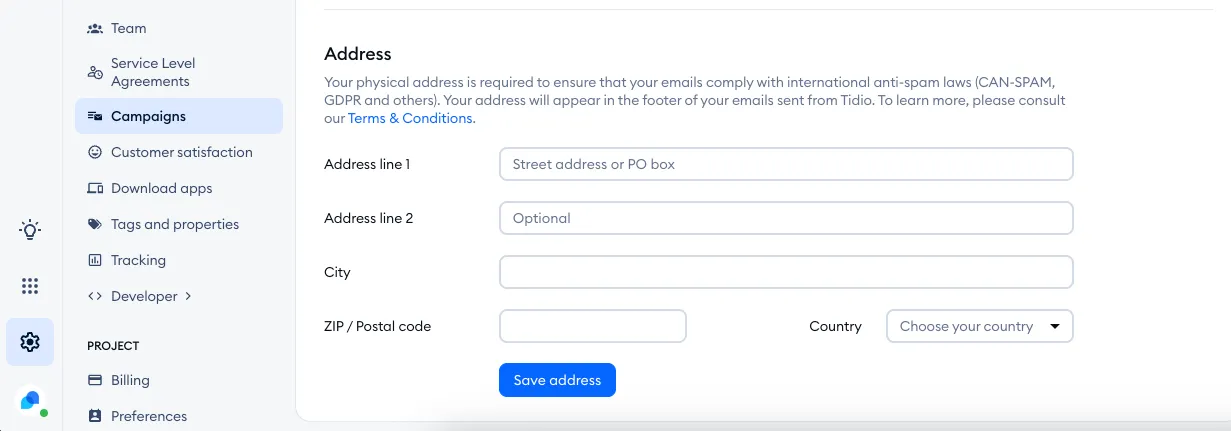
Please, keep in mind that all the emails sent from Tidio include your valid physical address. Make sure that your address is correctly set up in the Settings > Campaigns > Address section in your Tidio panel.
Please note: you'll only see Campaigns in the Settings menu if your project has Campaigns.
Your street address that is required to ensure that your emails comply with international anti-spam laws (CAN-SPAM, GDPR, and others). Your address will appear in the footer of your emails sent from Tidio. To learn more, please consult our Terms & Conditions.
Starting June 17th 2024, the Campaigns tool is available exclusively to Plus subscribers and to users of the legacy Campaigns subscription.
