Start collecting leads to increase your chances of converting some of them into paying customers. Collected contacts give you an excellent opportunity to share the promotions, news, or any other relevant content you'd like to share with your visitors.
In this article, you'll learn:
- How to collect leads with the Pre-Chat Survey
- How to collect leads through flows
- How to collect leads through chat conversations
Collect data with the Pre-Chat Survey
The Pre-Chat Survey is a short survey that visitors fill in before starting a chat.
Through the survey, you can collect visitors' names, email addresses, phone numbers, GDPR consent, ask them for newsletter permission, and allow them to select a department (Departments are available on the Plus plan and above). You can request all that information or choose which data your business needs most.
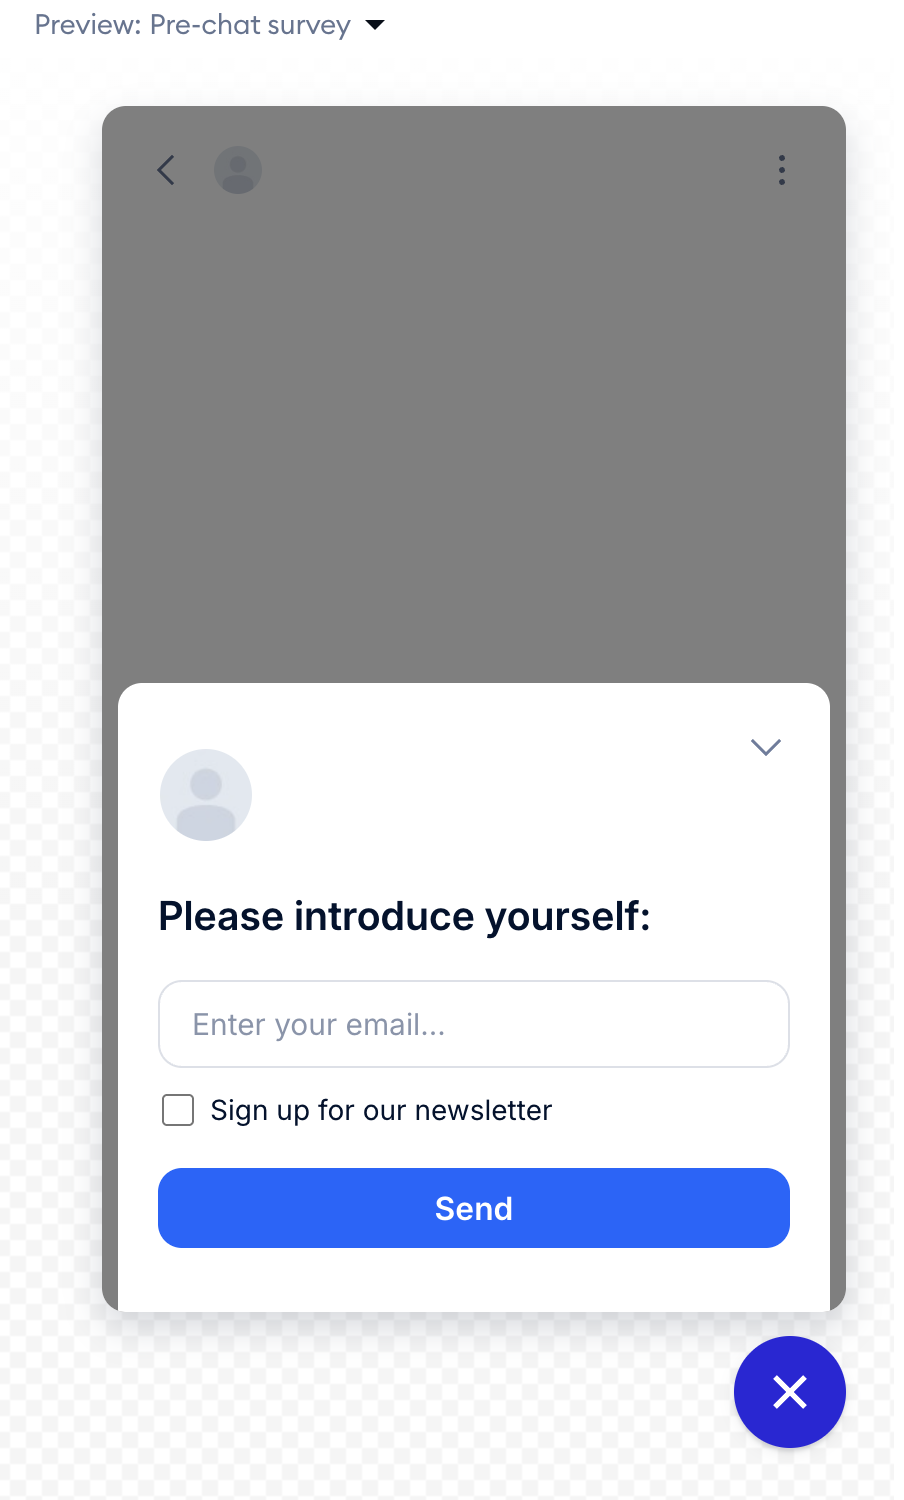
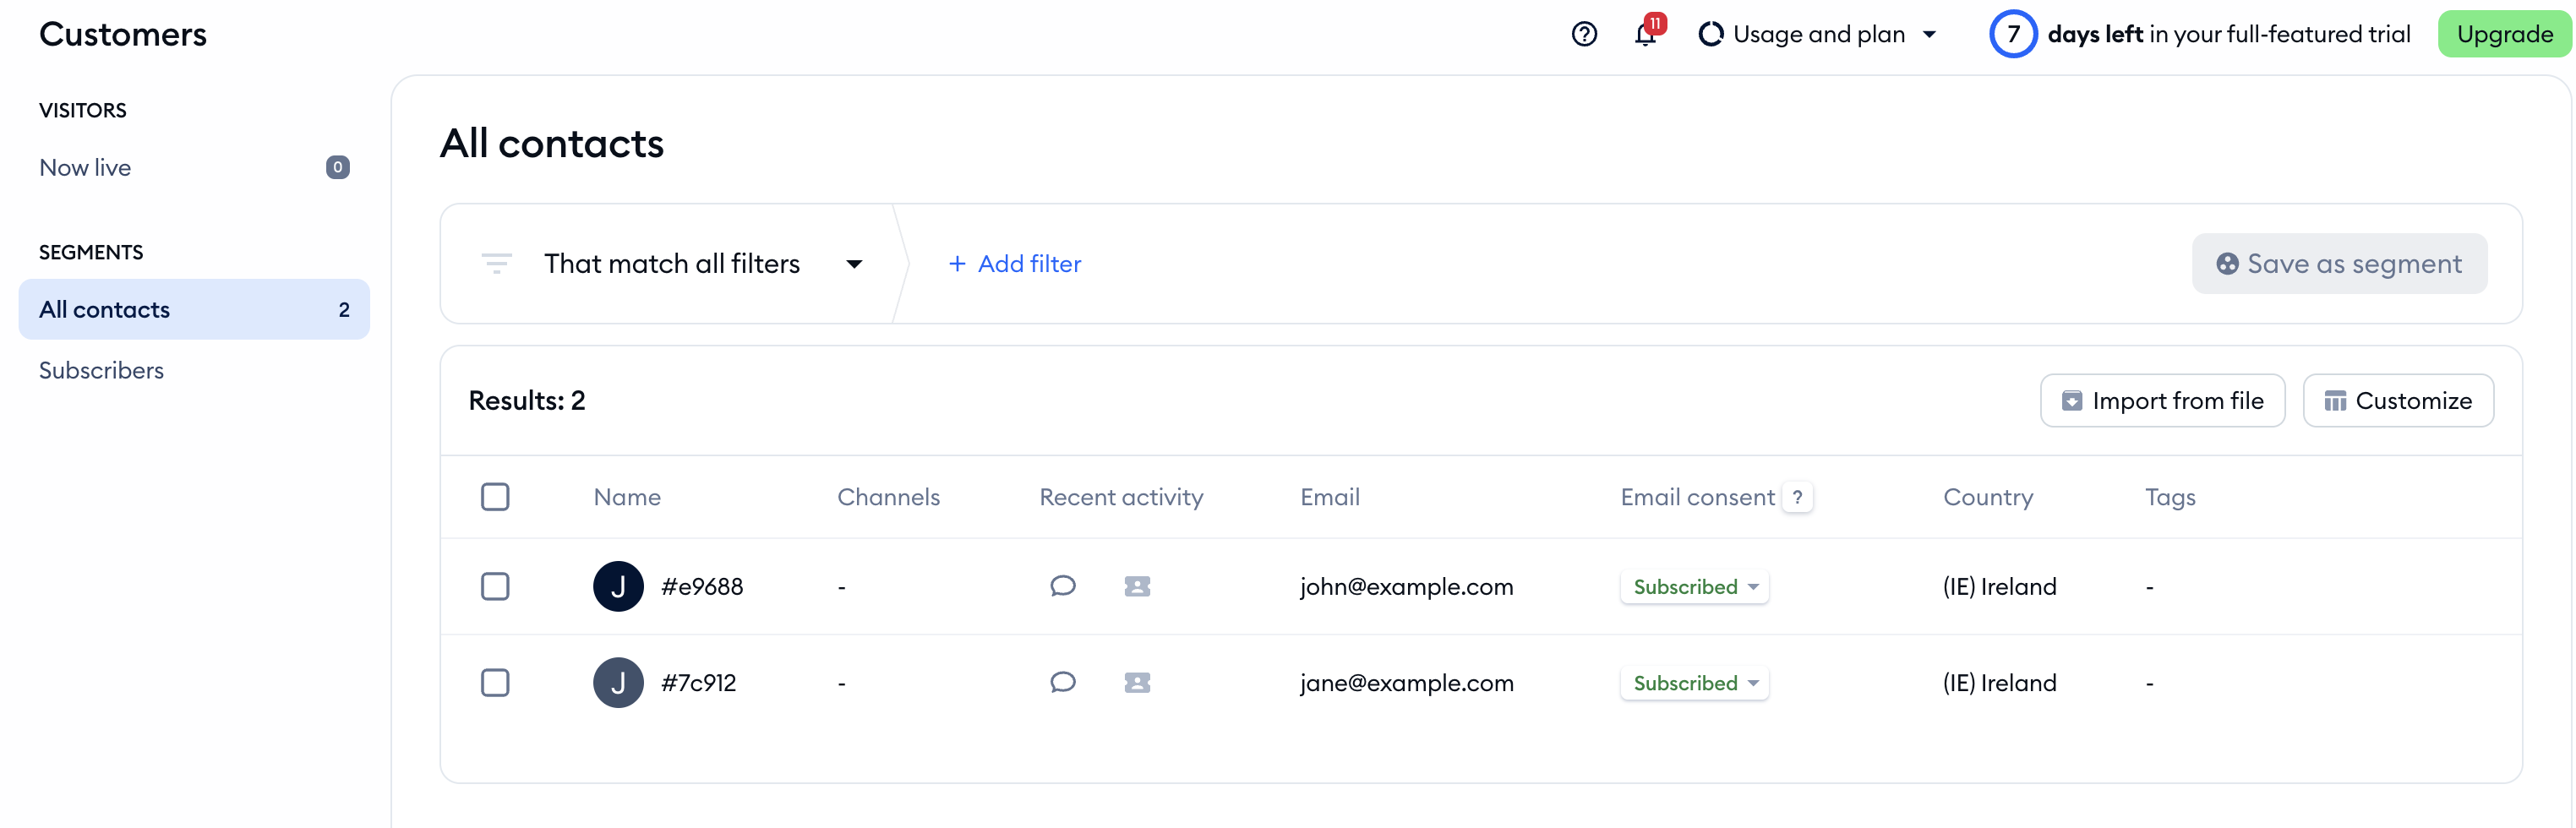
If enabled, the Pre-Chat Survey is displayed to visitors when they try to send their first chat message, and it's mandatory to complete then. The collected information is saved, so that you can see it when chatting later; the data will also be listed in the Customers > Contacts section of your Tidio project.
The Pre-Chat Survey settings are inside the Content section, after you navigate to Settings > Live Chat > Appearance - open the Pre-chat survey tab:
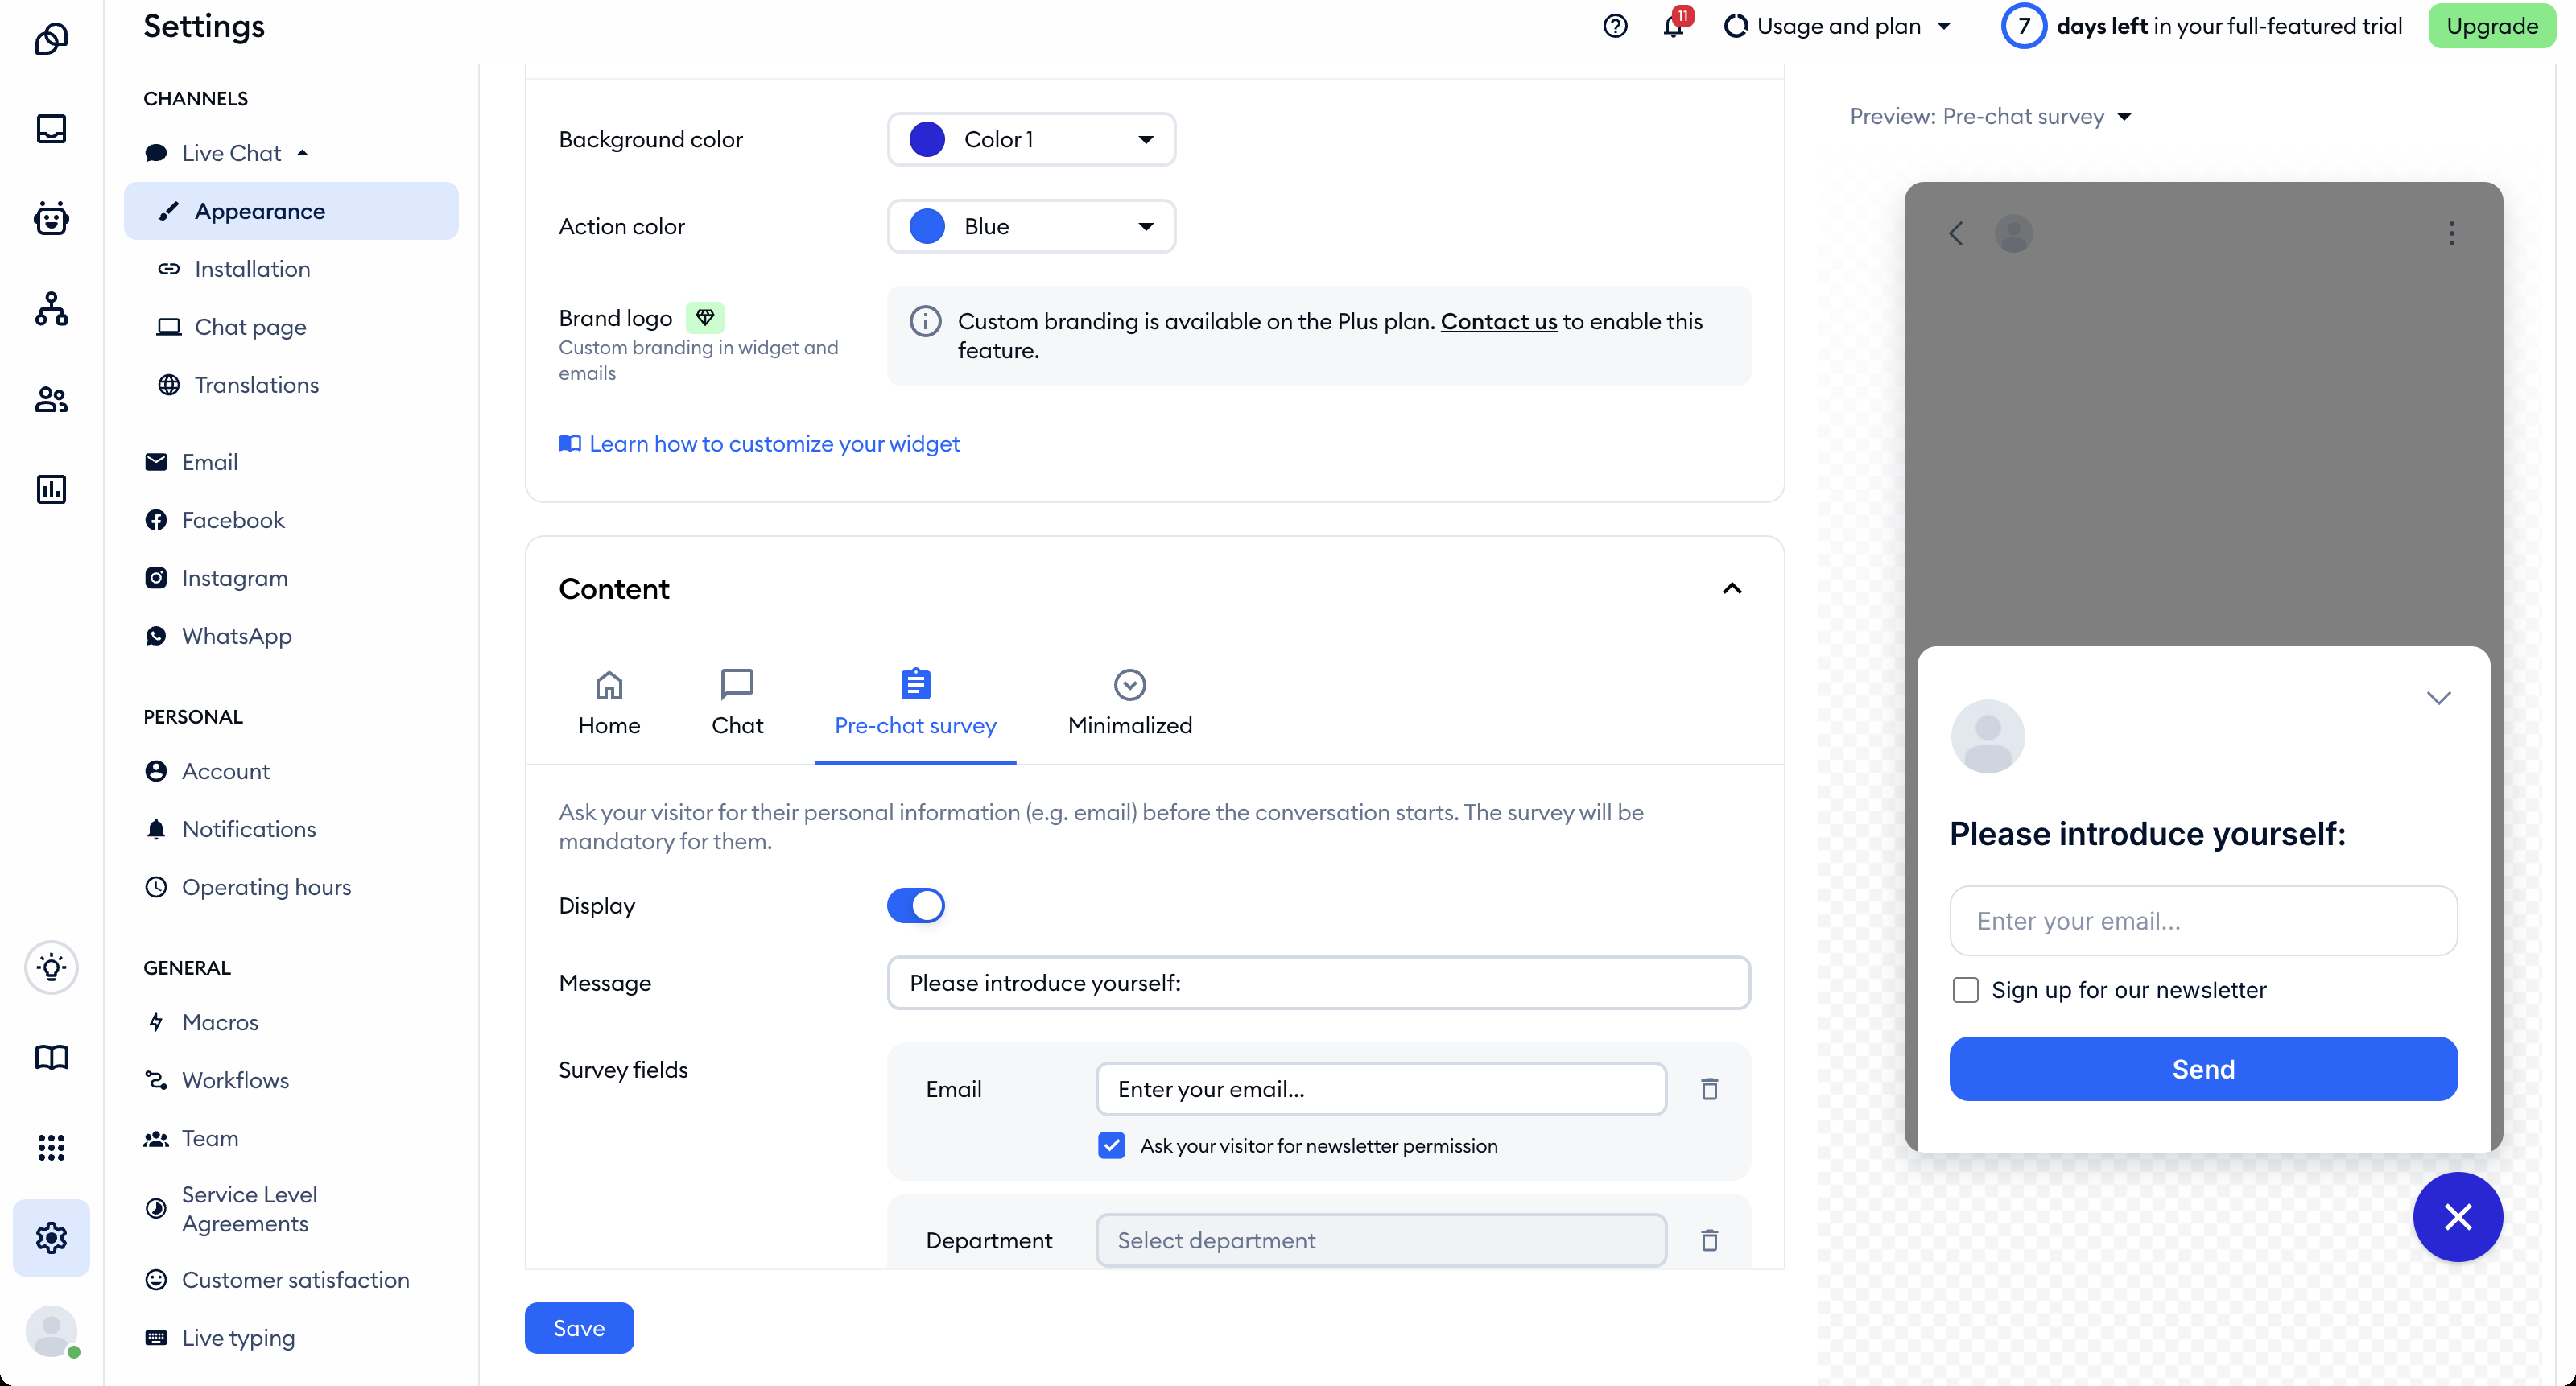
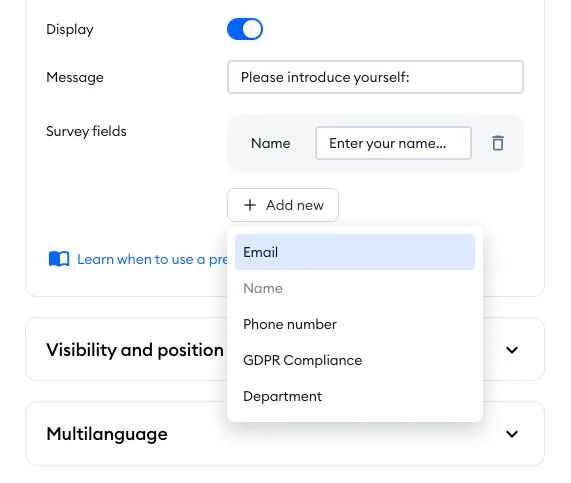
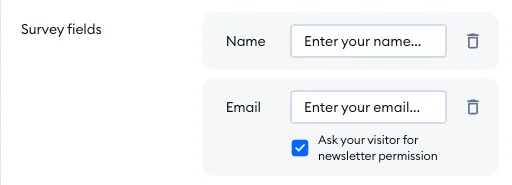
Enable the survey by switching on the Display toggle. Modify the introductory message that the survey will start with. Then, add the Survey fields to ask for the information you need (click on the Add new button to add more fields: Email, Name, Phone number, GDPR Compliance or Department):
The email field also gives you an option to ask for the visitor's subscription consent - you only need to tick the box with Ask your visitor for newsletter permission to enable it:
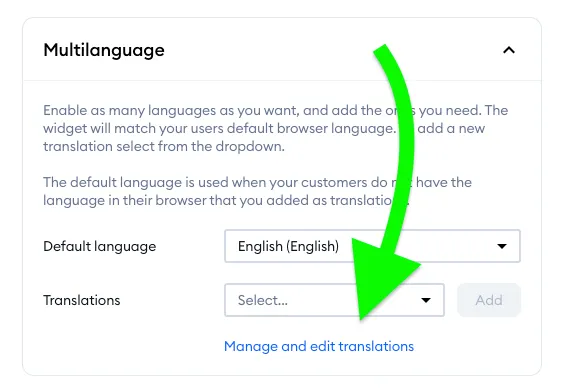
If you need to modify or translate the Sign up for our newsletter text (which is the default text that displays in the Pre-Chat Survey), you can do this from the Multilanguage section, located lower in the Appearance settings (see this guide on widget languages). Click the Manage and edit translations link to open the translation editor in Settings > Live Chat > Translations:
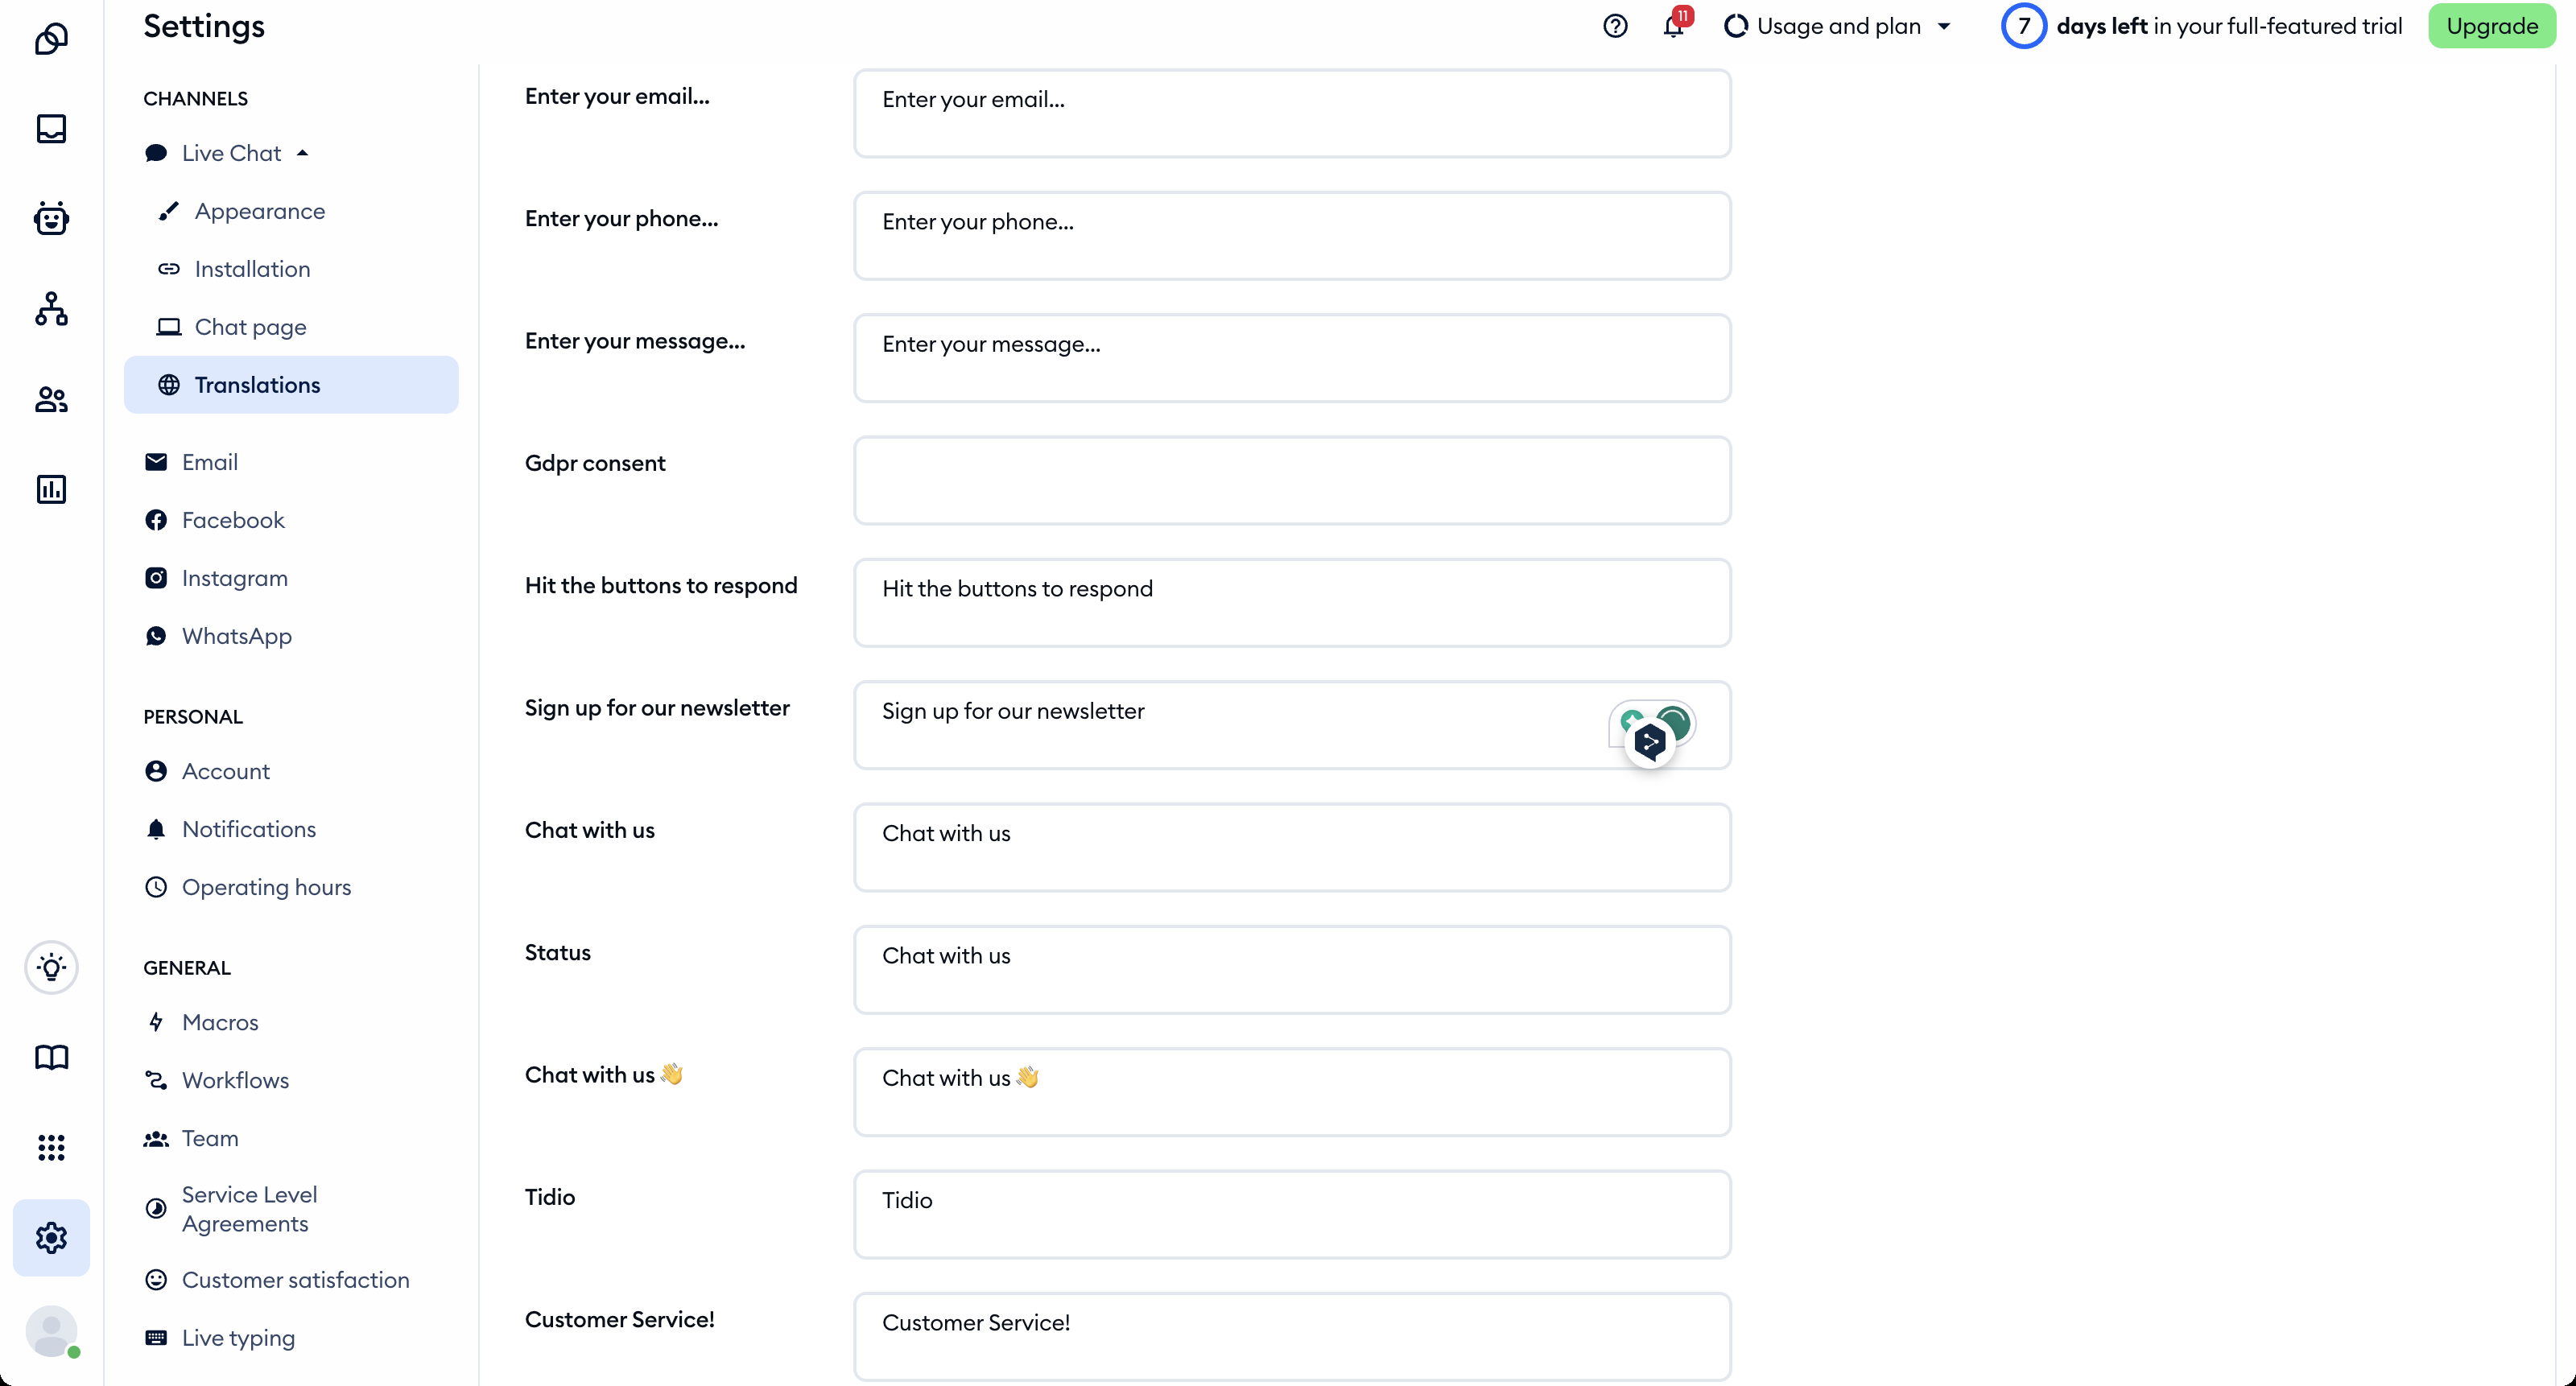
Once inside, select the tab with your language and locate the text you wish to edit. You can use CTRL+F in your browser and type the phrase you're looking for. Then, modify the text of your choice in the corresponding field:
Now that your Pre-Chat Survey is ready, you can collect the leads and start growing your business!
Collect leads through Flows
Another great channel in Tidio to collect leads is flows. Flows have many advantages: they work independently in the background, approach visitors just when you want them to, and ask visitors for any data you may want – all while saving you precious time!
You can build a flow that will ask visitors to subscribe to your newsletter and request their email addresses. How to do this?
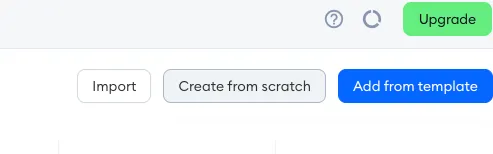
In the My Flows list of your Flows section, locate the Create from scratch button in the upper-right corner and select a trigger of your choice.
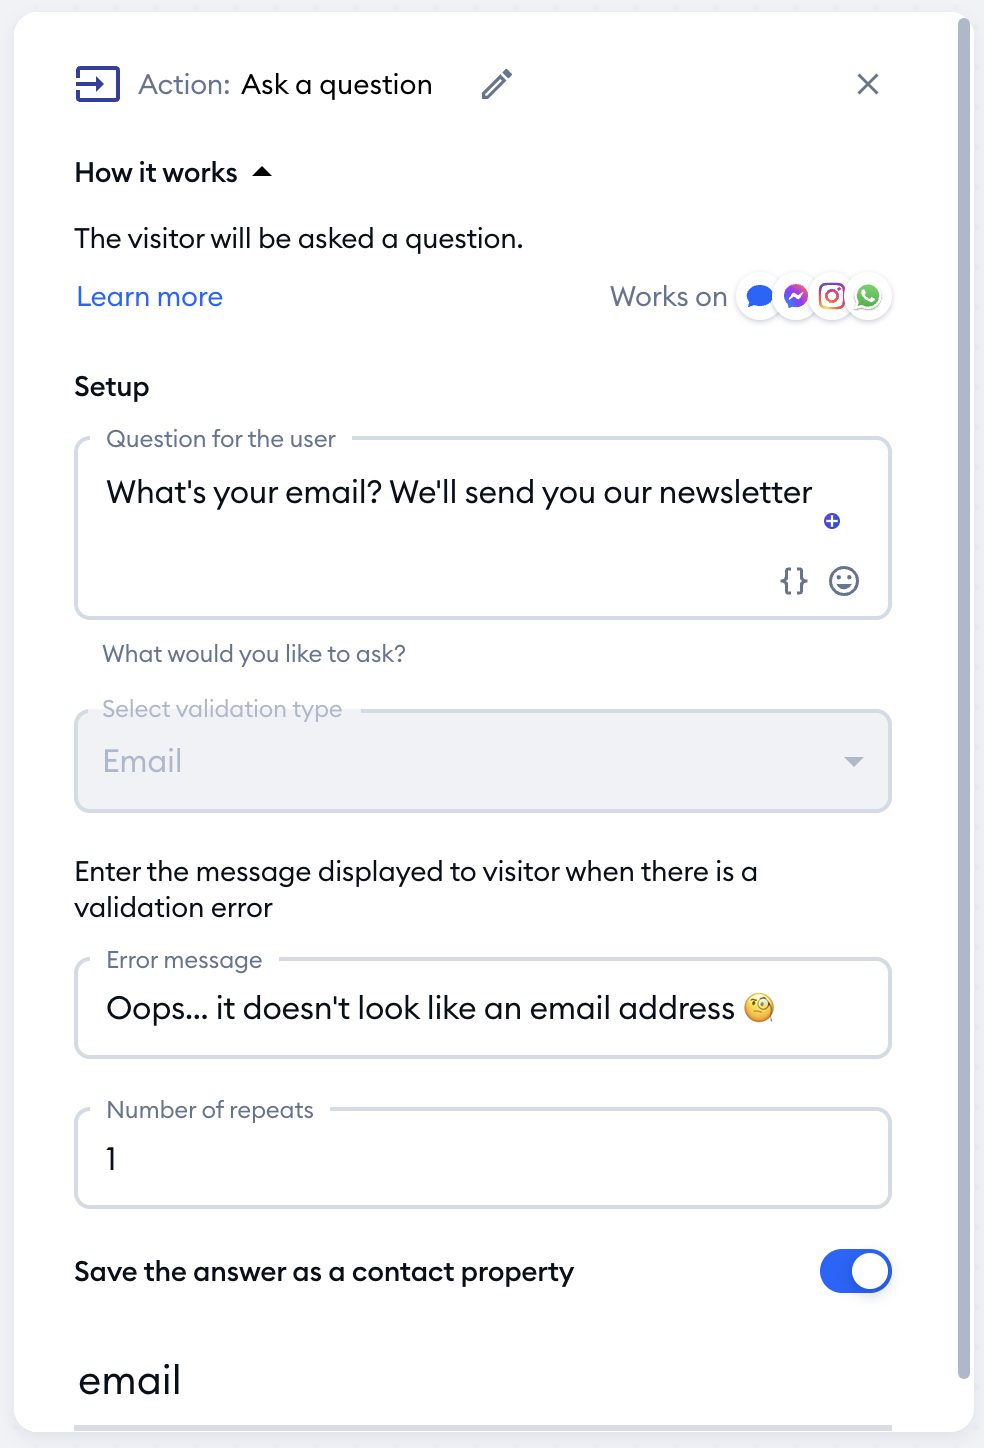
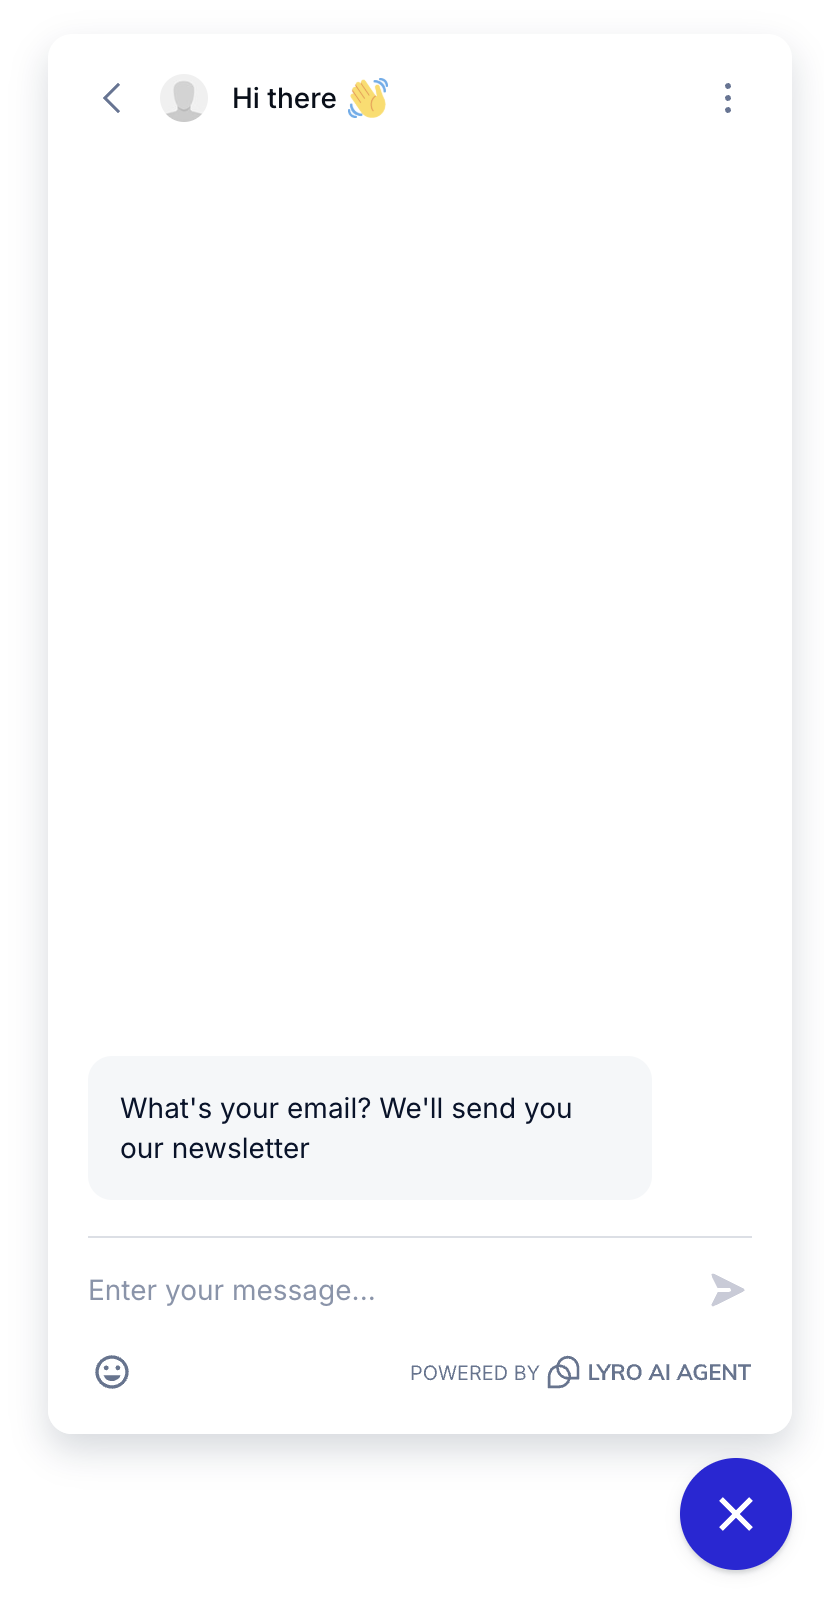
Add the action called Ask a question. You can write the question to the visitor requesting their email address in this node.
Under Select validation type, choose Email. Then, switch on Save the answer as a contact property and pick the email property in Select a contact property - this way, the address is saved as the visitor's email in your contact list. (Until you do, the node reminds you that the collected email won't be set as the visitor's email.)
The next important node to add would be Subscribe for Mailing, which will automatically set your new contact's email consent to Subscribed.
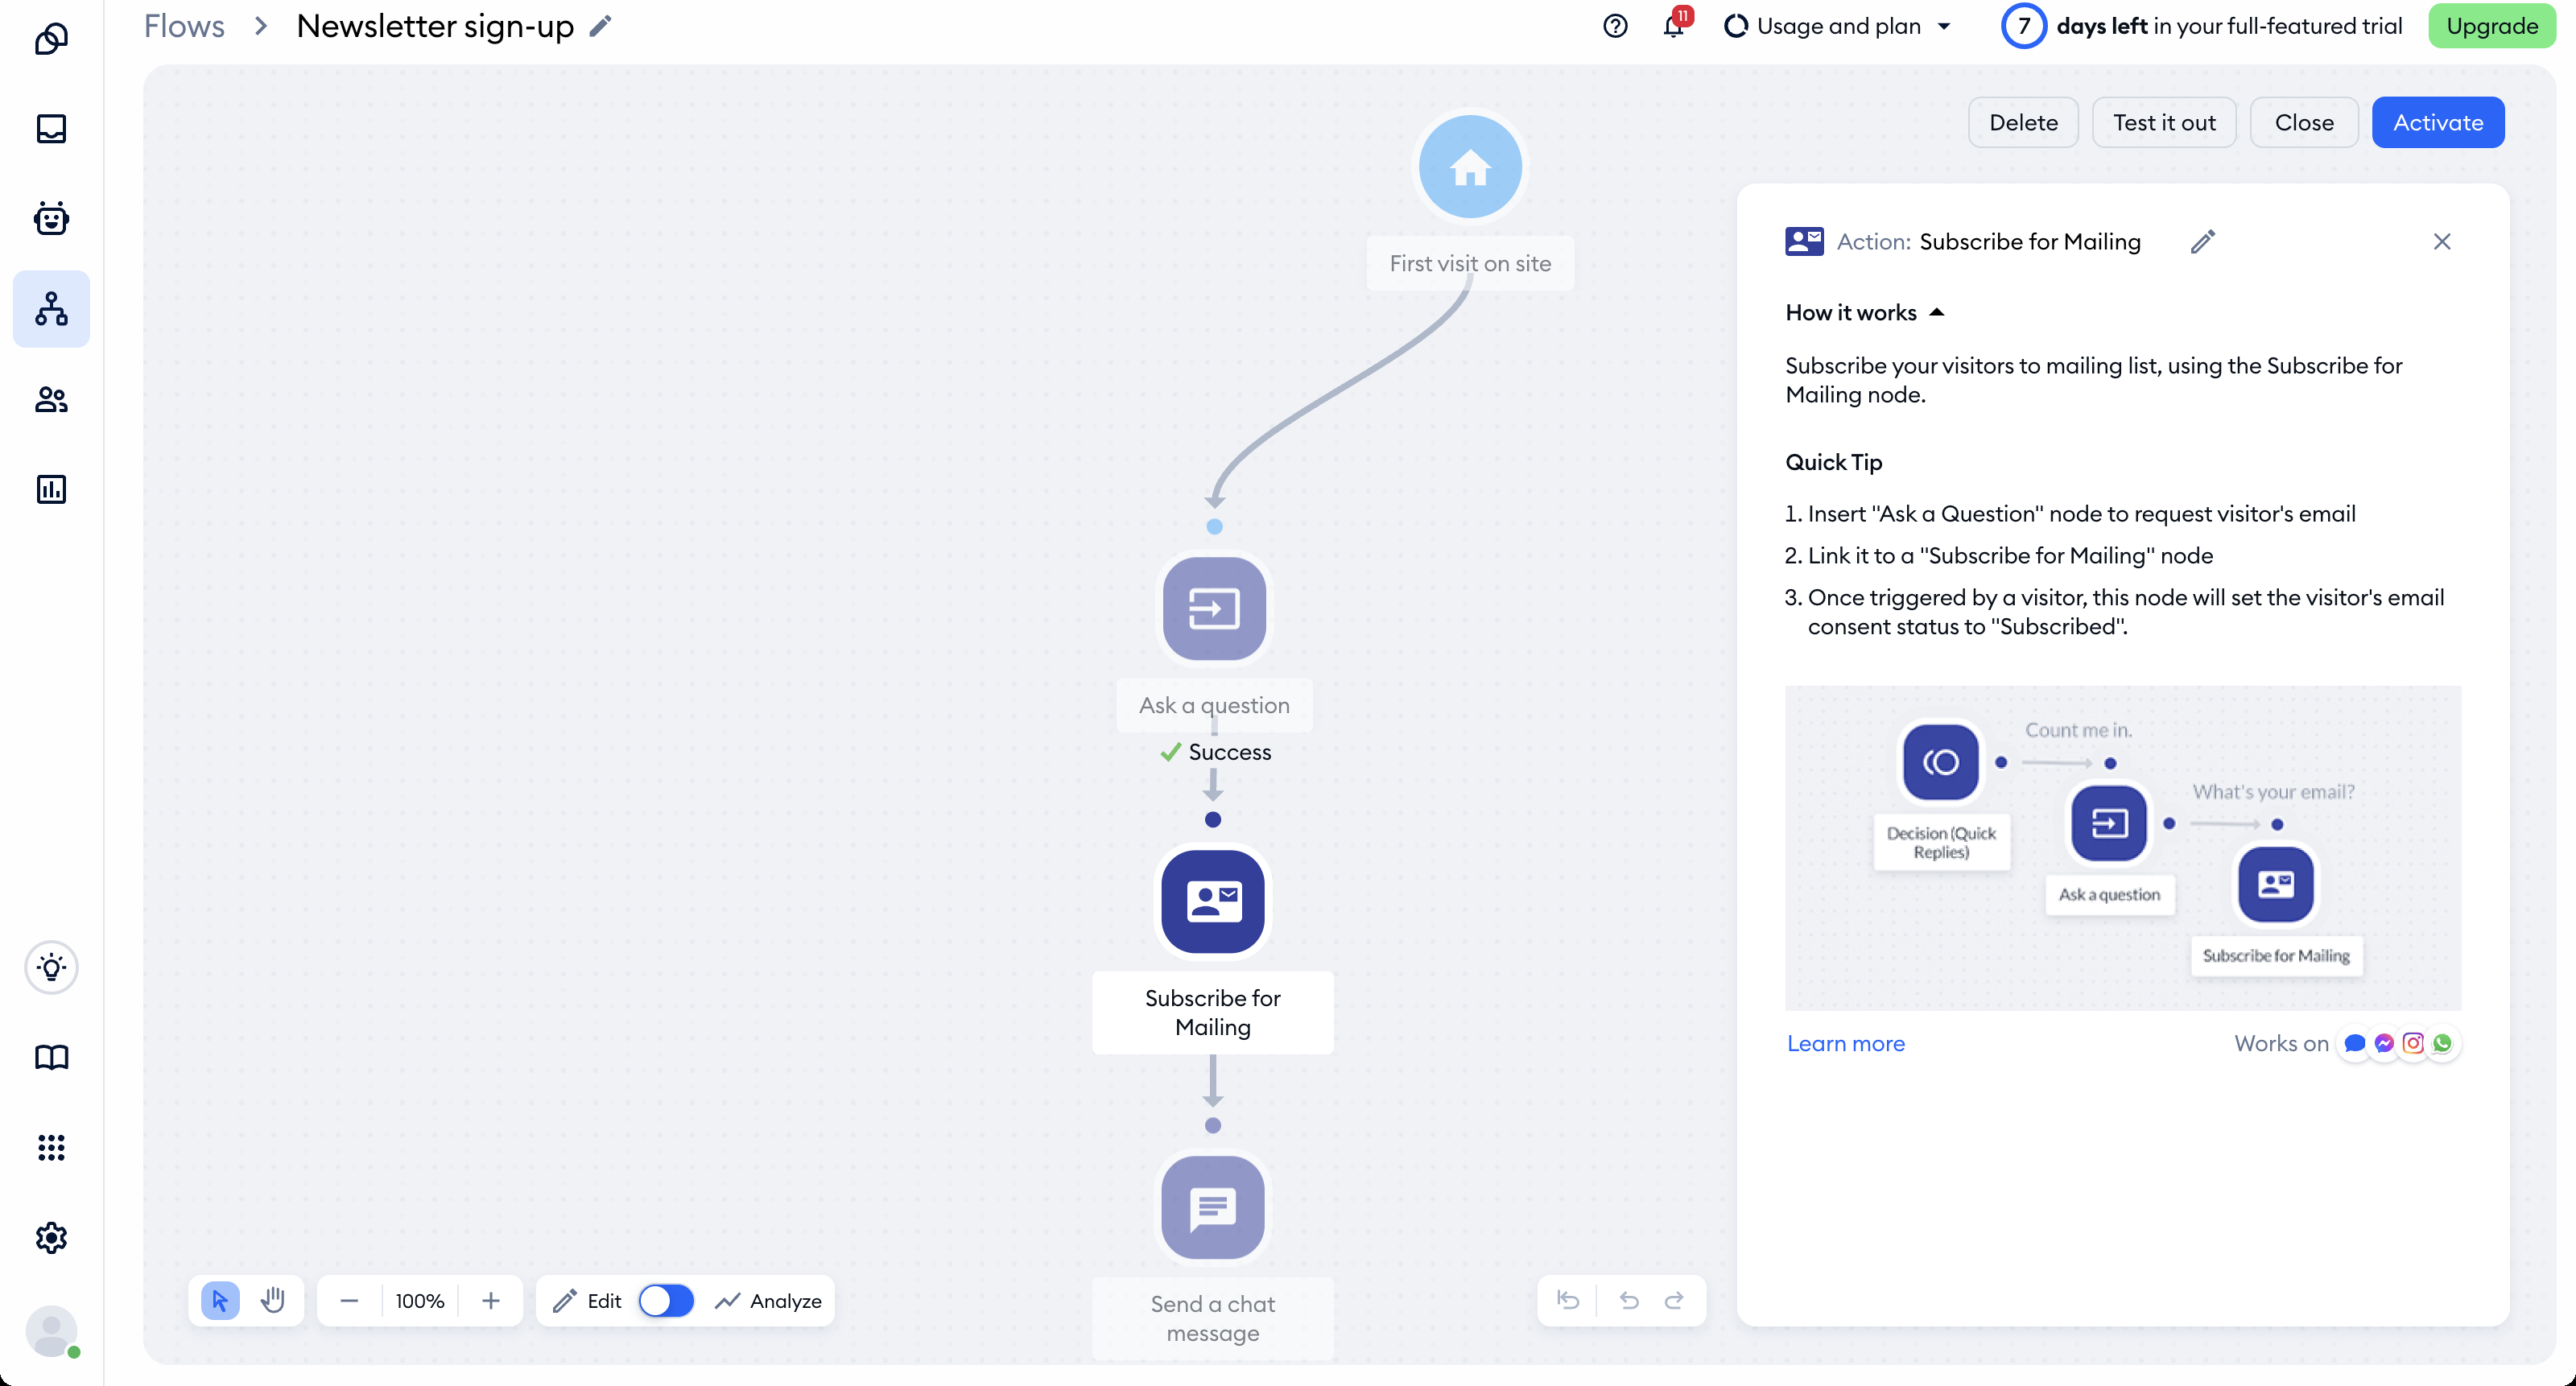
The flow can end with a Send a chat message node in which you can thank your new subscriber for leaving their contact details. Of course, you can always add more nodes, for example, more questions asking for different types of details or more messages.
This way, the flows can collect a variety of information for you while saving your time.
Collect leads through chat conversations
If you are already having a conversation with your visitor, you can ask for their email address and mailing consent during the chat.
If they provide you with their contact details, you can add them right in the conversation window. In the details panel on the right, type the address into the email field of the Customer data section. Then, click on the consent status under the email (it shows Subscribed, Unsubscribed or a dash), choose Set as subscribed, and confirm with Add consent:
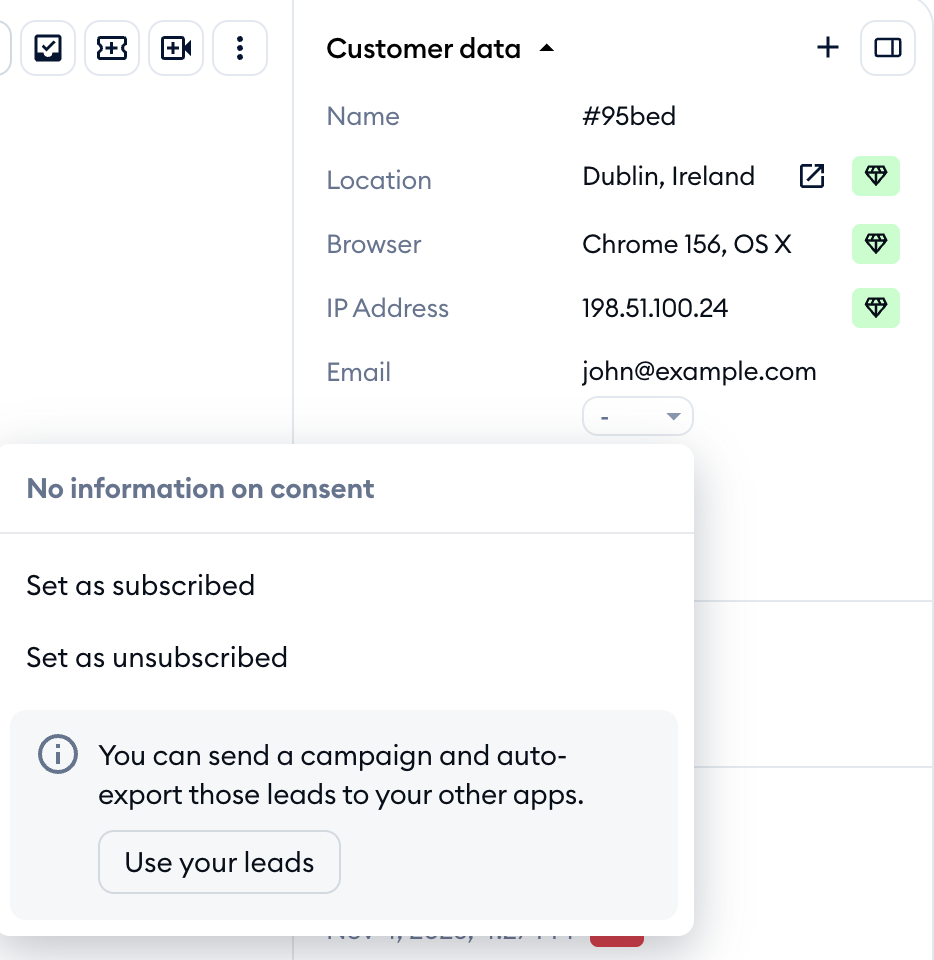
Please note: only add the consent when you have the customer's permission - the confirmation window reminds you about it as well.
All done, your visitor has been saved as a contact and a subscriber!
