Tidio's contact list allows you to browse and export your contacts - people who reached you through your live chat, email tickets, Messenger, Instagram or WhatsApp - filter them, save filters as segments, and customize the list based on various properties. This feature is available on all plans, including the free version of Tidio.
In this article, you'll learn:
- How to customize your contacts list
- How to save filters as segments
- How to select and export (or delete) contacts
- What properties are available
- How to send contacts to Shopify
The Contacts list
You'll find all your contacts listed inside the Customers section, which is available on the left side of your Tidio panel. Once you access the Customers section, click on the All contacts segment under Segments:
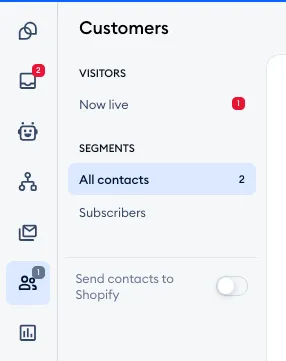
The All contacts segment lists all of your existing Tidio contacts - any visitor who leaves their email address will be added to the list, and so will customers who write to you on Messenger, Instagram or WhatsApp, or comment on your Facebook or Instagram posts, even without an email address. The Channels column shows where each contact talked to you. The list allows you to check their available details and apply other properties as well.
To jump to a contact's conversations, use the two icons in the Recent activity column: the speech bubble opens their latest live chat conversation in the Inbox, and the ticket icon opens their latest ticket. An icon is greyed out when there's nothing to open.
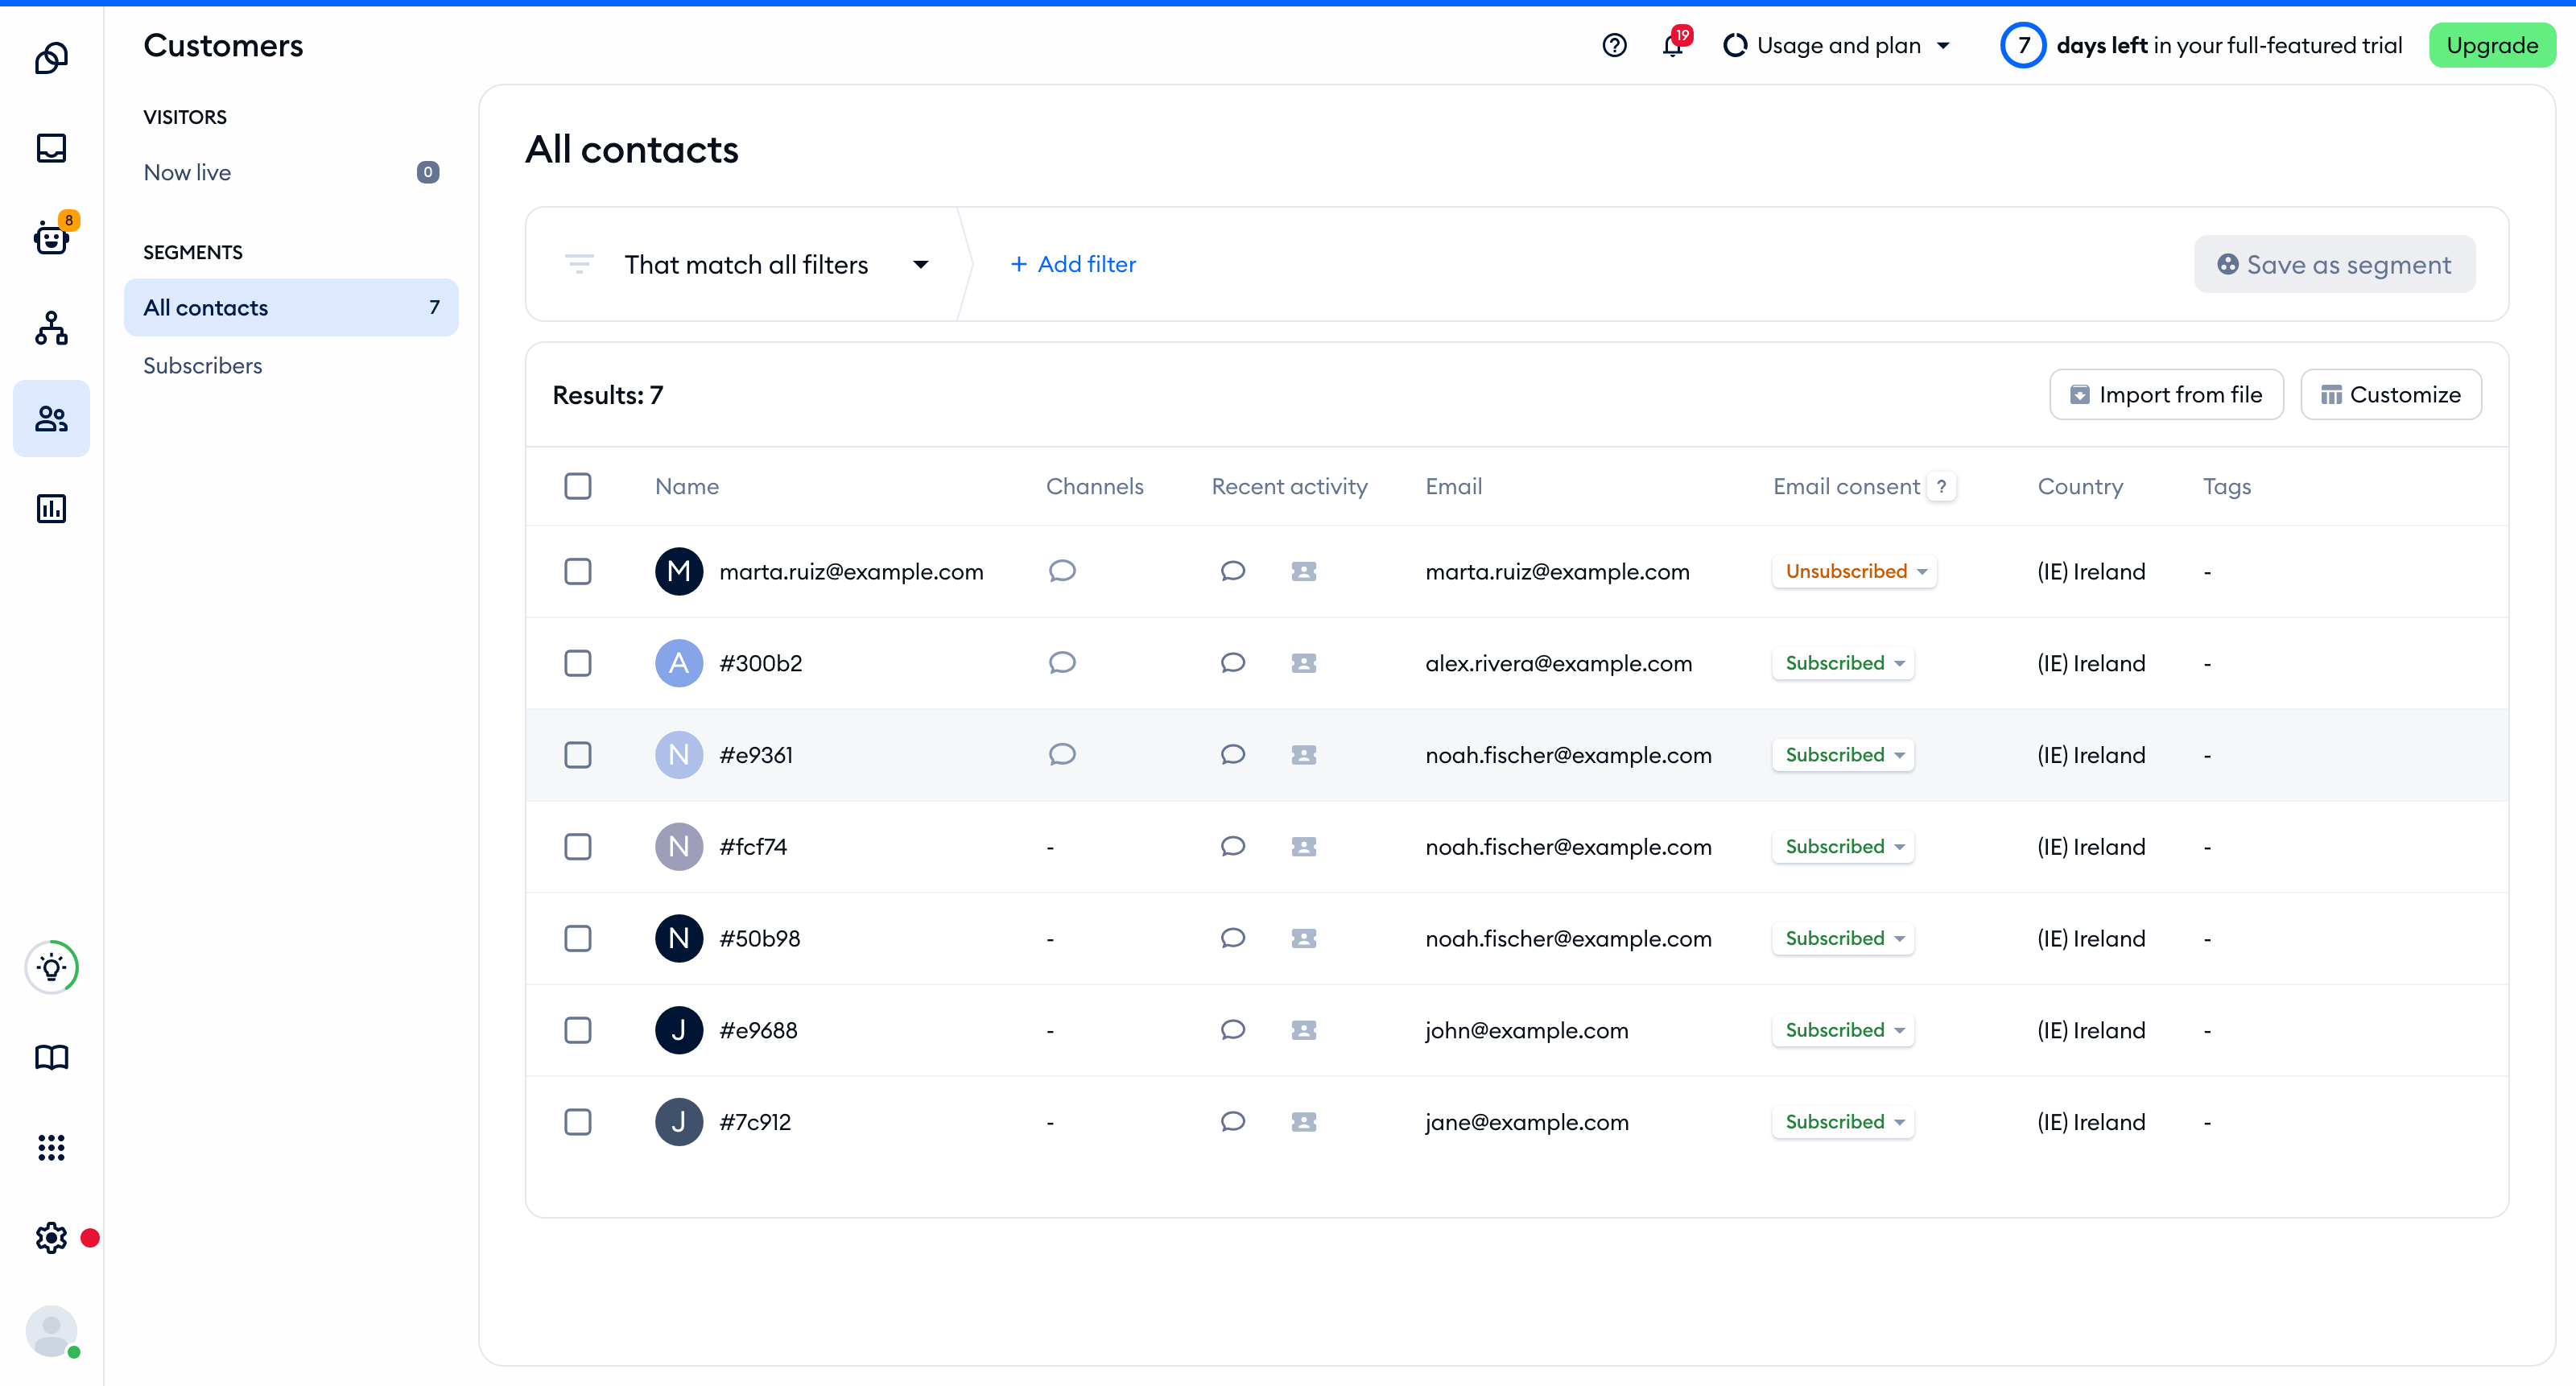 All contacts with the default columns (Name, Channels, Recent activity, Email, Email consent, Country, Tags); one row shows live chat and Instagram icons in Channels, and the mouse is over the ticket icon in the Recent activity column" width="1026" height="365" loading="lazy" decoding="async">
Customize the list and add filters
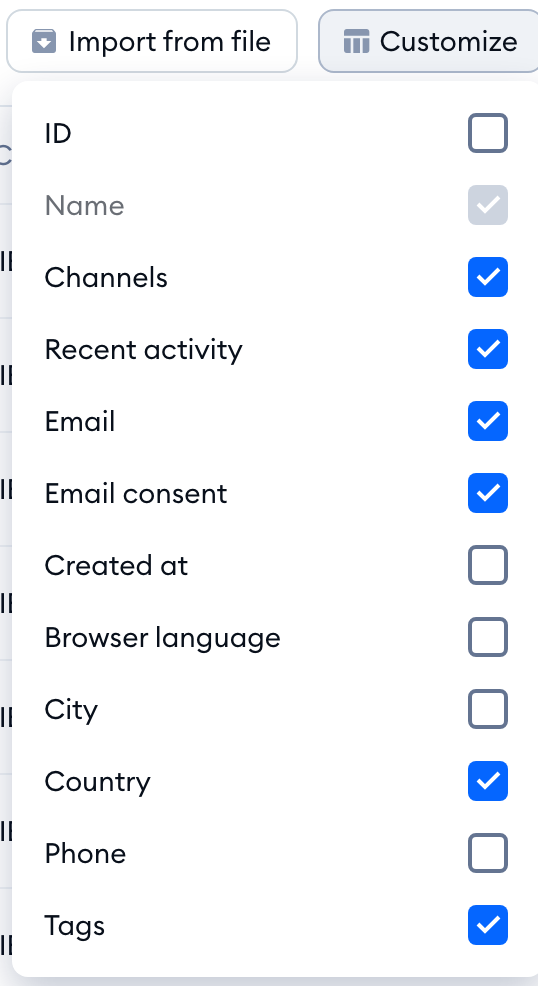
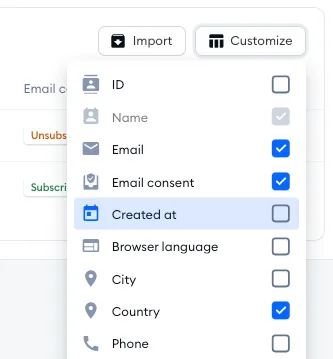
You can select all the properties you wish to see on the list with the Customize button above the list. In the example below, some properties (e.g. Created at) are not set to appear on the list. You can select all the properties you would like to view - including your own Contact Properties - and deselect the ones you don't:
Filters allow you to narrow down the results so you can contact just the right customers. Let's say you want to browse only the contacts who have left an email address.
To do that, click the Add filter button, then select Email. Select the has any value option:
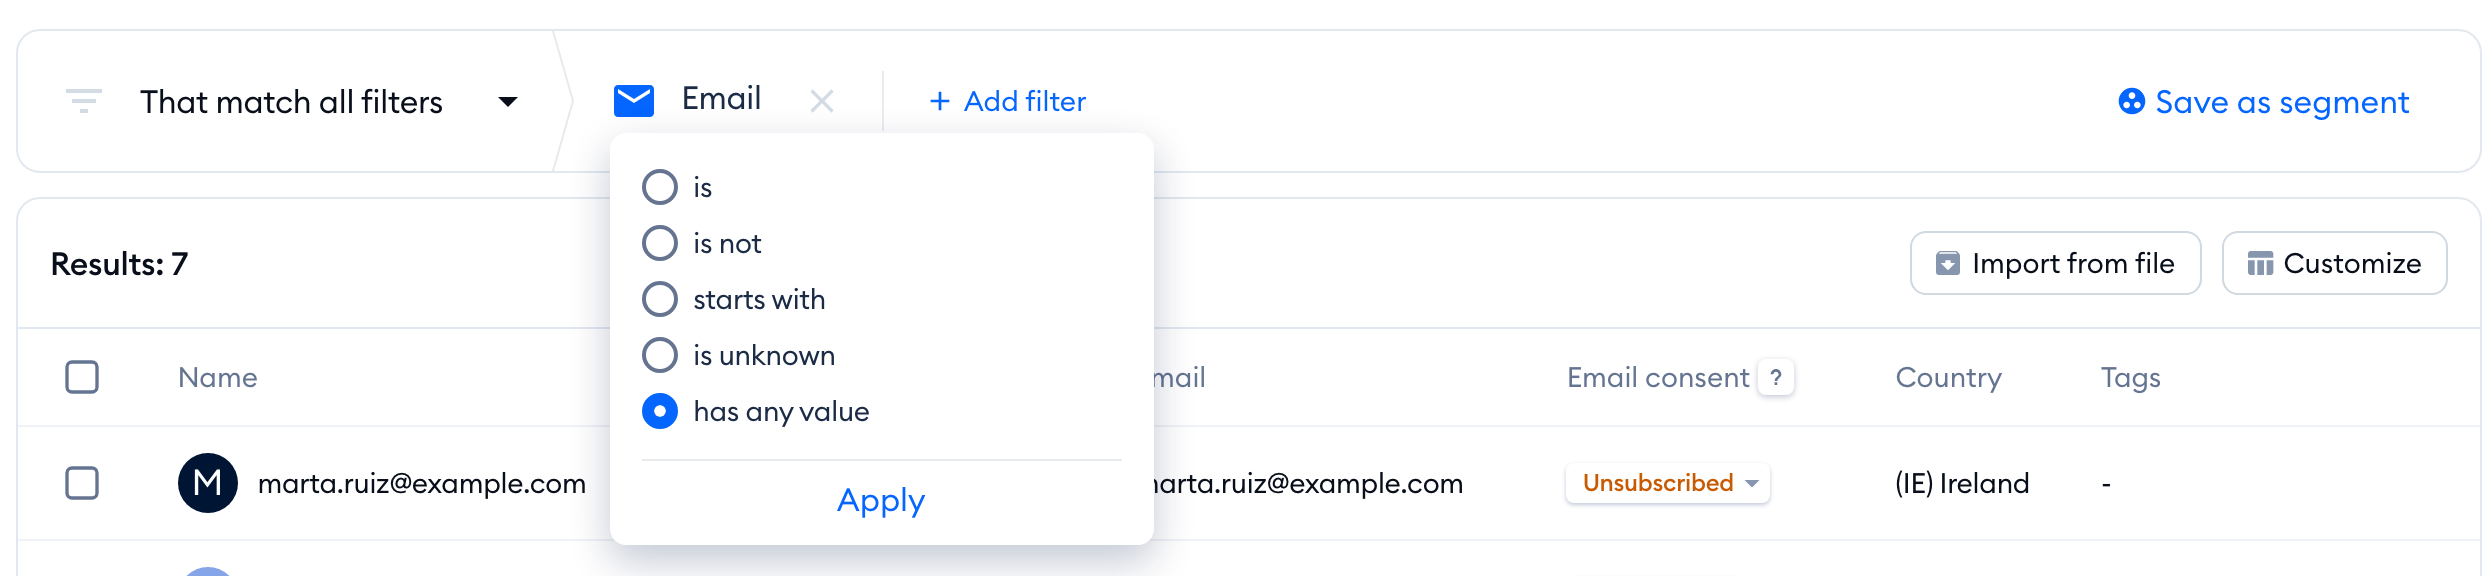
Once you Apply the filter, you will see a list of only those contacts that match the filter:
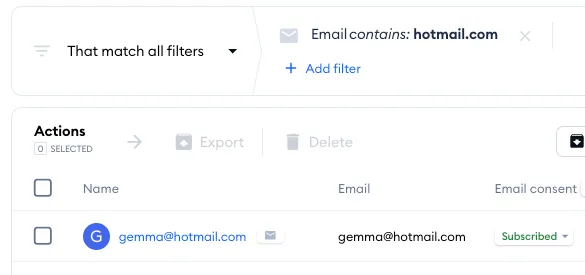
Of course, you can add more filters to the current settings to further reduce the results. You can filter by Name, City, Email, Email consent, Created at, Channel, Phone, ID, Country, Browser language, Tag and Contact Property. With two or more filters, choose whether you want contacts That match all filters or That match any filter.
Saving filters as segments
Notice that there may be other segments listed in addition to the All contacts segment, e.g. the Subscribers segment. These are additional lists that let you browse specific kinds of contacts, according to certain filters - like a contact having any kind of email and being subscribed:
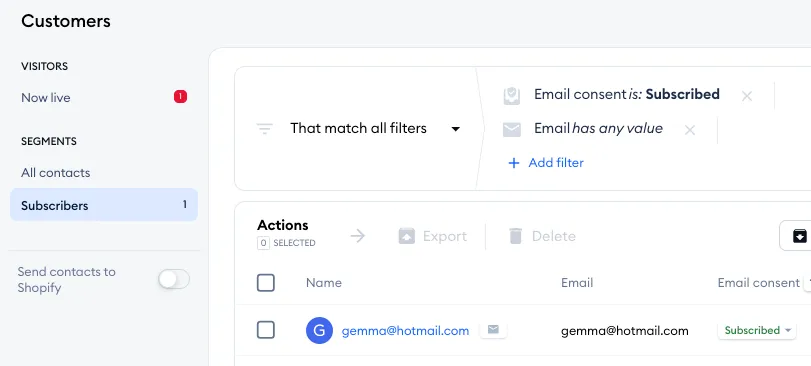
You can create your own custom segments, which allows you to easily browse only specific kinds of contacts. Once you've added at least one filter, click on Save as segment, type in a name under Name your segment, and hit Save:

A segment saves your filters and the columns you're showing - not a fixed list of people. Contacts who match the filters later on join the segment by themselves, and you can't pick contacts for a segment by hand. Your segments are listed on the left for your whole team; to delete one, hover over its name and click the trash can icon. Segments can also be created when you import contacts from a file.
You can learn more about efficiently using segments in this article.
Export or delete contacts
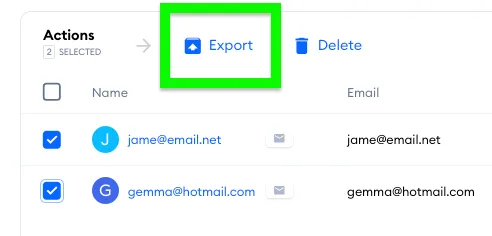
Select the contacts you wish to export with the checkboxes on the left (or tick the box in the header to select them all), then select the Export button that appears above the list. Confirm that you want to export them, and you will see a window notifying you that the list is being generated - The download process usually takes a few minutes.
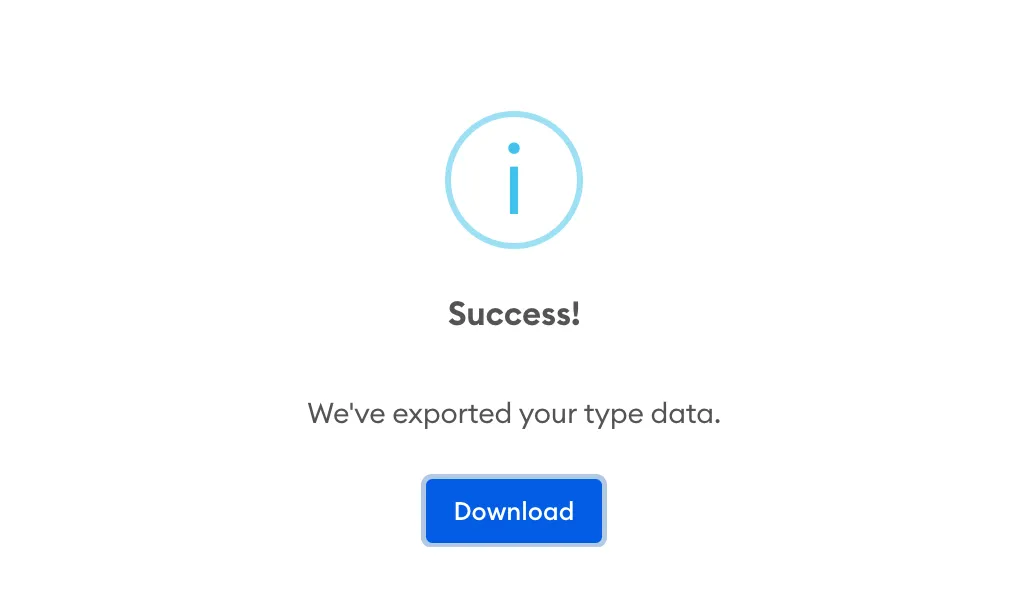
Once you see this information, you're ready to download the file. Click the link to download it.
Here it is: a CSV file with all your exported contacts and their properties! You can upload it to a CRM, e.g., Agile CRM, or create a mailing list, e.g. in Mailchimp.
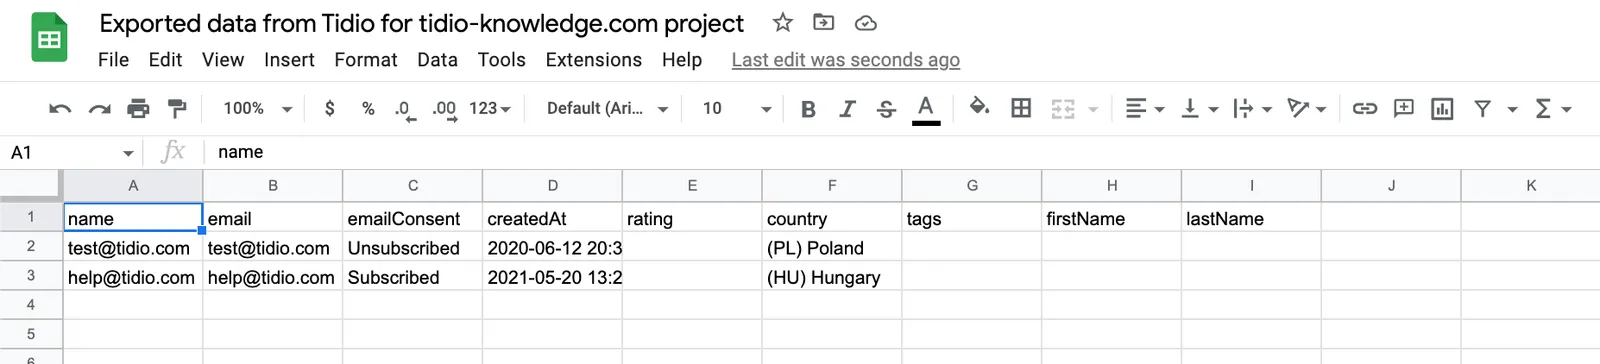
You can also upload the CSV file to an Excel file or a Google Sheet to further edit them.
The Delete button sits right next to Export. Please be careful with it: all selected contacts along with their conversations and tickets will be permanently deleted, and this can't be undone.
Please note: Tidio will only export the properties that you are currently displaying in your contacts list (except Recent activity). In other words, if you aren't seeing some properties in the CSV file, that means they haven't been selected through the Customize button in your list. Conversely, if you do not want to export certain data - make sure to deselect the properties you don't want. Exporting and deleting contacts are also agent permissions (Export contacts and Delete contacts) - if a button is greyed out for you, ask your admin.
Contact Properties
-
ID - The contact's ID in Tidio.
-
Name - The name of the visitor from the Pre-Chat Survey or a lead generation flow. It may be filled in with the email address if you only ask for a visitor's email.
-
Channels - Where the contact talked to you: live chat, email tickets, Messenger, Instagram, WhatsApp, or Facebook and Instagram comments.
-
Recent activity - Two icons that open the contact's latest live chat conversation and latest ticket in the Inbox.
-
Email - The email address collected from a lead generation flow or the Pre-Chat Survey.
-
Email consent - Whether the contact agreed to receive marketing emails from you: Subscribed, Unsubscribed or Unknown.
-
Created at - The time of the creation of this visitor, usually the first time they visit your website.
-
Browser language - The language set in the visitor's browser. It affects the language your widget is displayed in.
-
City - The city the visitor is coming from, based on the IP address. It May not be accurate depending on ISP.
-
Country - The country of the visitor, based on the IP address. It May not be accurate depending on ISP.
-
Phone - The phone number is coming from the Pre-Chat Survey or a lead generation flow.
- Tags - Tags assigned manually to a visitor in the conversation or automatically using the 'Add a Tag' action in flows. This refers to customer tags, as opposed to ticket tags (which are associated with specific ticket threads only, not users).
Besides these, every one of your own Contact Properties can be shown as a column. By default, the list shows Name, Channels, Recent activity, Email, Email consent, Country and Tags - use Customize to change that.
Sending contacts to Shopify
Data such as phone number, first name, last name, email & marketing consent are automatically transferred to the Shopify contact list if they were collected through the Pre-Chat Survey or the flow and are saved as contact properties.
You can also disable the option of sending the data to Shopify by heading over to the Customers section in Tidio and making sure the toggle next to Send contacts to Shopify, at the bottom of the menu on the left, is turned off. The toggle shows only when your project is connected to a Shopify store.
