Learn how to install Tidio on your WordPress website.
In this article, you'll learn:
- How to quickly install our Tidio Plugin for WordPress
- How to use an alternative method of installation through javascript code
- How to troubleshoot the widget installation
If you wish to log in to an existing Tidio account - follow our guide on login into an existing Tidio account on WordPress.
Add Tidio Plugin to WordPress
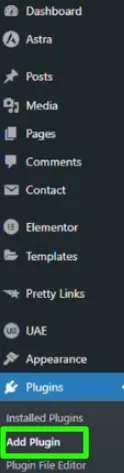
Log into your WordPress account and go to the Dashboard. Navigate to the Plugins section and select Add New.
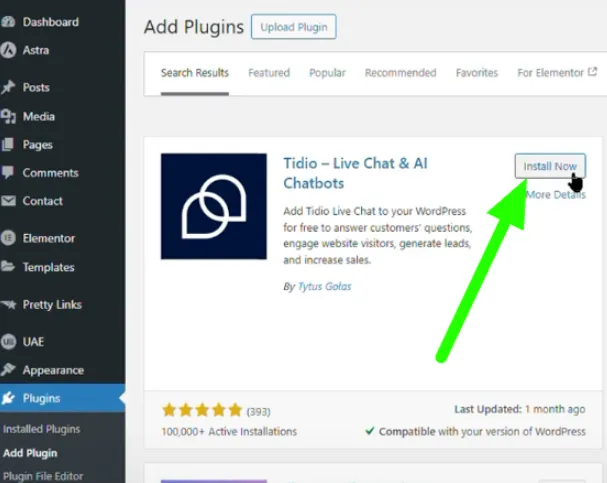
Look for the Plugin by typing Tidio" in the search bar. Once the system finds it, hit the Install Now button.
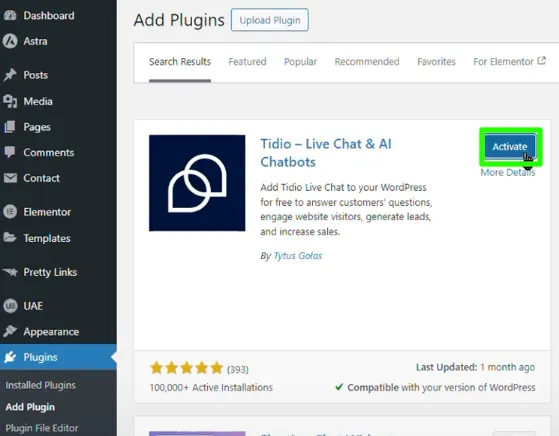
You've got an app installed. Before we move on, make sure you click the Activate button.
After that's done, you'll automatically see the registration page, which will allow you to create a free Tidio account. If you haven't registered your account yet, now it's a good time to do this.
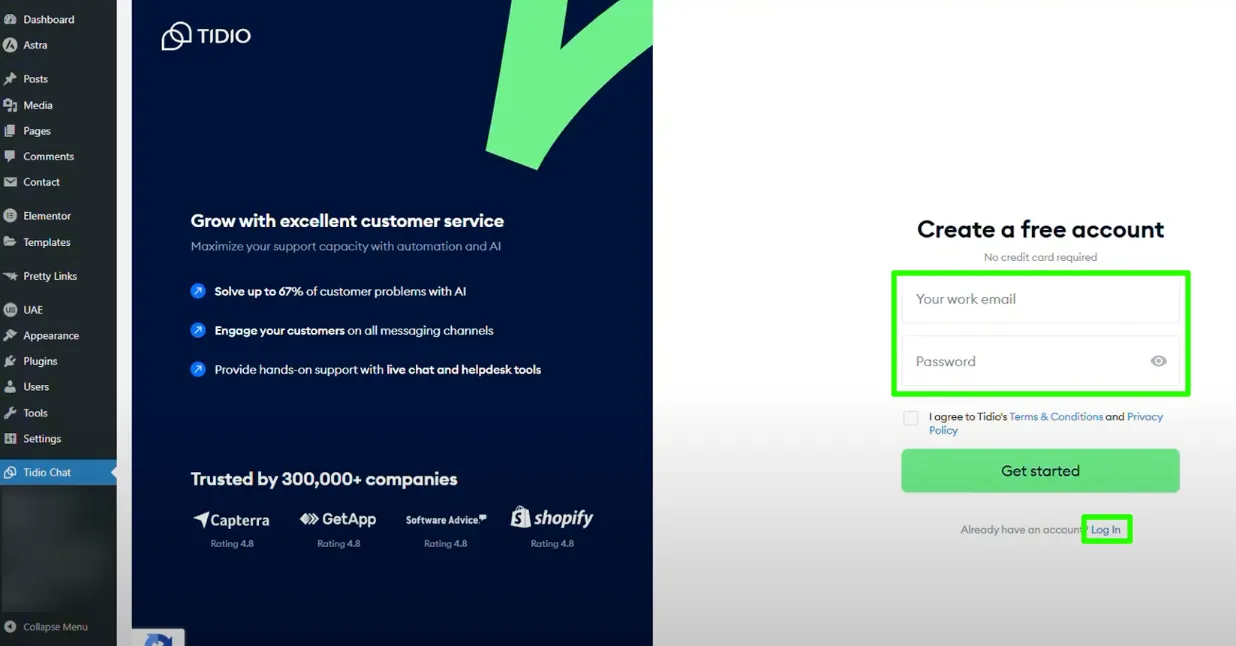
If you already have an account, just hit the "Log in" button instead.
Once logged in as a new user, you'll begin the product tour. We'll ask you some basic questions about your business and possible Tidio usage.
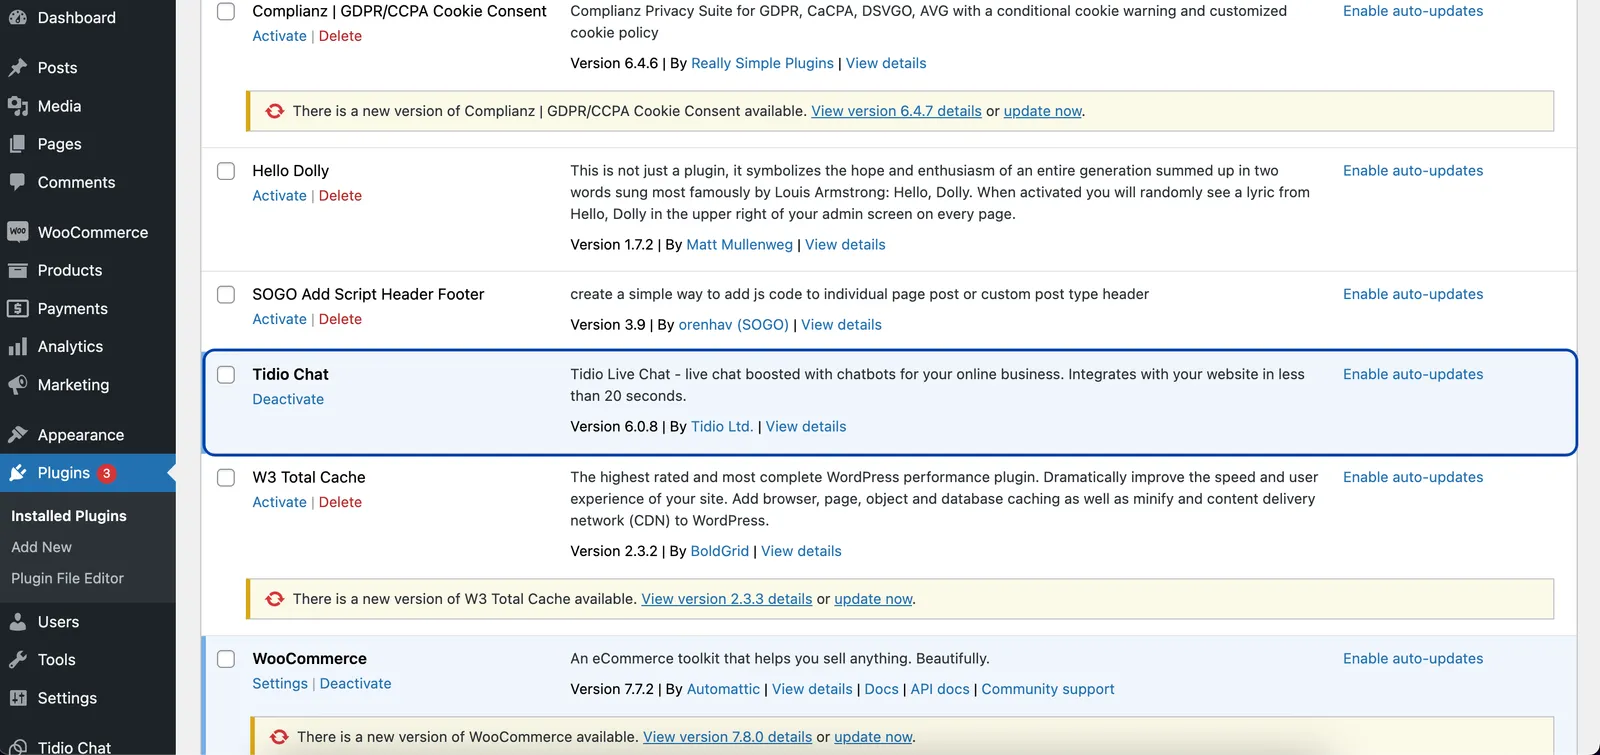
Now, if you go back to your Plugins section, you'll see Tidio on the list.
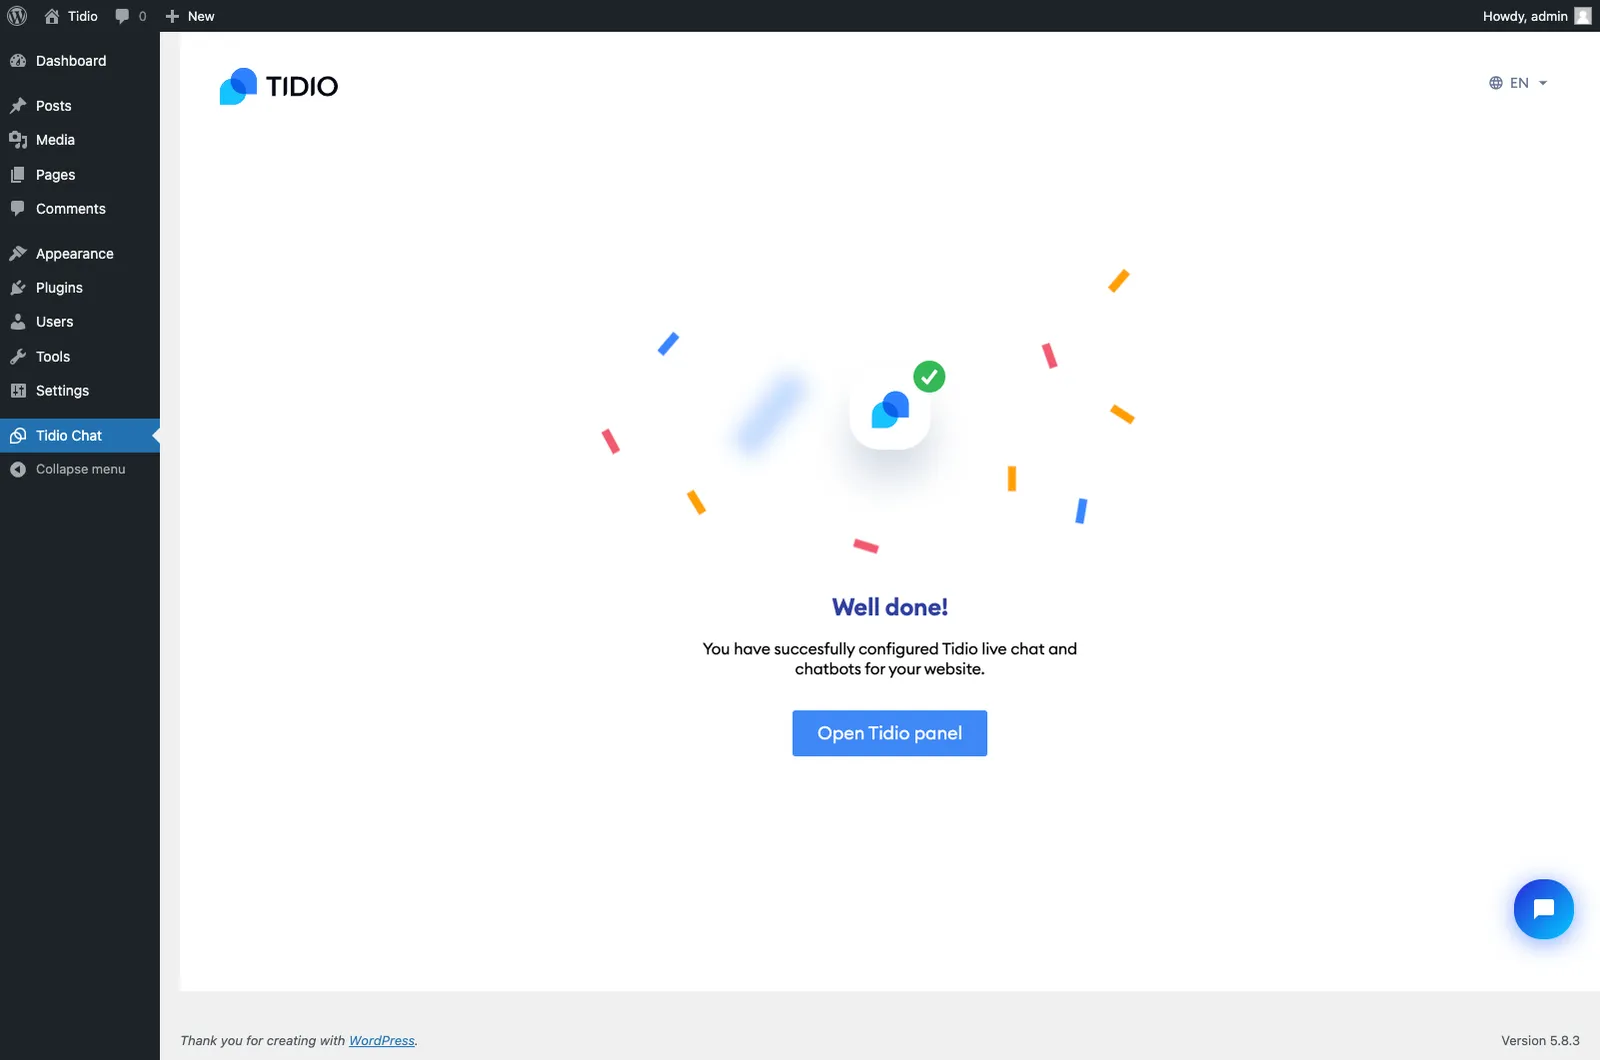
Thanks to some additional information, we'll adapt the Tidio to your need to improve your experience and help achieve better results.
From now on - the Tidio widget will be visible on your website
When you're done with the tour, you will finally see the admin panel. This is where you customize, manage, and track everything. Here, you also chat with your visitors and build your flows.
By default, the Tidio widget is located in the lower right-hand corner. You can change the position in the Settings panel and set up more rules or adjust the appearance of your chat widget. We have explained all the possible options in our article about the Channels section.
Trouble logging in?
If you are unable to login to your Tidio account via the Tidio plugin installed on your WordPress platform - please, follow this troubleshooting step or use:
- An Alternative manual installation ( via javascript code)
Alternative Installation - Javascript
Please, do not use this method if you have a Tidio Plugin installed on your website. Instead, please follow this troubleshooting step.
Create a Tidio account. Go to the registration page to sign up for your free account. Just like before, after you register, you will go through the same short product tour. When you finish it, you will be logged inside your admin panel.
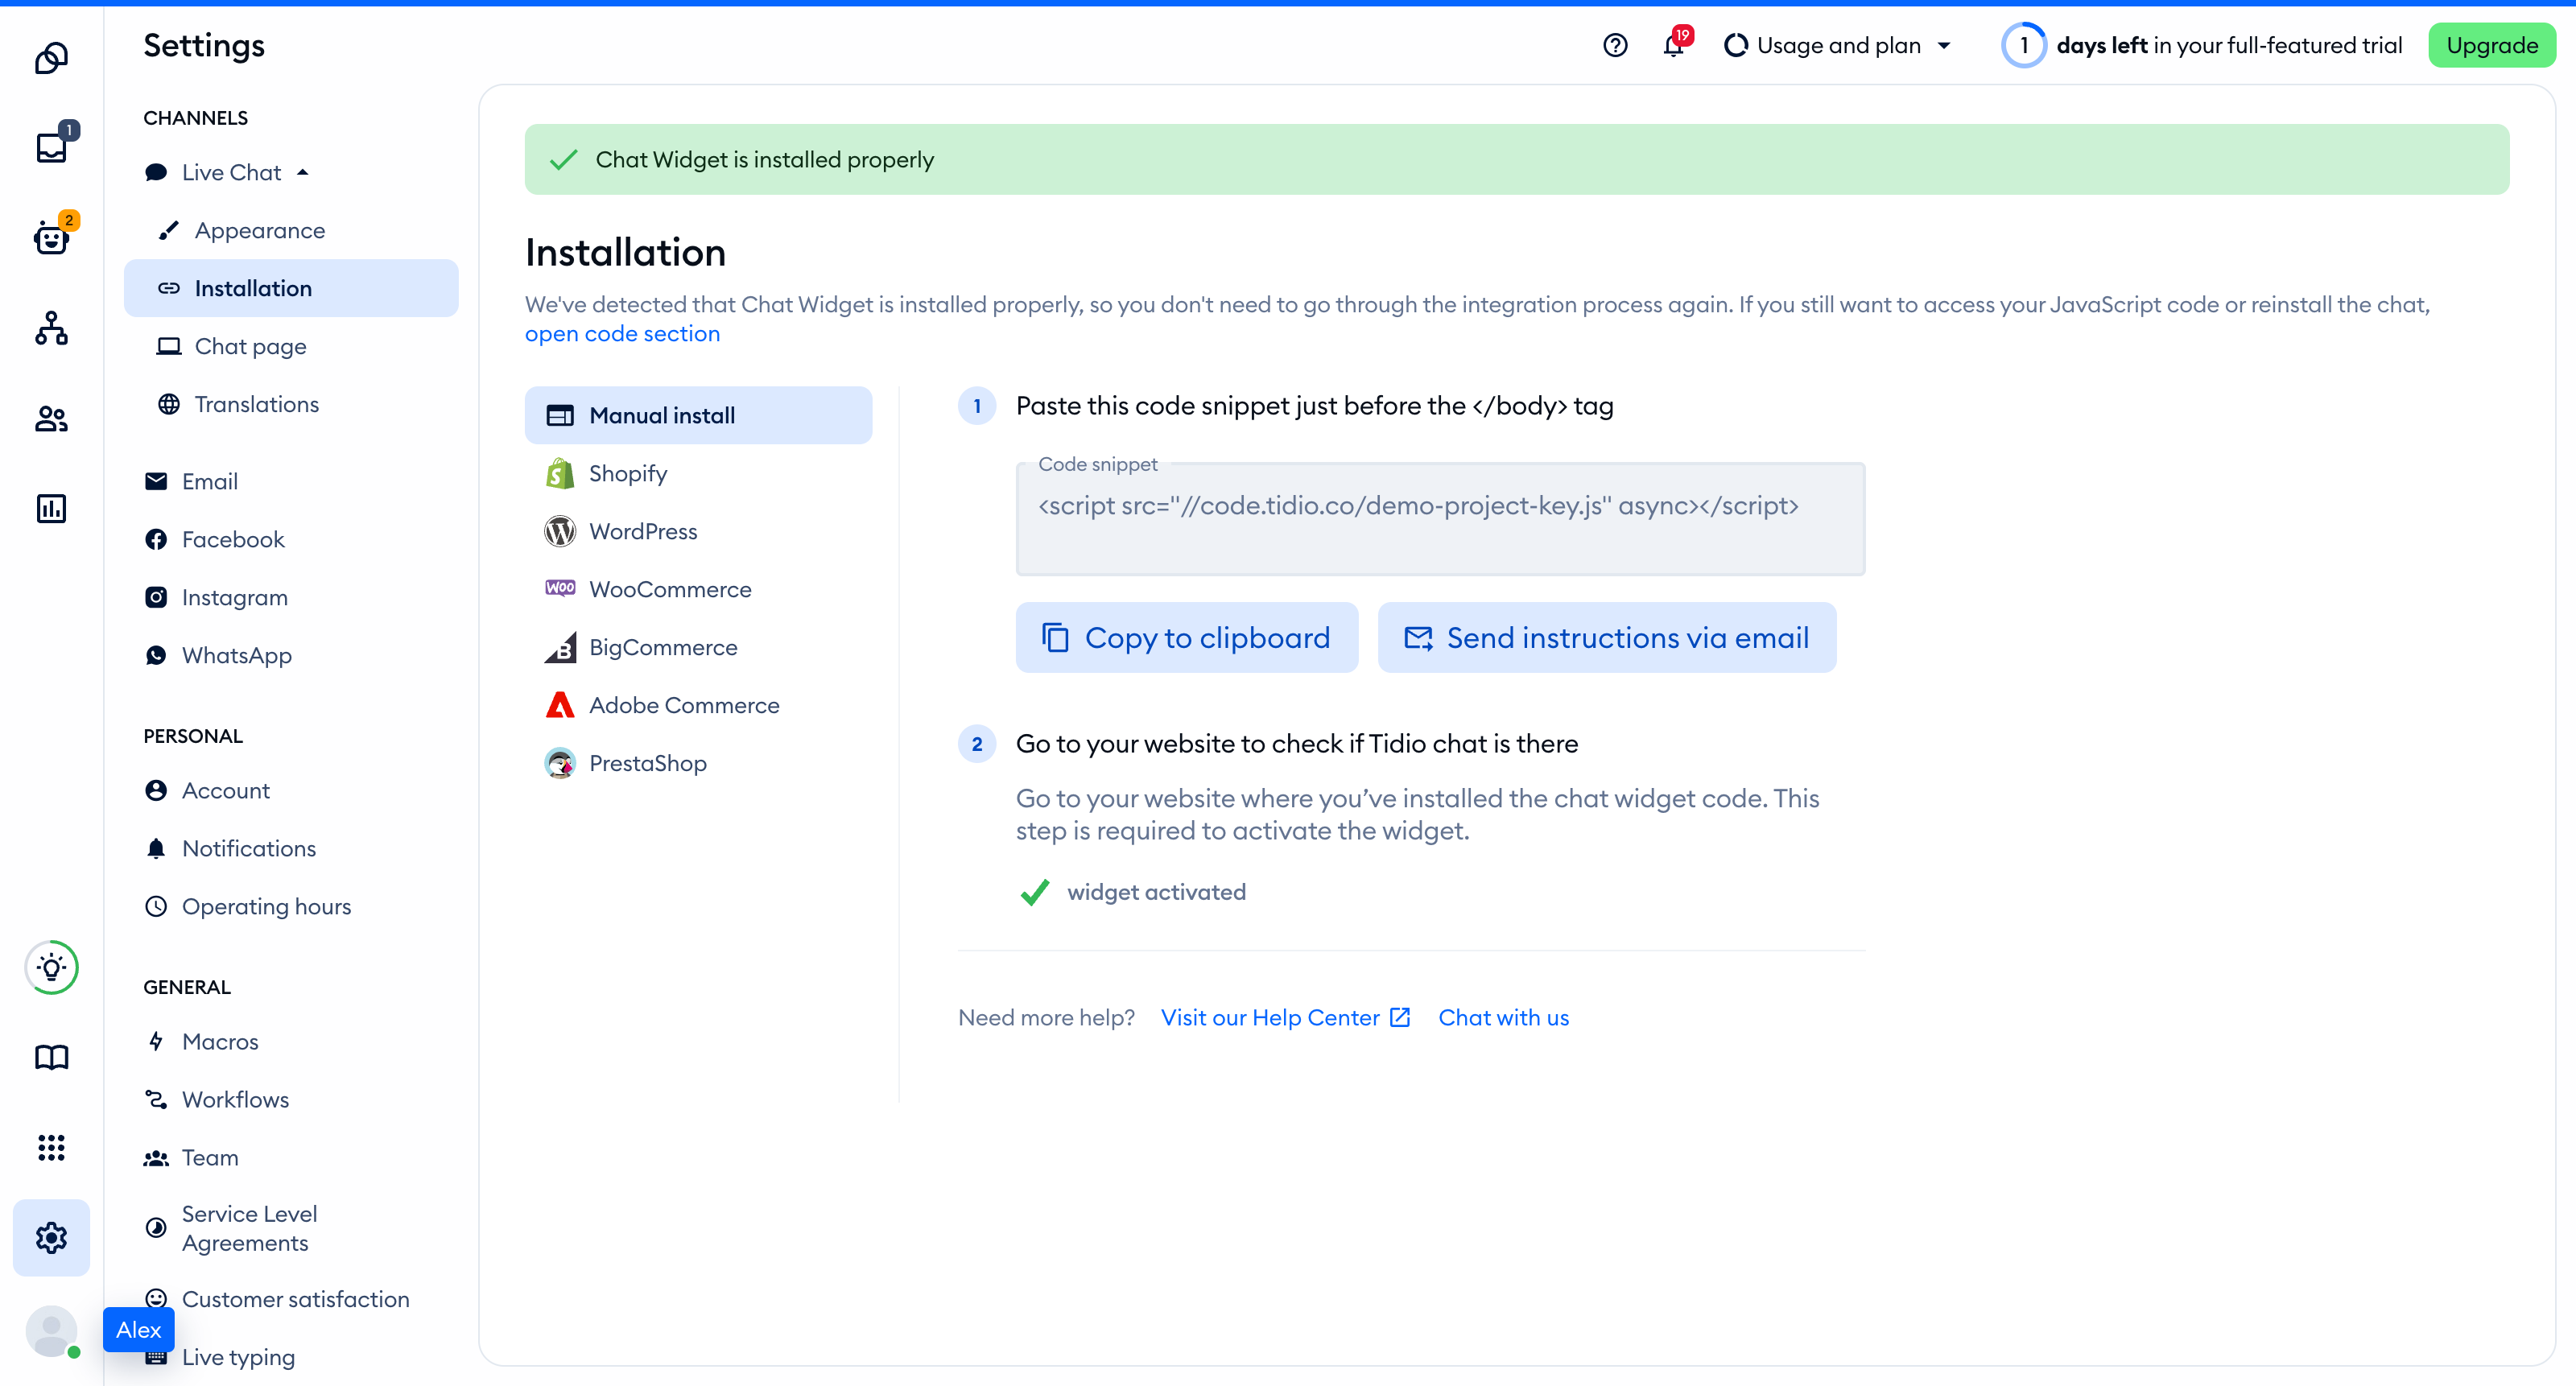
To install Tidio manually, head over to Settings > Live Chat > Installation. If the code is hidden, click open code section, then select Manual install and copy your JavaScript code:
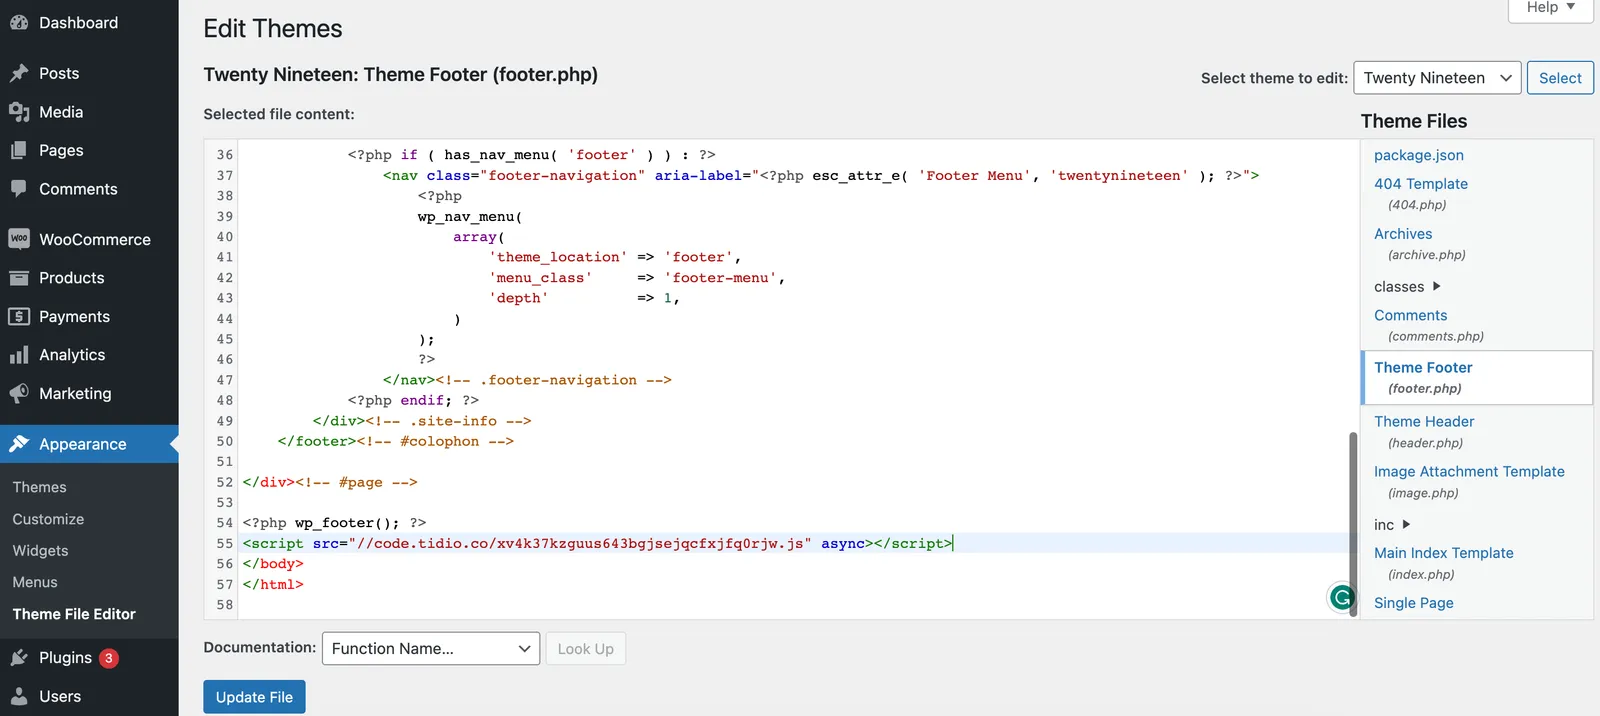
If your classic theme has a footer.php file, open the Theme Footer (footer.php) file located in your WordPress panel (Appearance > Theme File Editor) and paste the code above the closing </body> tag.
Remember to press the Update file and refresh your website once you are done.
Now it's time to explore your new app! Visit our blog to learn all about live chat and flows.
Enjoy your new app!
P.S. If you still have problems with figuring out how to enable the live chat feature on your WordPress website, let us know or try our troubleshooting steps below.
Troubleshooting integration
If you are not seeing the chat on your website immediately after adding it, please try the following steps:
Open your website in a new incognito window
In your browser. If you are using Chrome, hit CTRL + Shift + N (Windows) or CMD + Shift + N (Mac).
Clear your website's cache
The process depends on the device and browser you are using; for a detailed, step-by-step guide on how to do that on most popular platforms, please visit www.refreshyourcache.com
Disable the caching plugins
If the chat is still not displaying on your website, please make sure that any caching plugins (W3 Total Cache, W3 Super Cache, etc.) are temporarily disabled. Their purpose is to keep your website's loading time as short as possible, however, this might hold off any changes made on your website. Disabling them for a minute should allow the chat widget to load properly; after making sure that it worked, feel free to enable your plugins again.
If you can't log in to your account using the Plugin, you can try clearing the plugin data in the WordPress plugins section. This will allow you to log in again using your existing login credentials.
