See how to edit the first flow message visible to your website visitors, which was created during the Tidio registration steps.
In this article, you'll learn:
During your Tidio project registration, we give you the option to set up your first flow, e.g. to engage your first-time visitors. Once the project is created, you'll find that flow in the My Flows section of Flows, where you can review it, change it, or disable it. The first time you open My Flows, a note next to the flow lets you know it's the default flow we've added to help you engage with every visitor on your website.
To get there from your Dashboard, click on the link under Flows in Quick actions - it takes you straight to My Flows:
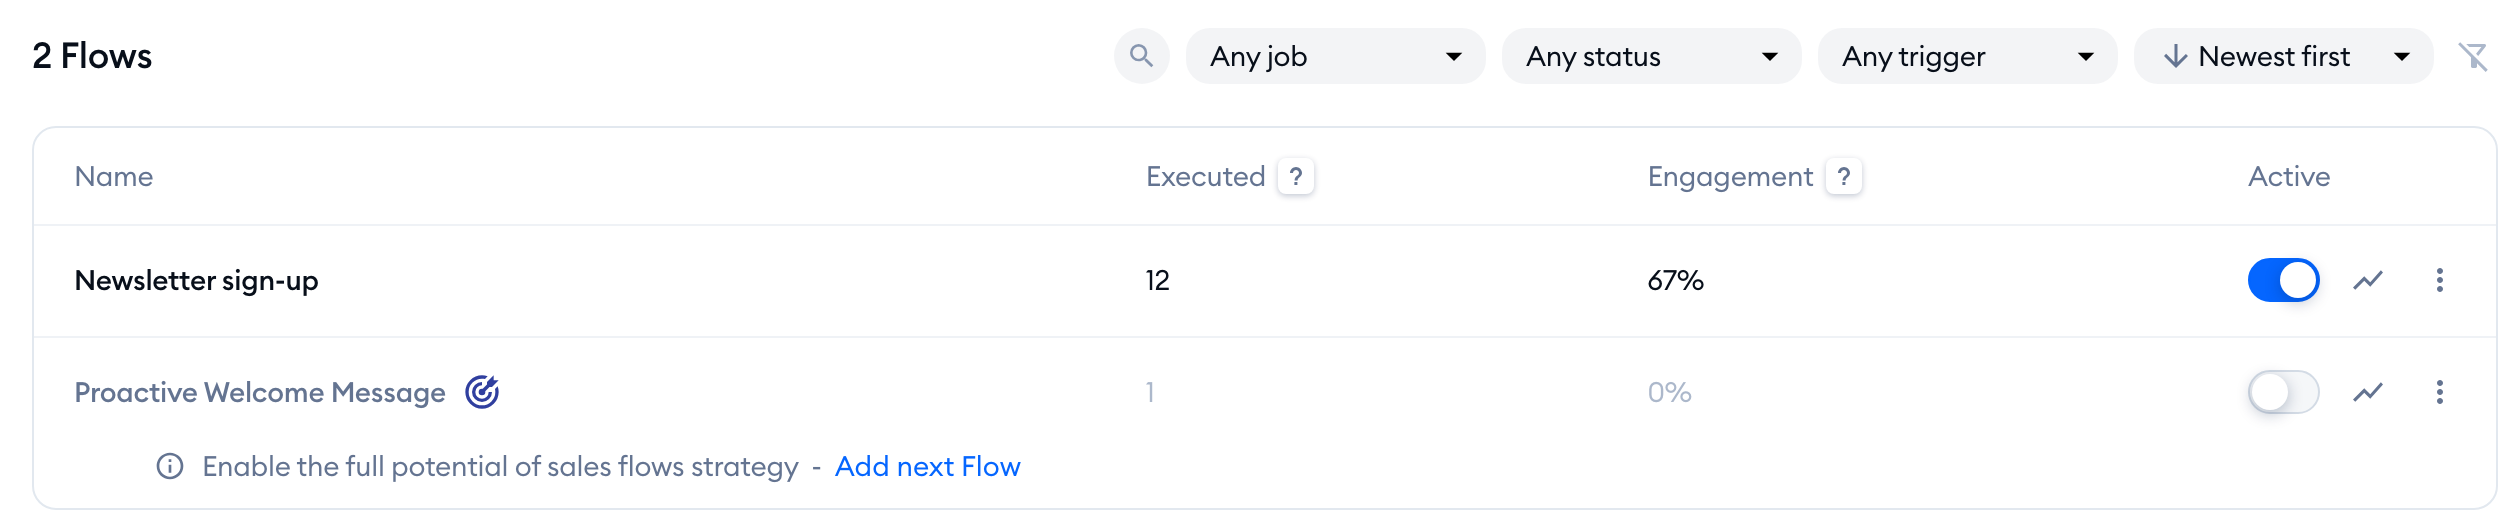 My Flows in a new project with one flow added at sign-up, with the note "We've added a default '...' Flow to help you engage with every visitor on your website." open below the flow's name, and the Active switch and three-dots menu on the right of the row" width="1045" height="536" loading="lazy" decoding="async">
Editing
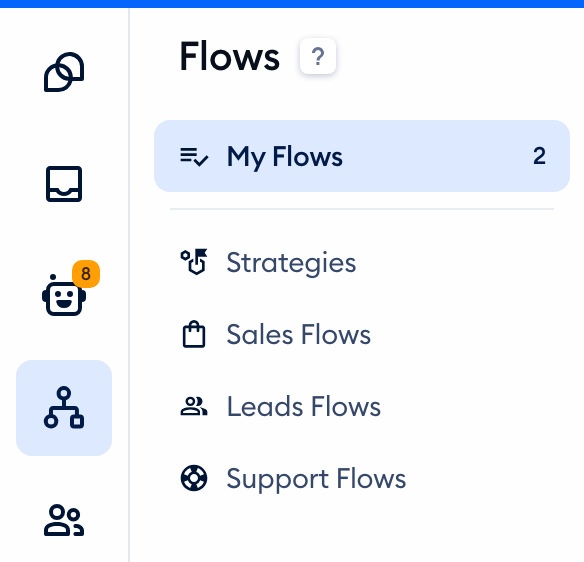
To edit your first flow, go to the Flows section located on the left side of your Tidio admin panel.
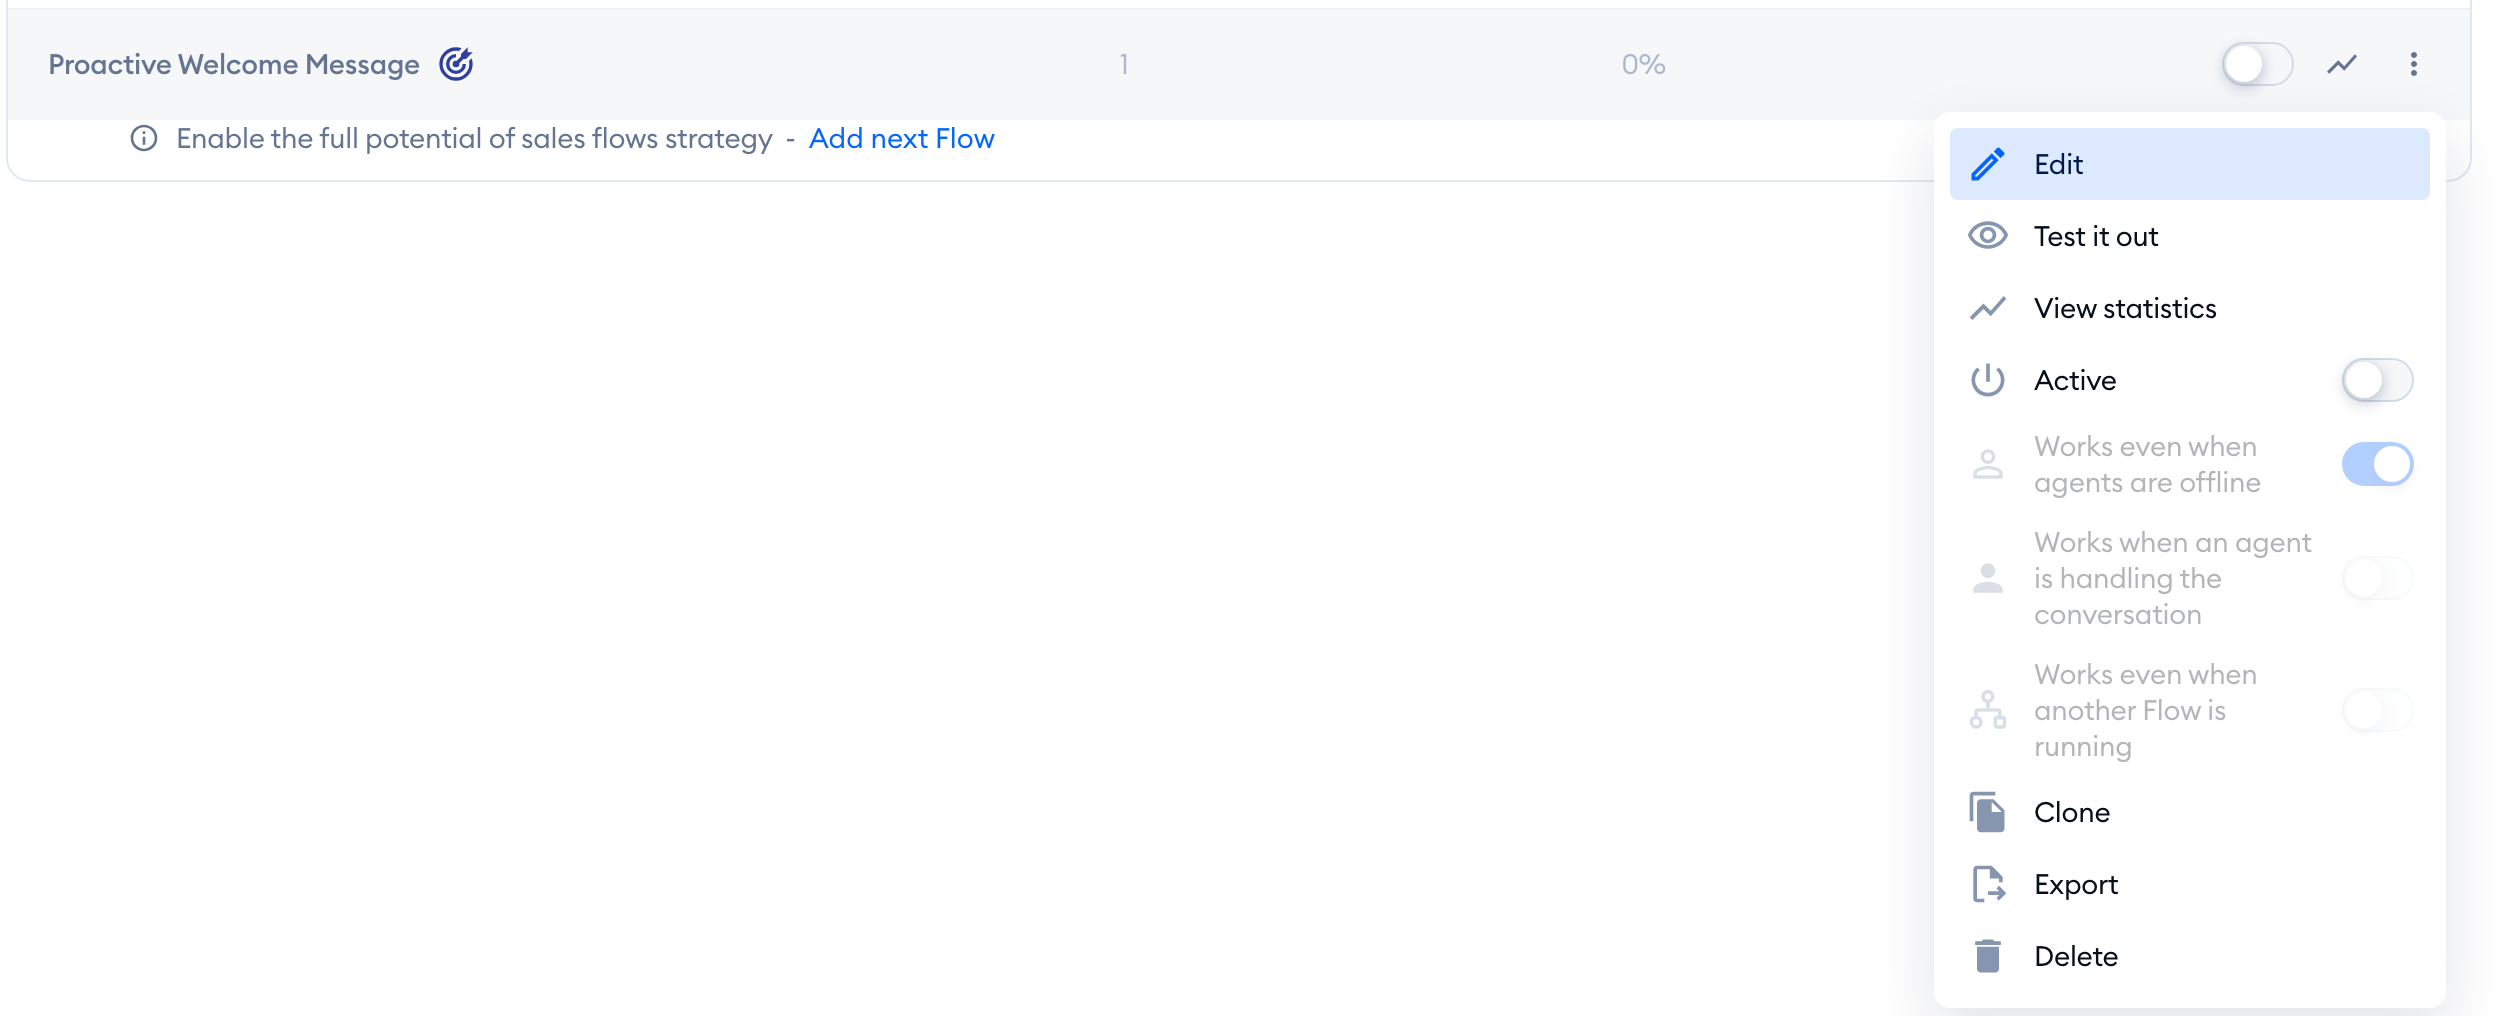
Look up your flow in the My Flows section, click on the three-dots menu on the right of it and then choose Edit (or Edit draft, if you have unpublished changes). You'll be transferred to the visual flow editor.
Click on each node in the visual flow editor and adjust the messages to your preferences.
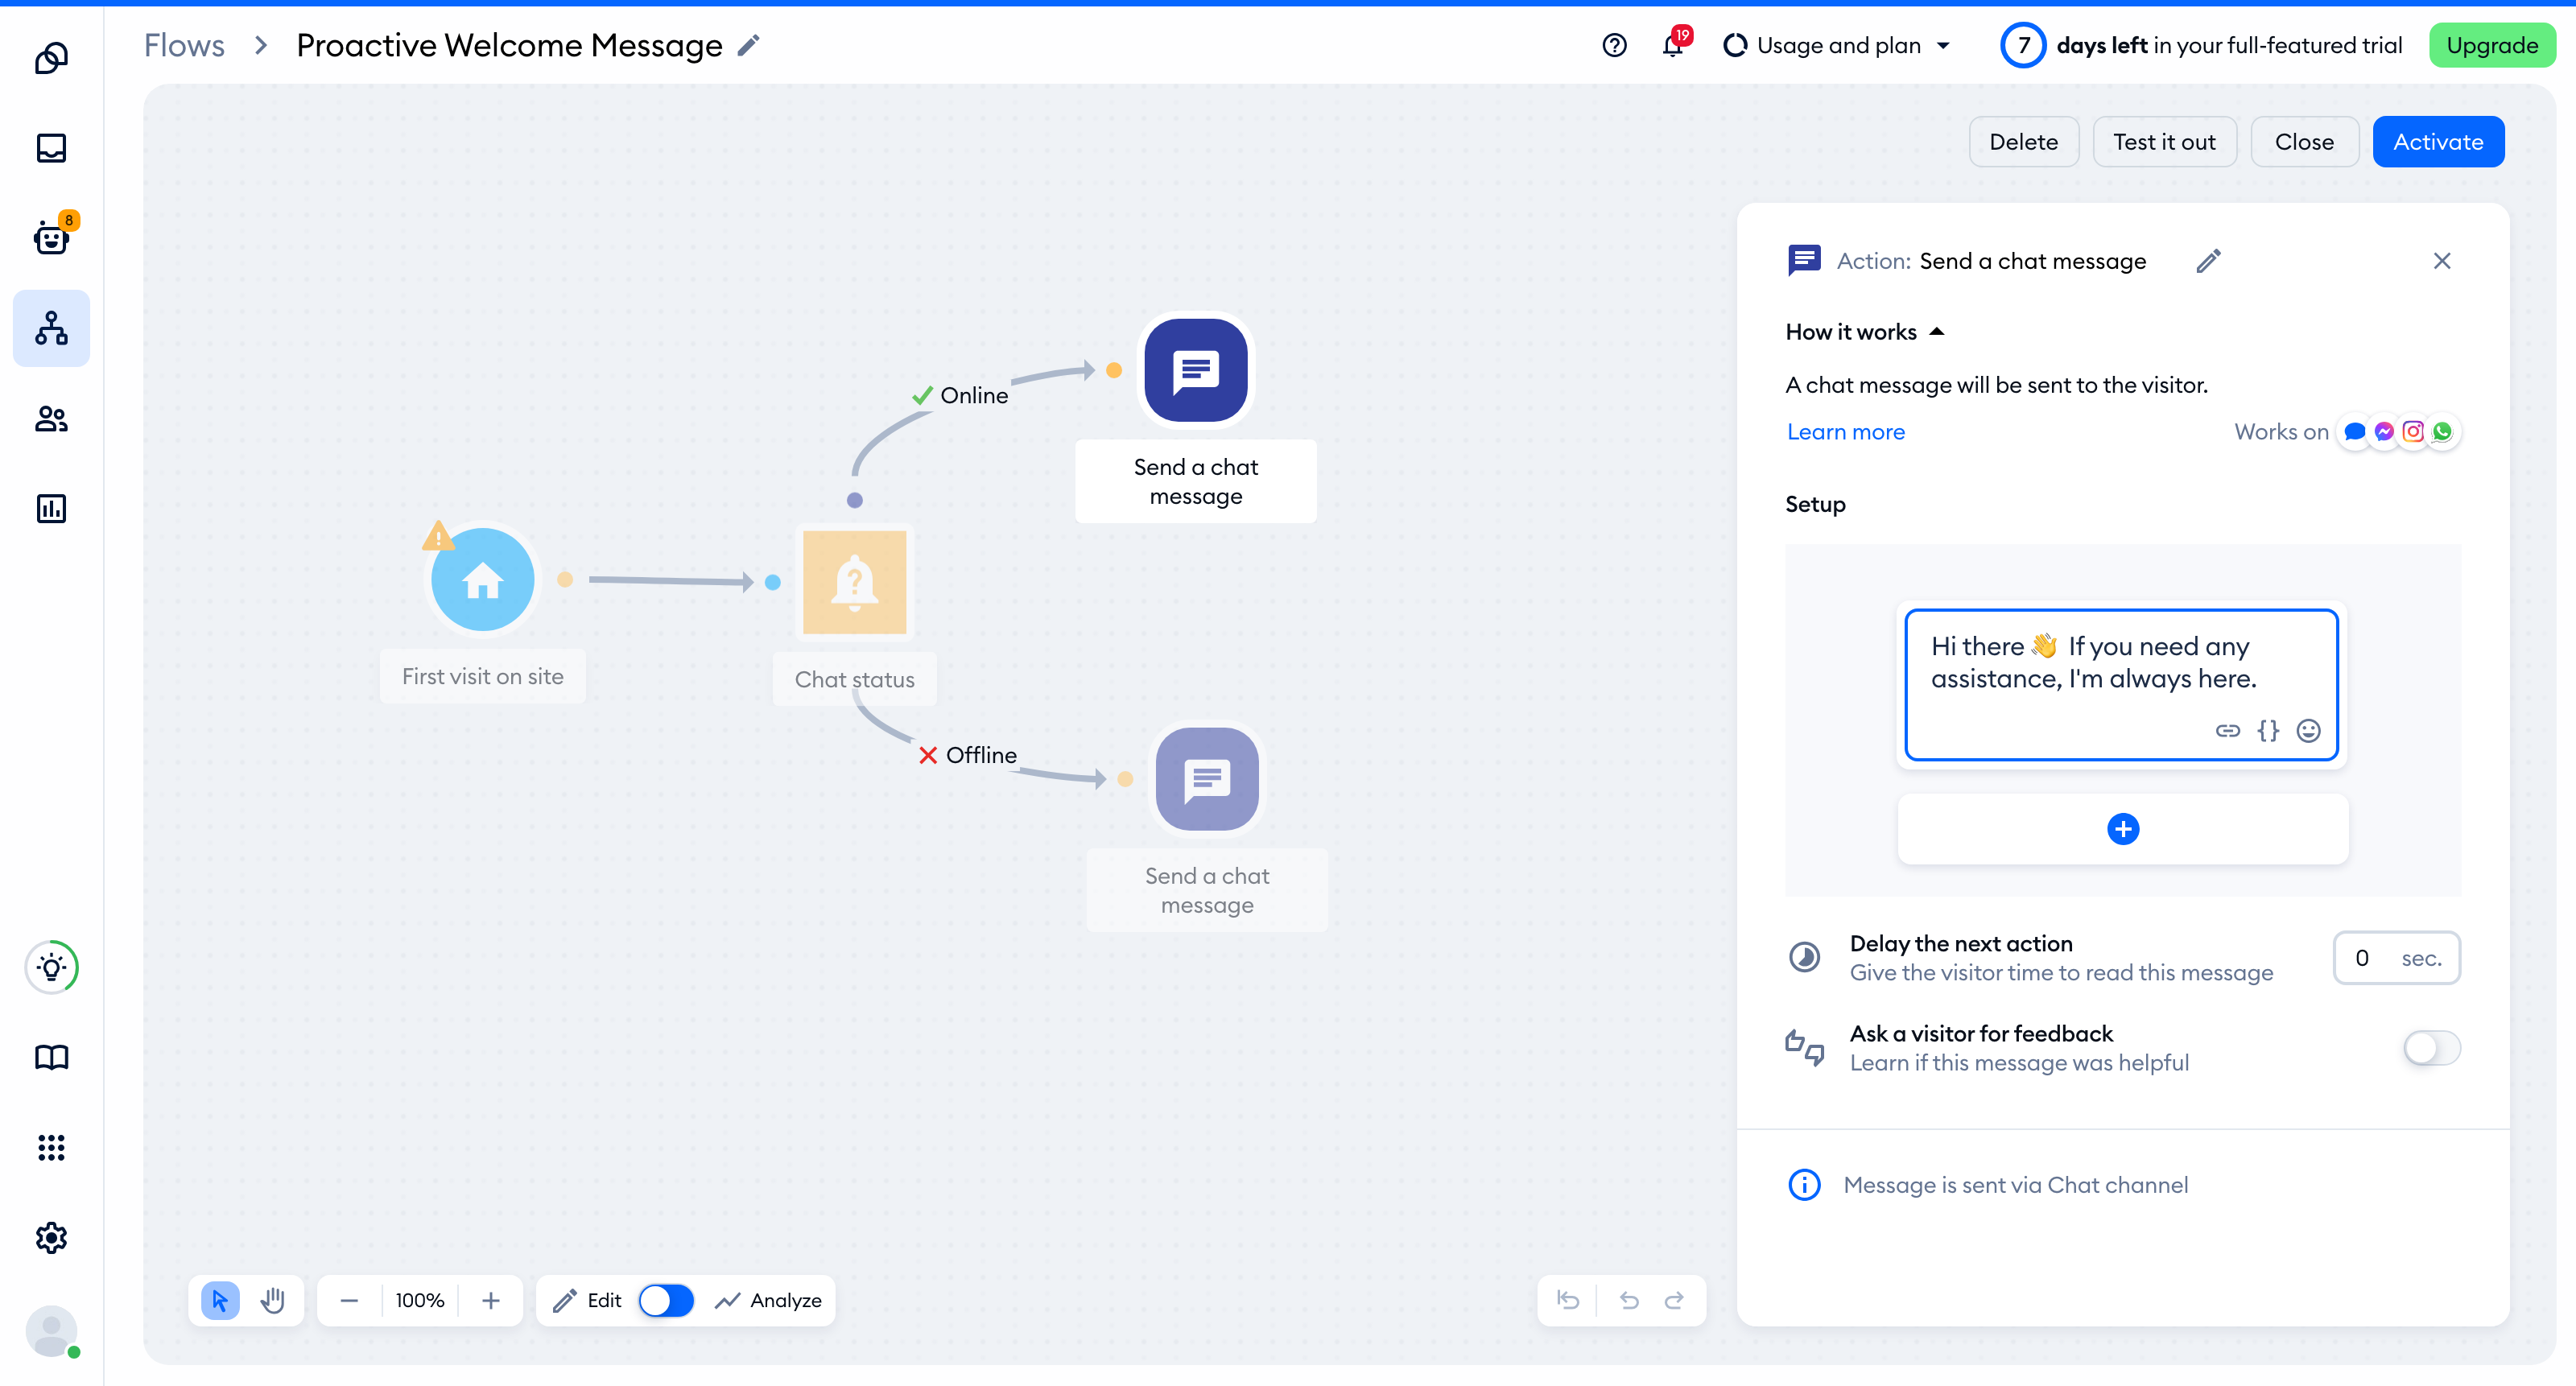
Your changes are saved as a draft as you go - you'll see Saved as draft in the top bar of the editor. To make them live, hit the Activate button in the top-right corner of the editor!
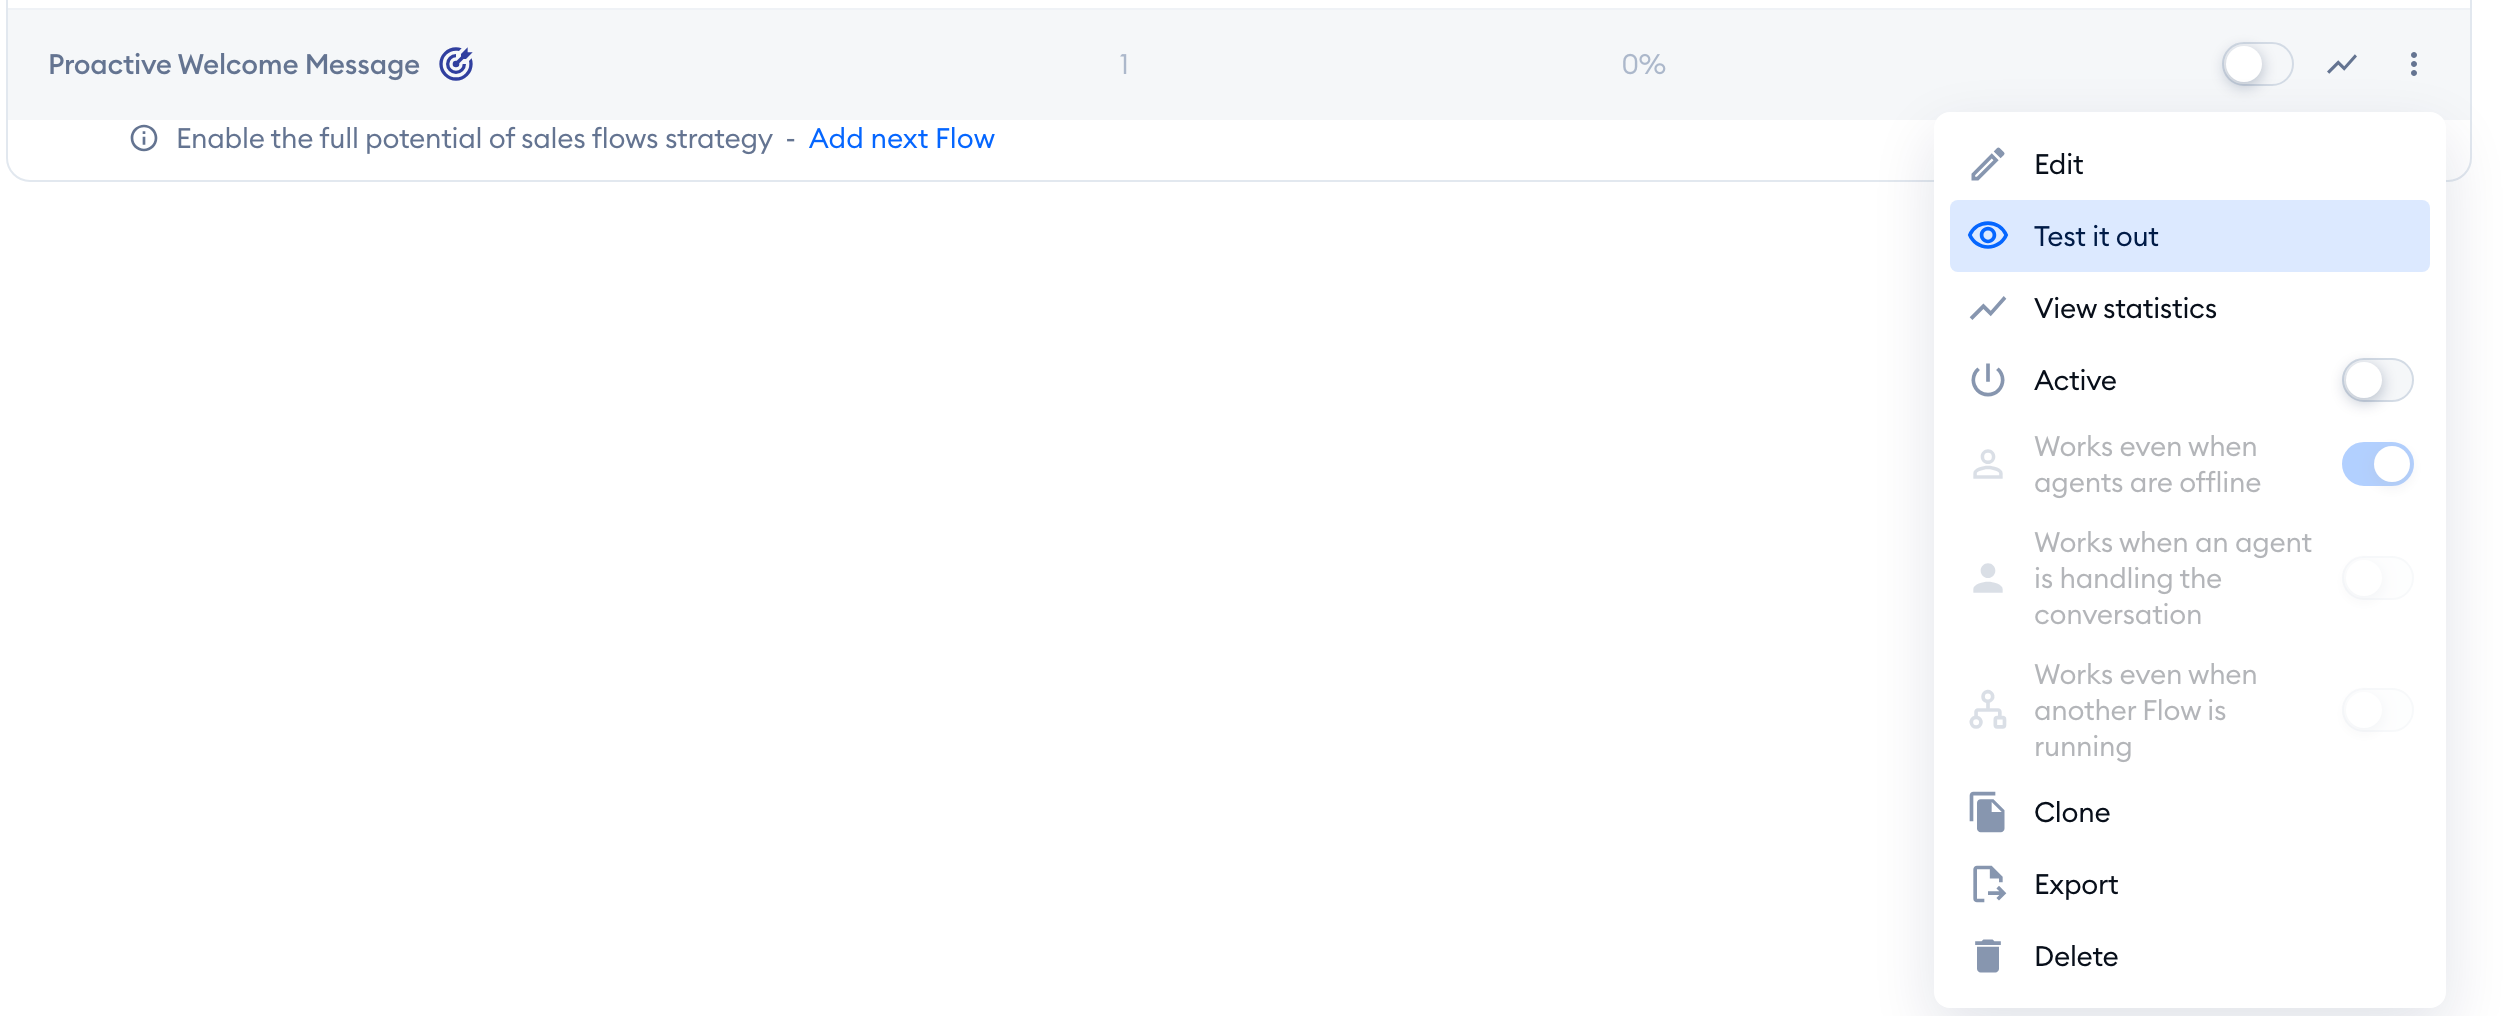
Want to see the flow the way your visitors will? Click on Test it out in the same top bar - or, in My Flows, choose Test it out in the flow's three-dots menu. A test window opens, and your flow starts there:
General Rules of Flow Editing
Once you have edited your initial flow, you are ready to create your own flow using our templates or from scratch. If you are just getting started with creating and editing flows with Tidio, it's good to know the basics and keep in mind some simple rules for editing flows.
Delete or Pause a Flow
If you need to remove or temporarily hide a flow, follow our instructions below.
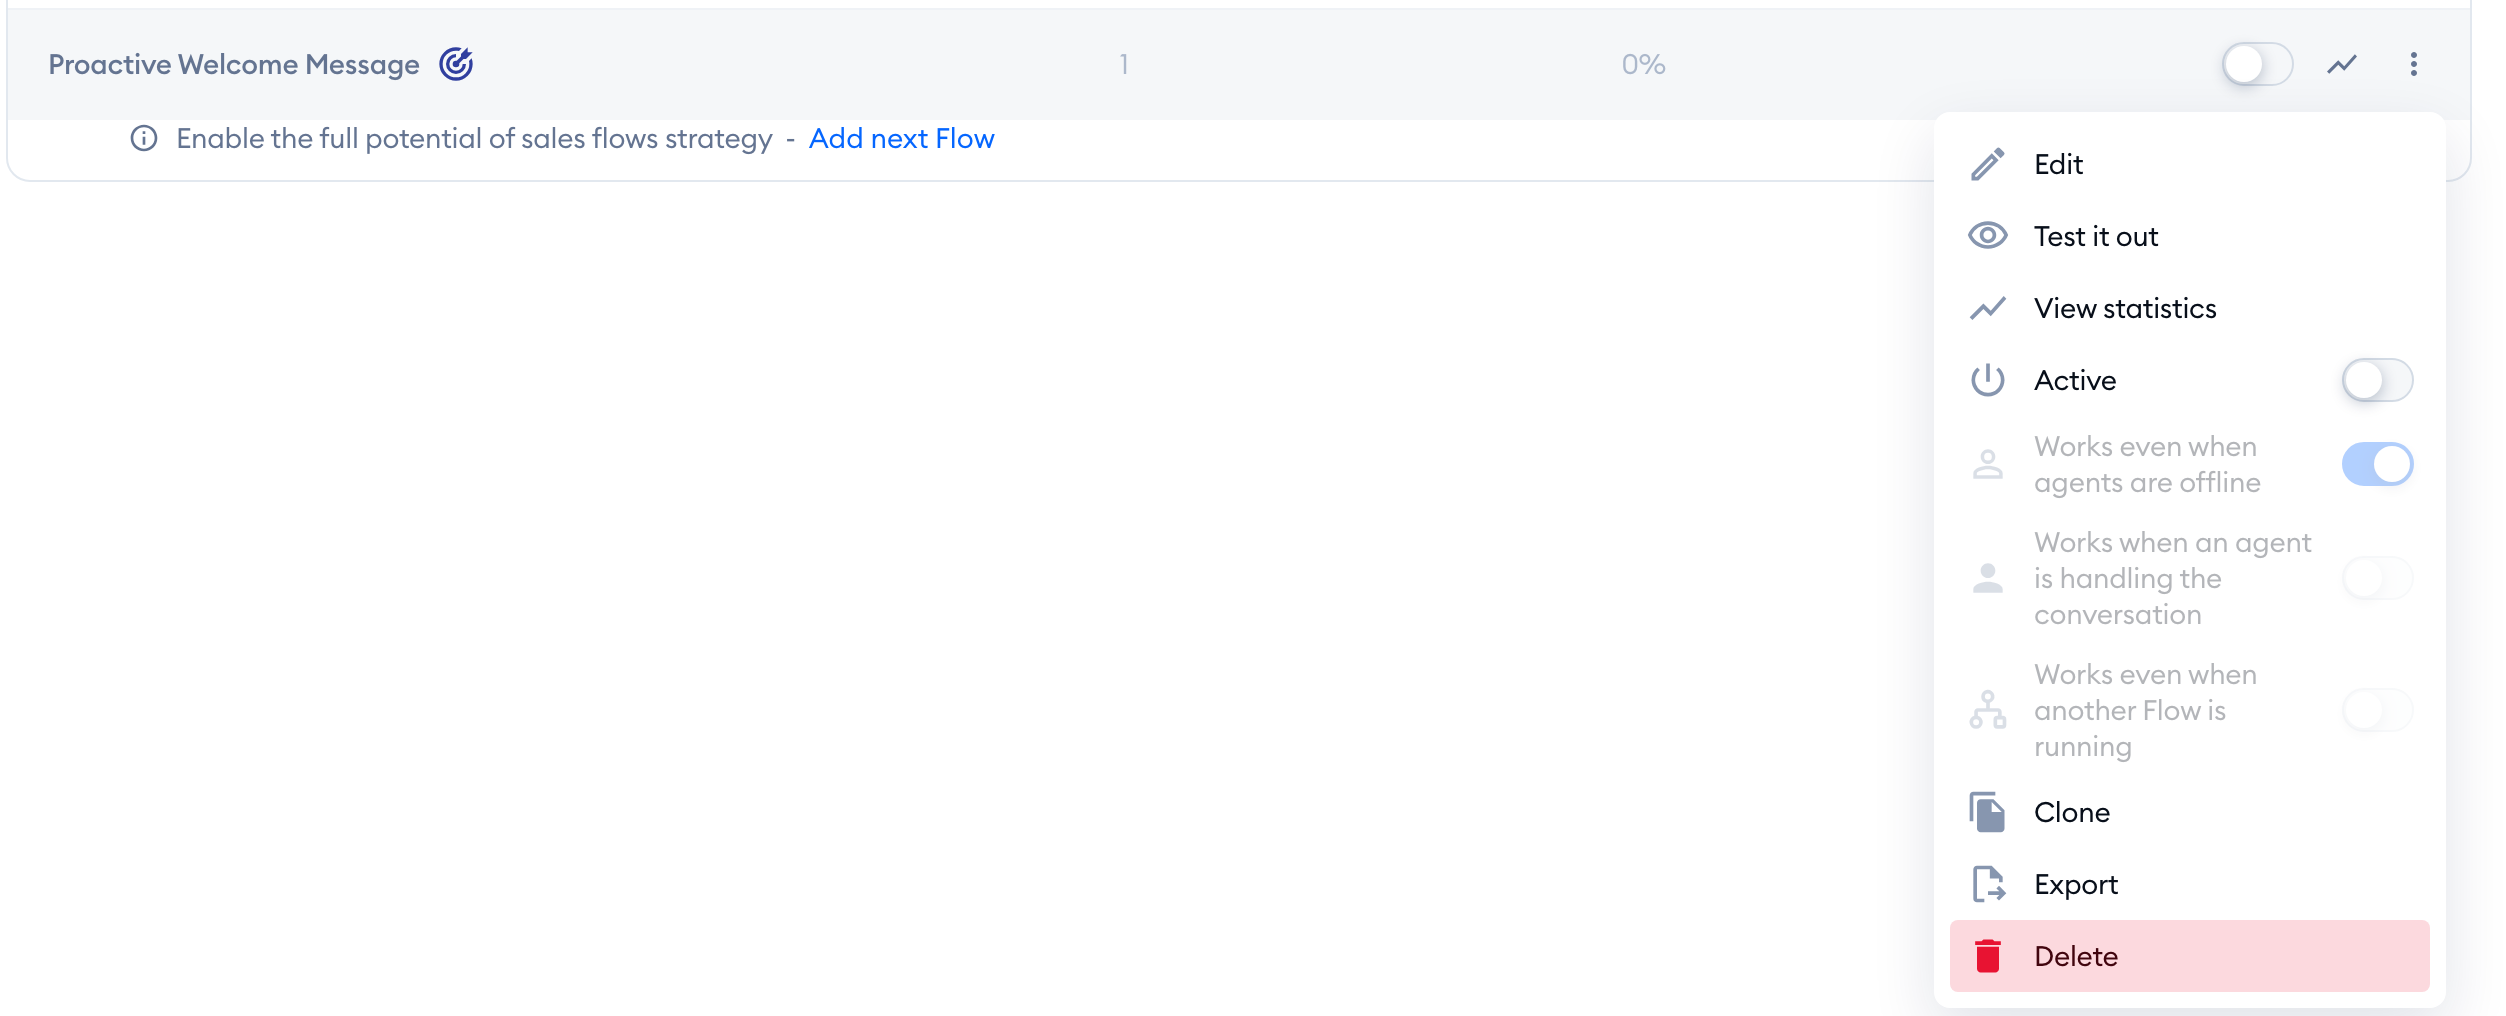
To delete or pause a flow, find the flow you wish to delete or pause. Open the options menu for your flow in the My Flows section and click on the Delete option if you wish to delete the flow completely:
Please note that you can also delete the flow entire from inside the flow editor - by using the Delete button in the top-right:

If you just want to stop the flow from working on your website, simply disable the Active switch instead: