Ready to build your own self-service site? Creating a Help Center takes just a minute: give it a name, choose its languages, and pick a few starter categories - and you can start writing right away.
You can also run several Help Centers in one Tidio project (for example, one per brand or product), each with its own content, look, and address.
In this article, you'll learn:
- How to create a Help Center
- How to open and switch between your Help Centers
- How to rename a Help Center
- How to publish (or unpublish) a Help Center
- How to add more Help Centers
- How to delete a Help Center
Please note: to create, rename, publish, or delete a Help Center, you need the Help center settings permission (and Delete help center for deleting). Agents without it only see the Content tab. More on this in The Help Center: a self-service site for your customers.
Creating a Help Center
Head over to the Help Center section in the main menu, and click on the Create Help Center button in the top-right (if you don't have a Help Center yet, you'll also find it in the middle of the page).
In the window that pops up, choose how you want to start building it:
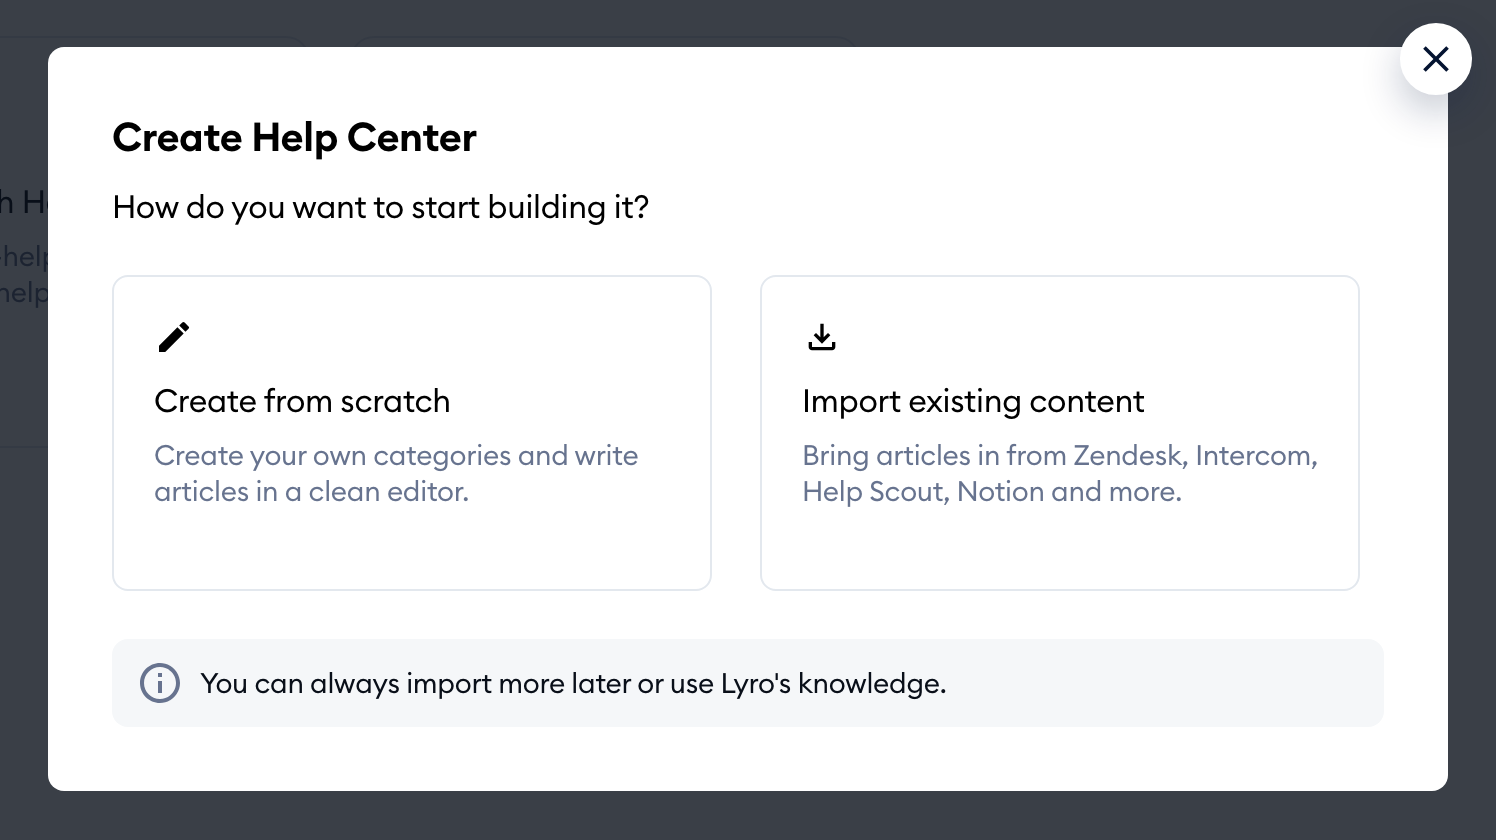
Click on Create from scratch. (The Import existing content tile opens a short survey for now - importing articles from another platform isn't available yet.)
Filling in the details
Next, fill in the details of your new Help Center:
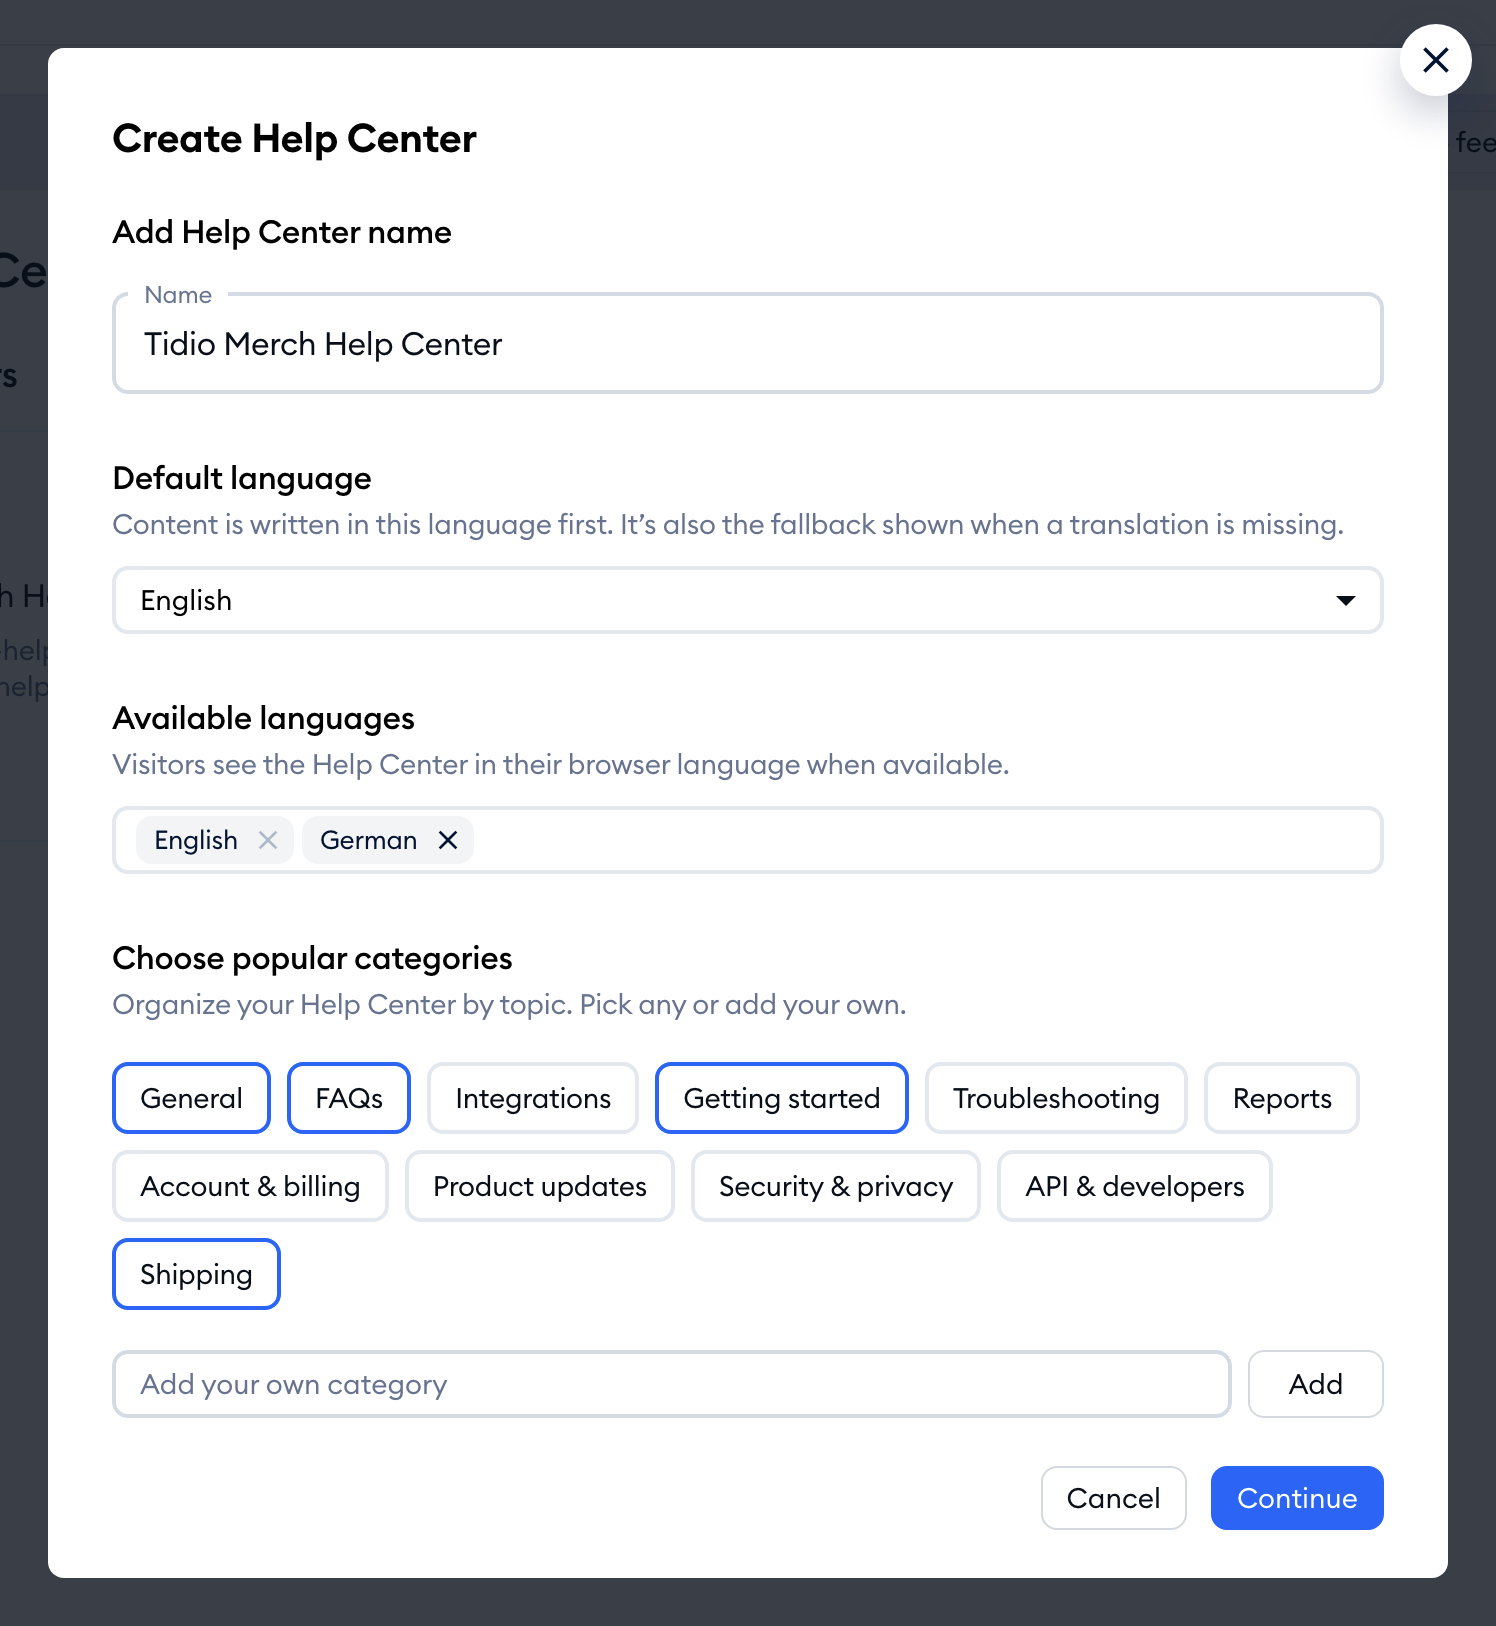
- Name - the name of your Help Center. It's also used to generate your Help Center's Tidio address.
- Default language - the language you write your content in first. It's also the fallback your visitors see when a translation is missing.
- Available languages - any other languages you'd like to offer. Visitors see the Help Center in their browser language when it's available.
- Choose popular categories - click any of the ready-made categories to add them: General, FAQs, Integrations, Getting started, Troubleshooting, Reports, Account & billing, Product updates, Security & privacy, and API & developers. Click a selected one again to deselect it.
Want a category that isn't on the list? Type its name into the Add your own category field and hit Add (or press Enter). It will appear as a new chip - click it if you'd like to remove it.
The popular categories are named in your default language, and Tidio also names them in your other languages where it can. Your own categories keep the name you typed in every language - you can translate them later.
Once you're ready, hit the Continue button. That's it! You'll see the Help Center created successfully. message, and your new Help Center will open on its Content tab, with your chosen categories already in place.
Please note: your new Help Center starts as Not published, so you can prepare everything before your customers see it. Its Tidio address is generated from the name - you can change it (or connect your own domain) later, in Setup > Domain.
Opening and switching between Help Centers
The All Help Centers page lists every Help Center in your project. Each card shows the Help Center's name, its address, its default language, and its status:
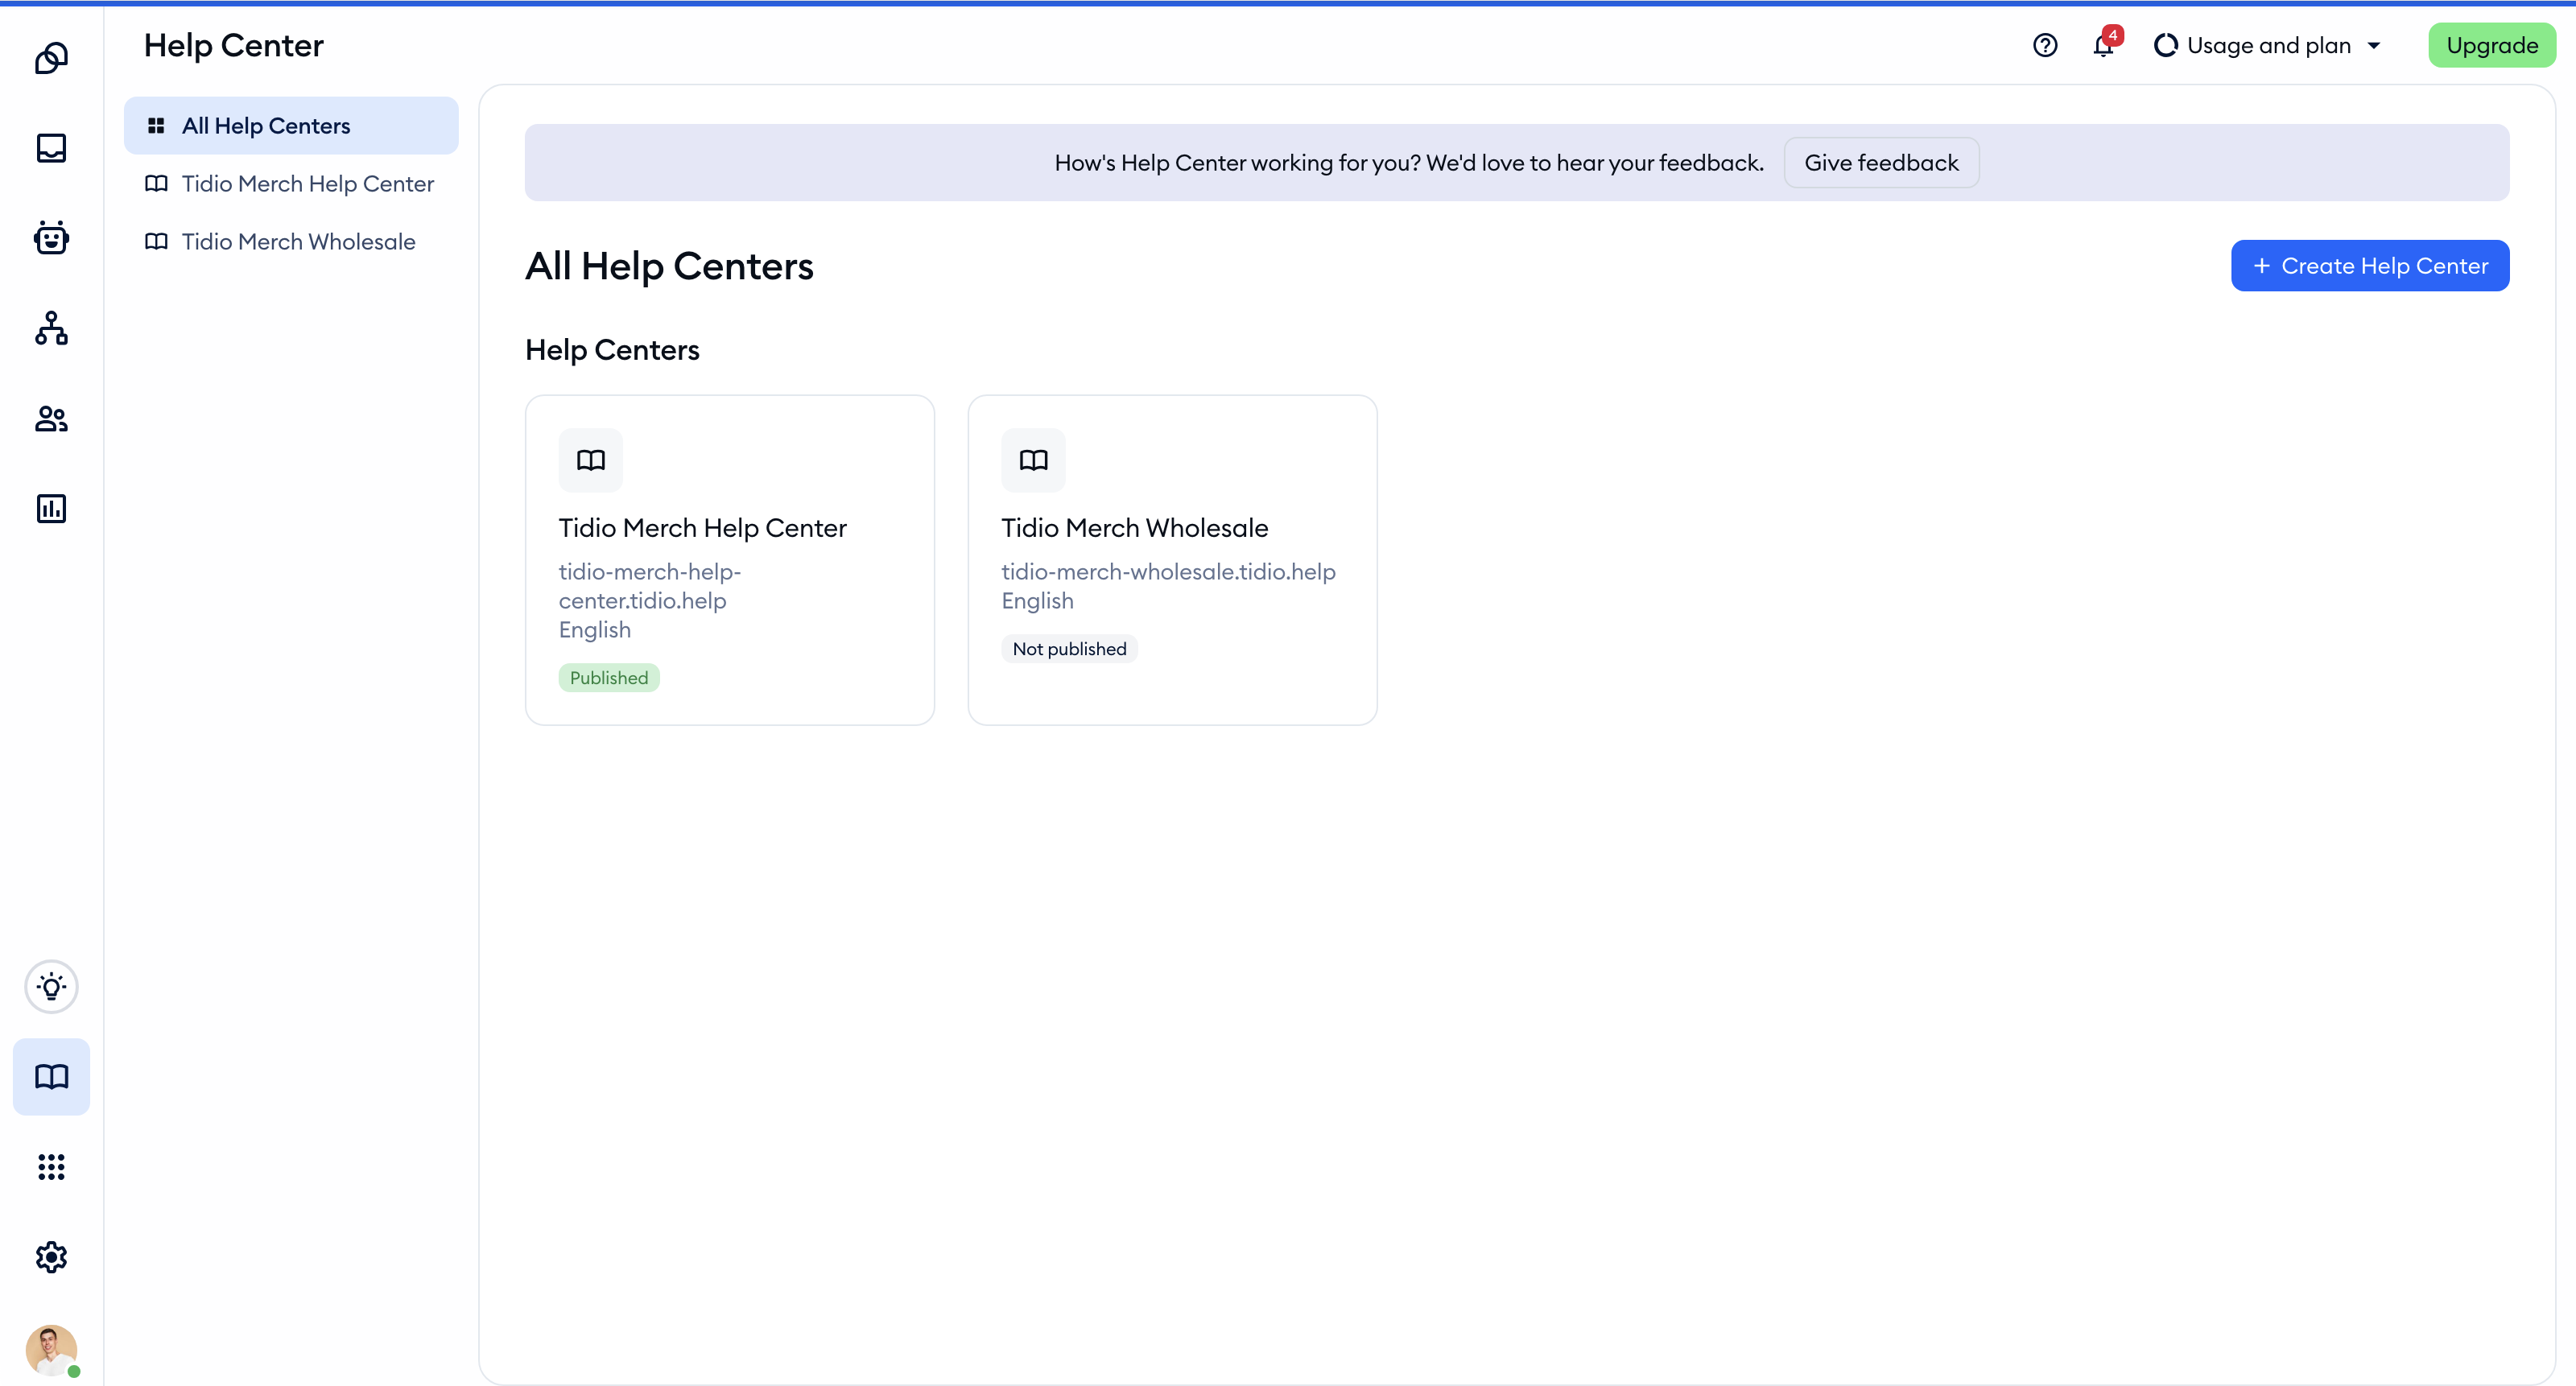
Simply click on a card to open that Help Center. You can also jump straight to any Help Center from the list under All Help Centers in the Help Center section's menu.
Renaming a Help Center
To change your Help Center's name, open it and go to the Setup tab. You'll find the Help Center name field in the General card at the top:
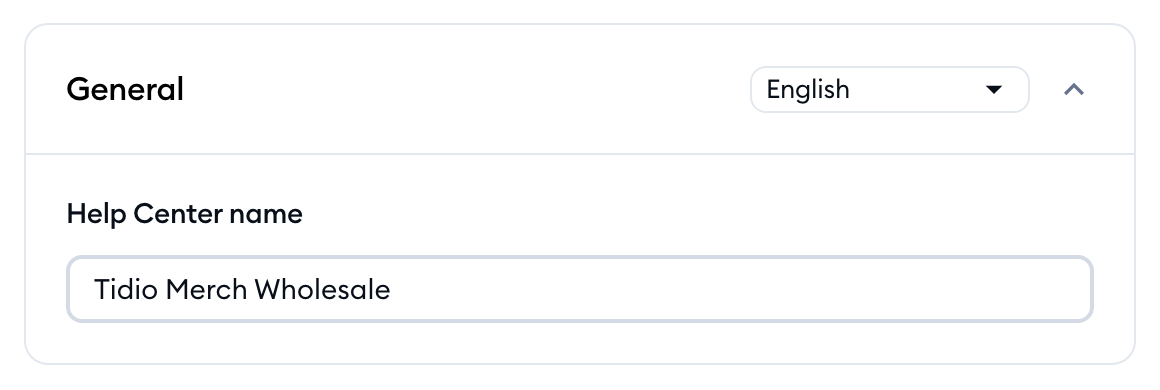
If your Help Center runs in several languages, you can give it a different name in each one - use the language selector in the top-right corner of the card to switch between them.
When you're done, hit the Save changes button at the bottom of the page. Please note that the name can't be left empty - you'll see The Help Center name cannot be empty. under the field until you fill it in.
Publishing (or unpublishing) a Help Center
The status of your Help Center is shown in the top-right, next to the Preview Help Center button. Click on it to change it:
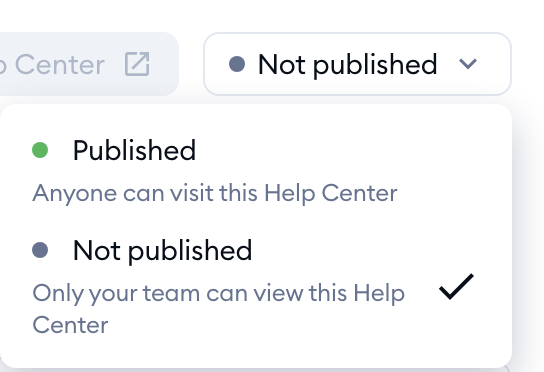
- Published - anyone can visit this Help Center. You'll see the Help Center published. message.
- Not published - only your team can view this Help Center. Your customers can't visit it.
Once your Help Center is published, the Preview Help Center button opens the live site in a new tab. While it isn't published, the button stays inactive.
Please note: publishing a Help Center requires the Help Center add-on. Without it, choosing Published opens a window where you can get the add-on instead (see The Help Center add-on). You can always unpublish a Help Center, with or without the add-on.
Publishing the Help Center makes the site itself available. Each article also has its own status - only published, public articles appear on your site. See Publish, preview and manage articles for how that works.
You may also see a third status, Unavailable. This means your plan no longer includes the Help Center add-on, so the Help Center was unpublished automatically. Please see The Help Center add-on for how to restore access.
Adding more Help Centers
You can add another Help Center the same way you created the first one: go to All Help Centers and click on the Create Help Center button in the top-right.
Each Help Center is completely separate: it has its own categories and articles, its own appearance, its own address and domain, its own languages, and its own SEO and chat widget settings. Each article belongs to one Help Center.
Please note: your first Help Center is free to create, but a second one requires the Help Center add-on. Without it, clicking on Create Help Center while you already have a Help Center opens a window where you can get the add-on.
Deleting a Help Center
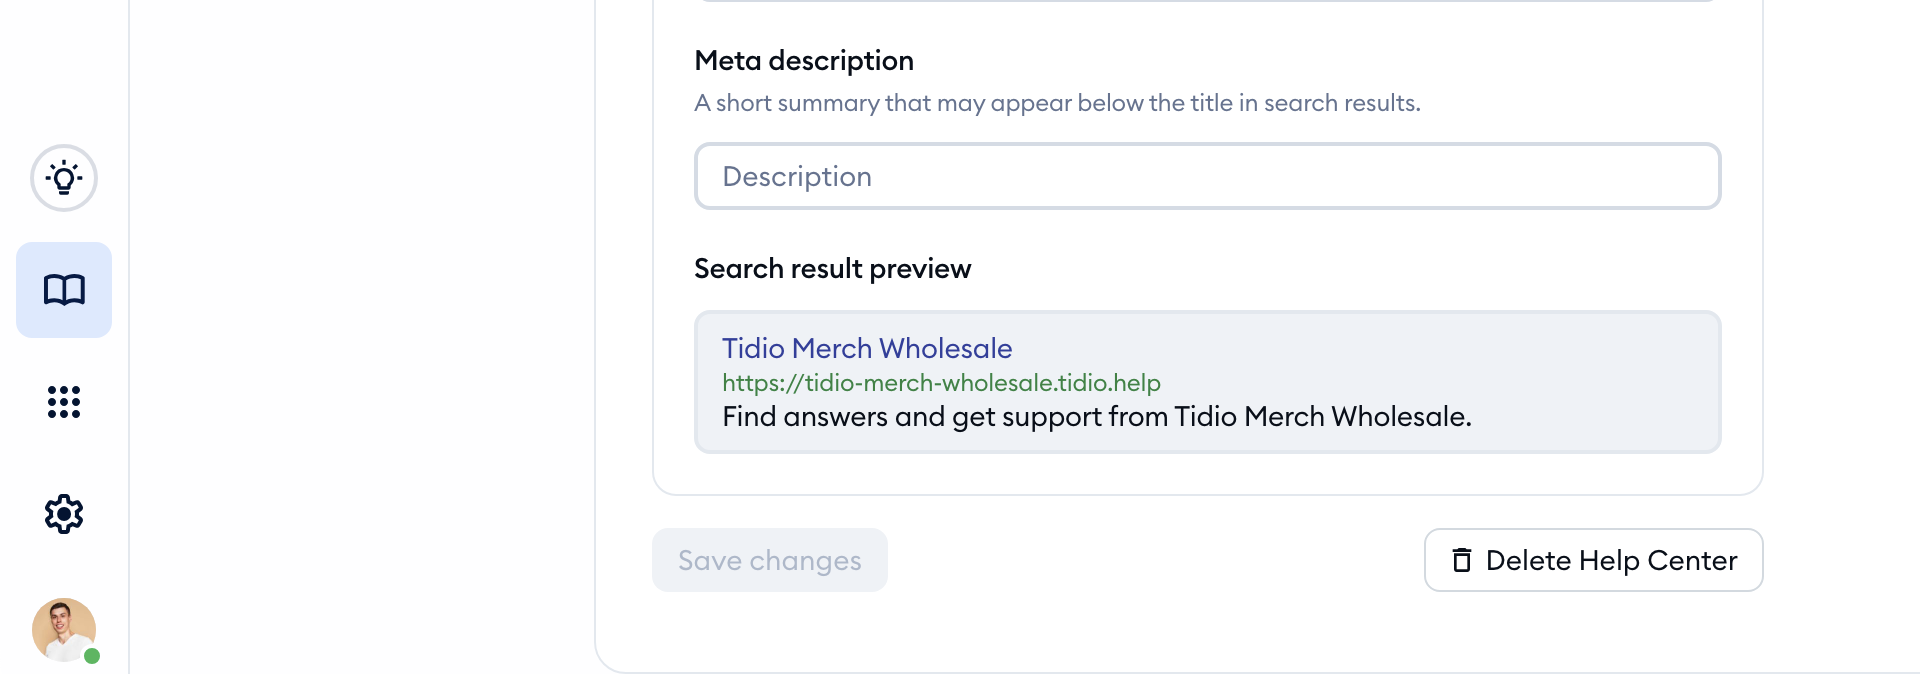
To delete a Help Center for good, open it and go to the Setup tab. Scroll all the way to the bottom - you'll see the Delete Help Center button on the right, next to Save changes:
In the window that pops up, type your Help Center's subdomain into the Subdomain to confirm field (the window shows you what to type), and hit Delete - you'll be taken back to All Help Centers:
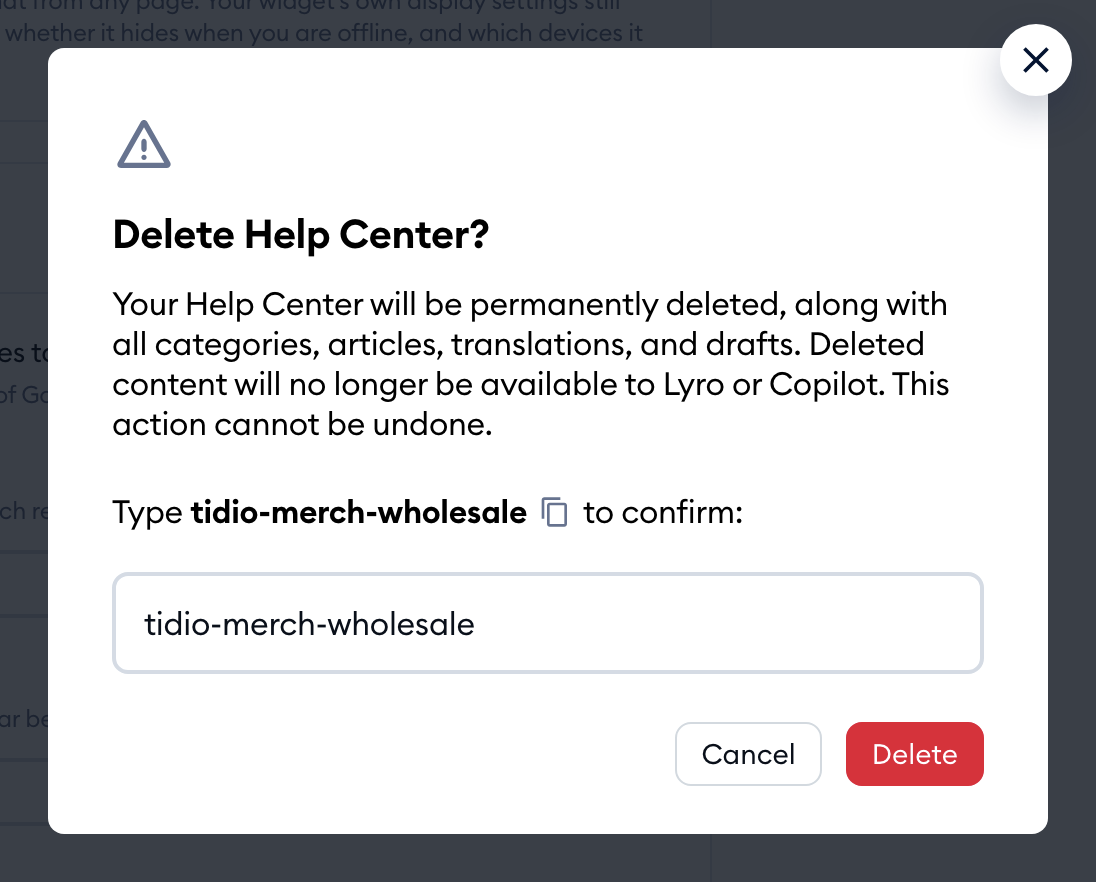
Please note: deleting a Help Center can't be undone. All its categories, articles, translations, and drafts are deleted too, and Lyro and Copilot can no longer use that content.
You also need to delete the Help Center's categories first - otherwise, you'll see the Delete this Help Center's categories before deleting it. message. See Organize articles into categories for how to delete a category.
You'll only see the Delete Help Center button if you have both the Help center settings and Delete help center permissions (the project owner always has them).
