Every Help Center you create gets its own free address on tidio.help - for example, yourbrand.tidio.help. You can change that address at any time, or connect a domain you own, like help.yourbrand.com, so your customers never leave your brand.
When you connect your own domain, Tidio takes care of the SSL certificate (the secure https:// connection) for you. By default, the connection can be done automatically (through an app called Entri), but you can always add the DNS records manually instead.
In this article, you'll learn:
- How to change your Help Center's tidio.help address
- How to connect your own domain
- How to read your domain's status
- How to troubleshoot the connection
- How to disconnect a domain
Please note: the Setup tab is only visible to team members with the Help center settings permission. Also, your customers can only open your Help Center (on any address) once it's published - see Publish, preview and manage articles.
Changing your default address
Head over to the Help Center section, open your Help Center, and go to the Setup tab. Your Help Center's address is in the Domain card, under Default domain:
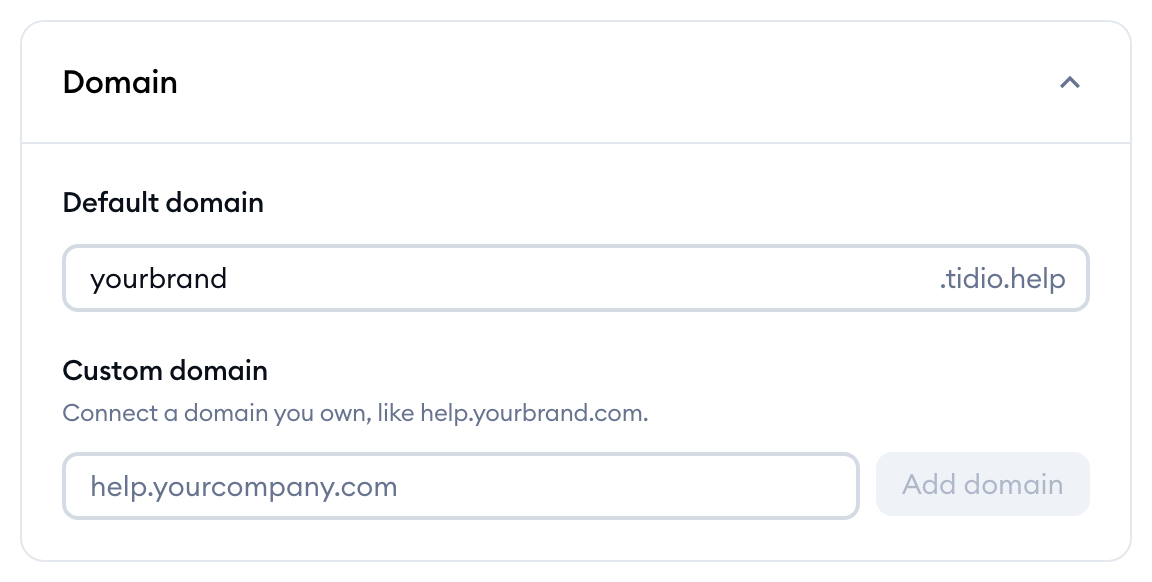
The default address is made from your Help Center's name when you create it. To change it, simply type a new name into the field, and hit the Save changes button at the bottom of the tab.
The name can only use lowercase letters, numbers and hyphens, and it has to start and end with a letter or a number (anything you type is turned into lowercase for you). A few names are reserved by Tidio and can't be used: www, api, admin, mail, static, assets and app. If another Help Center already uses the name, you'll see a message under the field once you try to save - just pick another one.
Please note: if you've added your Help Center to your website with the embed code, copy the code again after changing the address. The code in the Embed Help Center card always uses your current address (see Add the chat widget to your Help Center, and the Help Center to your website).
Connecting your own domain
Before you start, decide which domain you'd like your Help Center to use. A subdomain of your website, like help.yourbrand.com or support.yourbrand.com, works well. Each Help Center can have one custom domain, and a domain can only be used by one Help Center.
Adding your domain
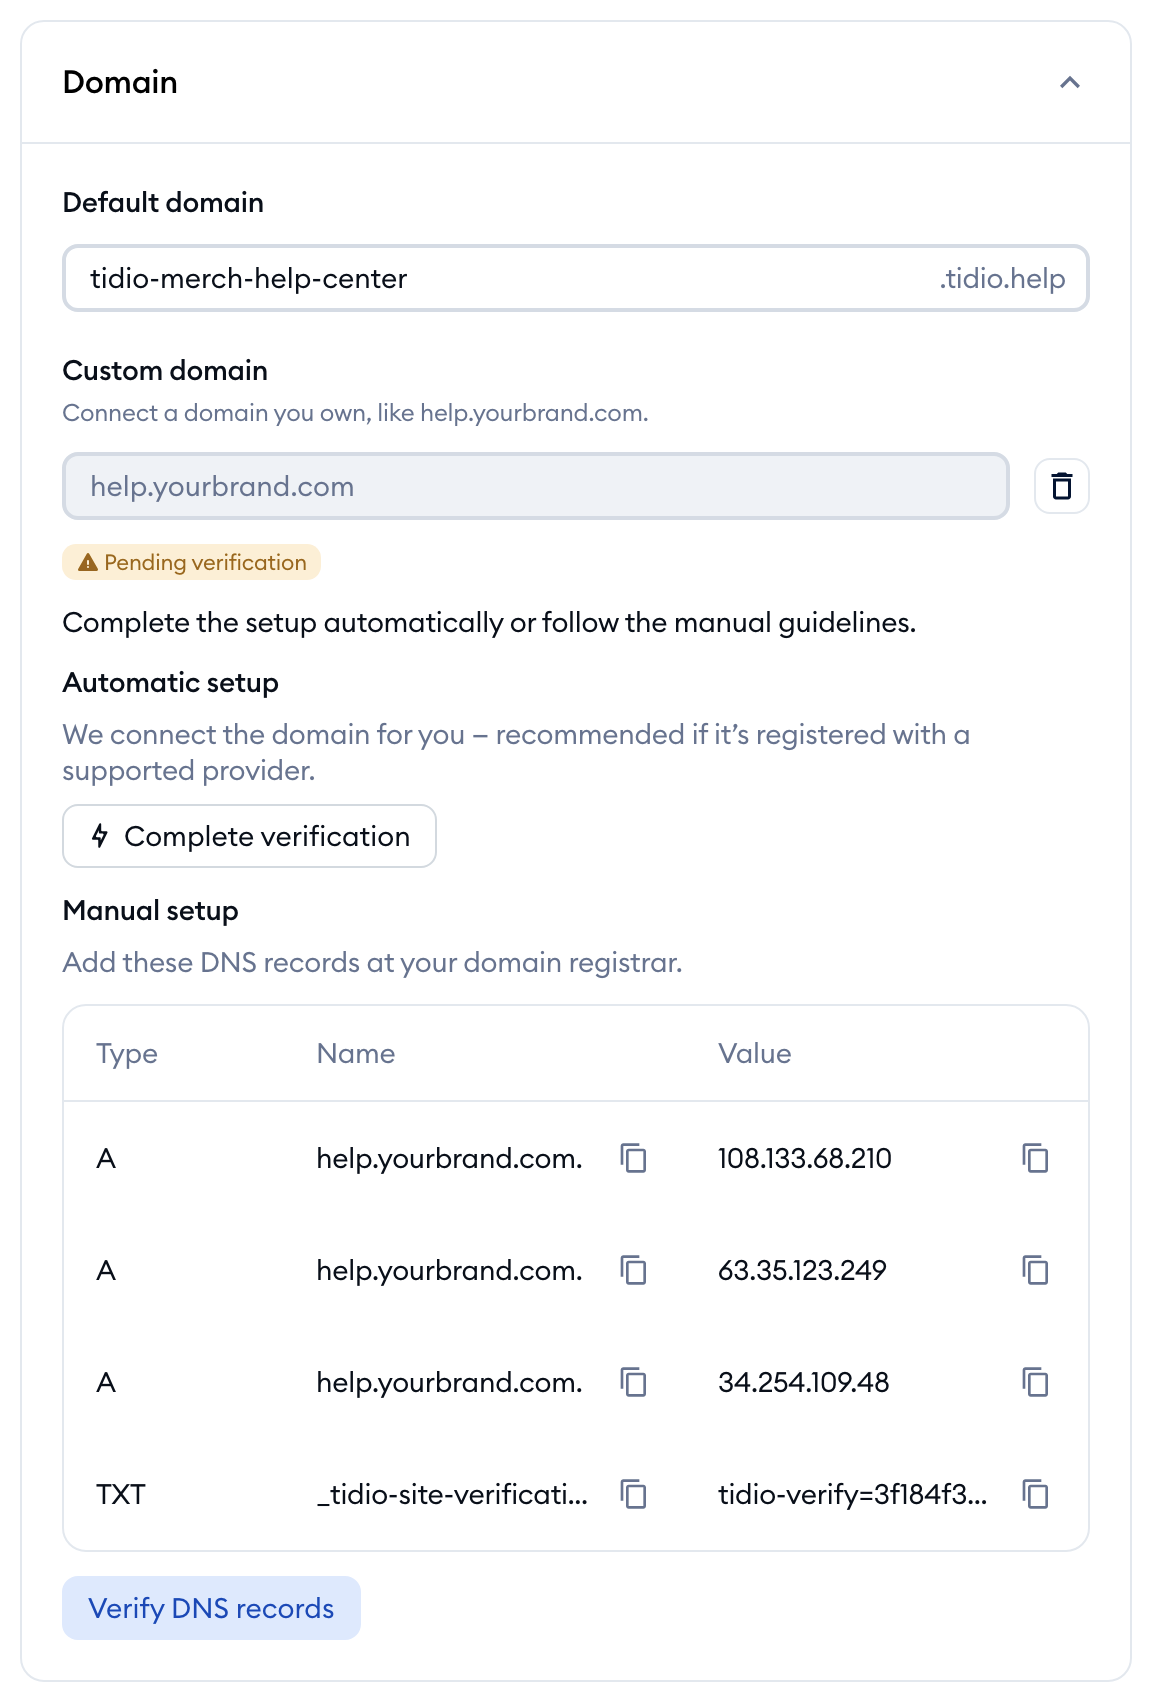
In the Domain card, type your domain into the Custom domain field, and click on the Add domain button:

Your domain is added with the Pending verification status. Below it, you'll see two ways to finish the setup: Automatic setup and Manual setup:
Connect automatically
The automatic setup is powered by Entri, a specialized app that adds the DNS records at your domain provider for you. It's the recommended option if your domain is registered with a provider that Entri supports (you can check the list here).
Under Automatic setup, click on the Complete verification button. A new window will open with your domain and the records already filled in - simply follow the steps on the screen:
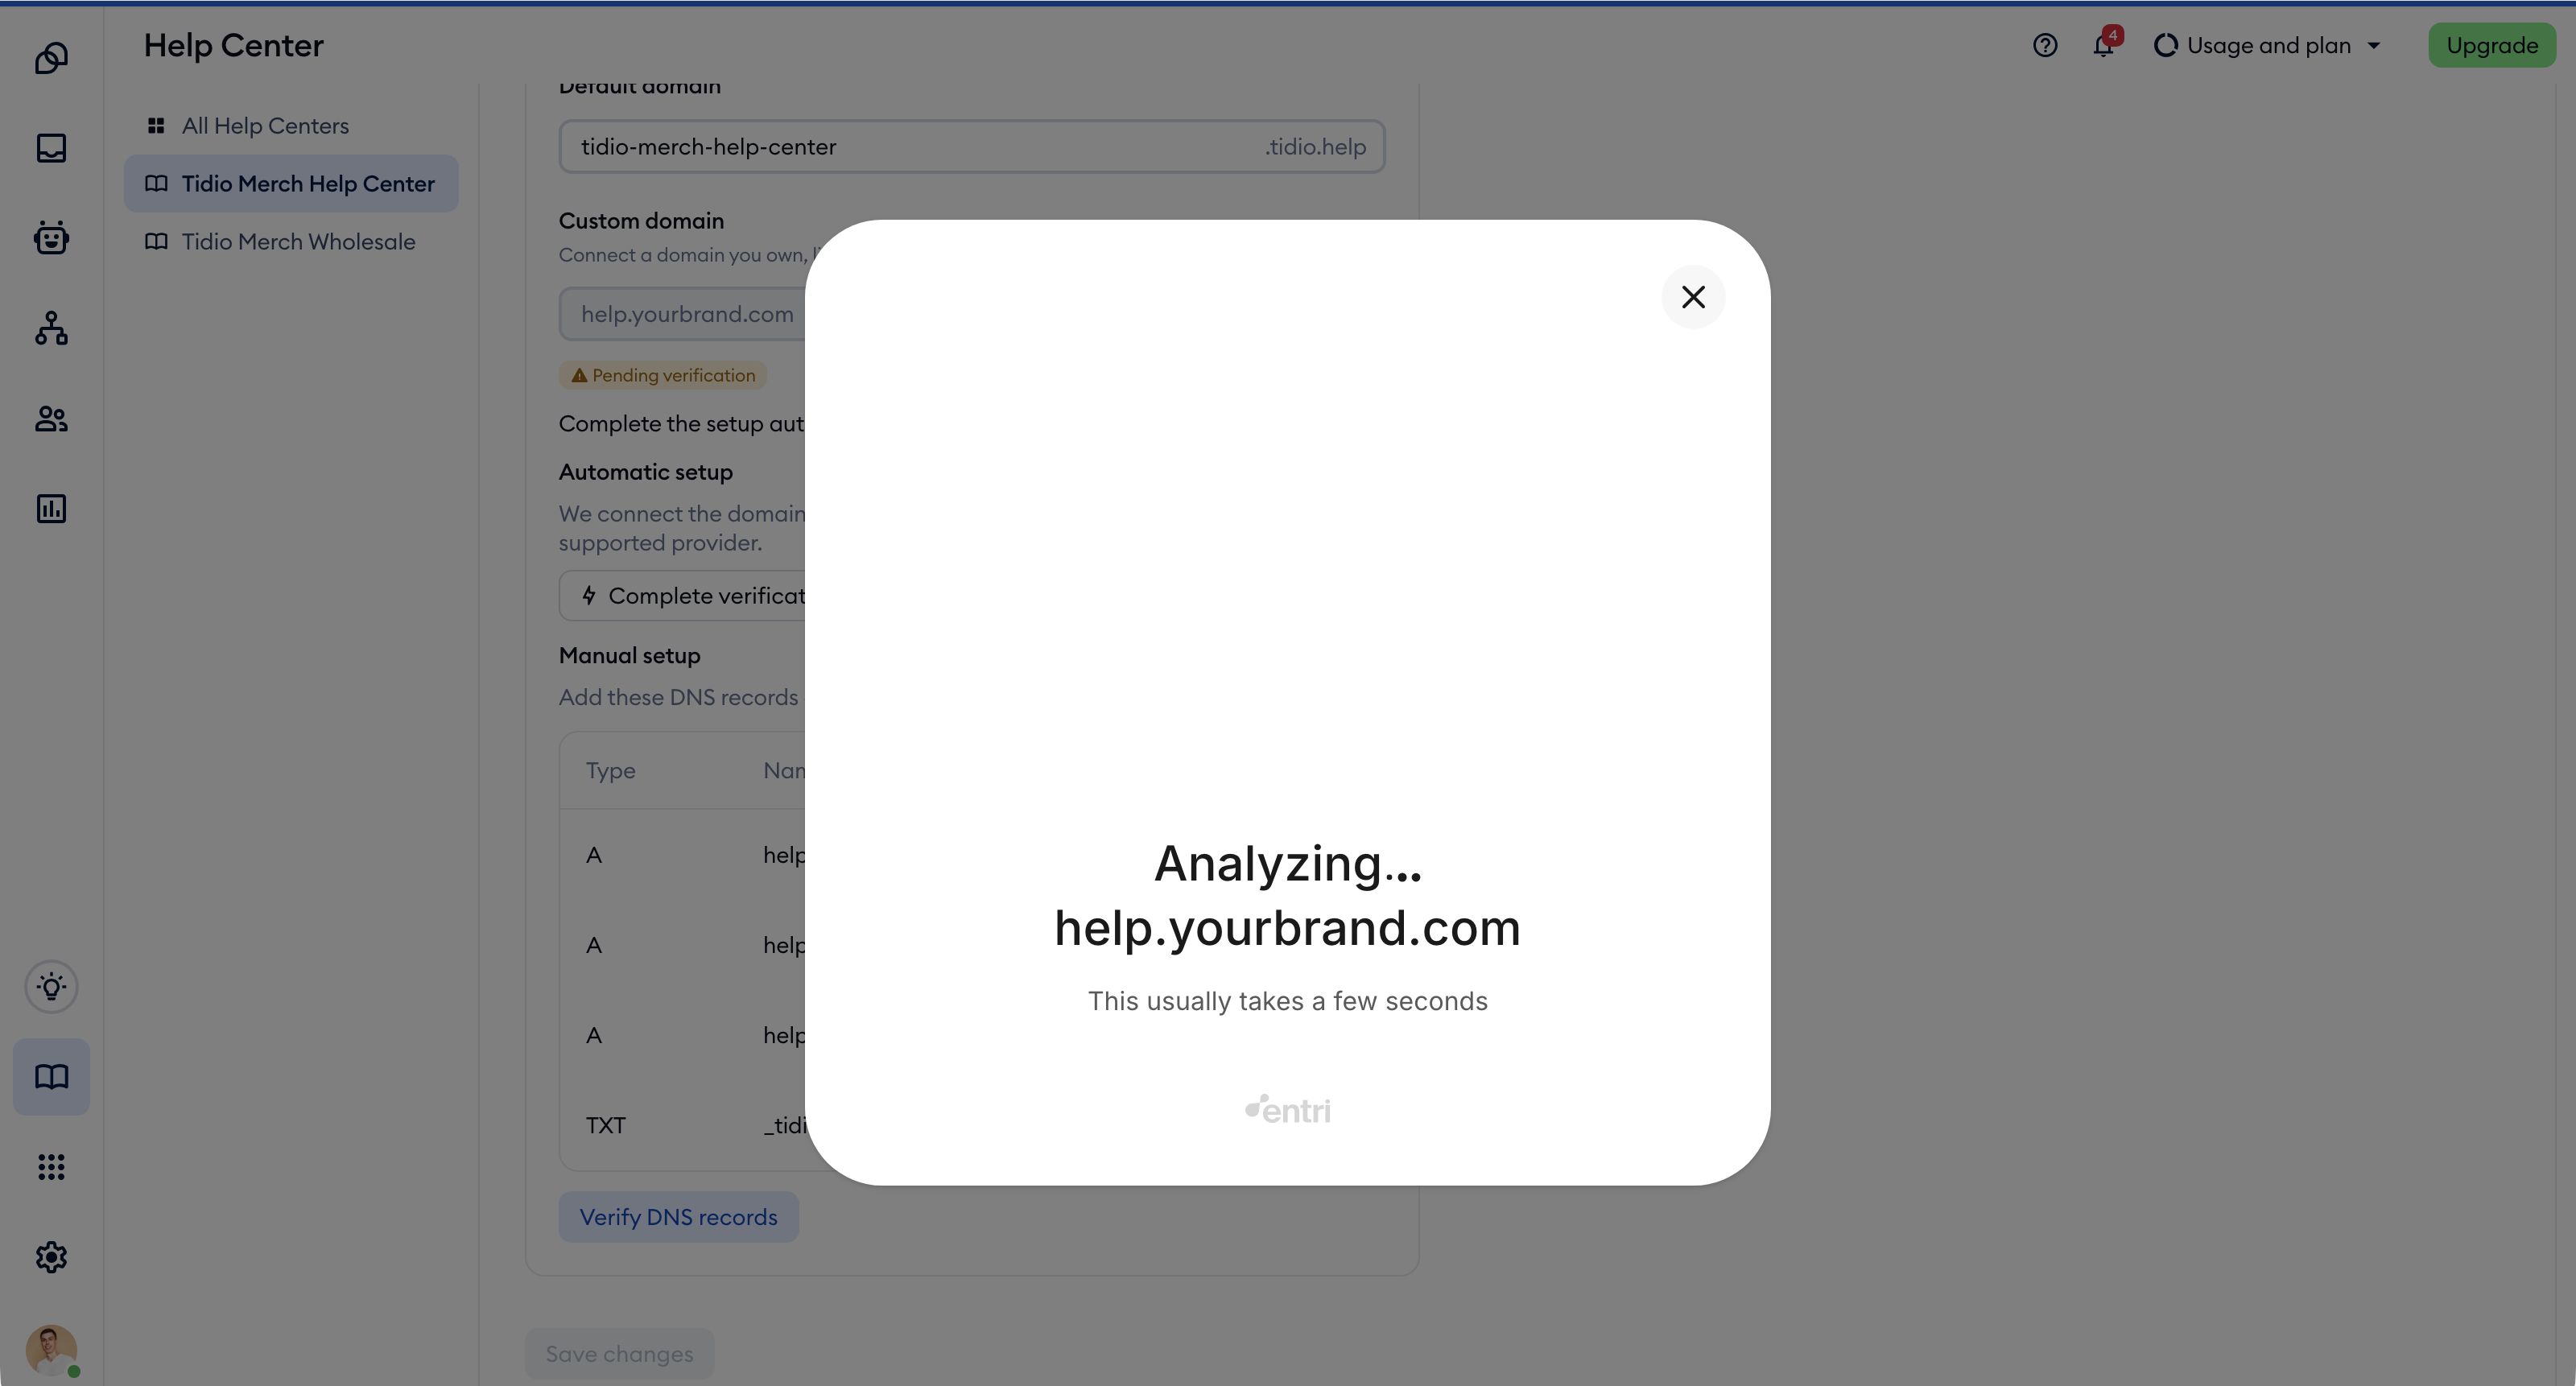
Once you finish in Entri, Tidio checks your records straight away - there's nothing else to click.
Please note: if Entri can't be loaded, the Automatic setup section won't be shown, and you can use the manual setup instead.
Connect manually
Under Manual setup, you'll find the DNS records to add at your domain registrar (the company where you manage your domain). Each record has a Type, a Name and a Value, and you can copy both the name and the value with the copy icons next to them:
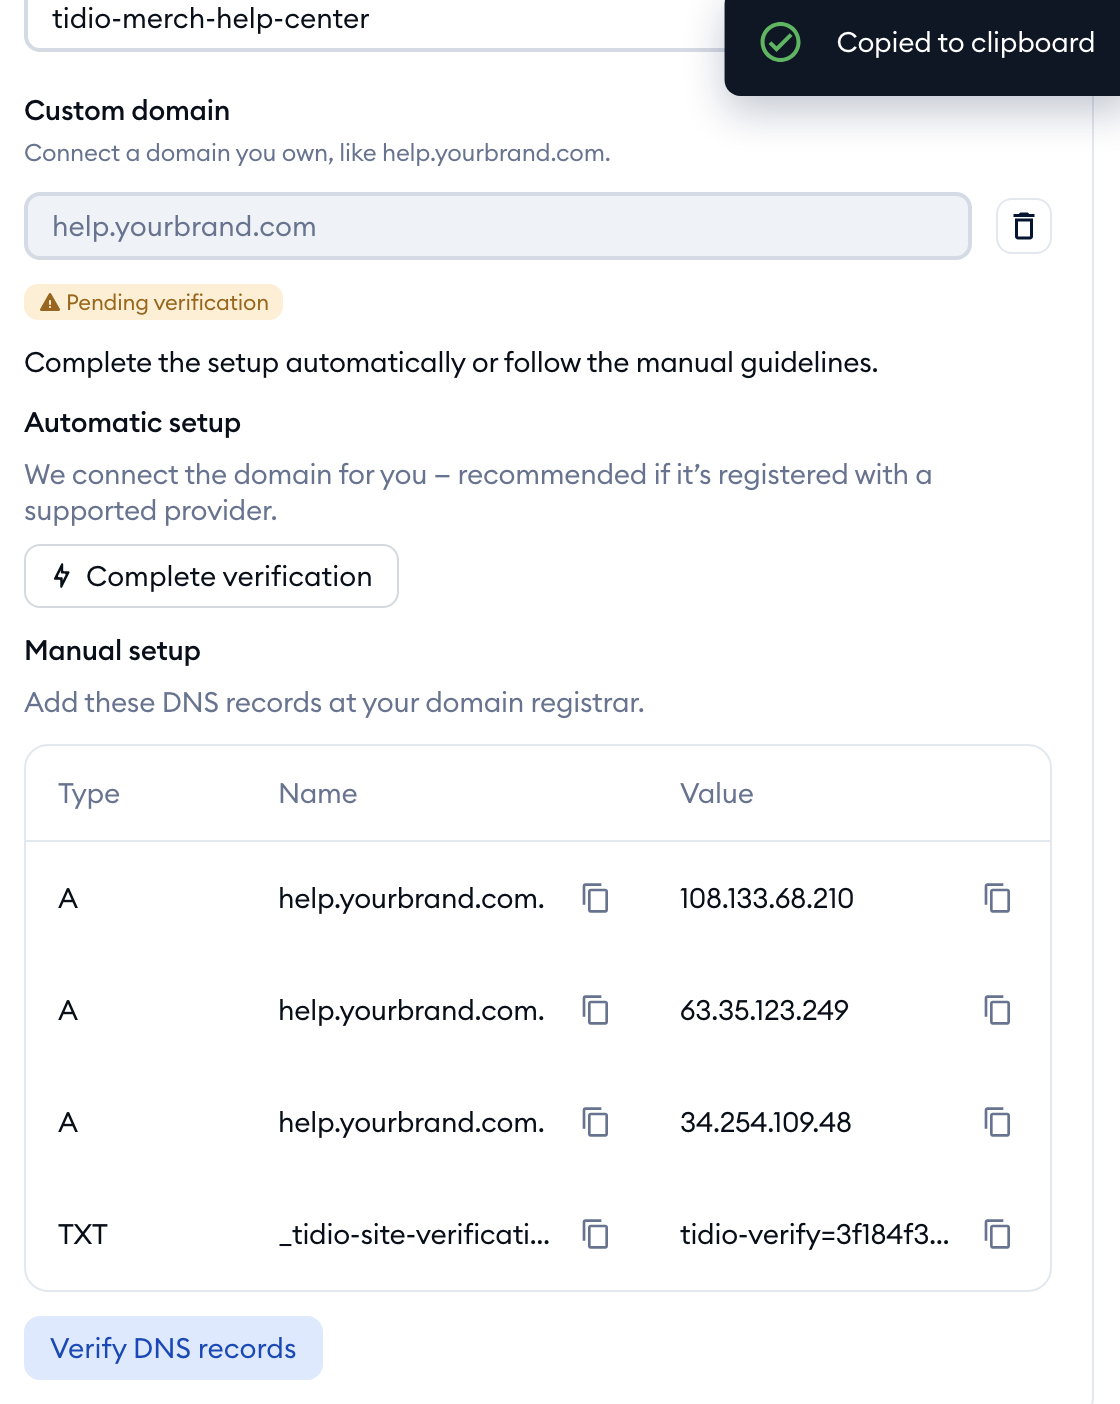
You'll see two kinds of records:
- The routing records point your domain to your Help Center.
- The verification record (the last one in the table) proves that you own the domain.
Log in to your domain provider, open the DNS settings of your domain, and add each record exactly as shown. Then come back to Tidio, and click on the Verify DNS records button:
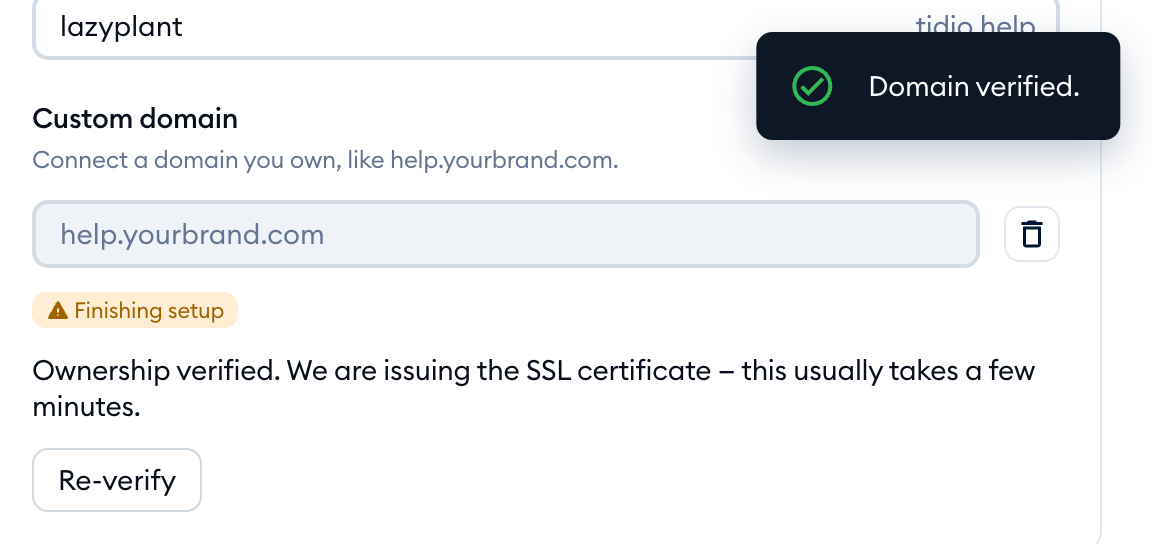
If the records are found, you'll see a Domain verified. confirmation, and Tidio moves on to issuing your SSL certificate. If they aren't found yet, don't worry - DNS changes can take a while to spread. Wait a few minutes, and click on Verify DNS records again.
Please note: some domain providers need the Name in a different format. The names in Tidio are full names, like help.yourbrand.com. If your provider adds your domain to the name automatically, enter only the part before your domain (for example, just help). If a name ends with a dot and your provider doesn't accept it, simply leave the dot out. The Value should always stay exactly as shown.
Understanding the domain status
A tag under your domain shows where the connection is at, with a short note under it:
| Status | What it means |
|---|---|
| Pending verification | The domain is added, but the records haven't been checked yet. Finish the automatic or manual setup. |
| Verification error | Tidio checked, but couldn't find the verification record yet. Check your records, wait a few minutes and verify again. |
| Finishing setup | Ownership is verified, and Tidio is issuing your SSL certificate. This usually takes a few minutes, and the status updates by itself. |
| Connected | The SSL certificate is active, and your Help Center is live on your domain. |
| Setup failed | The SSL certificate couldn't be issued. Contact us, and we'll finish the setup for you. |
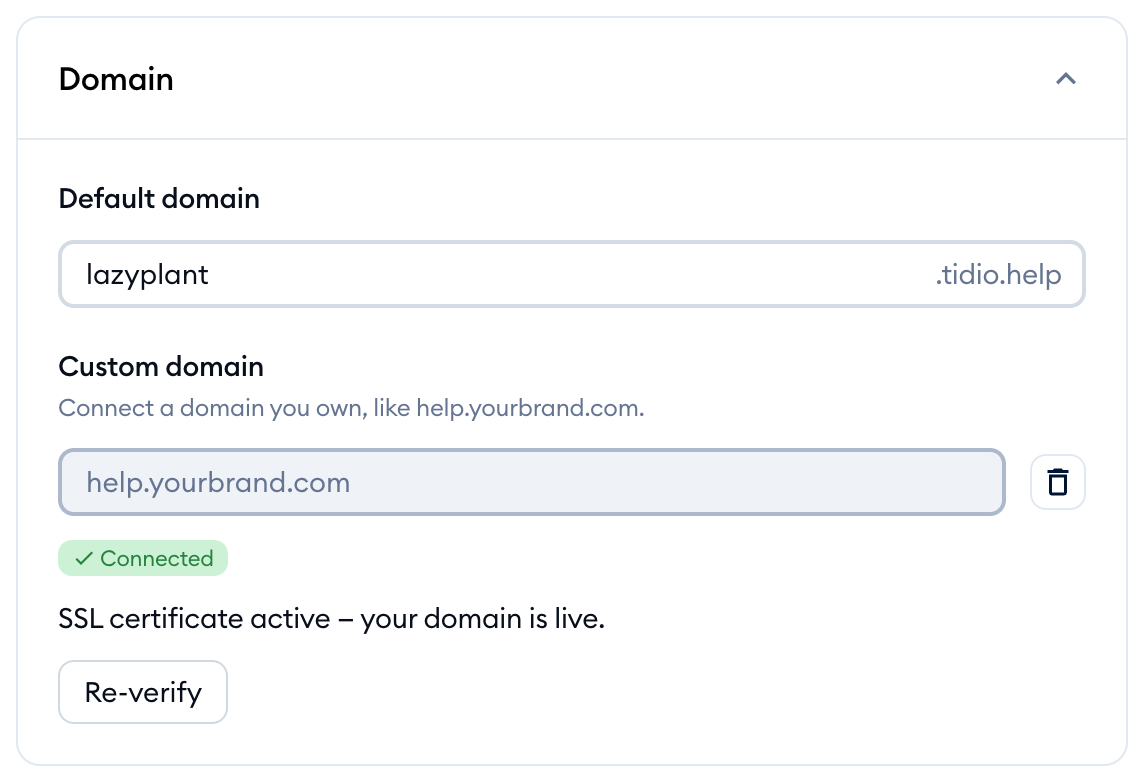
Once your domain is Connected, Tidio uses it everywhere: in the list of your Help Centers, behind the Preview Help Center button, in the Search result preview of the SEO & Search card, and in your embed code. You can use the Re-verify button at any time to check the connection again.
Please note: if you show the chat widget on your Help Center and your widget only appears on trusted domains, add your new domain to that list too. The Chat widget card will warn you about it and add it in one click - see Add the chat widget to your Help Center, and the Help Center to your website.
Troubleshooting
If your domain doesn't connect, here are a few things to check:
- If the status stays at Verification error, make sure every record from Manual setup is added, with the name in the format your provider expects (see the note above) and the value copied exactly. DNS changes can take some time to spread, so try Verify DNS records again a bit later.
- If you see Enter a valid domain, for example help.yourcompany.com. when adding the domain, type the domain name only, like help.yourbrand.com, without https:// or a path.
- If you see This domain is already verified by another Help Center., remember that a domain can only be used by one Help Center. Disconnect it from the other Help Center first.
- If the DNS records can't be loaded, refresh the page in a moment, and contact us if it keeps happening.
- If the status is Setup failed, contact us, and we'll finish the setup for you.
Disconnecting a domain
To stop using your domain, click on the trash icon on the right of the domain in the Domain card, and confirm with the Delete button:
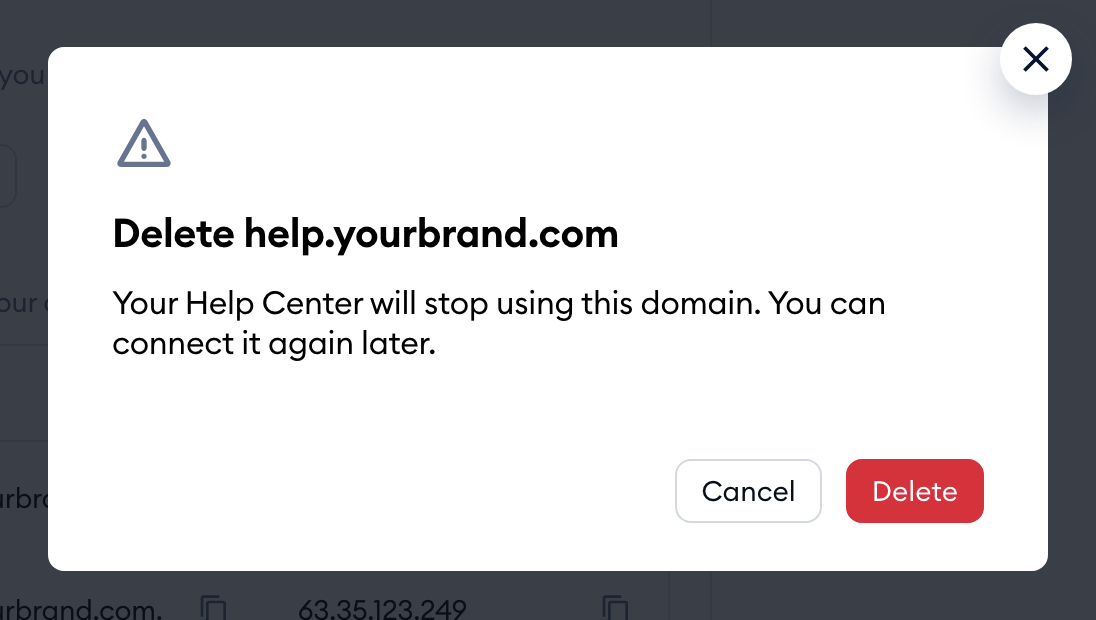
Your Help Center goes back to its tidio.help address. You can connect the same domain, or a different one, again at any time.
