Good help articles are easy to scan: clear headings, short steps, a screenshot where it helps. Tidio's Help Center editor gives you everything you need for that - headings, lists, links, images, videos, tables, code blocks and a table of contents - without writing any code.
In this article, you'll learn:
- How to create a new article
- How to add a title and a summary
- How to format your text
- How to add images, videos and tables
- How to use anchors and a table of contents
- How to use Markdown shortcuts
- How to save your article
Creating a new article
Head over to the Help Center section, open your Help Center, and stay on the Content tab. Click on the Add content button on the right of the search bar, and choose Add article:

Already know where the article belongs? Use Add article in the three-dots menu of a category (or the Add article button inside an empty category), and the new article is filed in that category from the start.
The New article panel opens on the right. Here's what you'll find in it:
- At the top: the language you're writing in, the Save draft and Publish buttons, and the close button.
- On the left: the article's title, its summary, and the editor with its formatting toolbar.
- On the right: the sidebar. Its Help Center section holds Article visibility and Category, the Lyro AI section decides whether Lyro (the AI agent) and Copilot use the article, and the Data section shows the article's history once it's been saved.
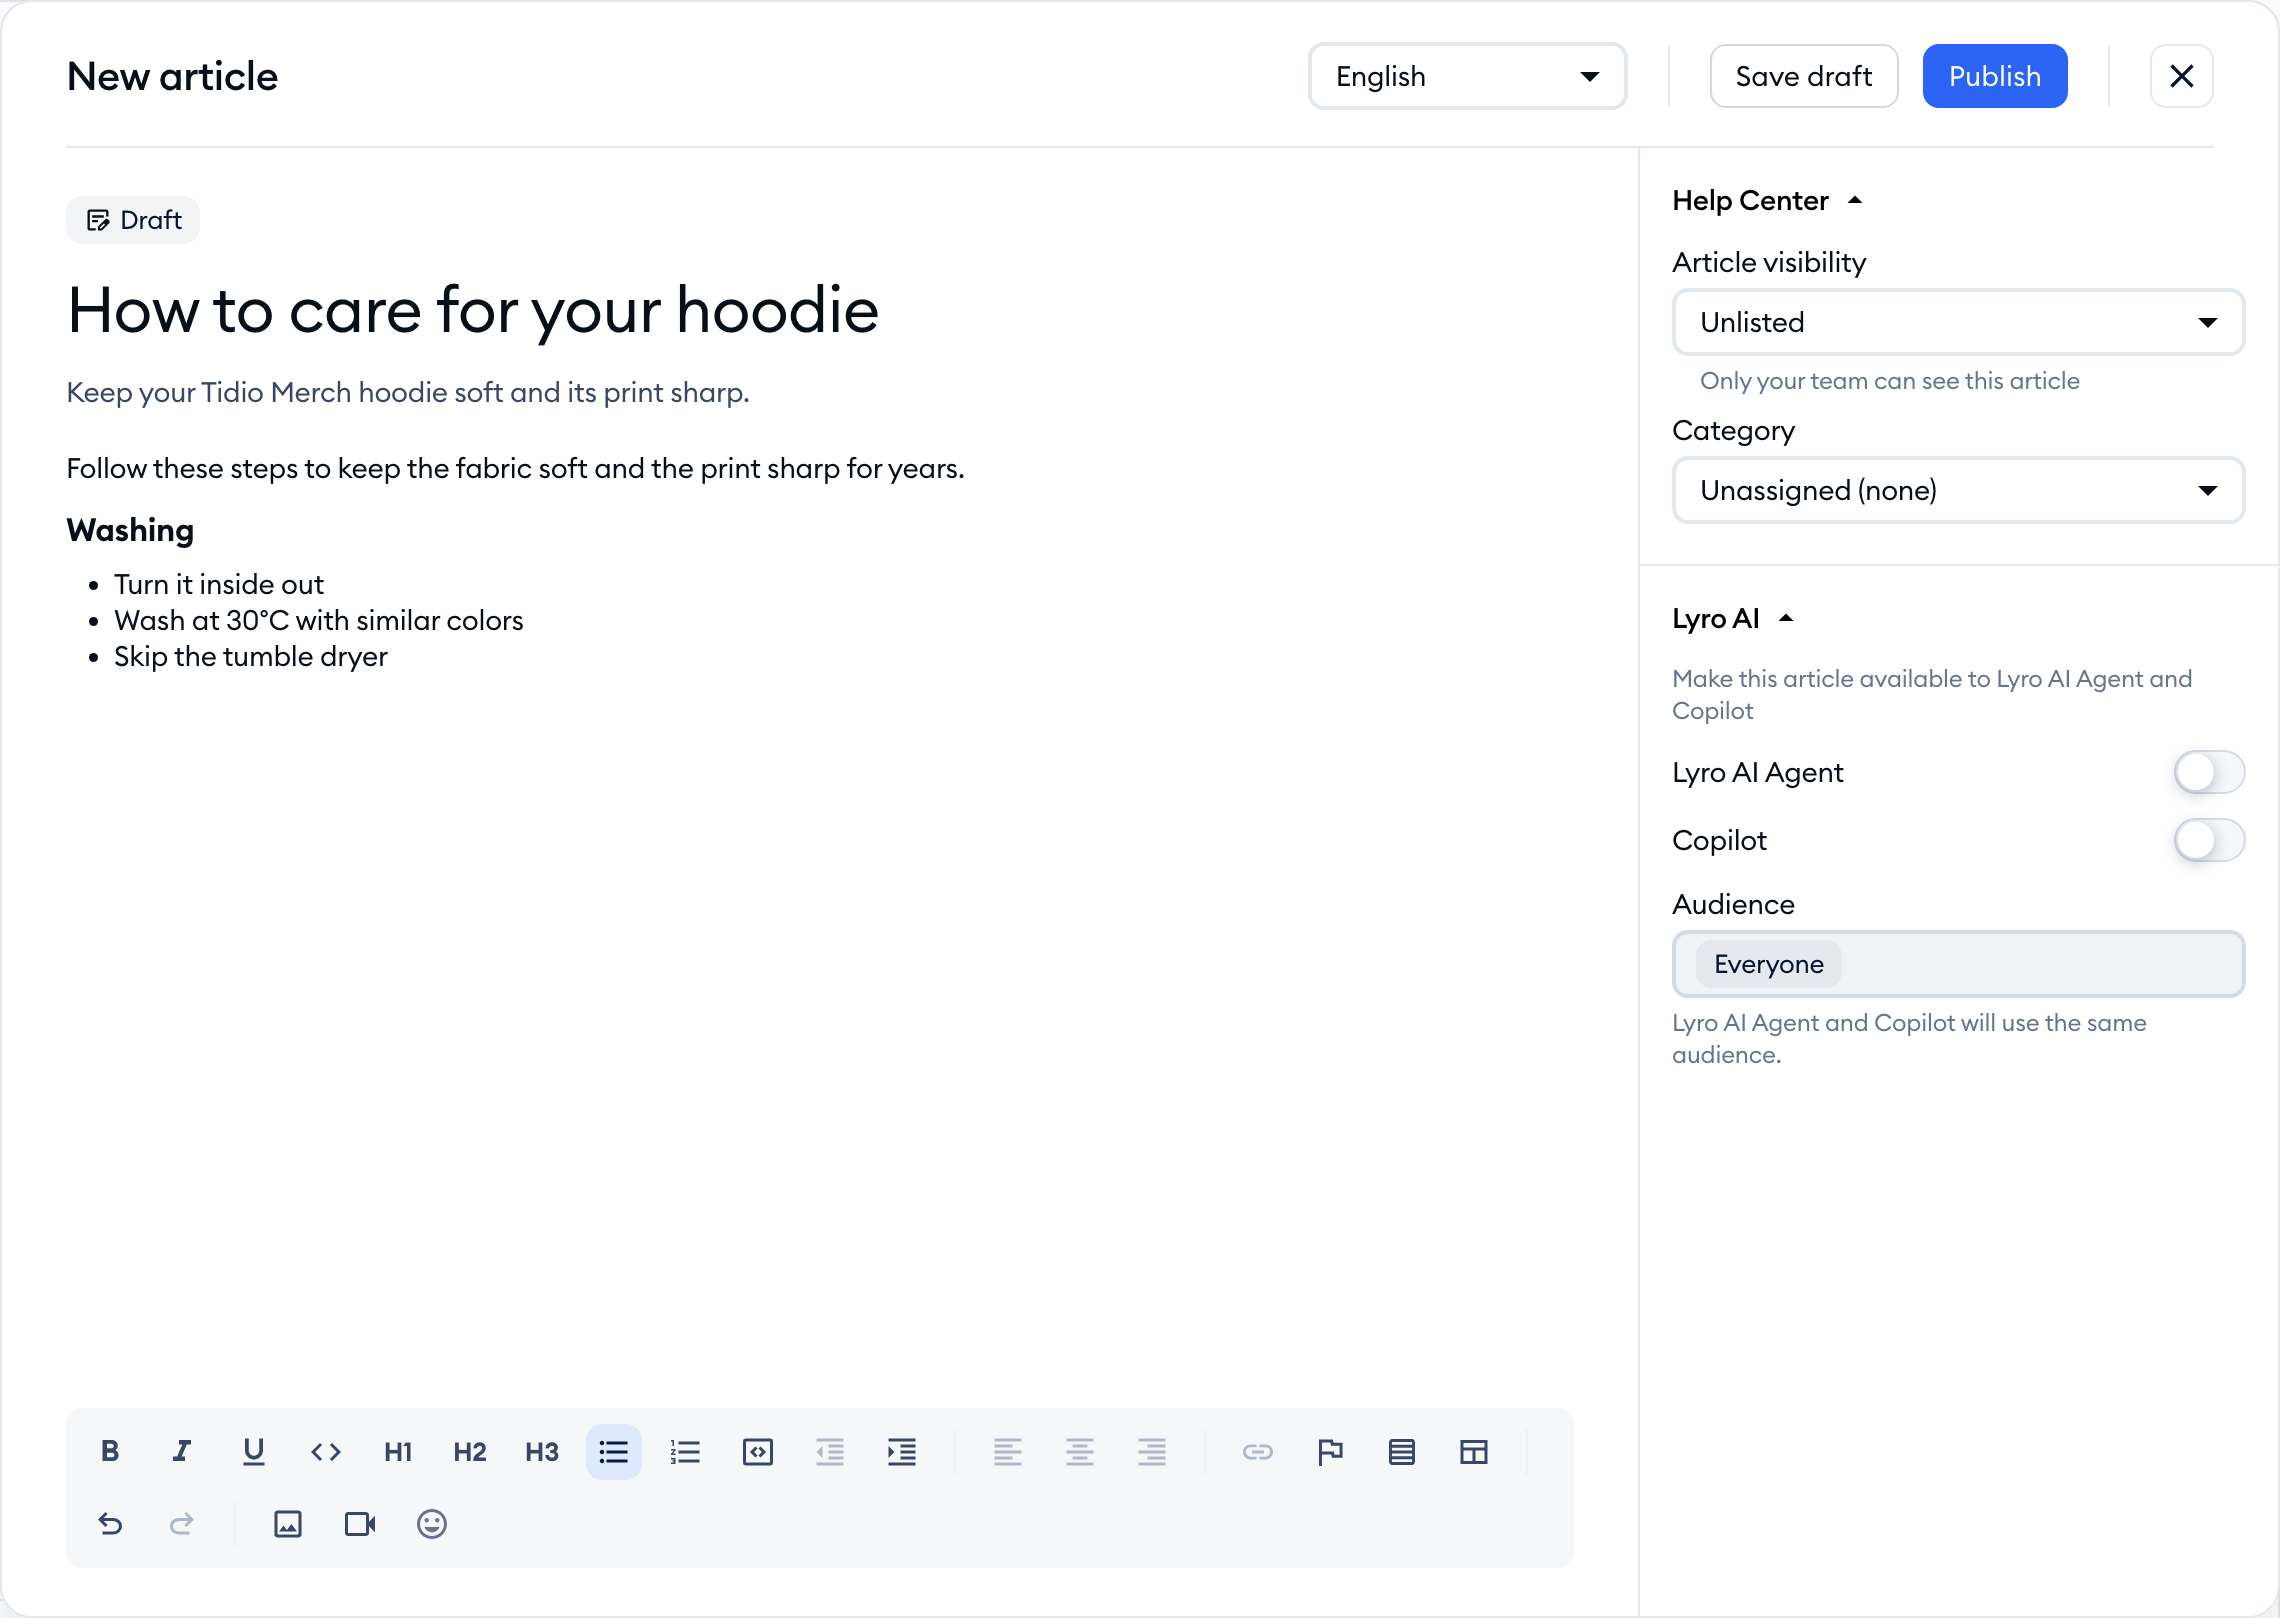
Visibility is covered in Publish, preview and manage articles, the Lyro AI section in Use Help Center articles with Lyro and Copilot, and languages in Run your Help Center in several languages.
Adding a title and a summary
Click on Untitled article at the top and type your title. Below it, add a short summary - as the field says, it's shown in search results, so aim for 1-2 sentences.
The summary is optional, stays on one line and can be up to 260 characters long. While you type, a counter shows how many characters you have left. If you go over, the counter drops below zero and the article won't save until you shorten it ("That summary is too long. Shorten it to 260 characters to save.").
Formatting your text
Click into the editor (it says Start writing....) and write away. The toolbar above the text has everything you need - hover over any button to see its name:

- Bold, Italic, Underline and Inline code for single words or phrases.
- Heading 1, Heading 2 and Heading 3 (the H1, H2 and H3 buttons) for your sections. Your article's title sits above all of them, so Heading 1 is the biggest heading inside the text.
- Bullet list and Numbered list, with Indent list item and Outdent list item to nest a step under the one above it (pressing Tab in a list works too).
- Code block for longer snippets. Inside one, Enter starts a new line; press Enter on two empty lines in a row to leave the block.
- Align left, Align center and Align right for paragraphs, headings, images and videos.
- Undo and Redo.
- Emoji, to drop an emoji where your cursor is.
Adding a link
Select the text you want to turn into a link, and click on the Link button. Type the address into the field and hit Apply:
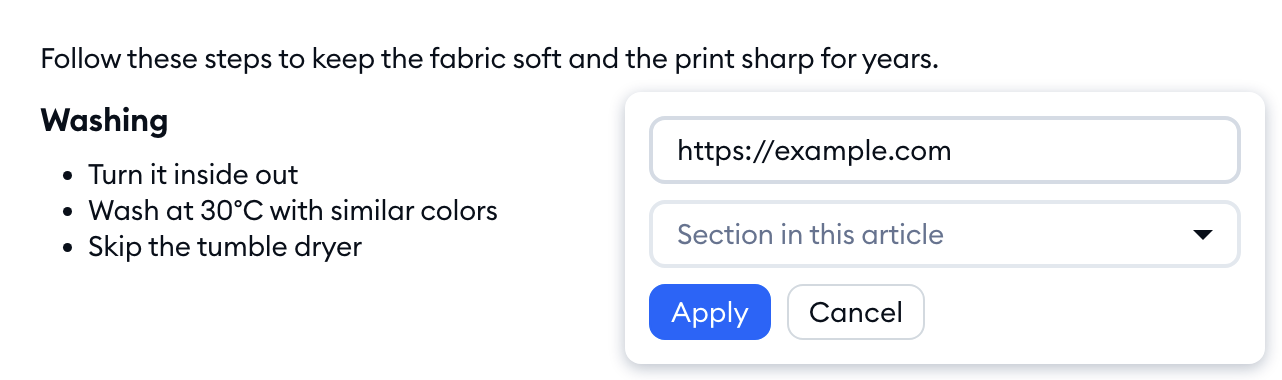
A link can point to a web address, an email address, a phone number, or a section of the same article - pick one from the Section in this article list (it appears once your article has headings or anchors). To change or remove a link later, click into it and use the Link button again.
Adding images, videos and tables
Images
Click on the Image button and pick a file - or simply paste an image, or drag it from your computer into the editor. You can use PNG, JPG, GIF and WebP images up to 5 MB.
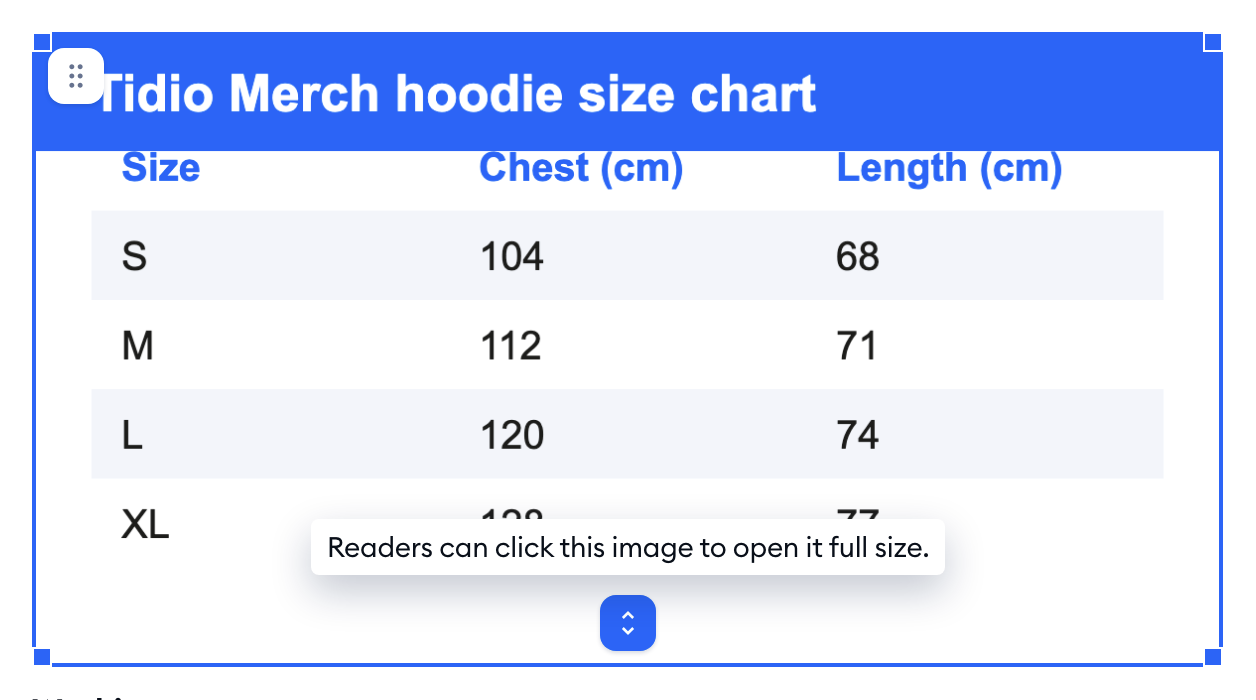
Click on an image to select it. You can then:
- Drag its handles to resize it.
- Use the alignment buttons in the toolbar to place it on the left, in the center or on the right.
- Click on the Open full size button on the image, so your readers can click it to see it full size. This is off for every new image.
- Press Backspace to remove it.
Videos
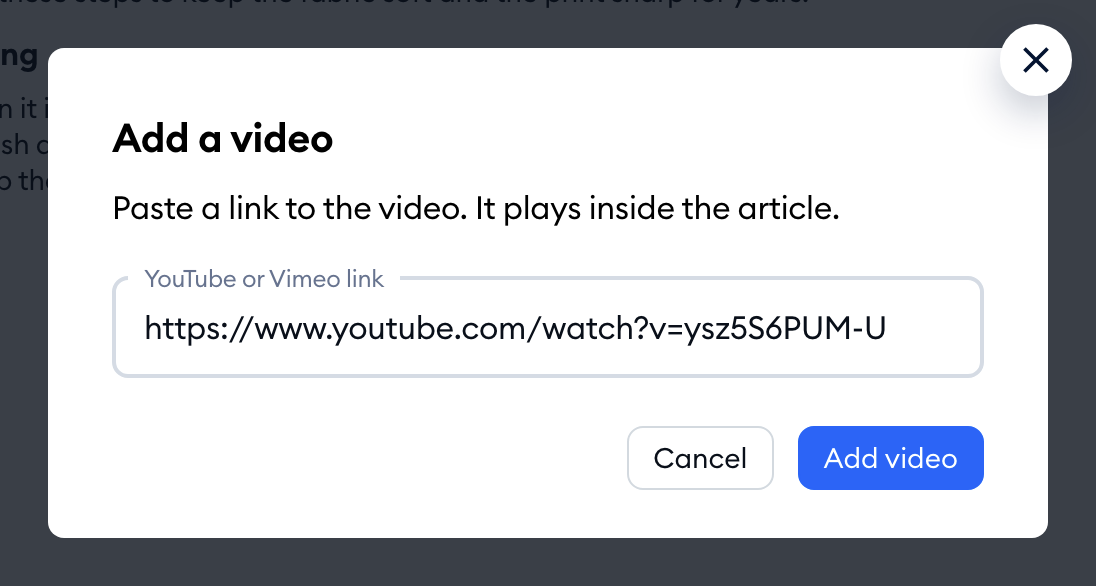
Click on the Video button, paste a link into the YouTube or Vimeo link field, and hit Add video. The video plays right inside the article. Just like images, a selected video can be resized and aligned.
Moving images and videos
Hover over an image or a video, and a Drag to move handle appears on its left - grab it and drop the block wherever you like in the article. Prefer the keyboard? Select the image or video and press Alt+Shift+Up or Alt+Shift+Down.
Tables
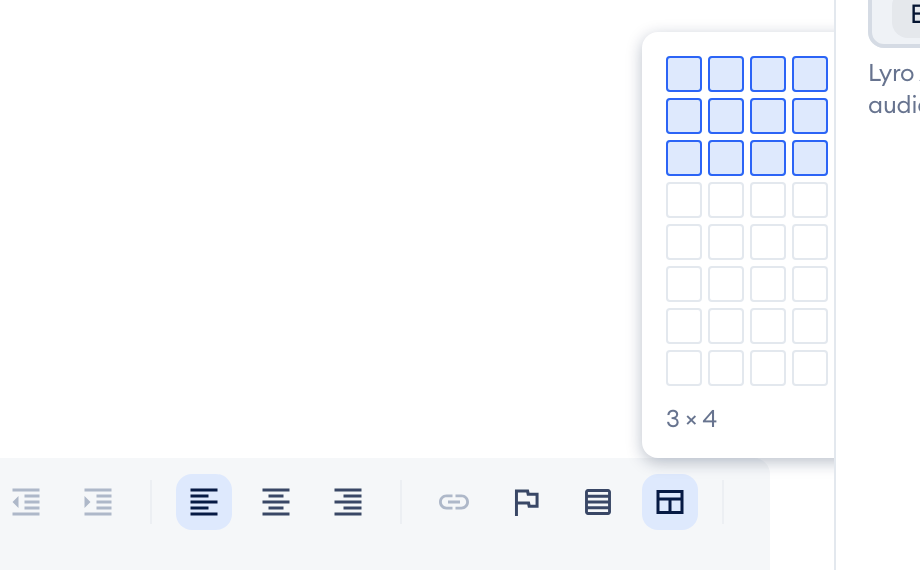
Click on the Insert table button and pick a size from the grid - up to 8 rows and 6 columns. The first row is the table's header row.
Using anchors and a table of contents
Every heading you write gets an anchor automatically - a name that links can point to, made from the heading's text. It stays the same even when you edit the heading later, so links you've already shared keep working.
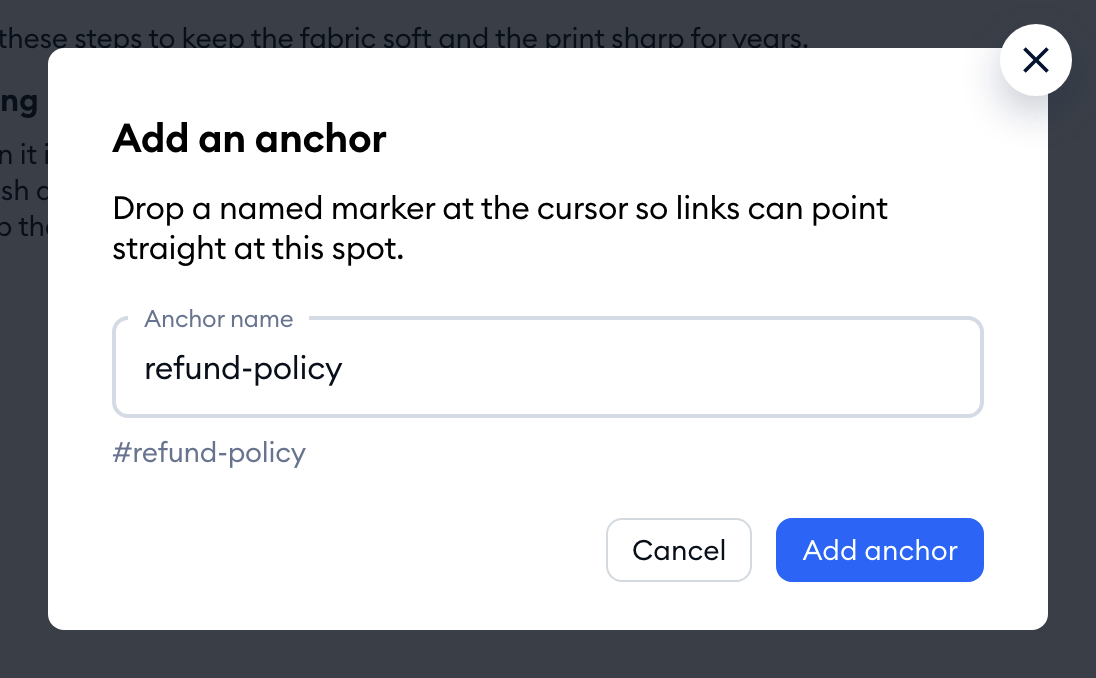
Click on the Anchor button to manage anchors:
- With the cursor in a heading, the Section anchor window lets you rename that heading's anchor. Keep in mind that links already shared with the old name stop working.
- Anywhere else, the Add an anchor window drops a named marker at the cursor. Type an Anchor name and hit Add anchor. The marker shows in the text as a small chip, where you can rename or remove it.
Writing a long article? Put the cursor where you'd like a table of contents - usually at the top - and click on Insert table of contents. Tidio adds a list of links to all your headings, nested by level.
Please note: the table of contents is a snapshot of your headings at the moment you insert it. If you add or rename headings afterwards, delete it and insert it again. The button stays disabled until the article has at least one heading.
Using Markdown shortcuts
If you like typing more than clicking, the editor understands a few Markdown shortcuts. Type them at the start of a line (or around a word, for text styles), and the formatting is applied as you type:
| Type | You get |
|---|---|
# and a space | Heading 1 |
## and a space | Heading 2 |
### and a space | Heading 3 |
-, * or + and a space | Bullet list |
1. and a space | Numbered list |
``` and Enter | Code block |
`code` | Inline code |
**bold** or __bold__ | Bold |
*italic* or _italic_ | Italic |
***both*** | Bold and italic |
Saving your article
Once your article has a title and some content, hit the Save draft button in the top-right. You'll see the "Article created successfully." message, and the article appears in your list with the Draft tag. Drafts are never shown to your customers.

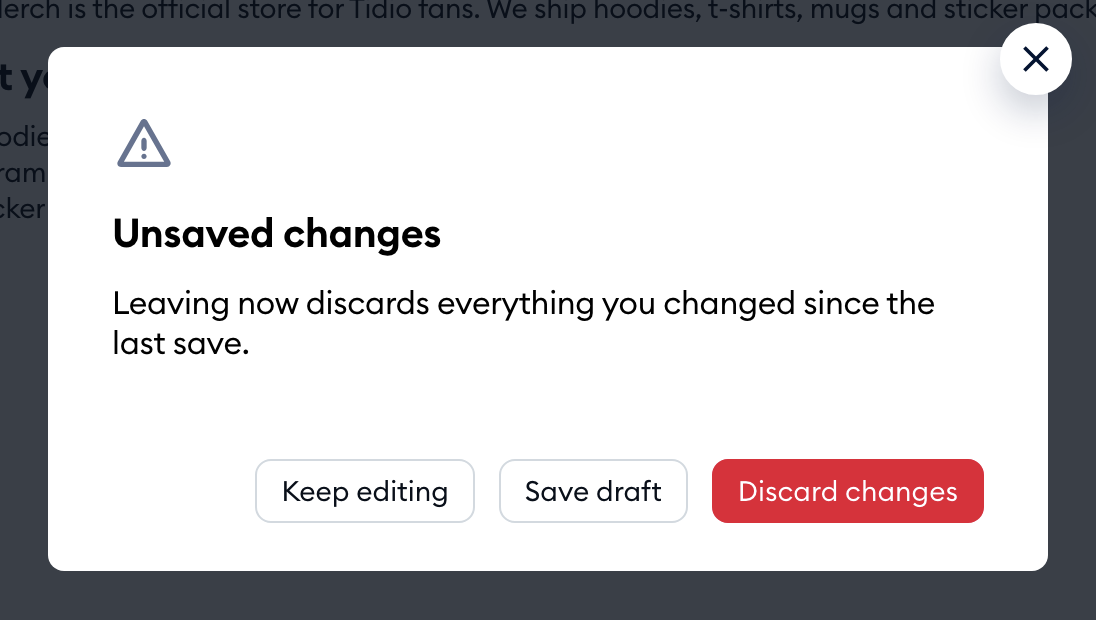
If you close the panel (or press Esc) with changes you haven't saved, Tidio asks first. In the Unsaved changes window, you can Keep editing, Discard changes, or - when the article has a title and content - Save draft:
After the first save, the sidebar's Data section shows when the article was created, when it was last edited and published, and by whom (Edited by, Published by). The Author column of the article list shows the teammate behind the version you're looking at - there's no separate author field to fill in.
Please note: very long articles can't be saved - you'll see "This article is too long to save. Split it into shorter articles." Writing articles also needs the Help center content permission set to Able to edit. Teammates who are Able to view can open articles, but not change them.
