If you're looking for a way to manage your Tidio invoices, change the card you'd like to use for your subscription, or modify any available billing details - you can do all that in your project's Billing section.
In this article, you will learn:
- How to find your invoice and billing details
- How to change your invoicing details
- How to change your card details
- How to edit your US residency information
- How to download invoices
Navigating the Billing section
To view and manage your Tidio billing information, head over to the Settings > Project > Billing section:
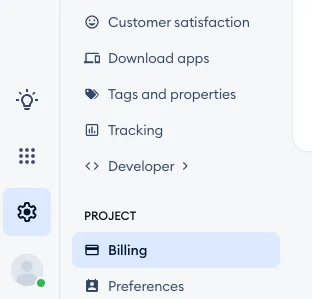
Inside, you will find two tabs, each responsible for different aspects of your subscription. The one you need for invoices and related information is the Billing details tab.

Please note: if you pay for Tidio through Shopify, you won't see the Billing details tab. Also, Billing is only available to the project owner and agents with the Billing permission (see Permissions).
In the Billing details tab you will find your current invoice and card details, your US residency information (if applicable), as well as your invoices available for download:
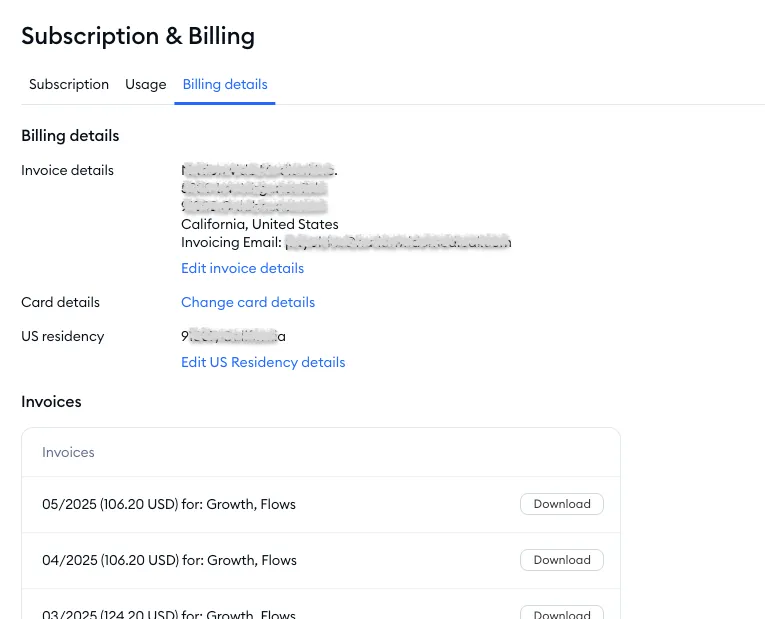
Naturally, you can modify the available information here as well, e.g. if you'd like to change the card you've been using so far, or update your business' invoicing information.
Editing invoice details
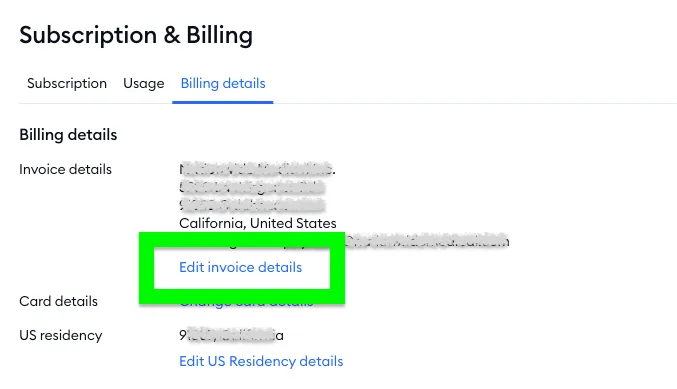
If you want to modify any of your invoicing details, click on the Edit invoice details link (it says Add invoice details if you haven't added any yet). You can also add the invoicing email if you'd like to have your invoices sent to a particular mailbox.
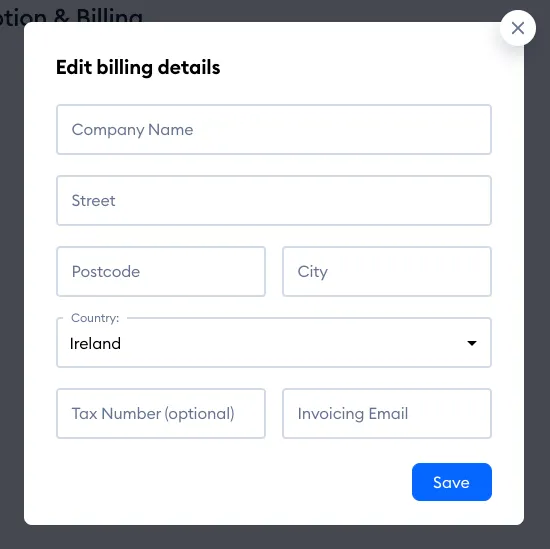
In the Edit billing details window that pops up, you'll be able to review and modify your details: Company Name, Street, Postcode, City, Country (and State, for the United States), Tax Number (optional) and Invoicing Email. Hit Save when you're done:
Editing card details
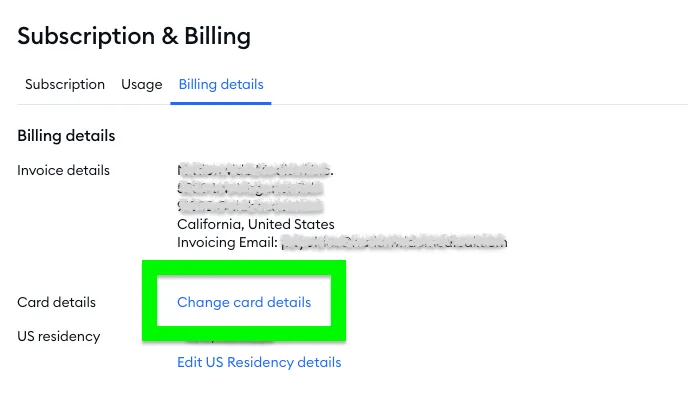
After clicking on the Change card details link, you'll be able to update your card information. You'll see this link (and the US residency details below) while you have a paid subscription.
The Edit card details window shows your Currently used card. Fill in your new card data below it and hit Save; the card details will be updated, and the next billing will be charged through the new card.
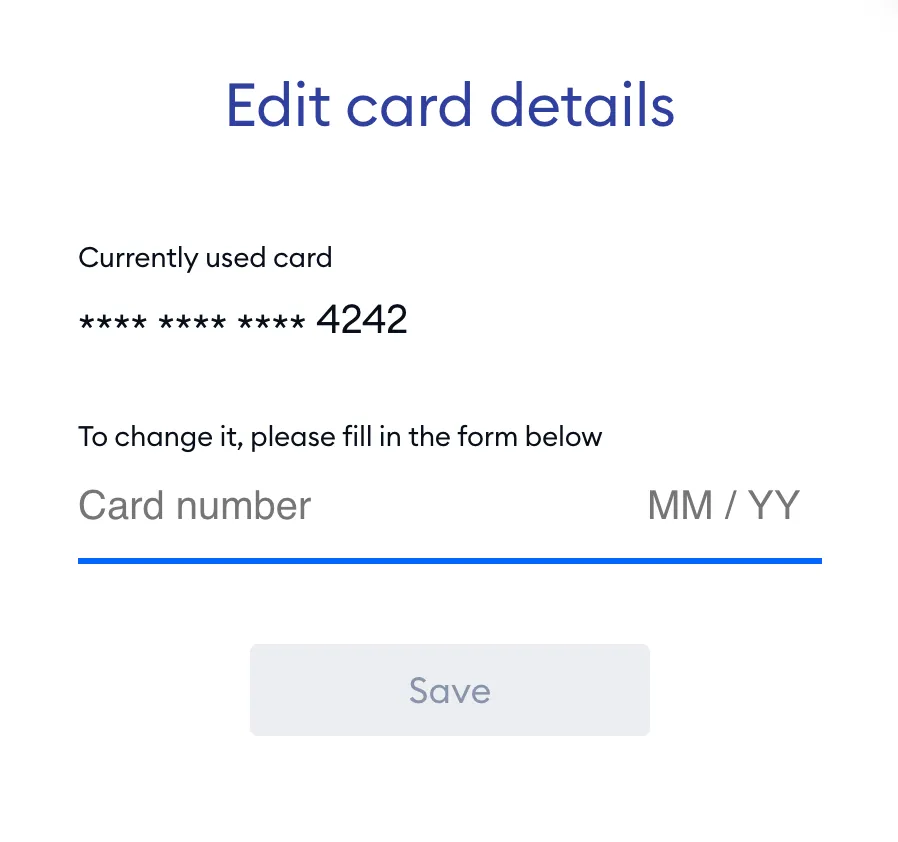
Please note: if you're having trouble with paying for your active subscription, you can put your current card details in here once again. This can help in some cases, as a new charge attempt will be made immediately upon providing the card details, even if it's the same card as before.
Editing US residency details
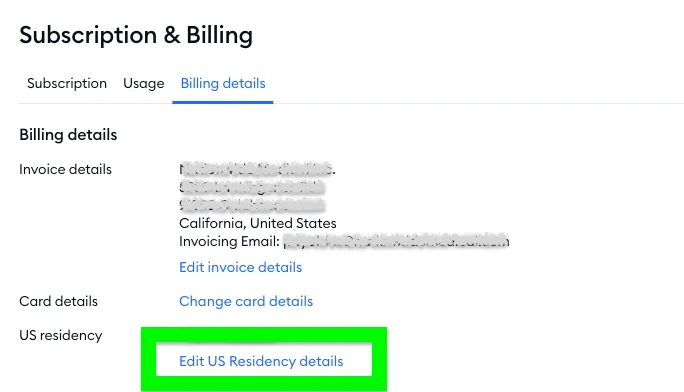
By clicking on the Edit US Residency details link, you can add your US tax residency data (state and zip code), if necessary.
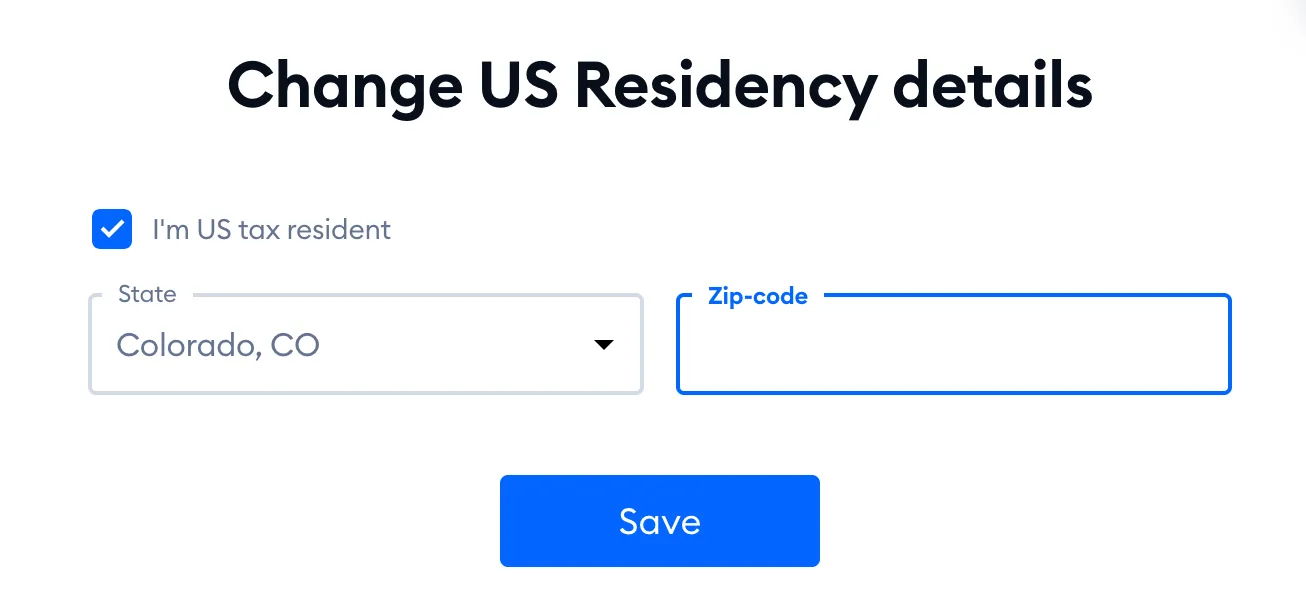
In the Change US Residency details window that pops up, tick I'm a US tax resident, choose your State, fill in your Zip-code, and hit Save:
Downloading invoices
At the bottom of the Billing details tab, you'll see the Invoices list - all your invoices so far, newest first. Each invoice's name gives you its basic information (such as the date, amount charged, and the packages that were purchased). You will also be able to download each invoice individually, as a PDF file - just click on the Download button next to it.
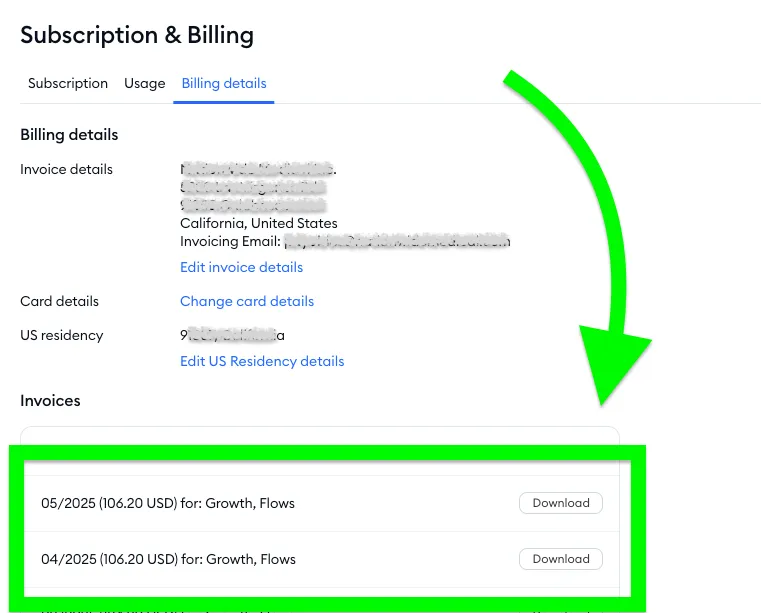
Give it a moment - once the invoice is ready, you'll see the Download your invoice window. Click on Your invoice is ready, click here to open it to open your invoice:
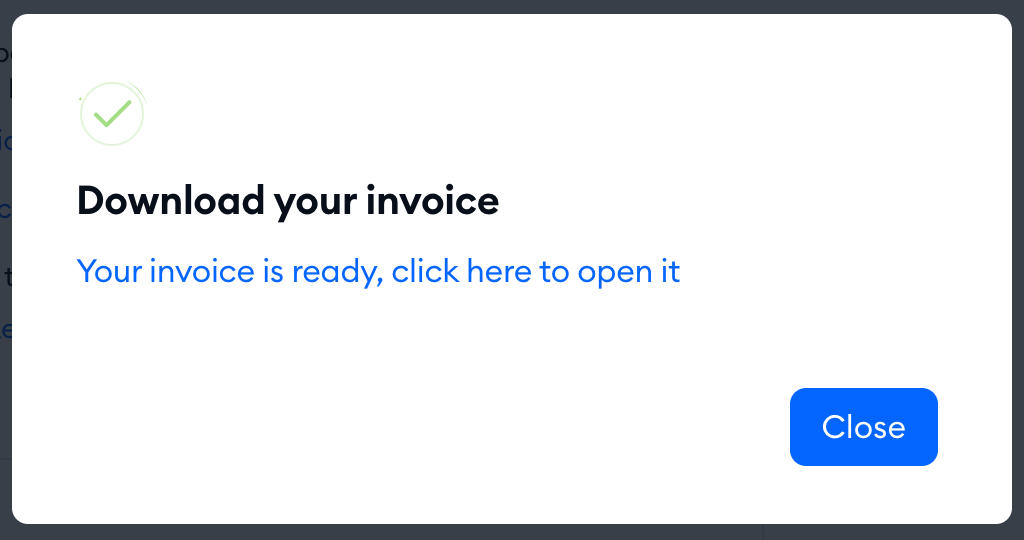
Please note: an invoice needs your company details. If you haven't added them yet, you'll see Sorry, it looks like we don't have your billing details yet. Please fill in the company details first. - and the Edit billing details window opens, so you can fill them in and try again. No invoices yet? The list says You have no invoices.
Further reading
