Integrating Tidio with your Zoho CRM account is an efficient way to streamline your workflow, keep track of Tidio conversations, and ensure your customer information is always up-to-date.
In this article, you'll learn:
- How to integrate Tidio with Zoho CRM
- How adding and updating contacts in Zoho CRM works
- How sending chat transcripts from Tidio to Zoho CRM works
How to integrate Tidio with Zoho CRM
Open your Tidio admin panel and navigate to the Integrations section in the left sidebar. Then, click on the Zoho tile.
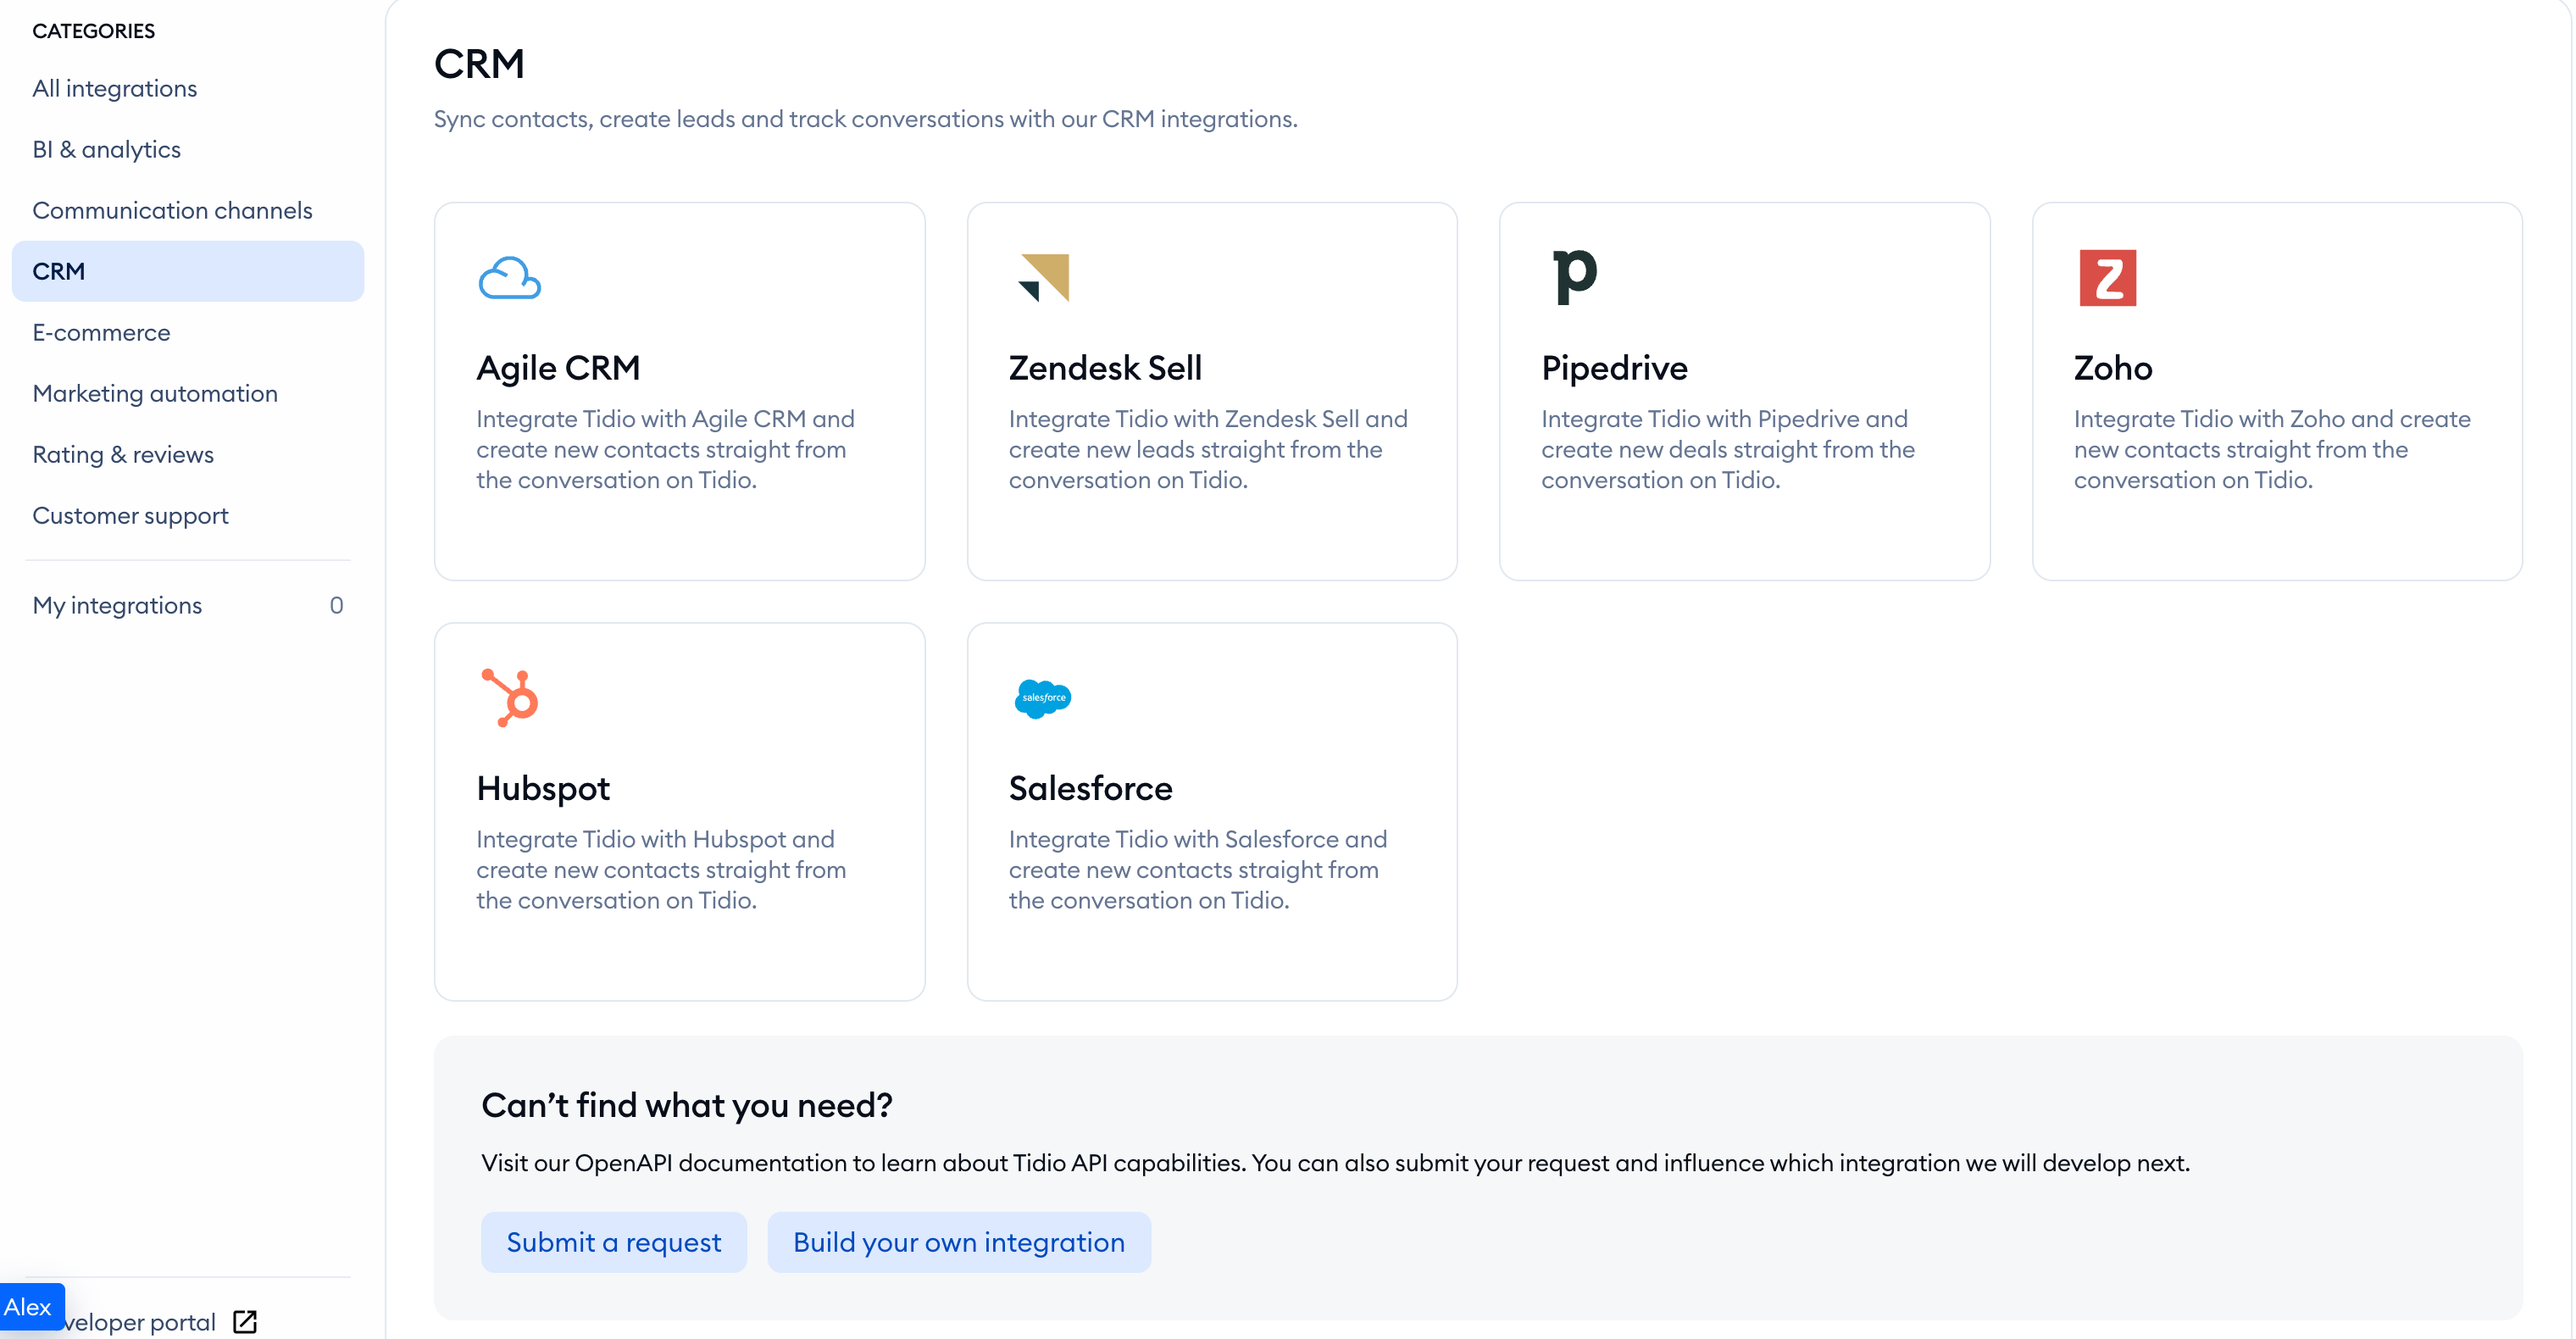
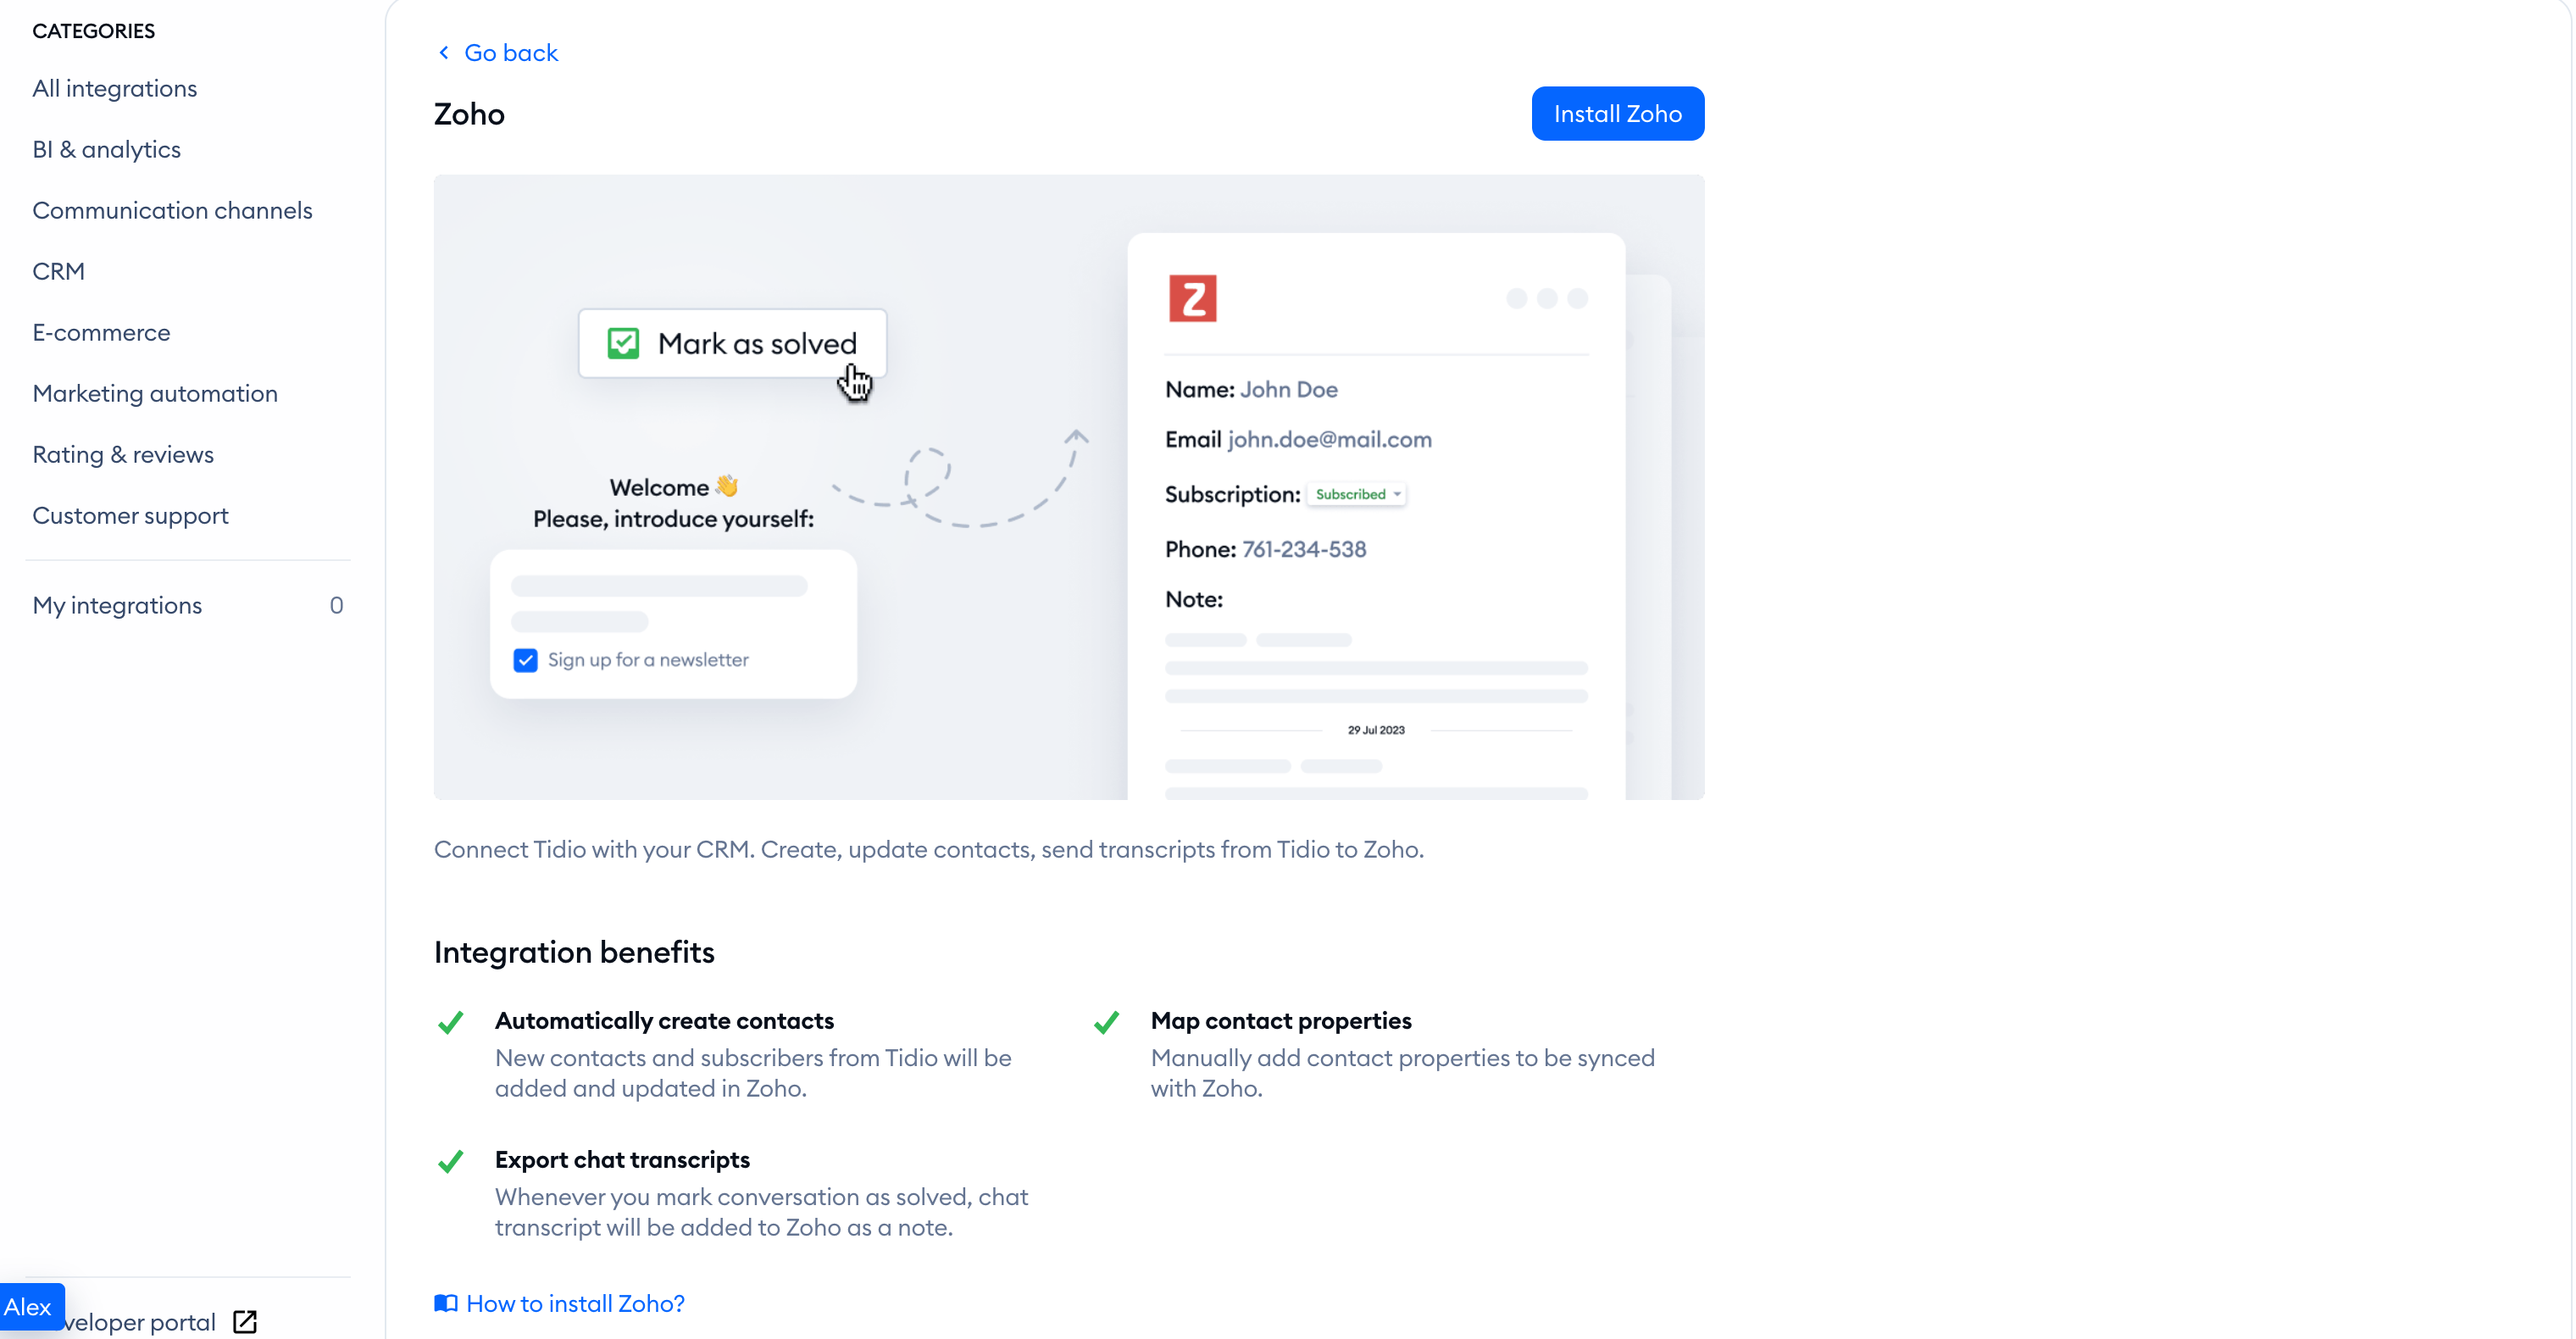
You'll see a window with a summary of all integration benefits. To proceed, click on the blue Install Zoho button.
Now you need to create a new connection. To do so, select New Authentication.
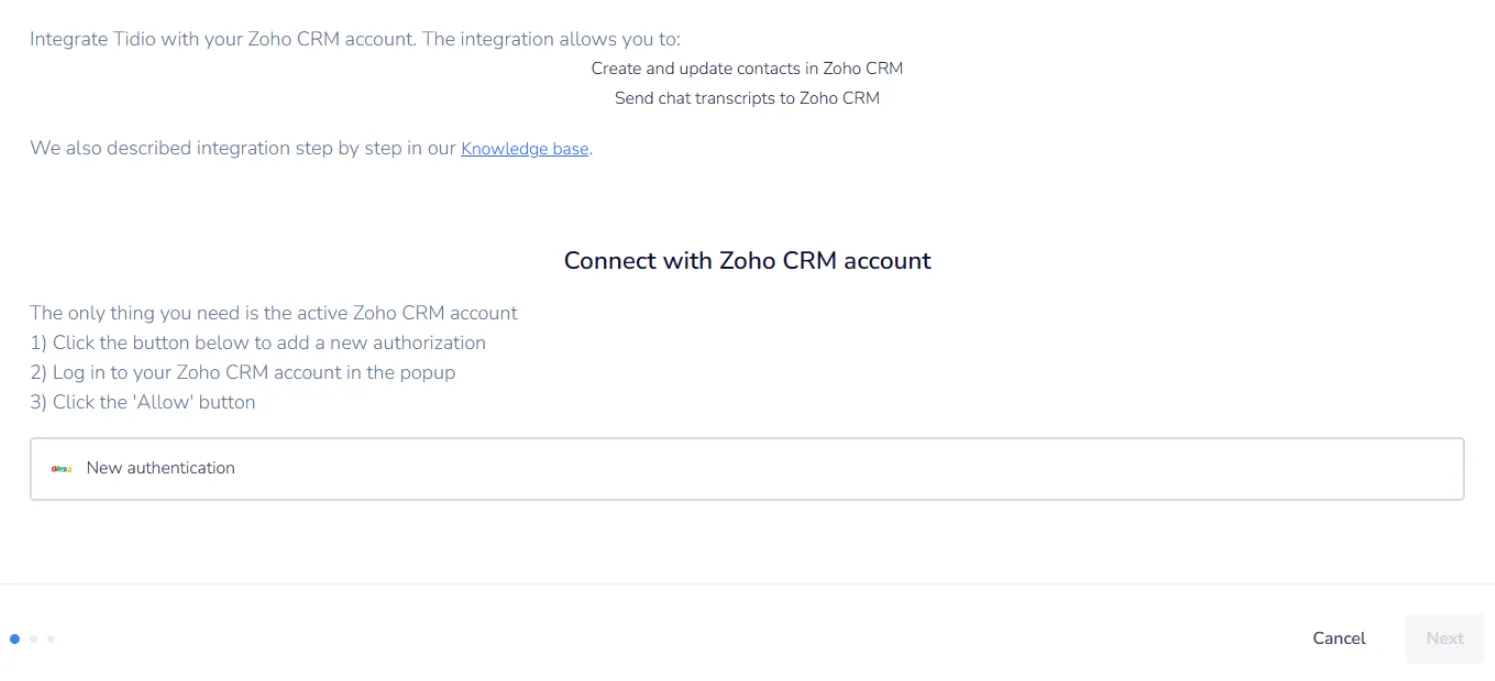
Please make sure to authenticate the connection and give Tidio access to the requested modules and data.
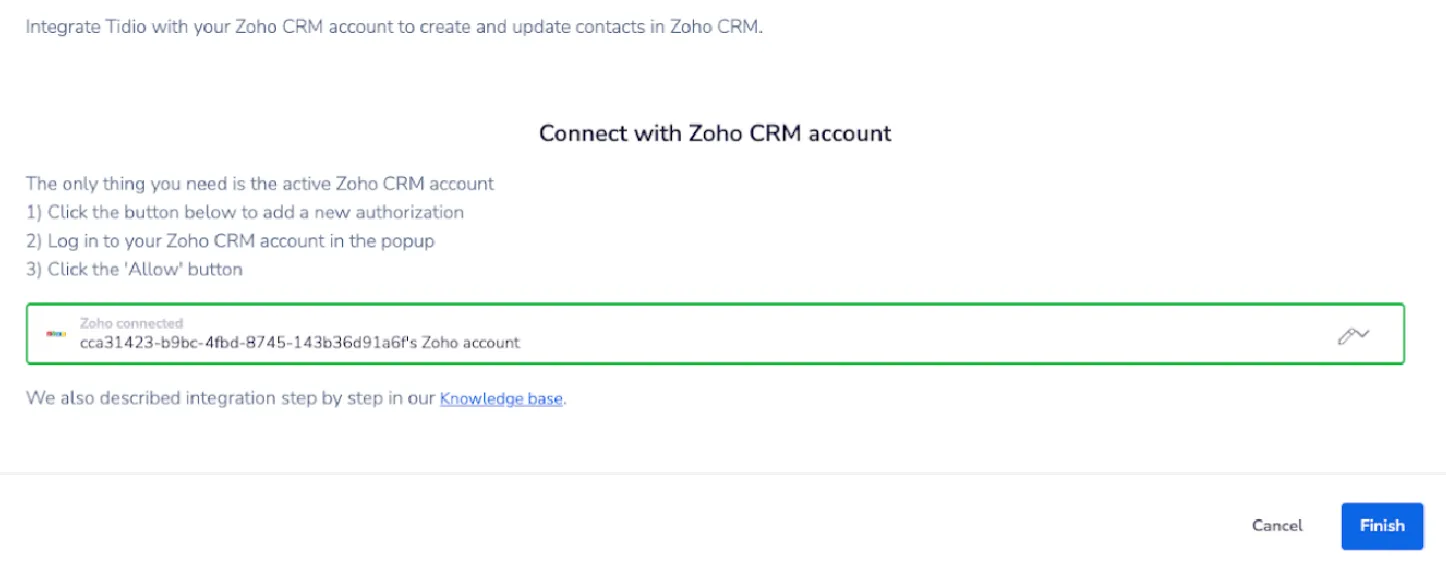
You are all set. From now on, every subscriber created or updated in Tidio will be created or updated in Zoho CRM.
How adding and updating contacts in Zoho CRM works
Whenever a new subscriber is created or updated in Tidio, we will send it to your Zoho CRM account. If a contact with a given email address is not found, we will create one.
If a contact already exists in your Zoho CRM account, then we will update it with data in Tidio.
You can also map custom contact properties to fields in Zoho CRM.
The default contact properties include:
- email address
- first and last name
- phone number
- email subscription status
In case of a contact update, If we do not have a value for a property, then it will overwrite the value in Zoho CRM.
You can create or update contacts in Tidio in several ways:
- Through pre-chat survey
- Using flows to collect contact information
- Changing it manually during a conversation
Every change will be reflected in Zoho CRM automatically.
How sending chat transcripts from Tidio to Zoho CRM works
Every time you mark a conversation with a visitor as solved, we will send a chat transcript to your Zoho CRM account. That way, you can keep track of all your conversations.
There are two ways to send chat transcripts to Zoho CRM:
- By pressing the Solve button when you finish talking with a visitor
- By enabling the automatic solving in the Workflows section of Settings
The chat transcript is assigned to a contact in Zoho. If there's no such contact, then new contact will be created. You'll see the transcript added as a note.
How to mark a conversation as solved
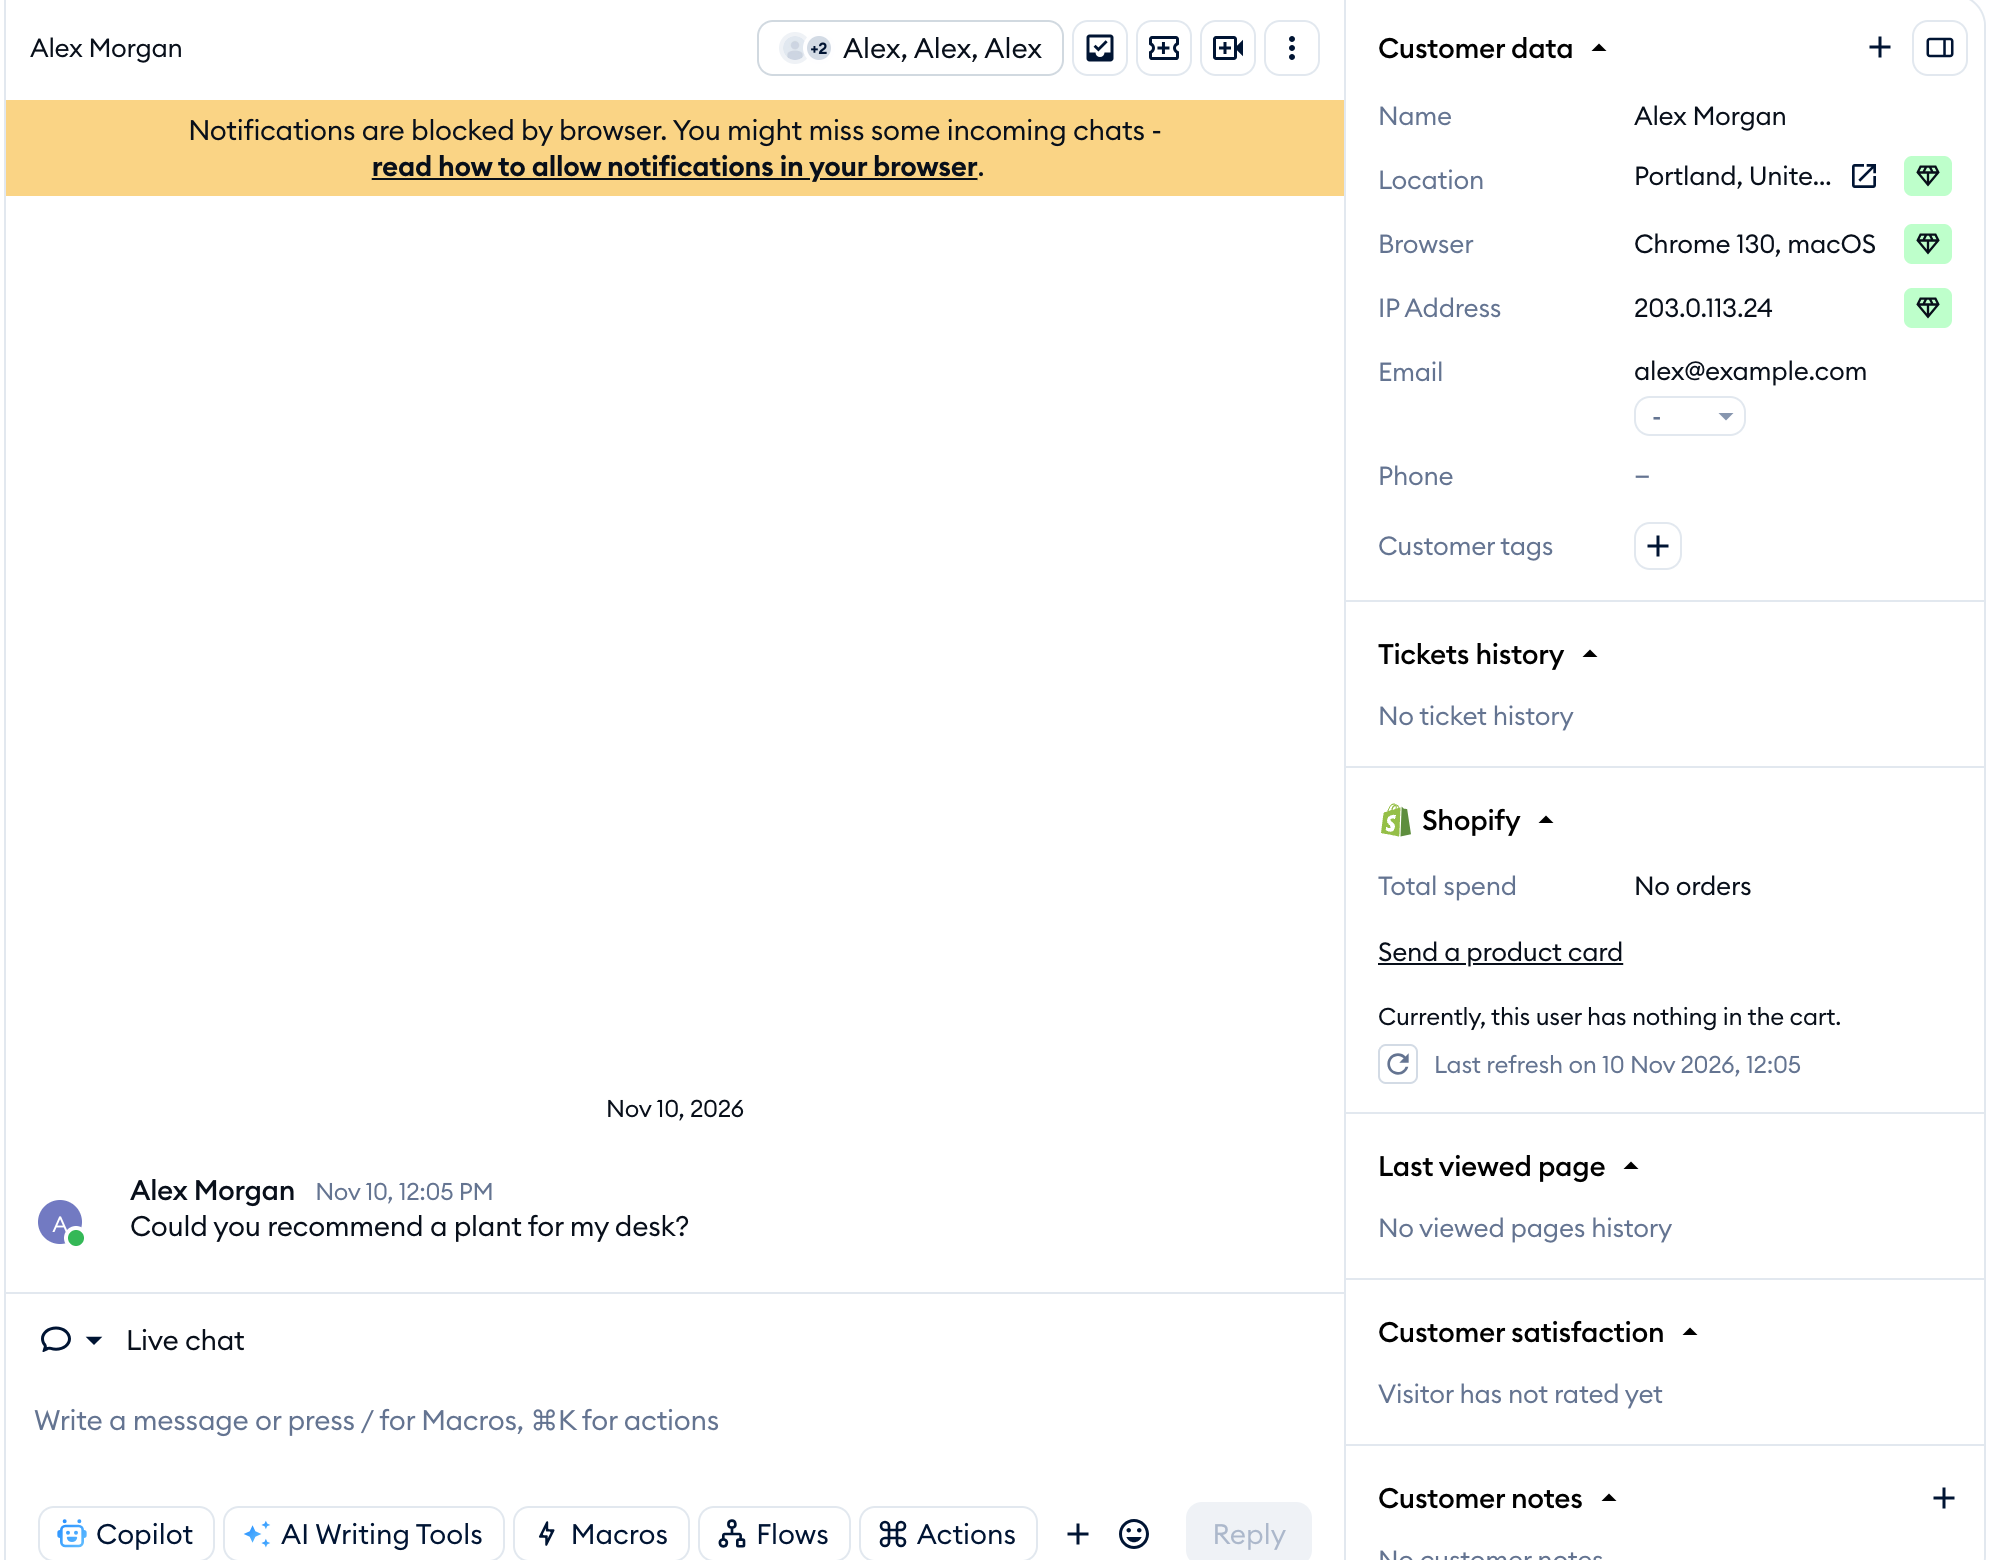
To solve a conversation, click on the Solve button in the conversation header in the Inbox.
How to enable the auto-solve feature
The option is available inside the Workflows section. You can access it by navigating to Settings > Workflows in your Tidio project:
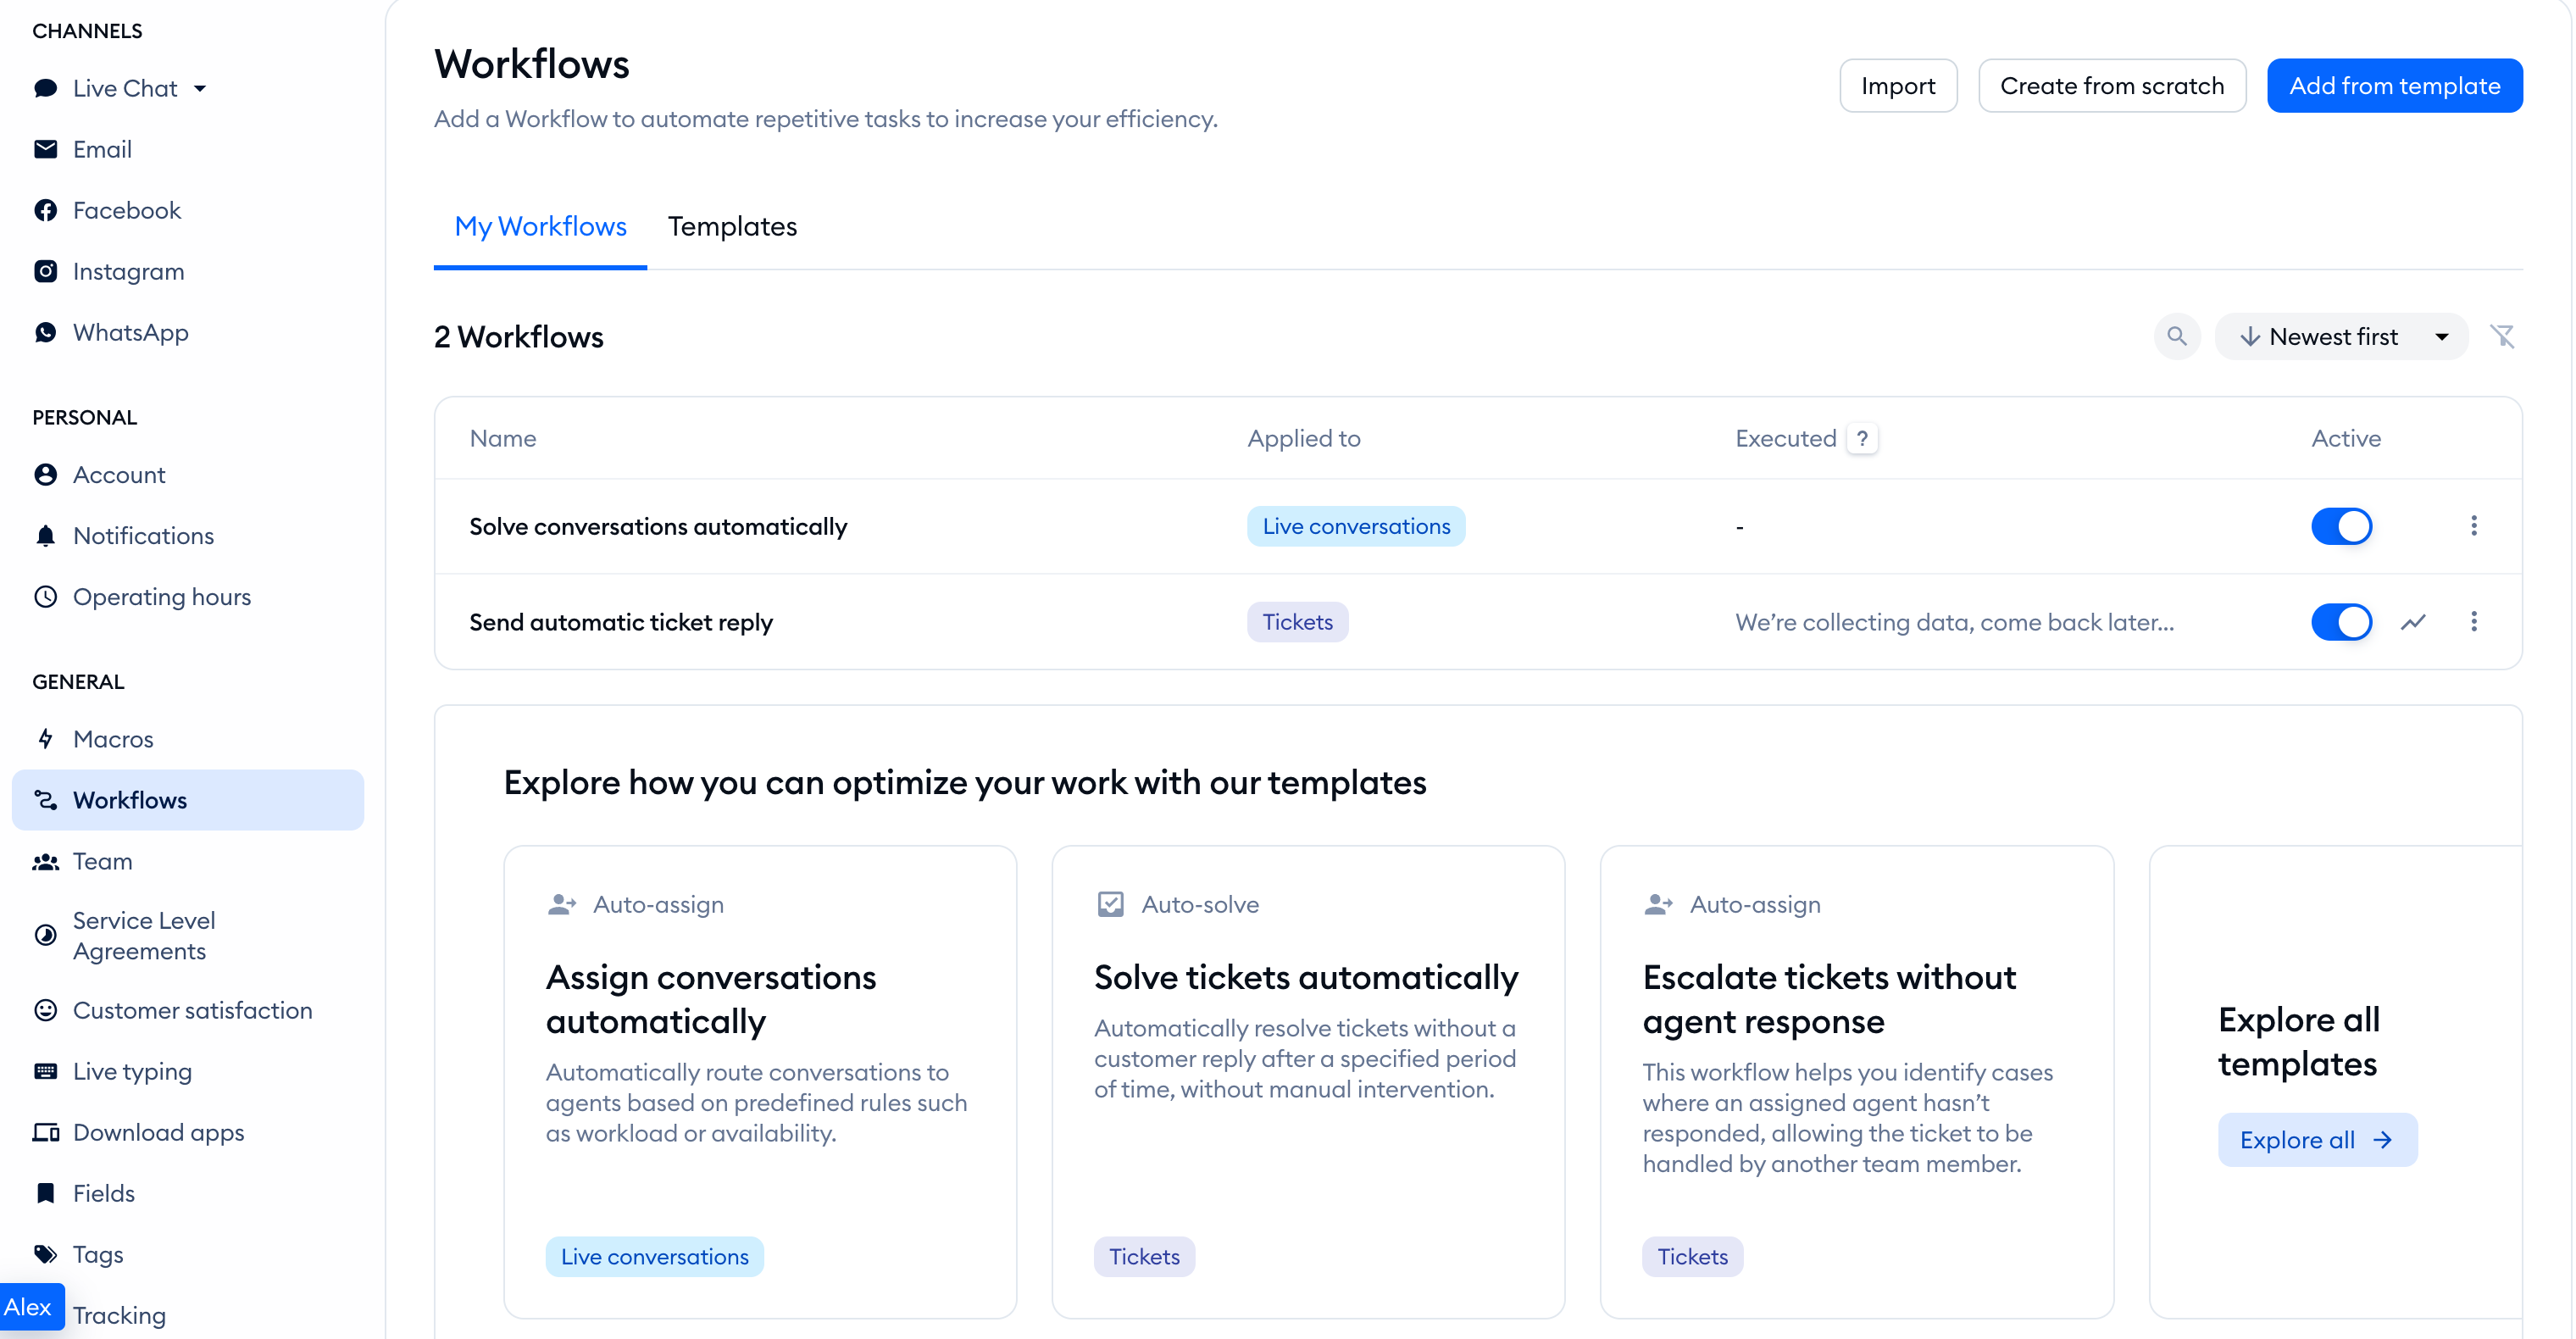
Please note: Workflows are available on the Growth plan and above. You can also use Solve manually without setting up a workflow.
Inside, you will find two main tabs: My Workflows and Templates. This is where you manage all your workflows in general - see a list of your added workflows, create new ones, or browse the available templates.
To enable automatic solving (for conversations and/or tickets), you will need to access the Templates tab:
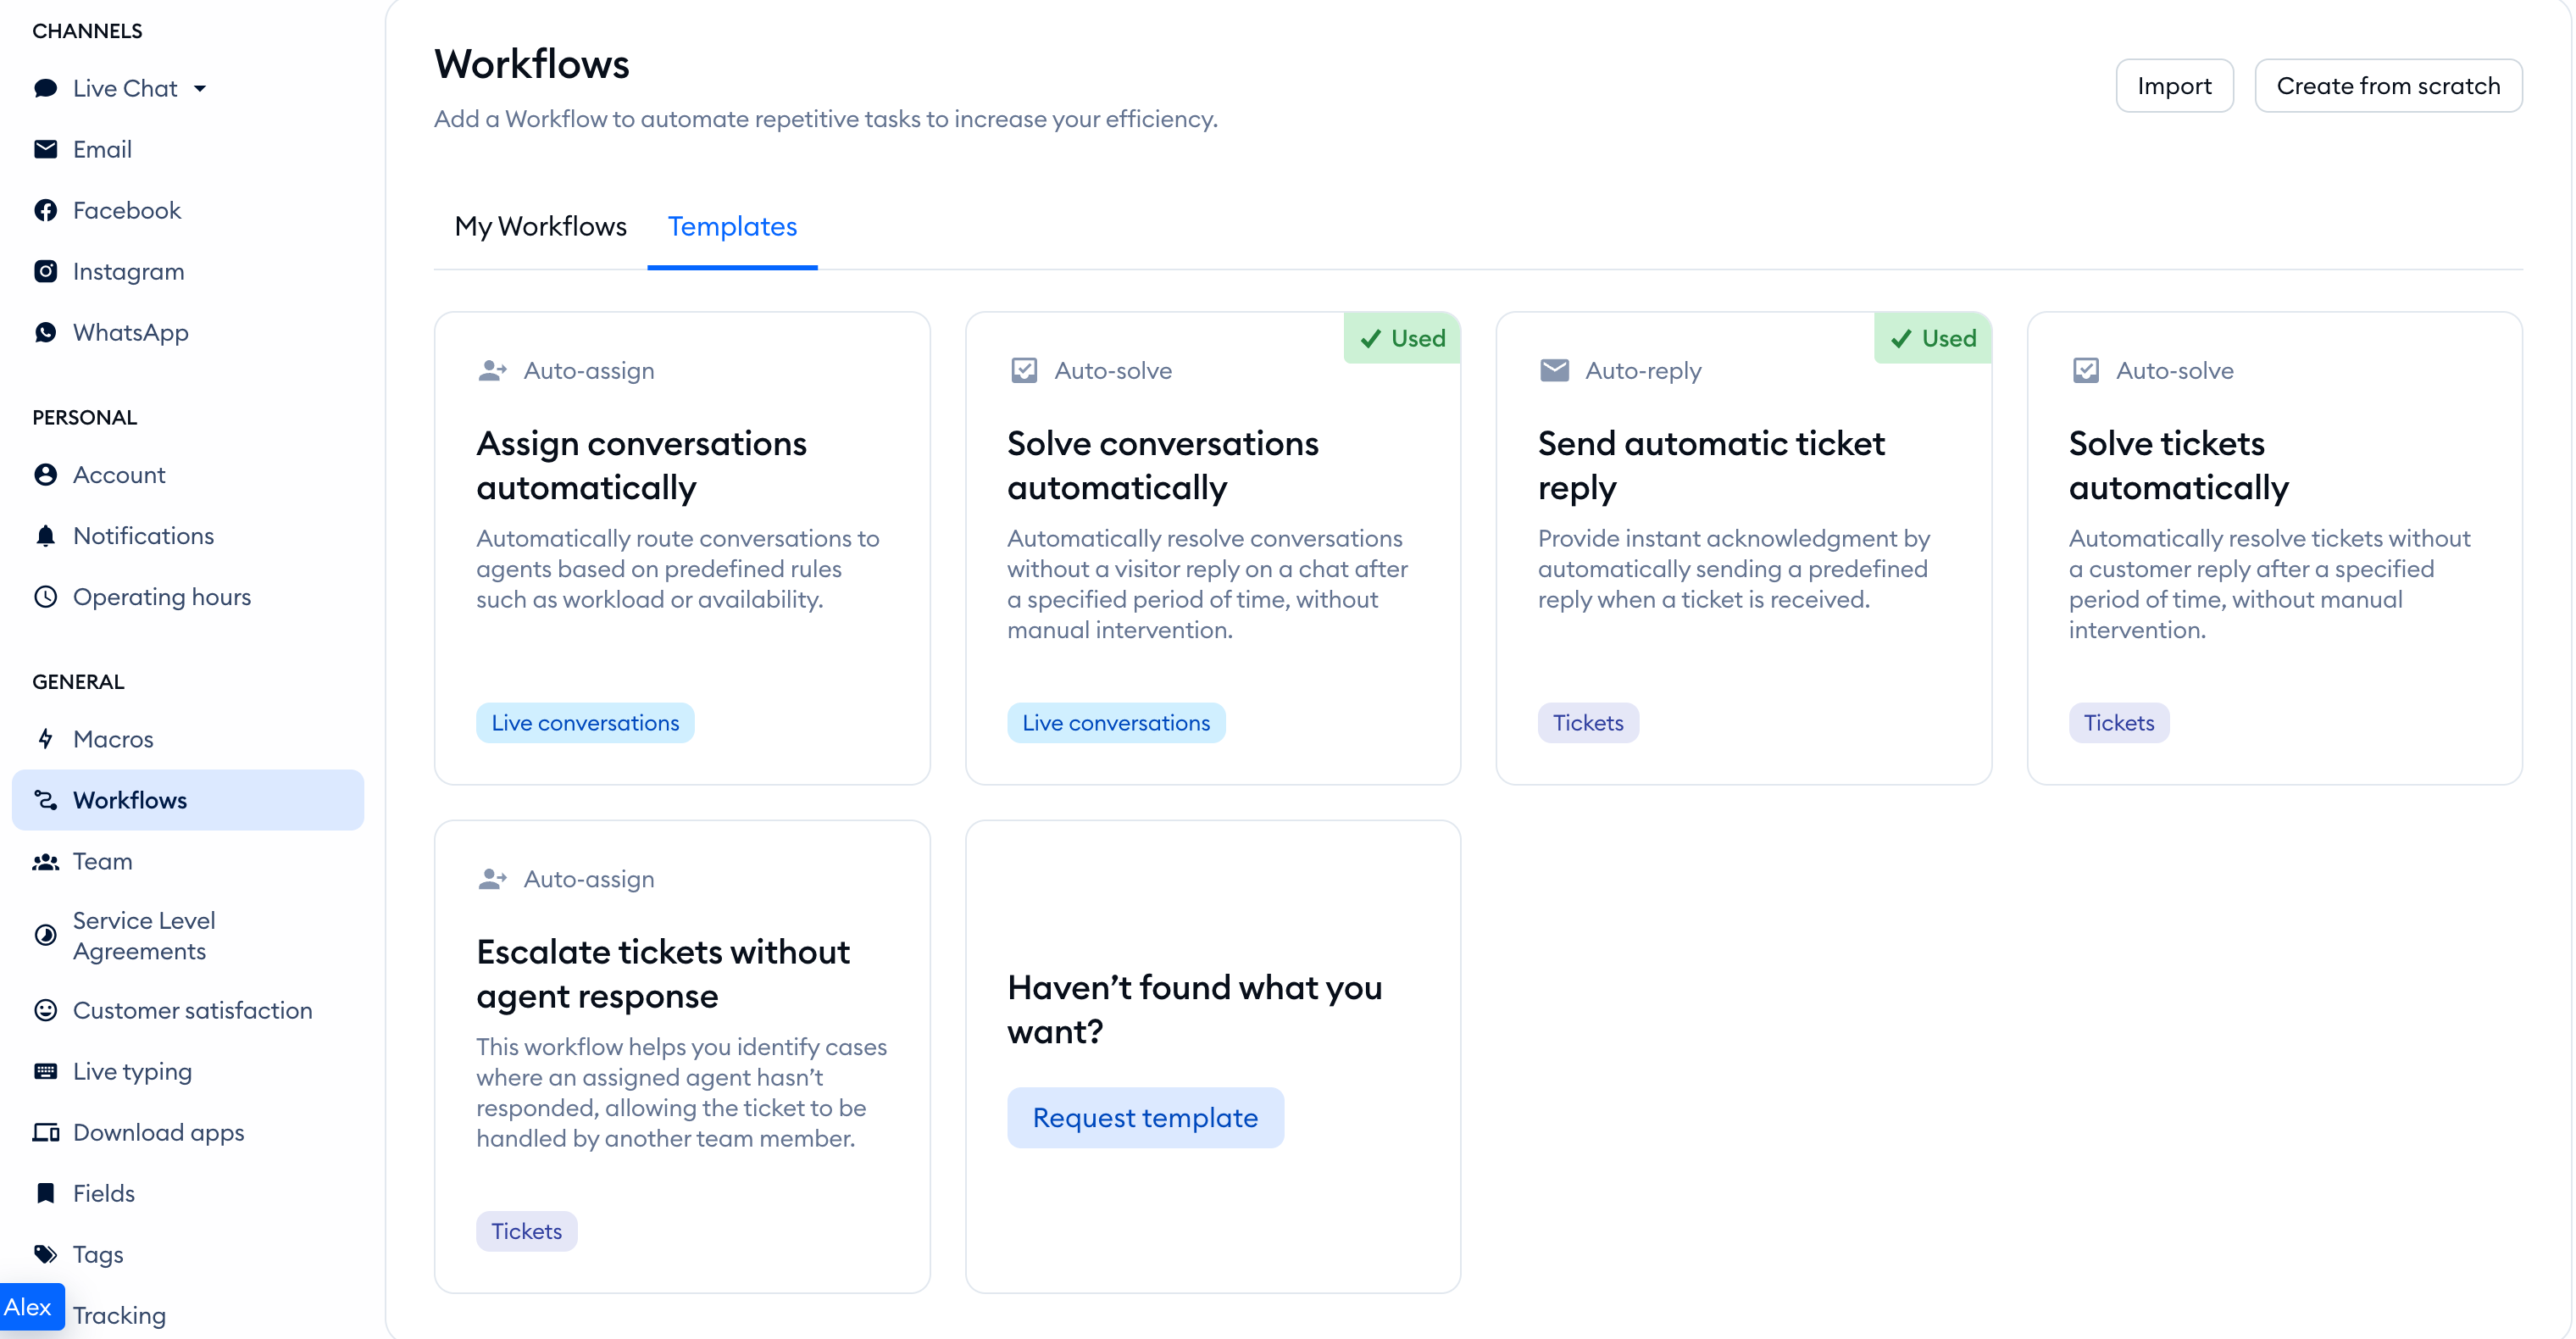
For the rest of the instructions, please see this dedicated guide on automatic solving.
