Integrating Tidio with Zapier lets you send data collected by your flows to other applications. This guide shows you how to connect a flow to Zapier and use Mailchimp as an example destination.
In this article, you'll learn:
When to use Zapier with Tidio
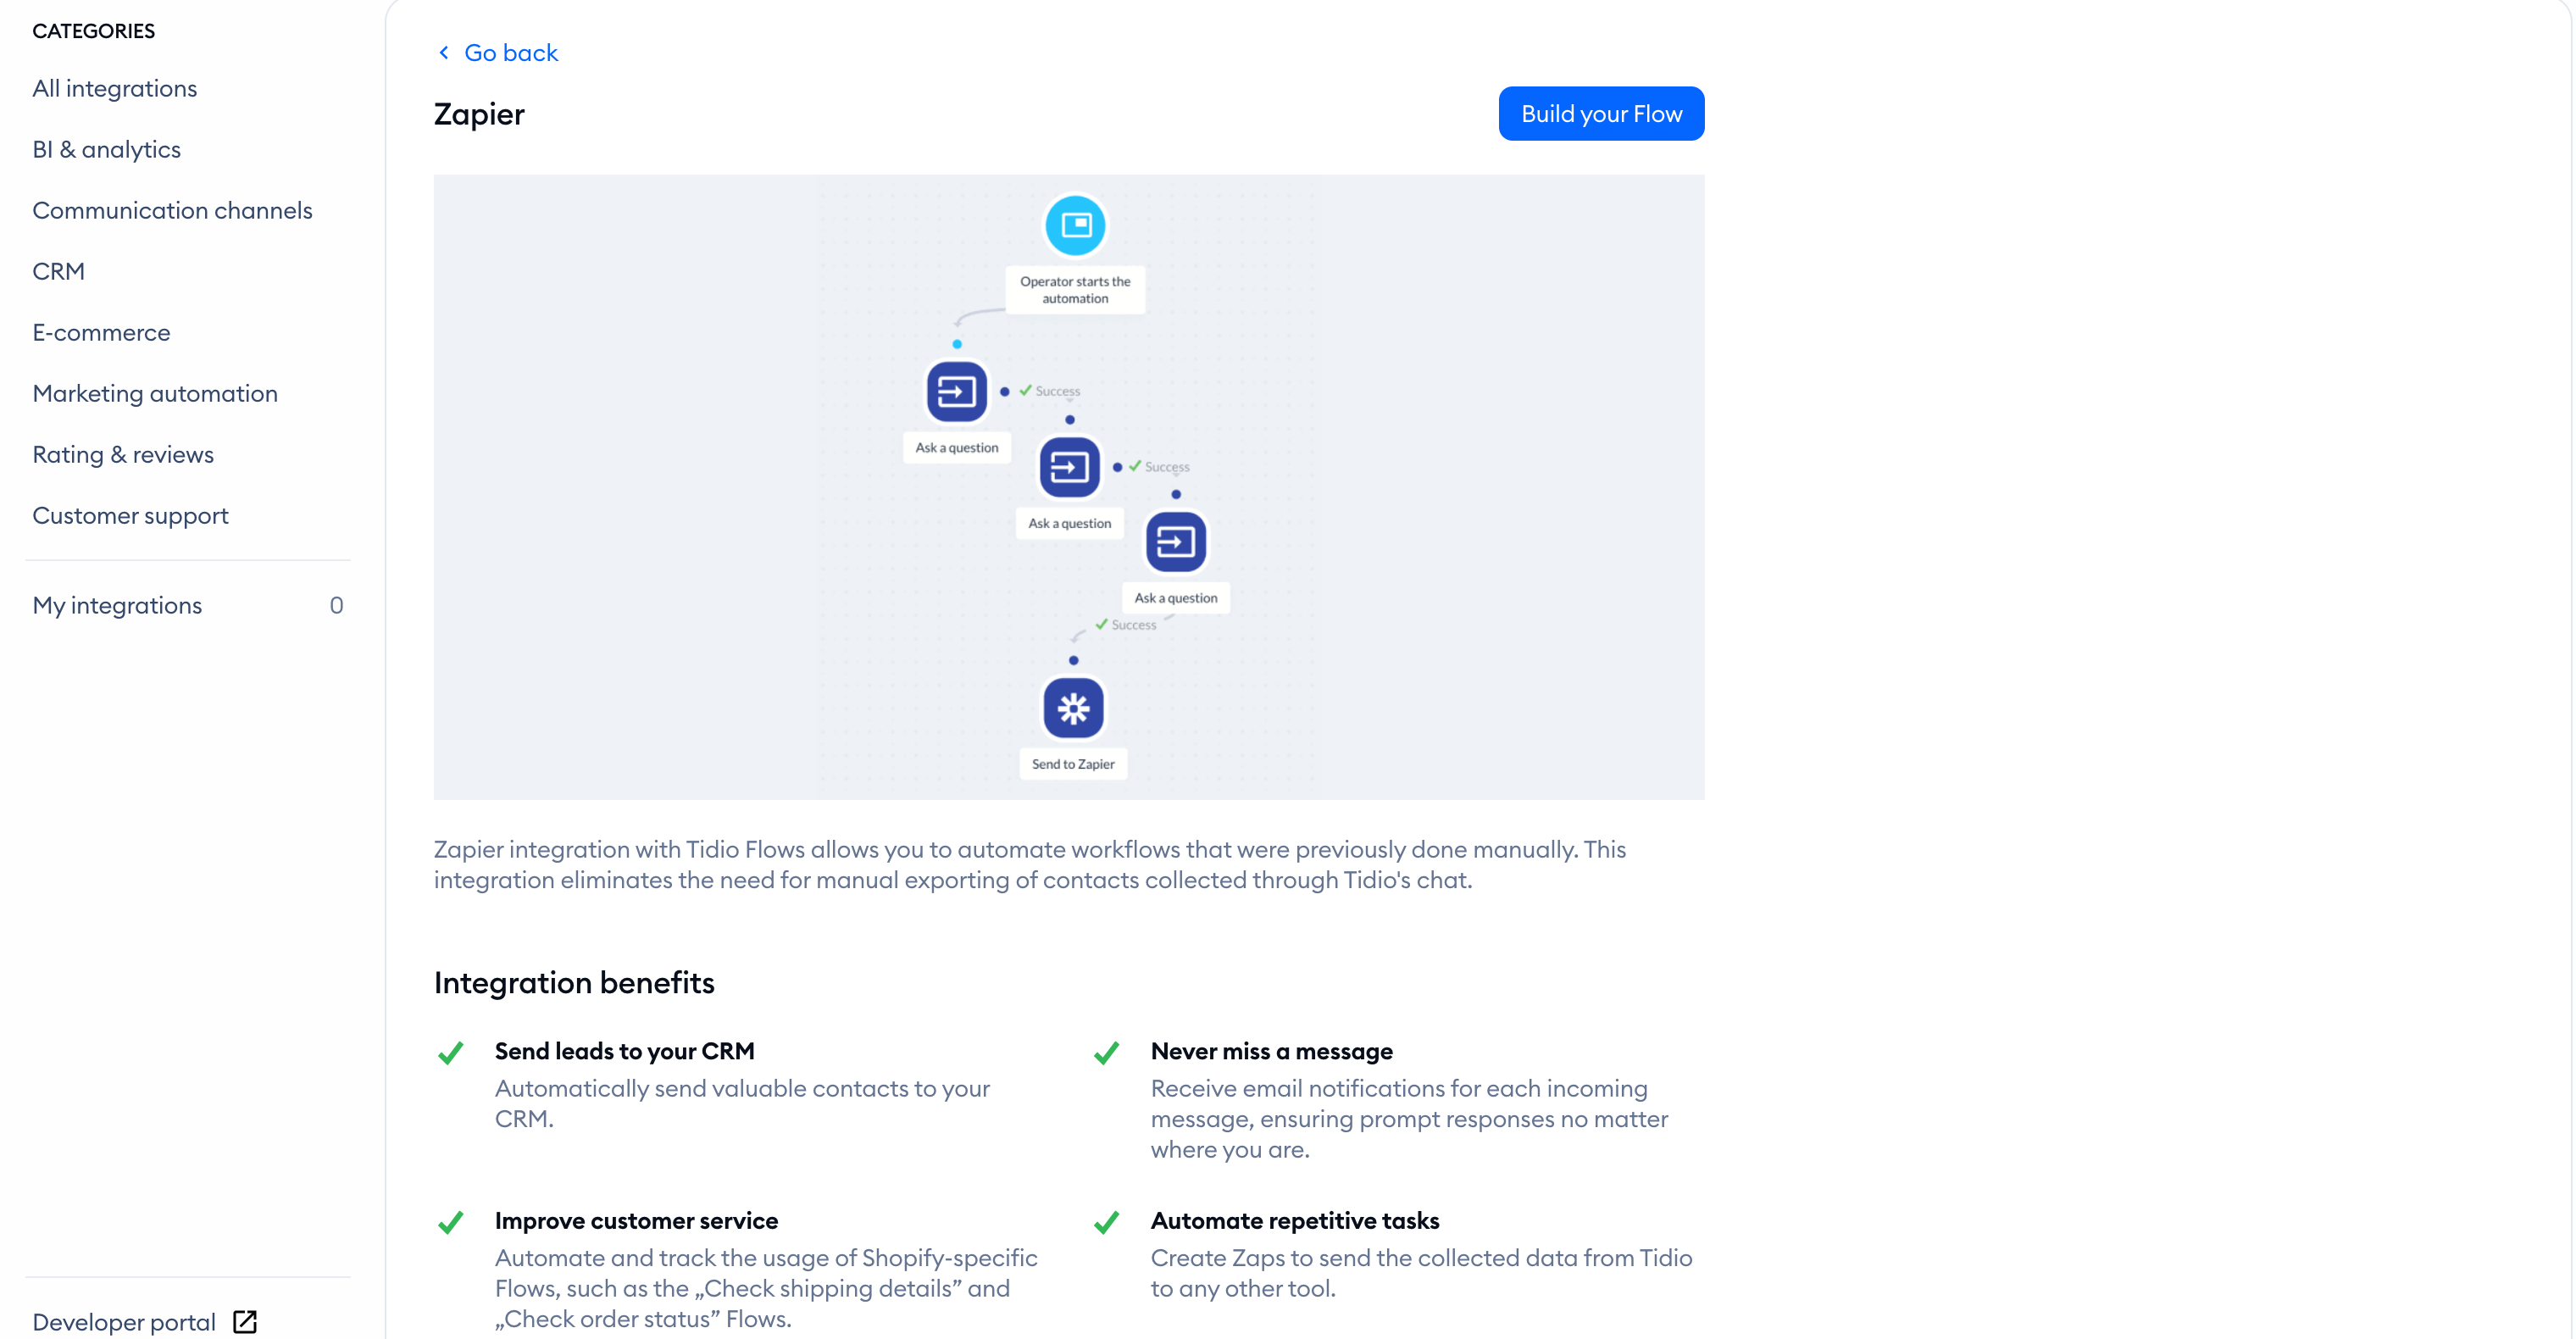
The Zapier integration within Tidio's flow editor allows you to automate repetitive tasks. By creating connections called Zaps, you can automate workflows that were previously done manually. This integration eliminates the need for manual exporting of contacts collected through Tidio's chat.
See our examples of the Zapier integration with Tidio:
Send leads to your CRMs
Automatically send valuable contacts to your CRM, regardless of whether it is integrated internally in Tidio. With the wide range of CRMs available in Zapier, you can send contacts and leads to any CRM supported by the platform.
Set email notifications from a flow
Use the Send to Zapier action in a flow to trigger an email notification through Zapier when the flow reaches that action.
Improve customer service in your Shopify store
Leverage the Tidio integration with Zapier to automate and track the usage of Shopify-specific flows, such as flows using Check shipping details and Check order status. Gain valuable insights into your business by analyzing customer inquiries and locations.
A flow using Check shipping details is an excellent indicator of where your potential users are. Keep track of the locations you receive a lot of questions about, and consider offering your delivery right there. Set up a Zap first, then add the Send to Zapier action to the flow so that reaching the action sends the collected information to your chosen destination.
Check order status, however, is an excellent way to see if you offer fast enough shipping. If you receive a lot of questions about the order status, you should work on how quickly your products are delivered to your customers. Just add a Send to Zapier action to your flow, and from there, analyze the number of inquiries in the tool of your choice connected with Zapier.
How to set up the integration with Zapier
In this example, we will show you how to set up an integration between Tidio and Zapier and connect it with Mailchimp. You can, of course, choose a different app or CRM to connect with.
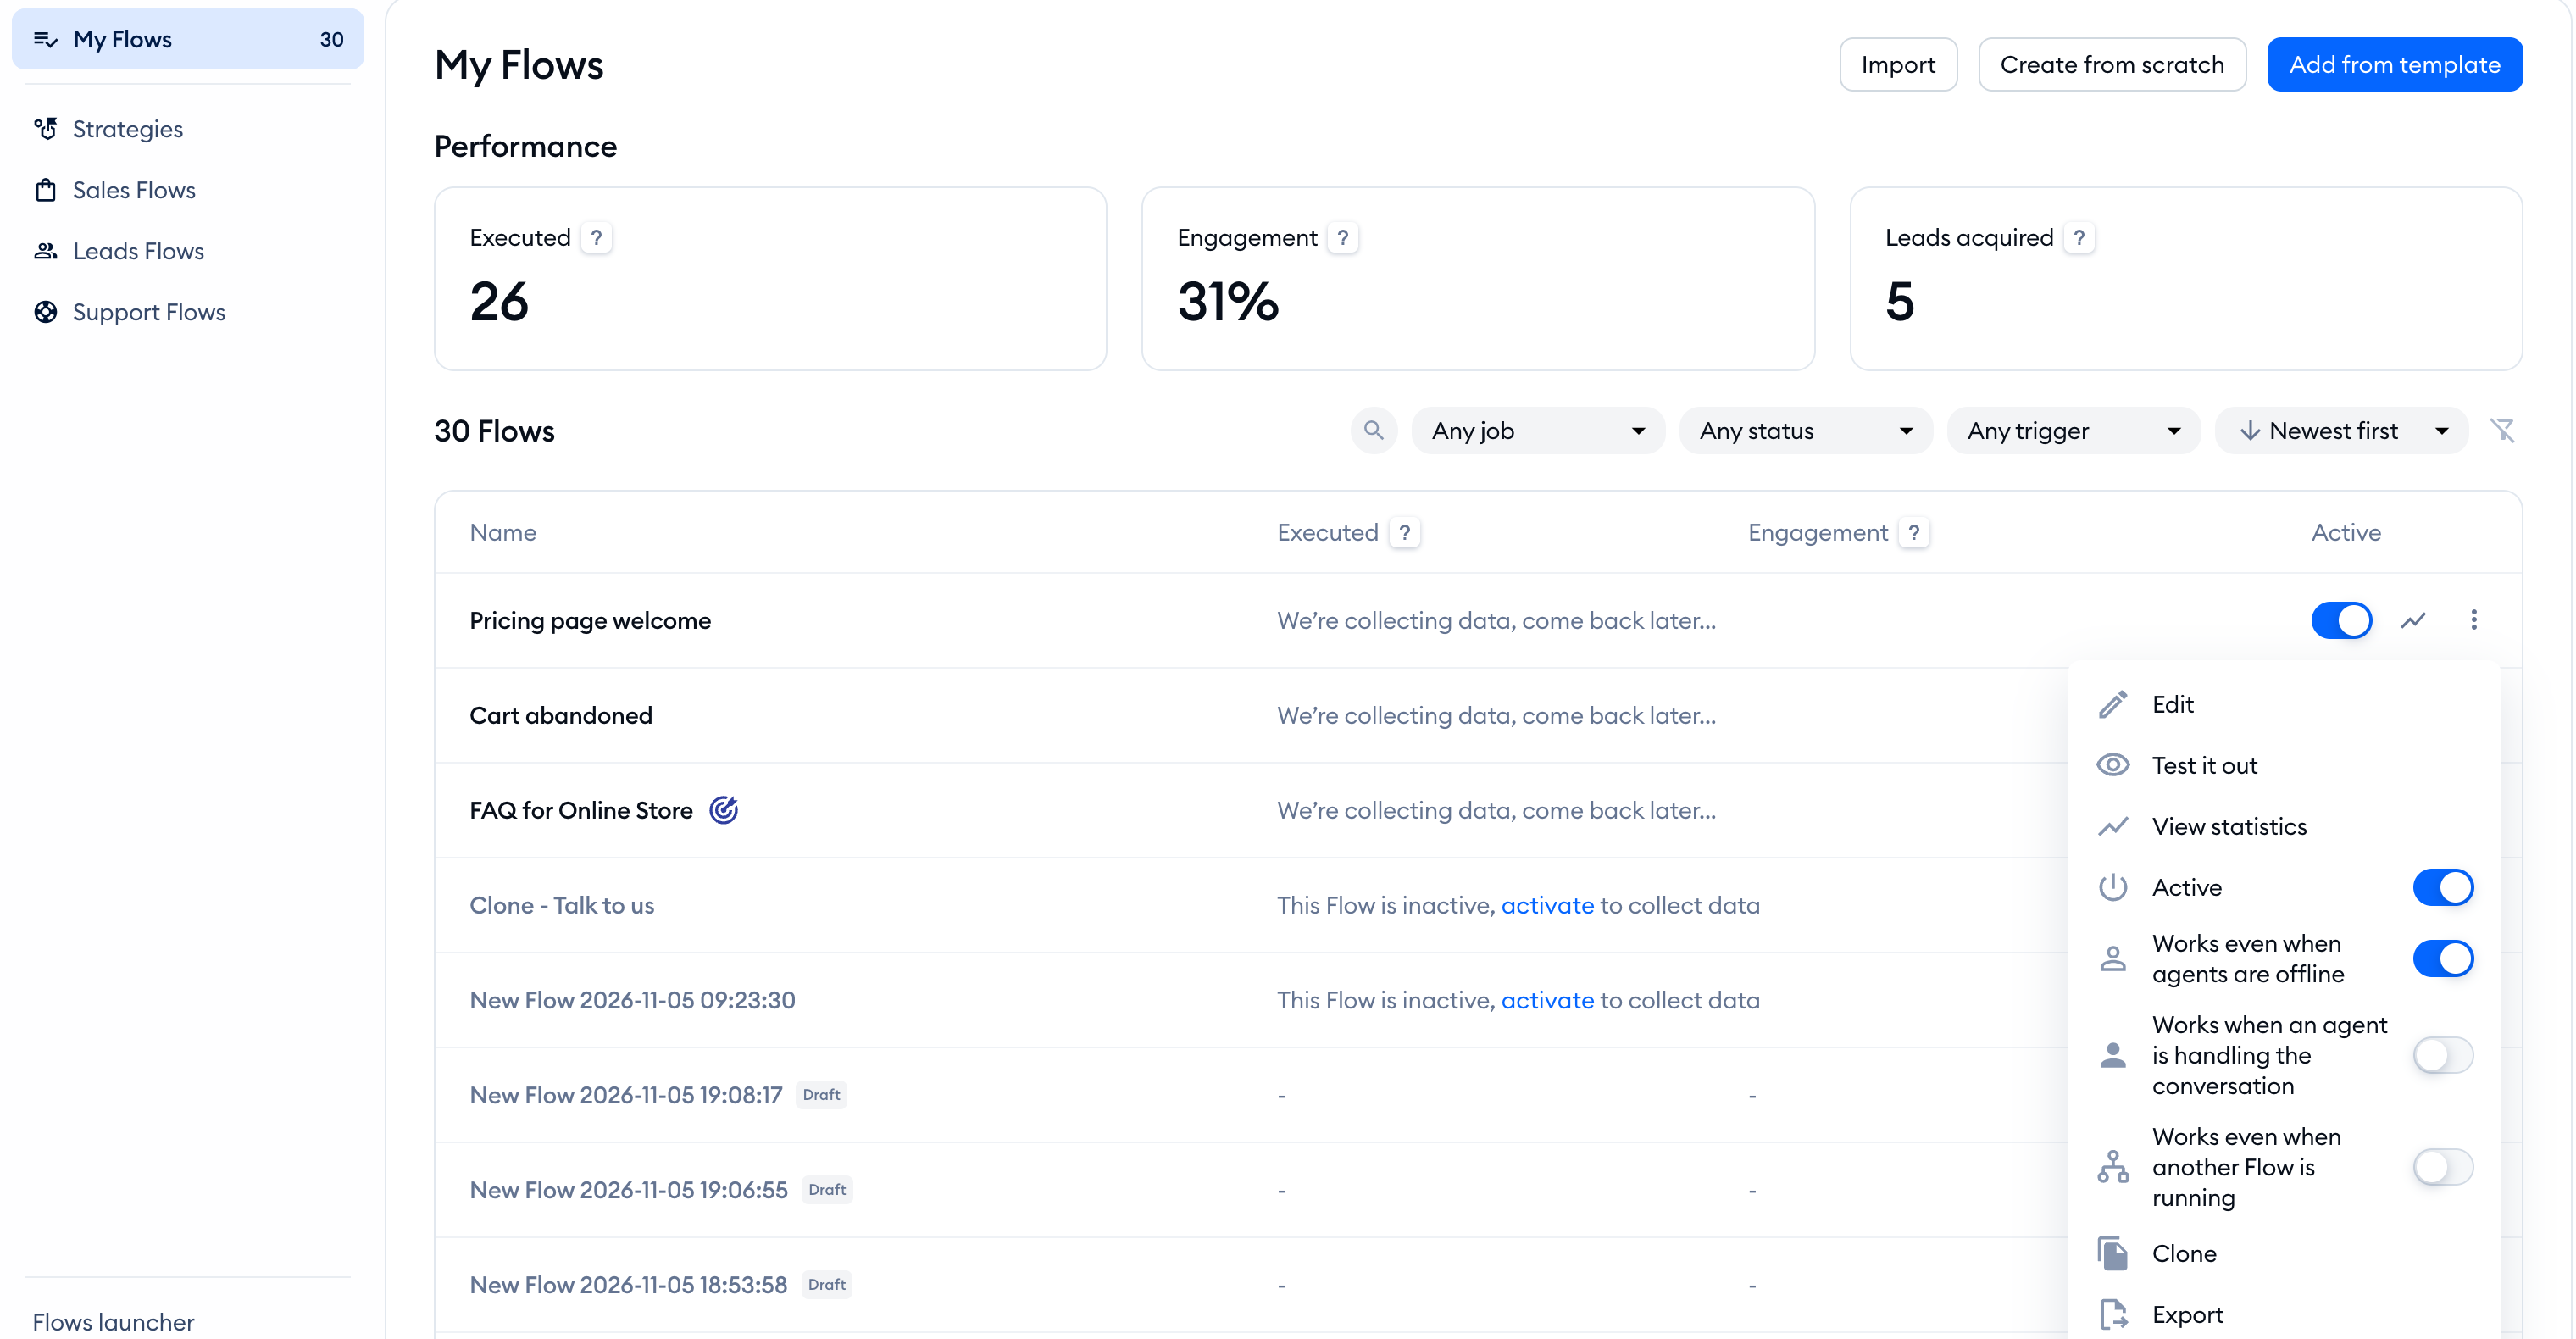
To integrate with Zapier, open your Tidio admin panel, head to the Flows section, and add a completely new flow or edit the existing flow by adding the Send to Zapier node.
Open any existing flow; in this scenario, we will open and edit the Lead generation flow.
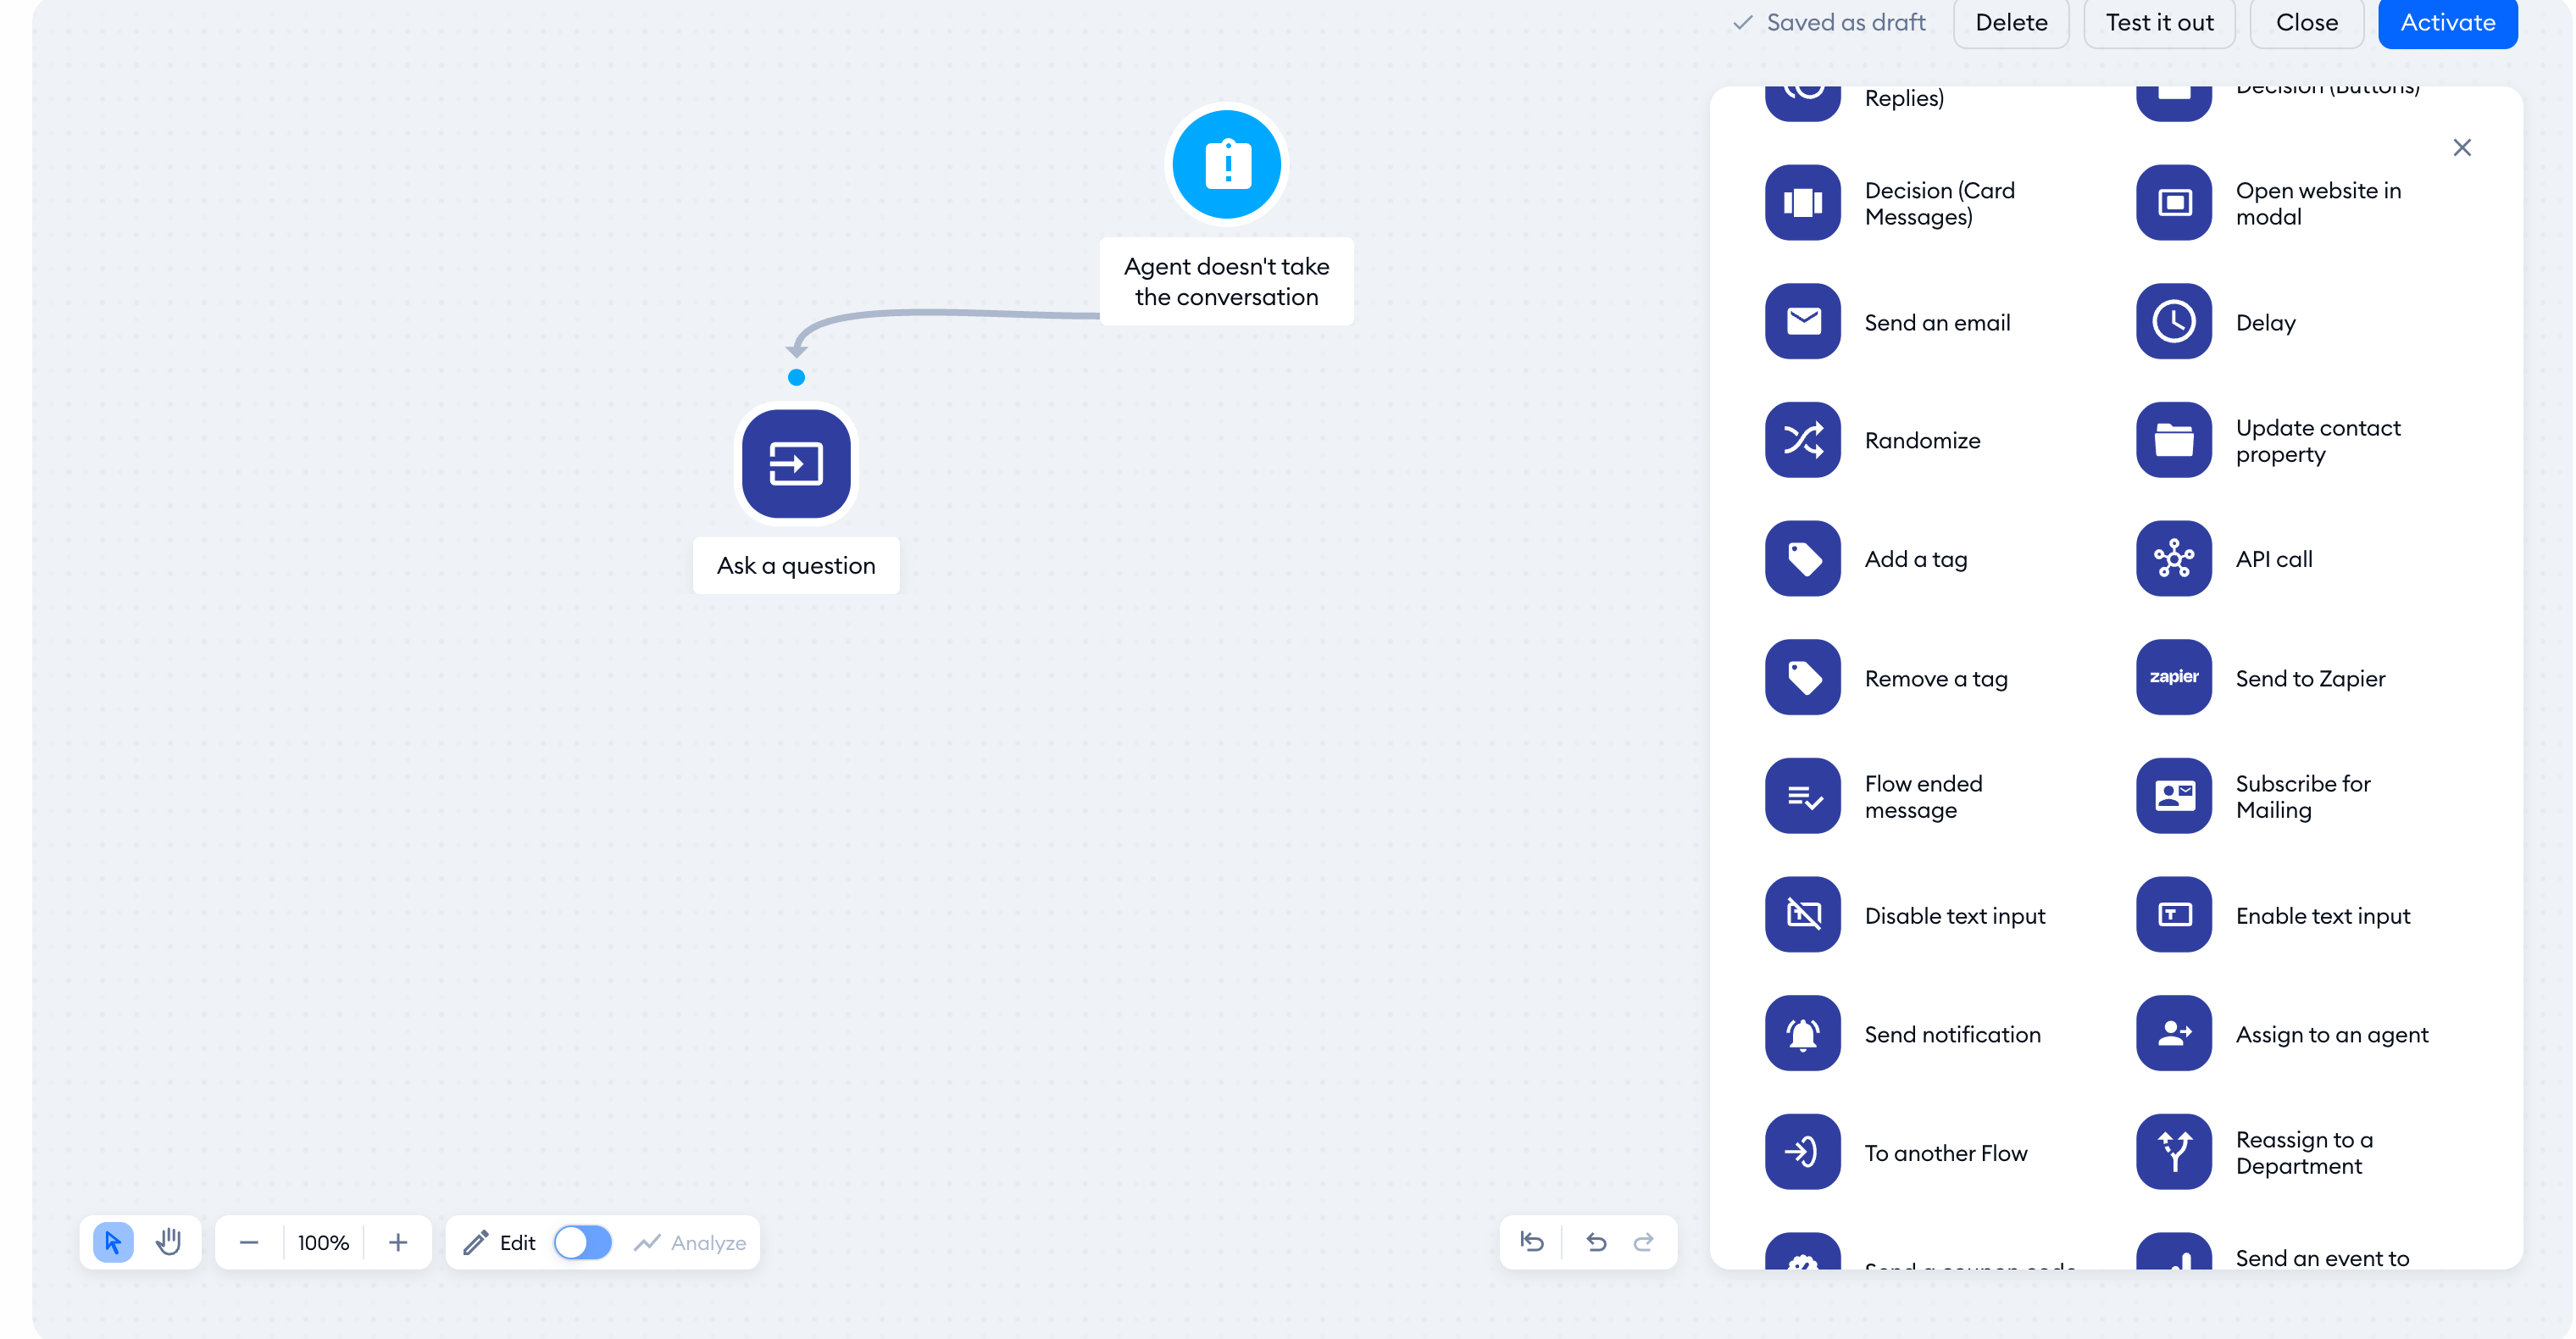
You'll see the visual flow editor. Find the Send to Zapier node inside the Actions tab and add it to your editing map.
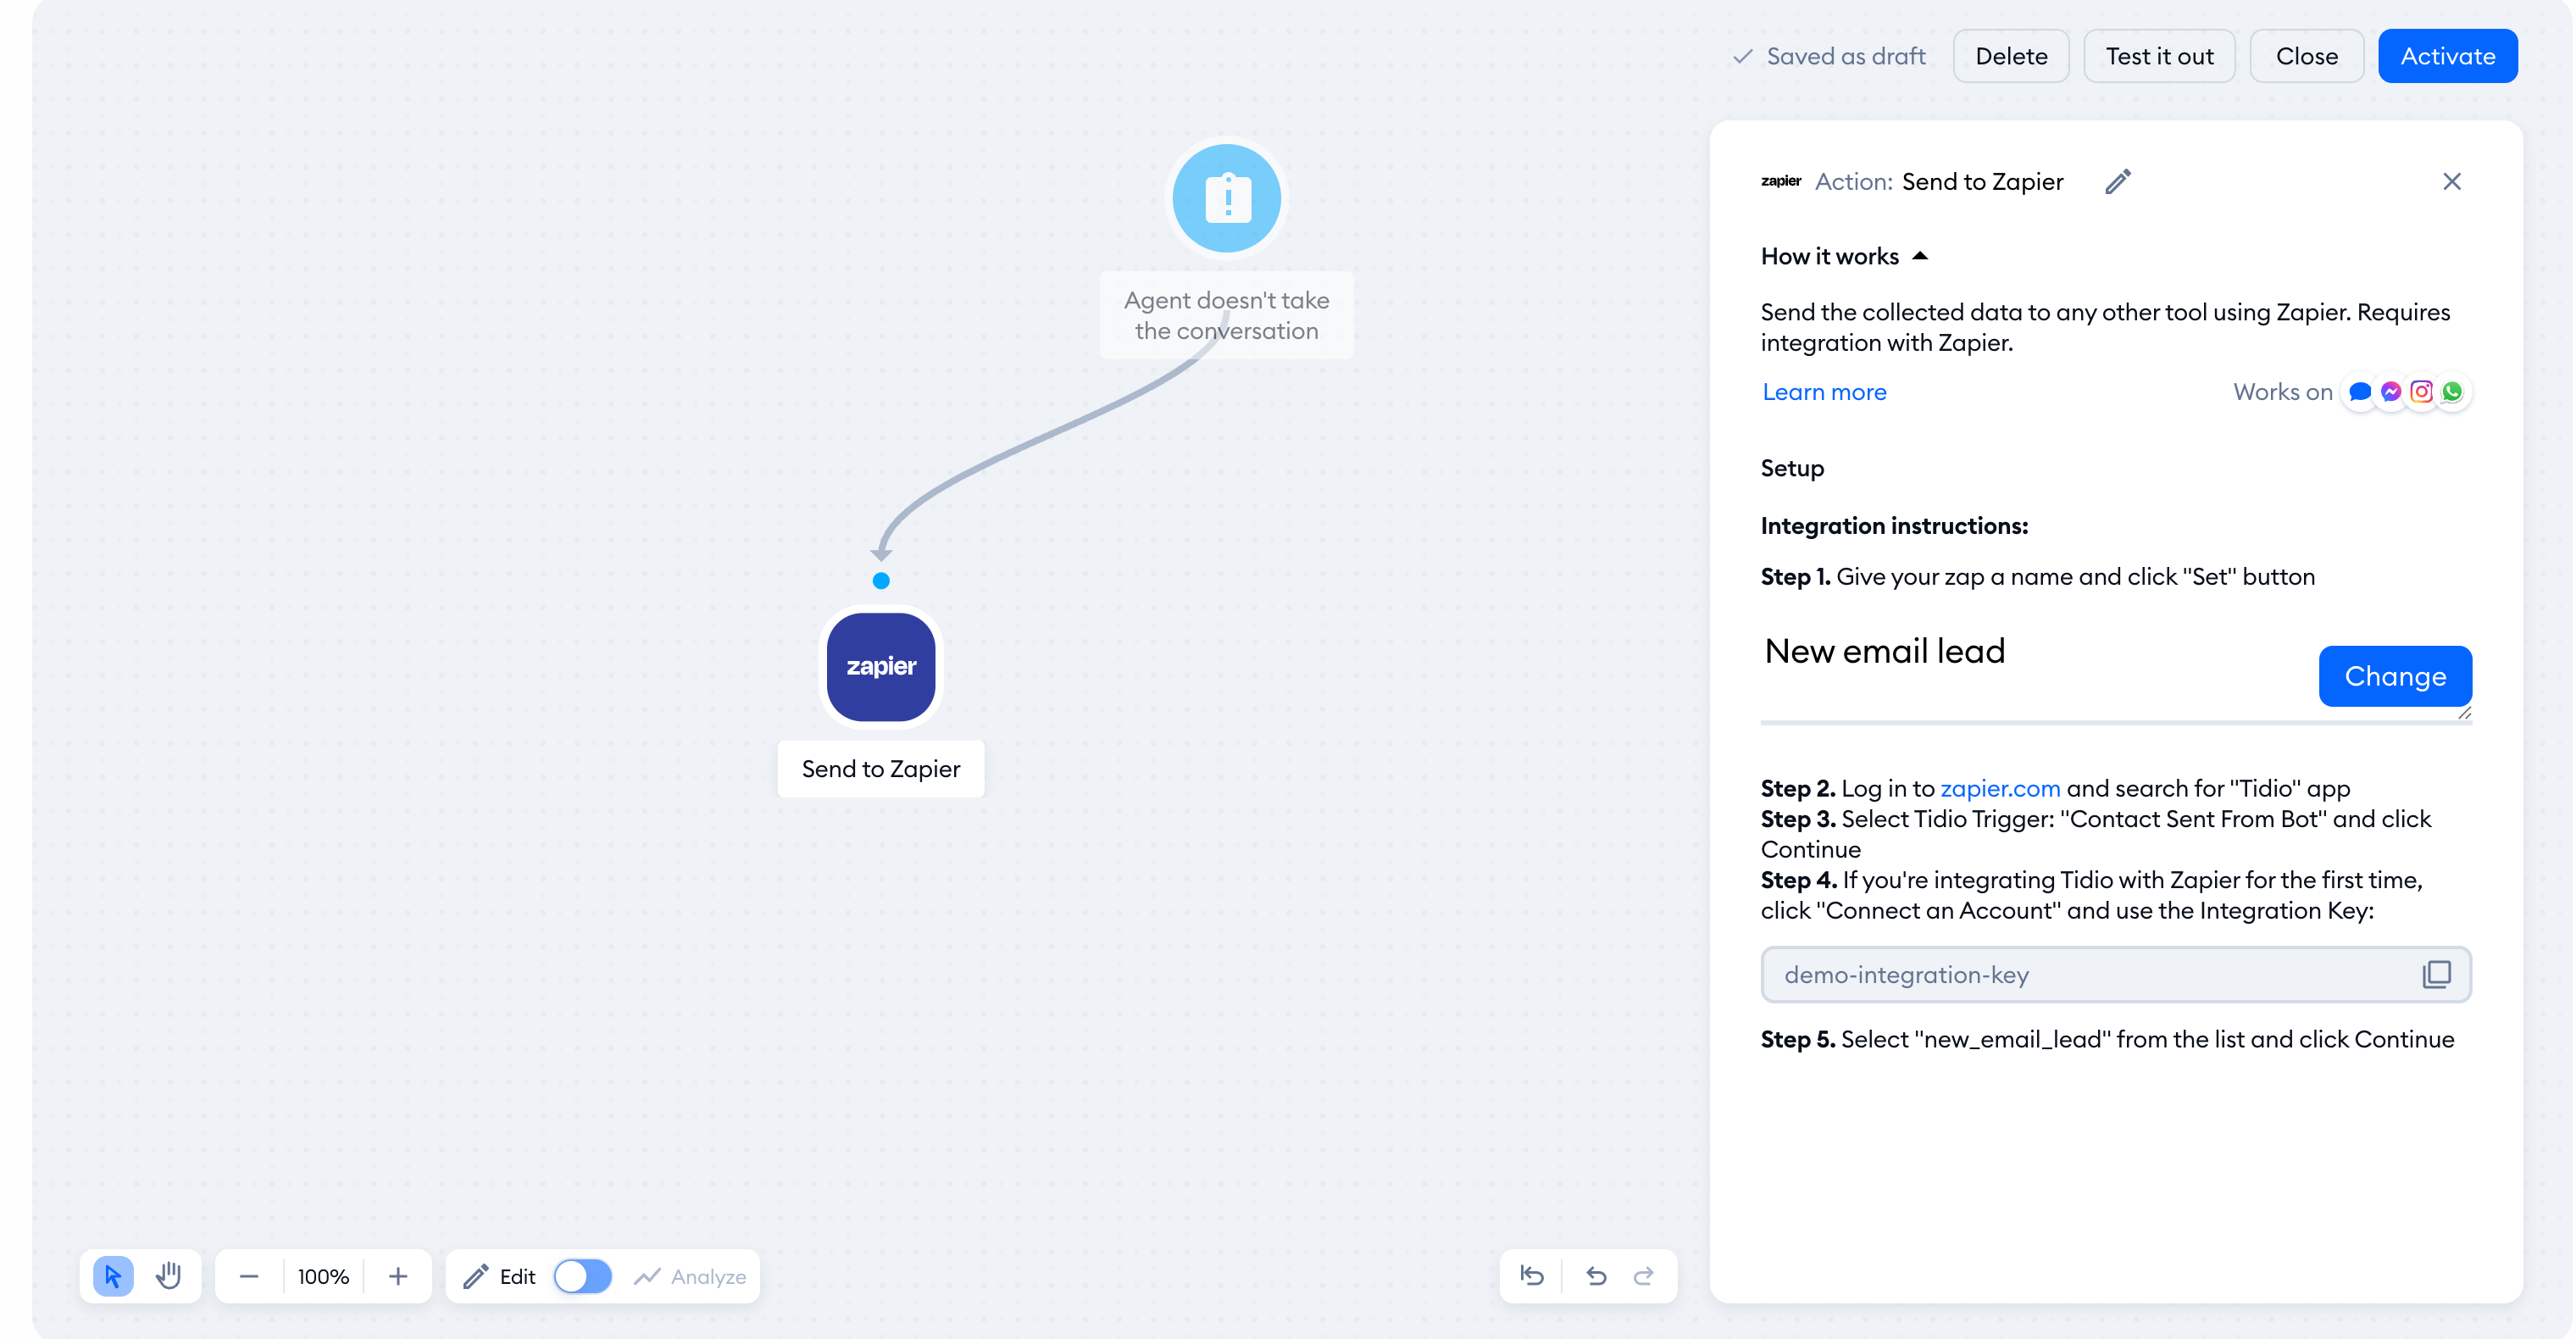
Connect the Send to Zapier node with the end node of your existing flow.
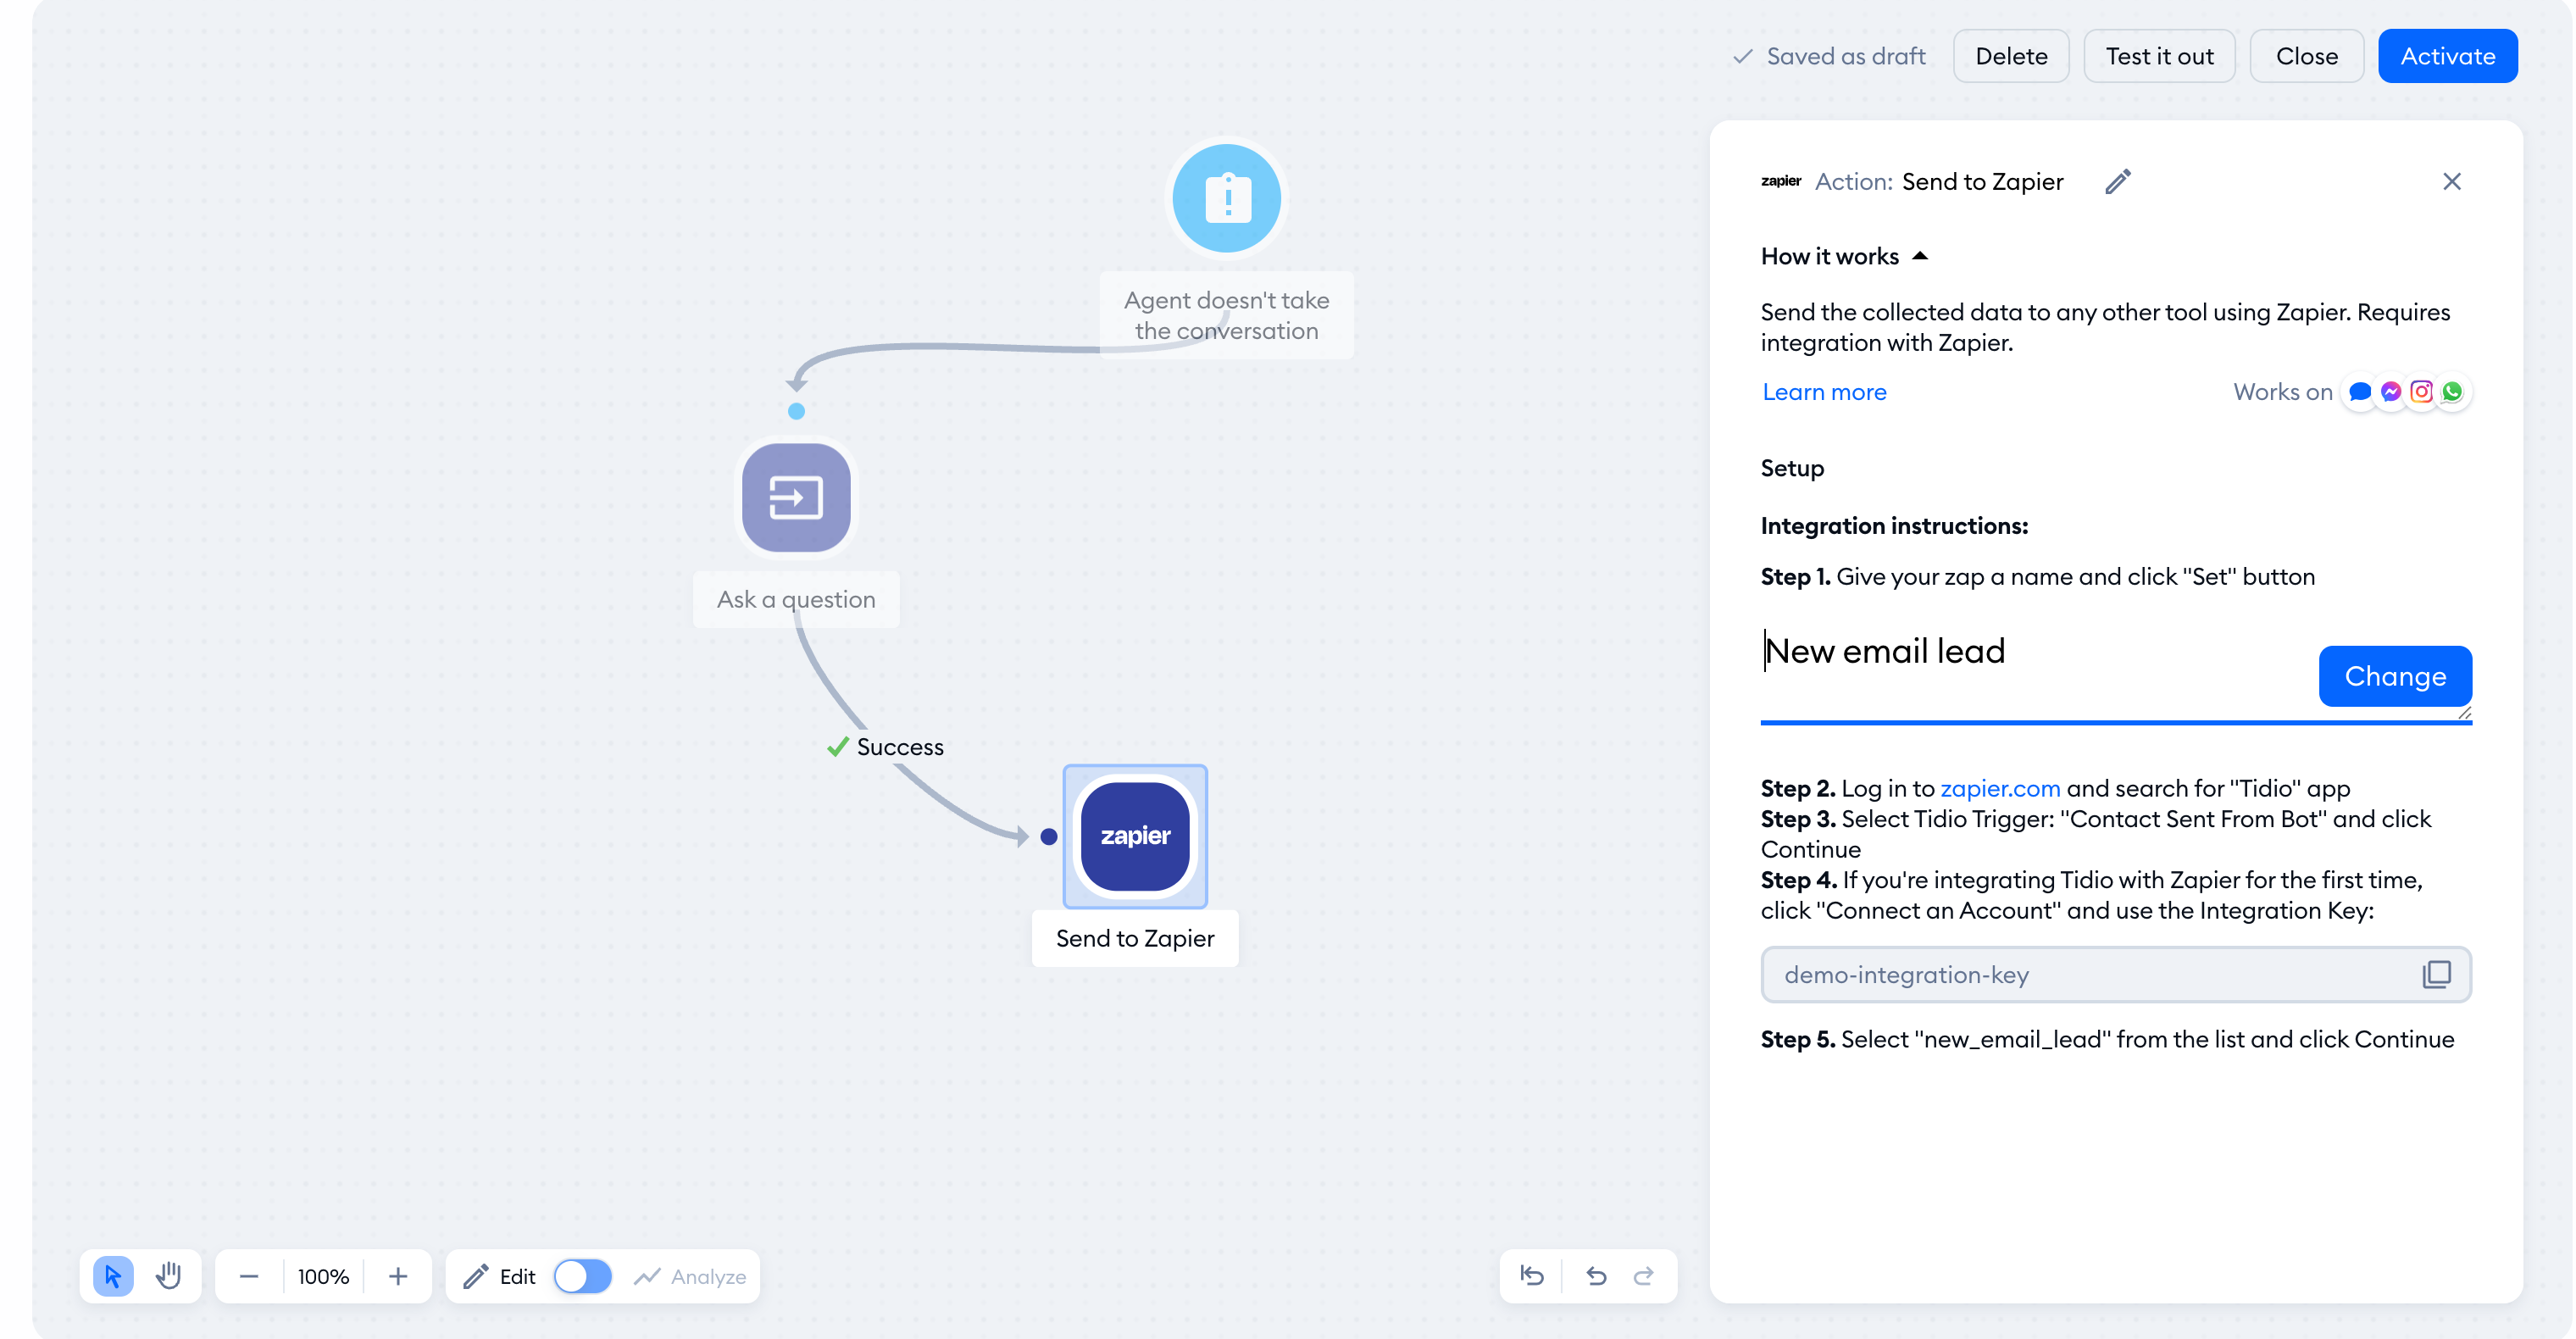
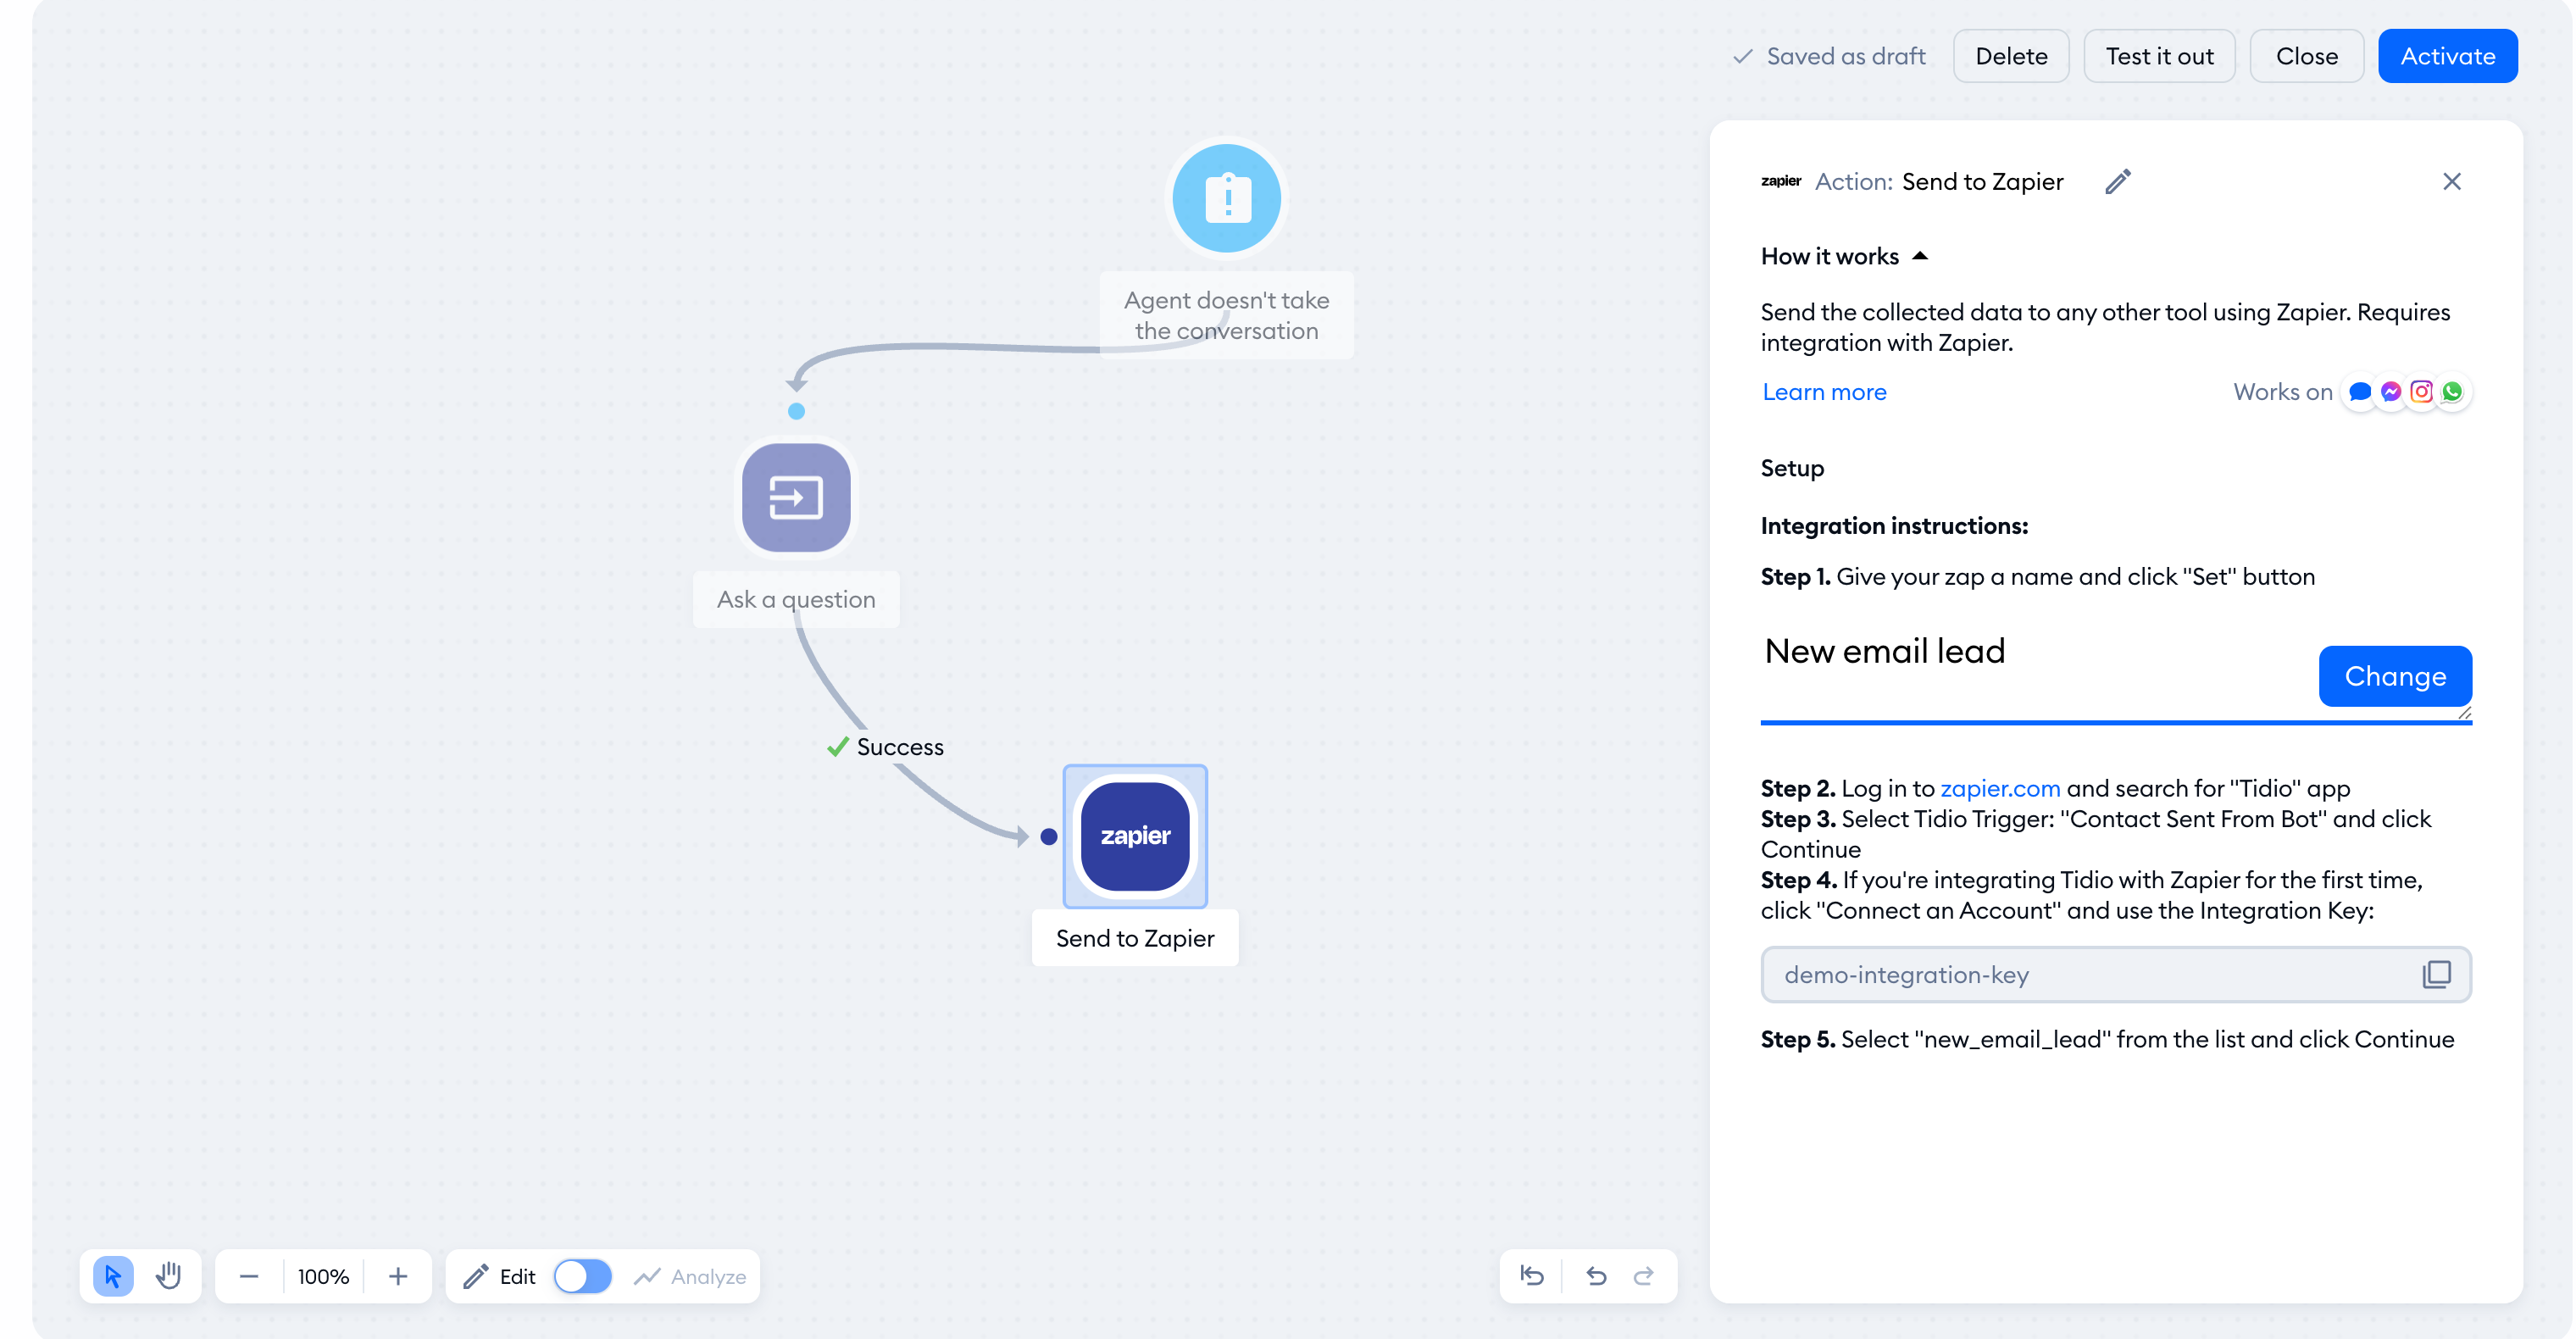
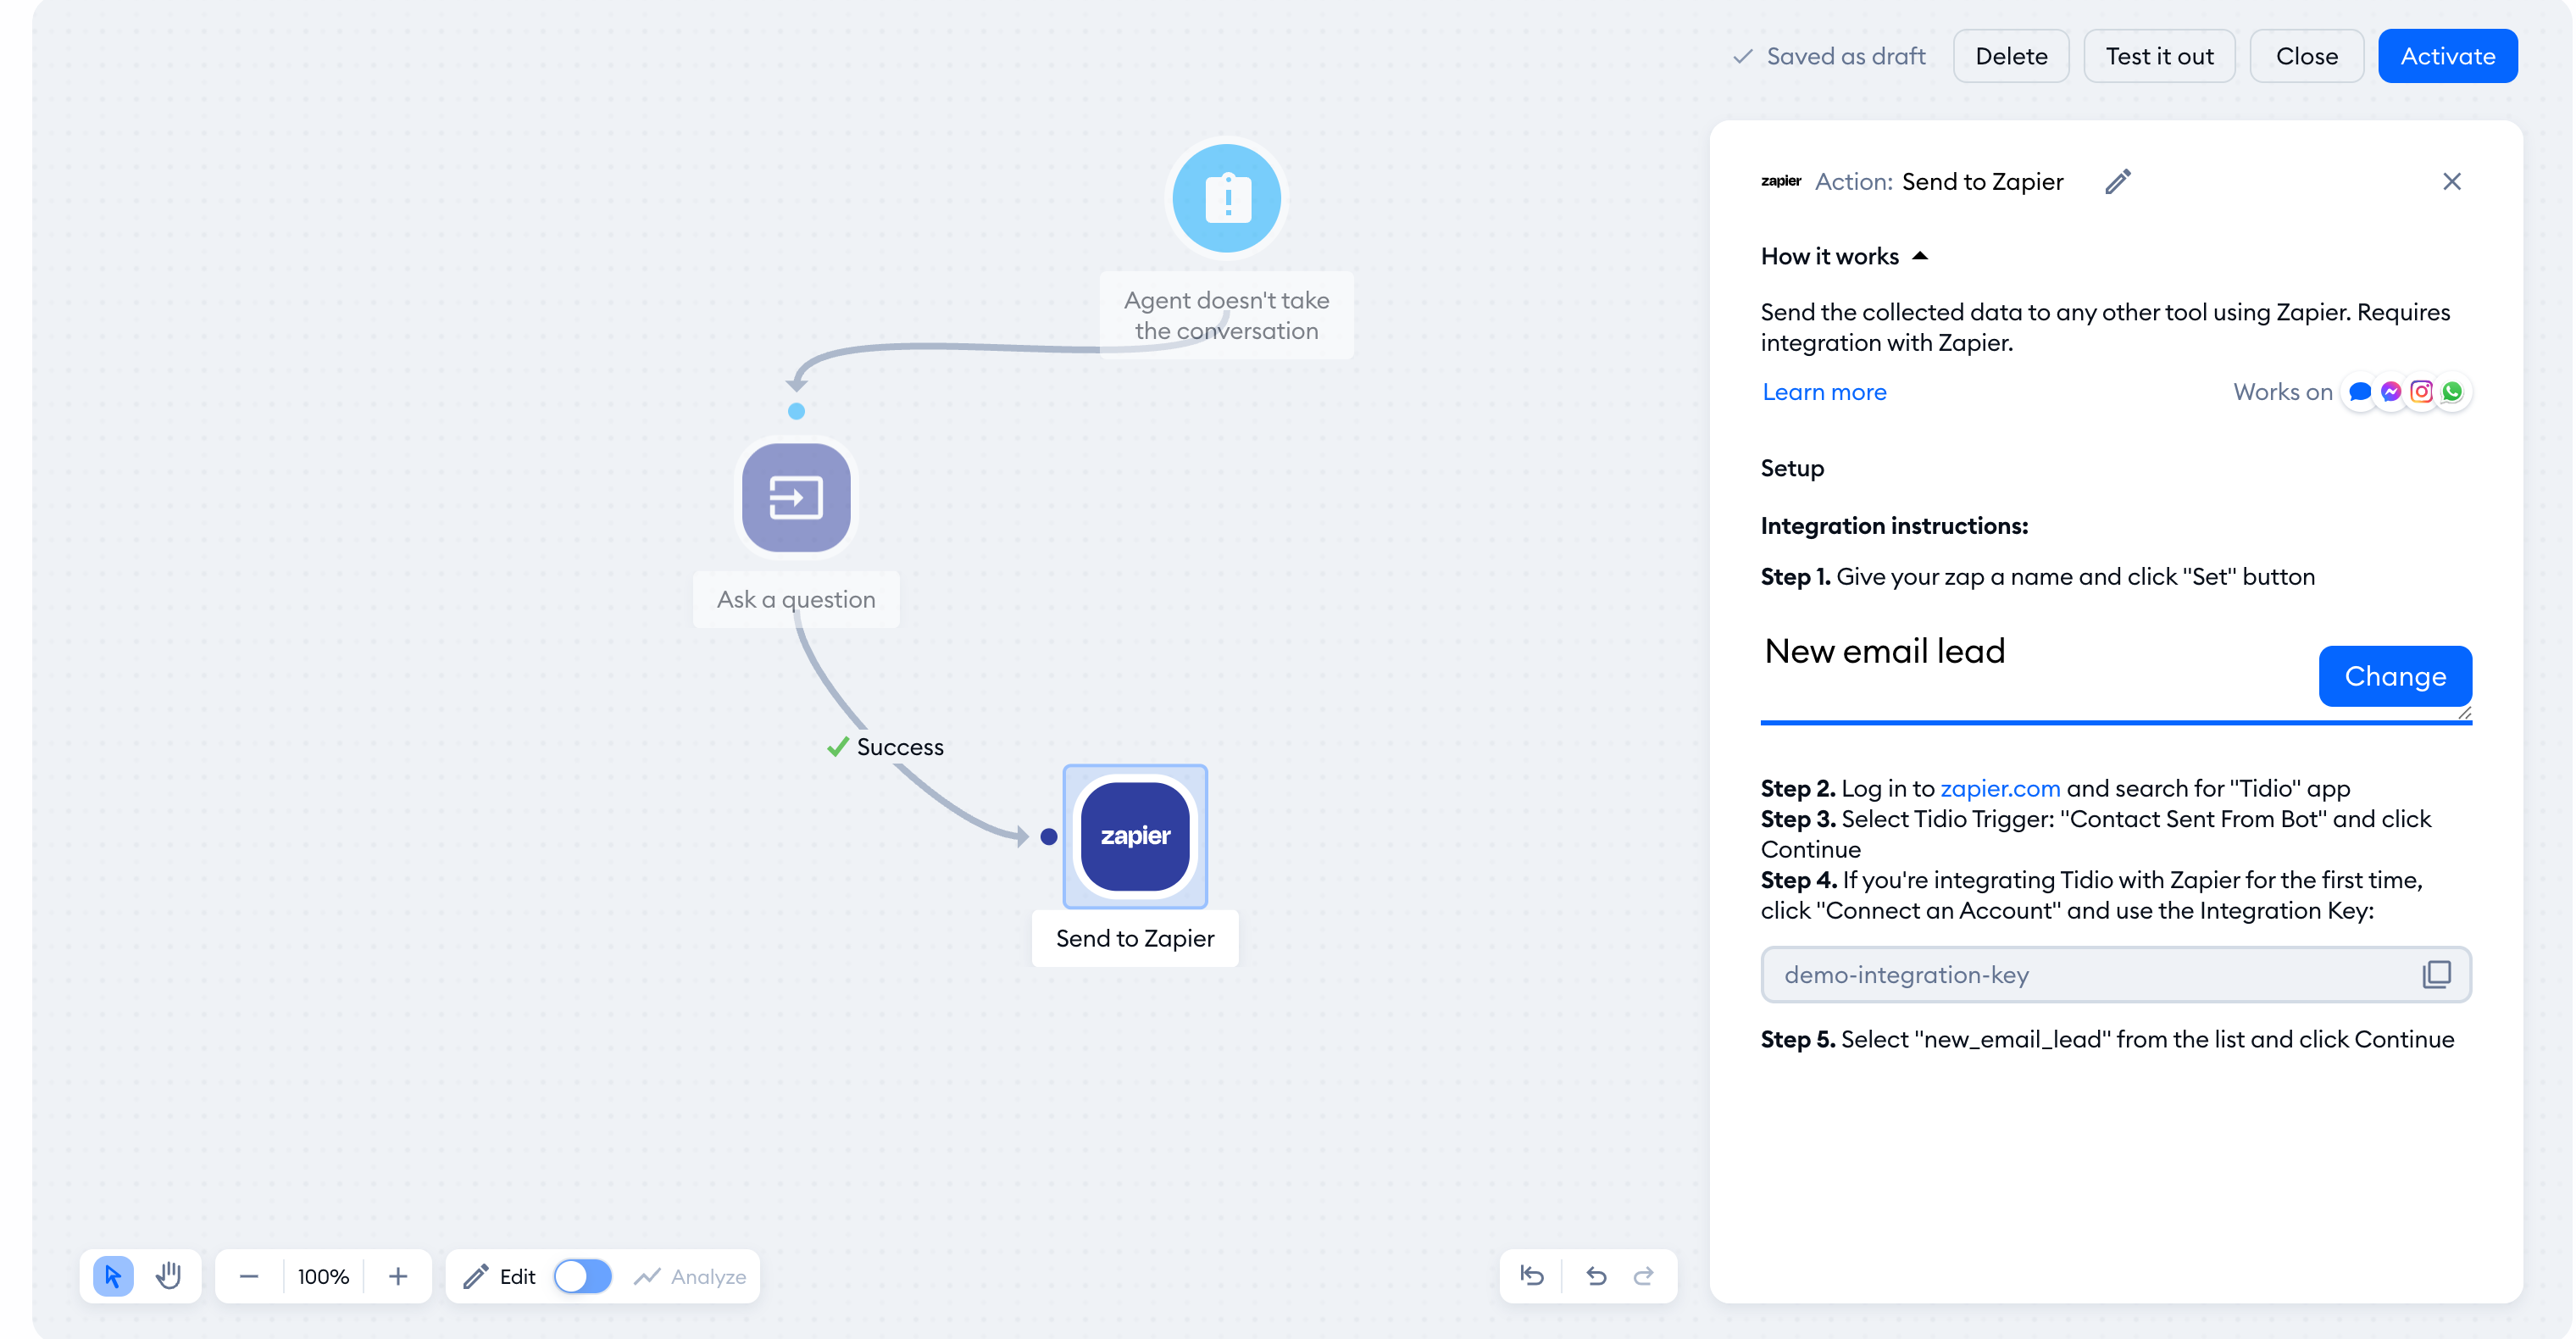
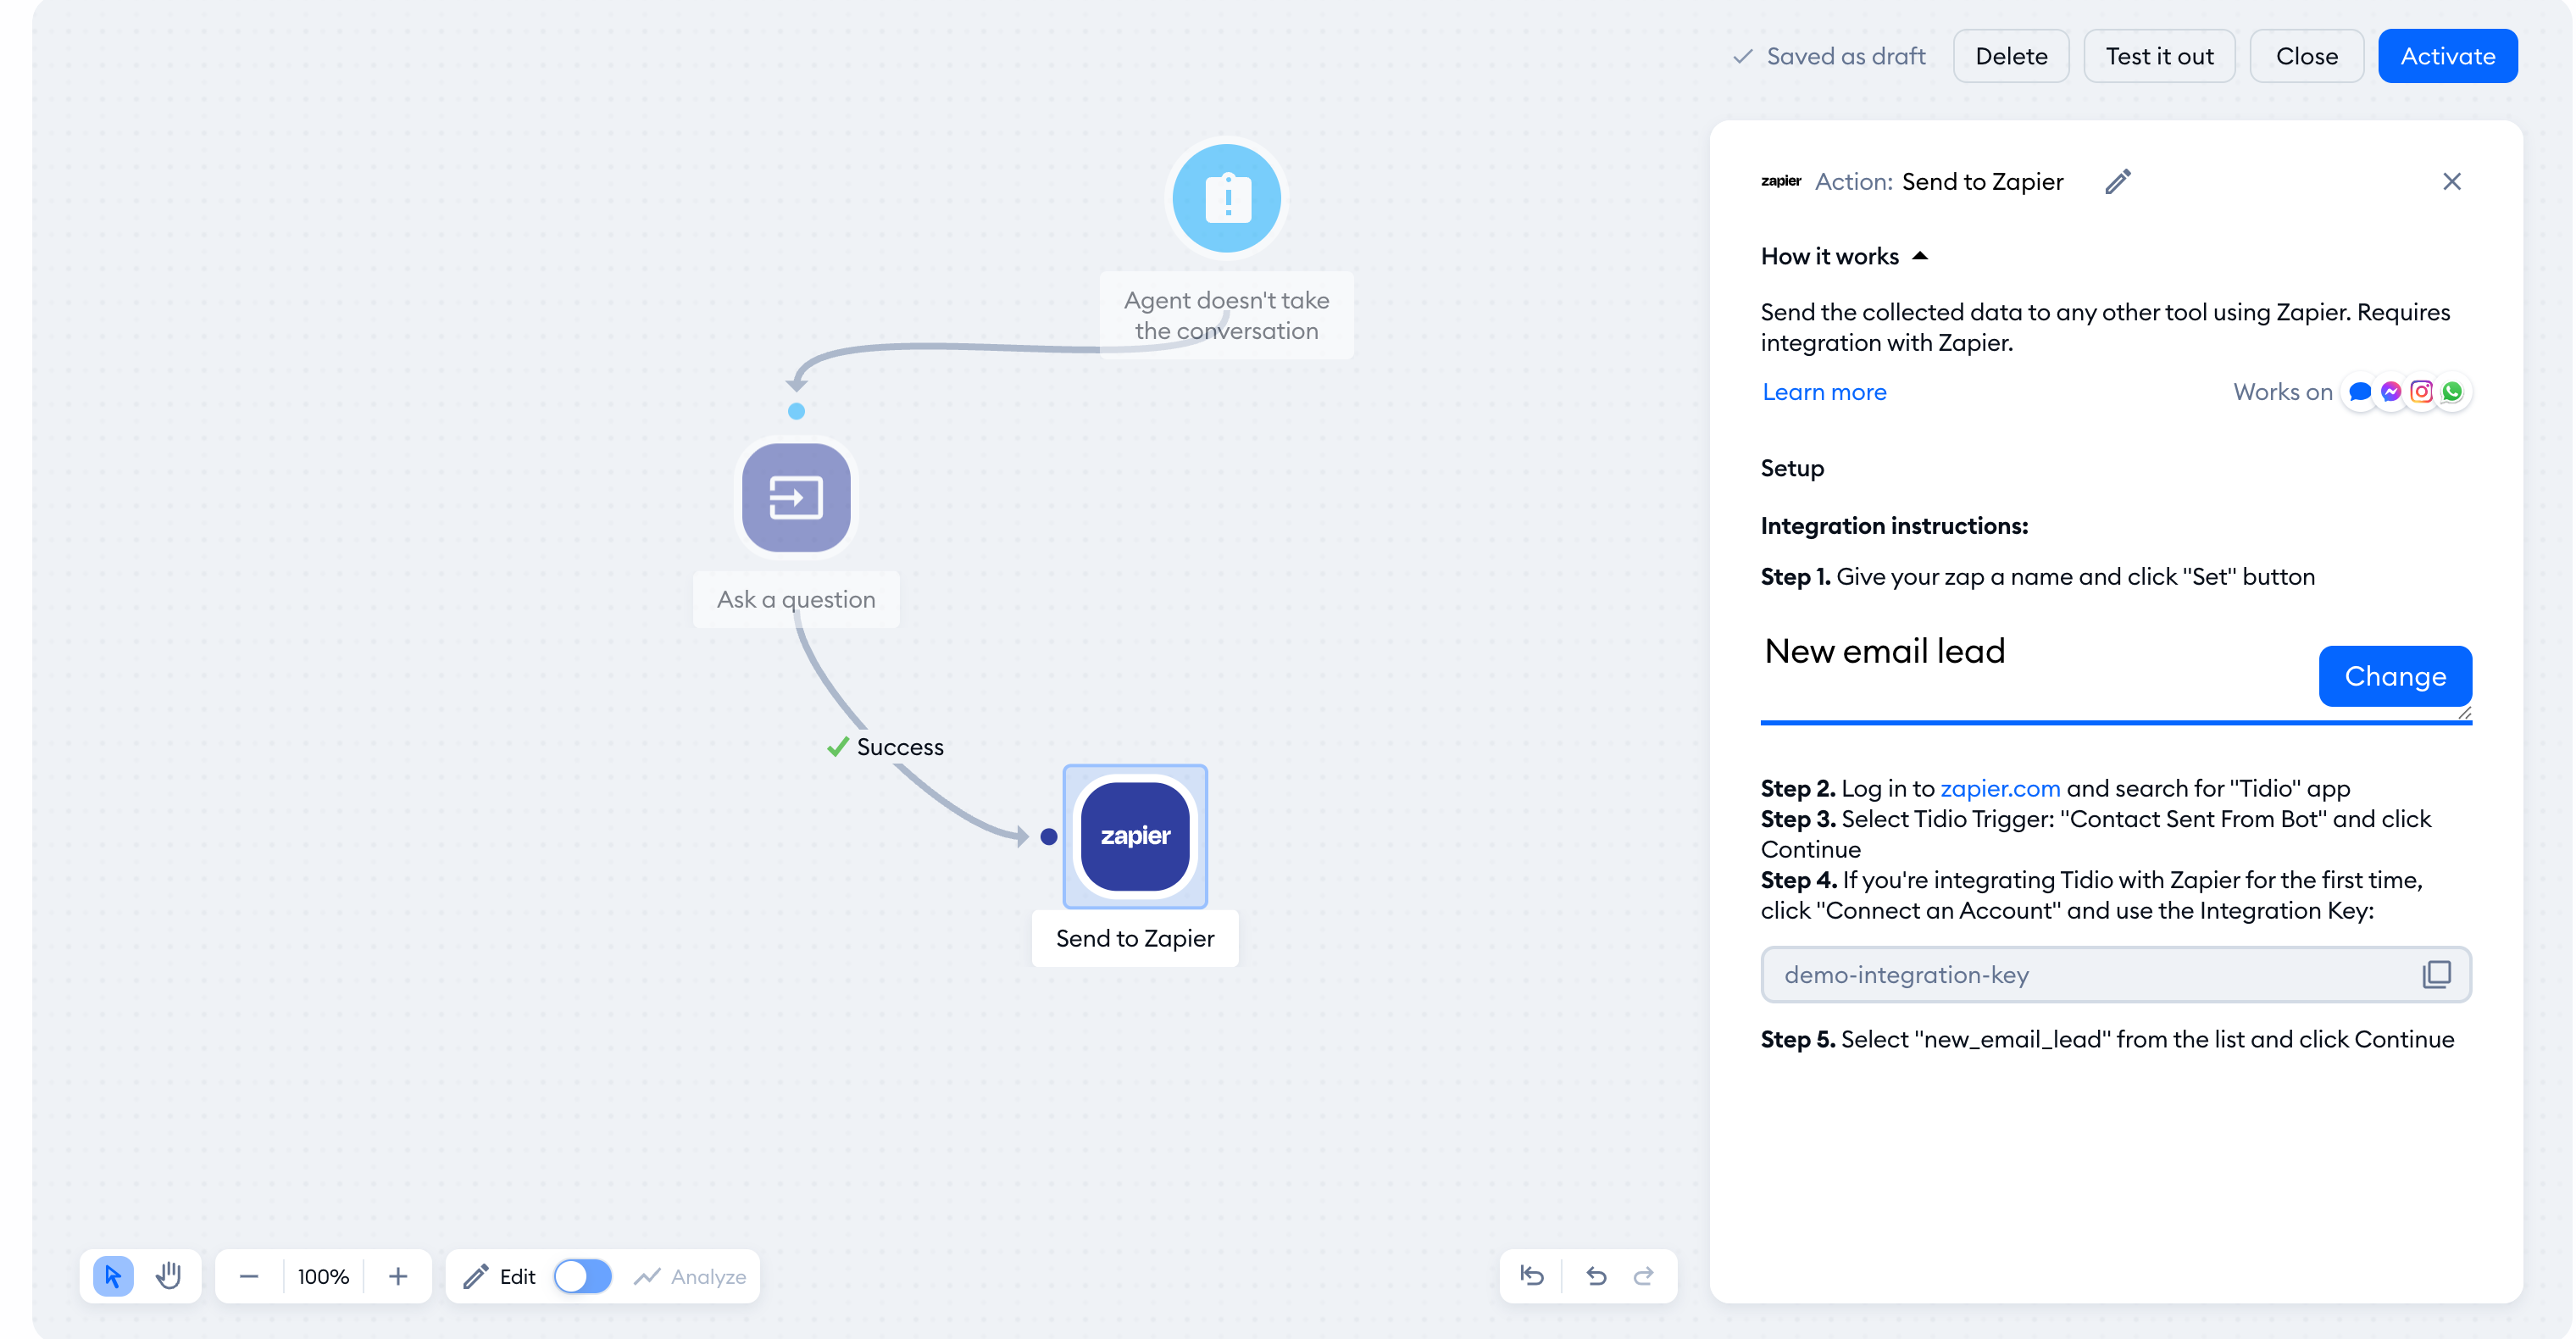
Open the node settings on the right. Give your action a name and click Set. The remaining integration instructions and the copyable Integration Key appear after you set the name:
Now, access your Zapier account
Log into Zapier and look for the Tidio app.
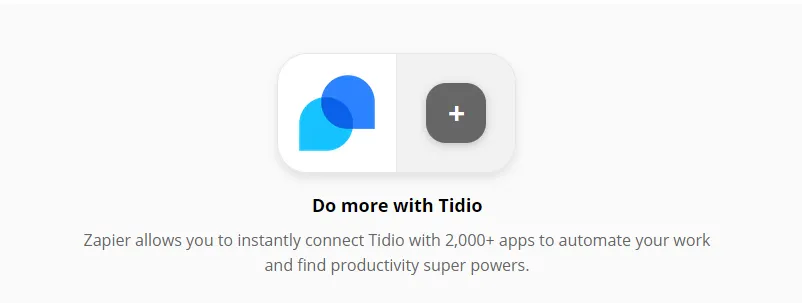
Select Mailchimp from the list of suggested apps or search for the app:
Create a Zap with Tidio as the trigger app and Contact Sent From Bot as the trigger event. Choose Mailchimp as the action app and Add/Update Subscriber as the action event.
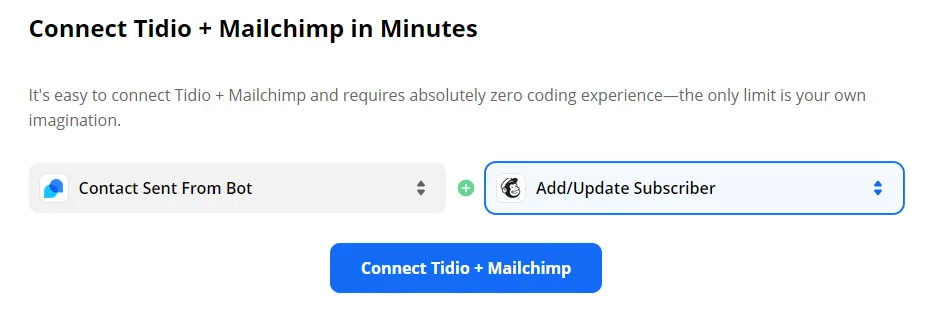
If you start from a Zap template, open it in the Zap editor to configure its trigger and action.
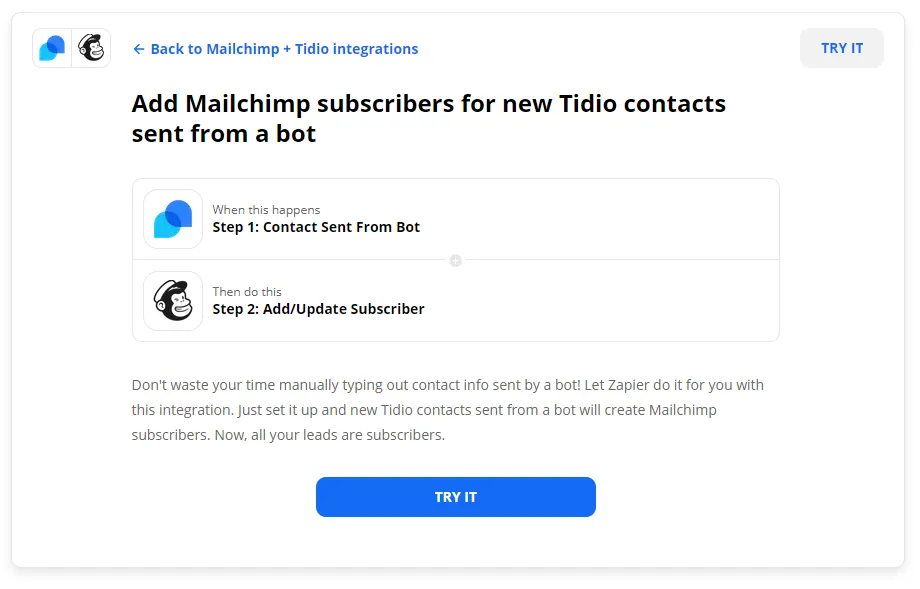
Connect your Tidio and Mailchimp accounts in their respective Zap steps. The screenshots below show an older Zapier interface; the current editor uses separate trigger and action setup steps.
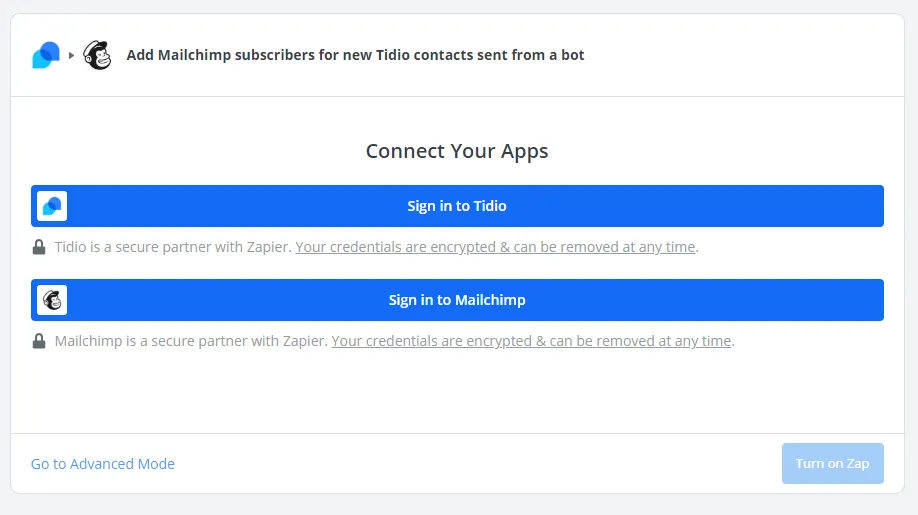
After you sign in, you will be prompted with a new window asking you to enter the Integration Key:
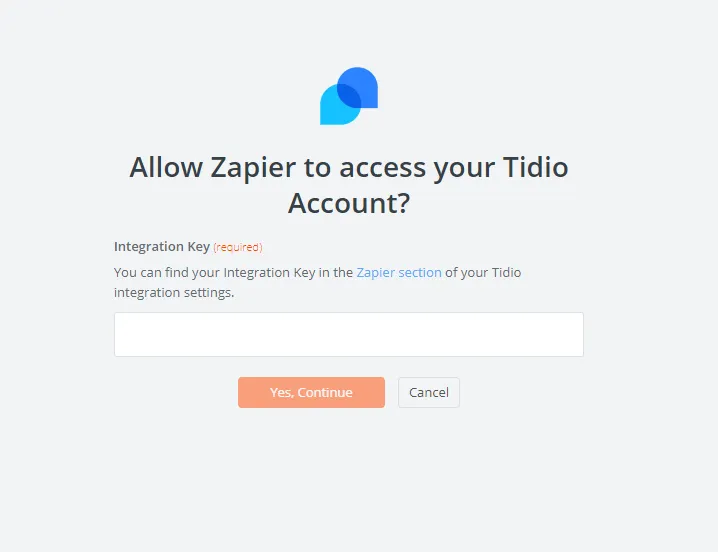
Retrieve the Key from the Integrations section (or from the 'Send to Zapier' node in your flow) and enter it in the dedicated field.
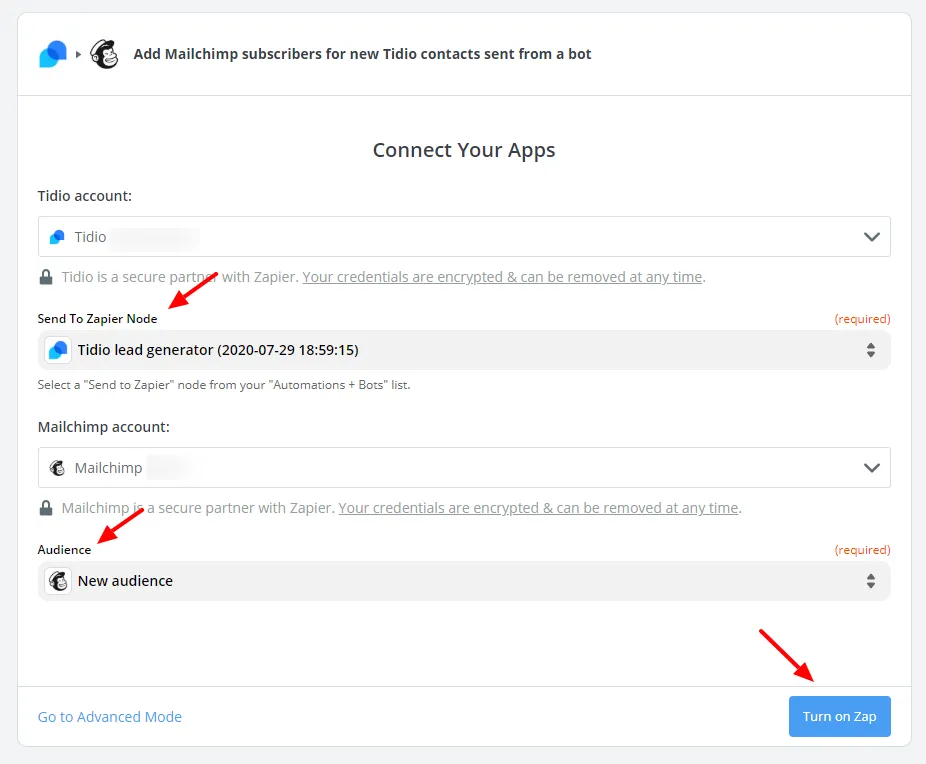
Connect your Mailchimp account and allow Zapier access. In the Tidio trigger, select the exact node name displayed in step 5 of the Tidio instructions. In the Mailchimp action, choose the audience, map the email address from the Tidio trigger, and set the subscriber status. Complete any other required fields. Test the trigger and action with test contact details, then click Publish. Testing an action can create or update a real contact in Mailchimp.
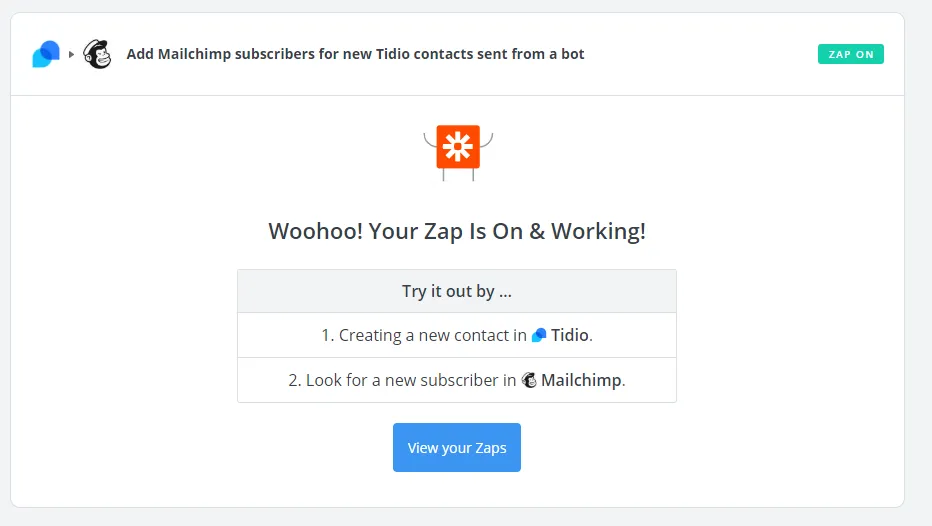
Your Zap is ready to use:
Let's try it out now! First, make sure to connect all nodes in our flow editor and save your configuration:
Then, test the integration in the widget window on your website. This is how it worked for us - we wrote a message on chat and provided the details:
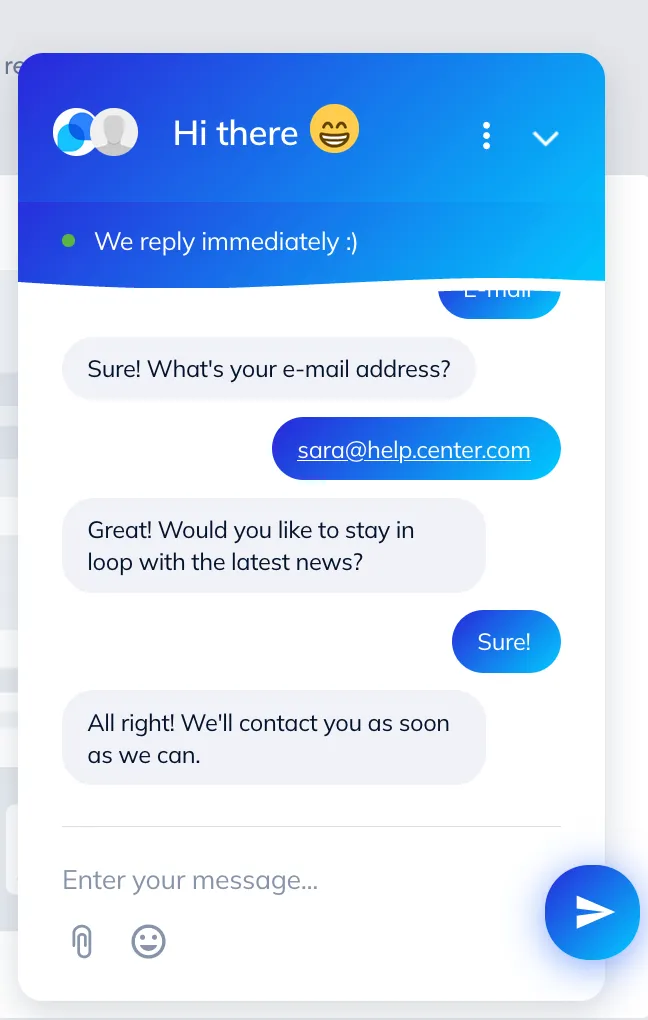
We received a new contact in Mailchimp after a few minutes.
