See how to install Tidio Chat on your WooCommerce store. WooCommerce is a plugin for WordPress so the Tidio chat widget installation process will be the same as the installation of Tidio on WordPress.
In this article, you'll learn:
Installation
Log into your WordPress account and go to the Dashboard. Navigate to the Plugins section and select Add New.
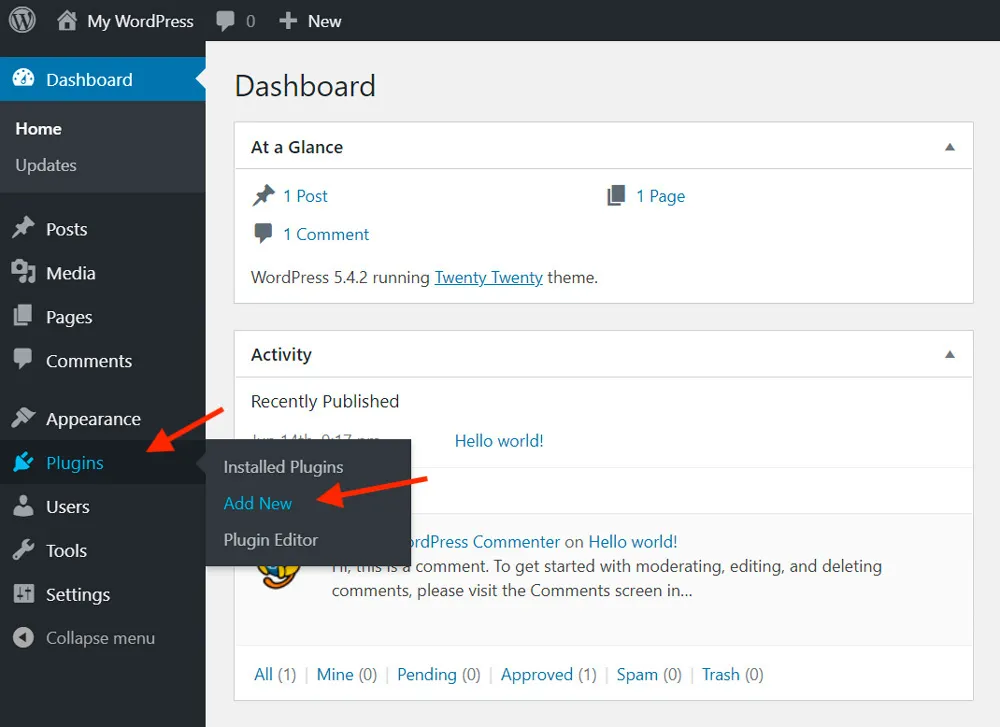
Look for the Plugin by typing Tidio in the search bar. Once the system finds it, hit the Install Now button.
You've now installed the plugin. Before you move on, make sure you click the Activate button.

Now, if you go back to your Plugins section, you'll see Tidio on the list.
To start using Tidio - create a free Tidio account. If you haven't registered your account yet, now it's a good time to do this.
Locate Tidio Chat on the menu on your left hand-site and click it. Next, enter your email address to sign up.
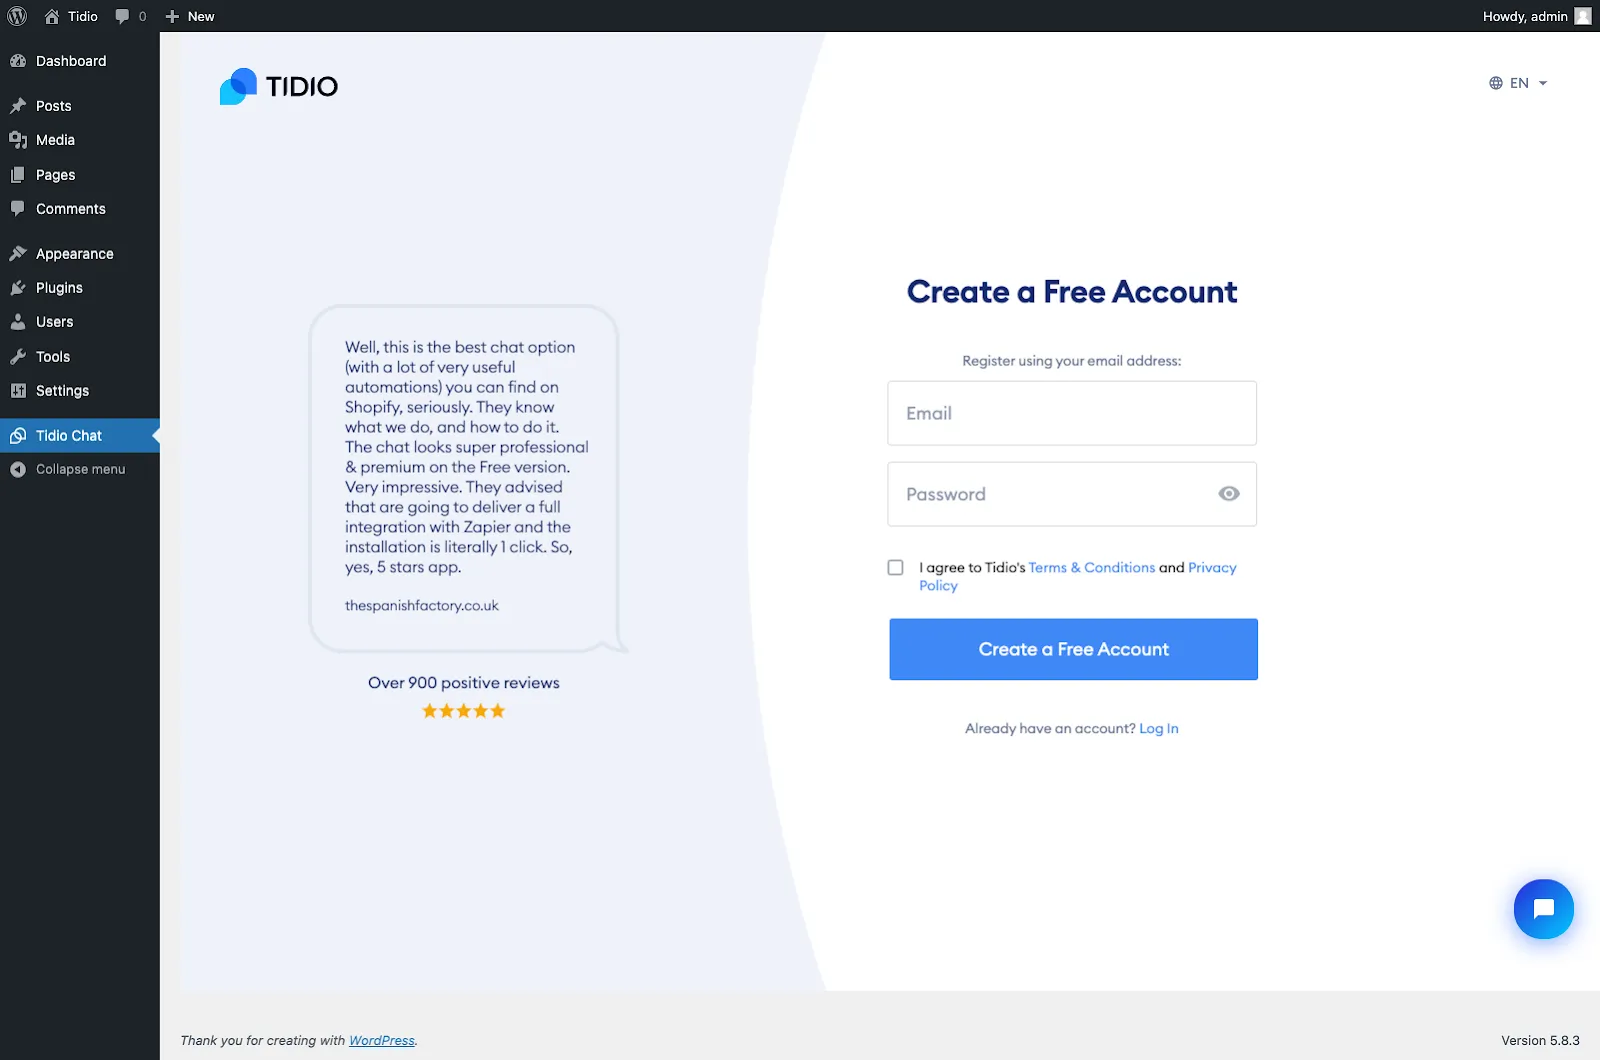
You will be asked for your email, password, and website URL address. As a new user, you'll begin the product tour. We'll ask you some basic questions about your business and possible Tidio usage. Thanks to some additional information, we'll adapt the Tidio to your need to improve your experience and help achieve better results.
Integration
As a WooCommerce user, you can take advantage of an additional feature dedicated to customer service in online stores: sending product cards directly in the conversation window. If you have the WooCommerce plugin installed, you will be able to integrate with Tidio to take advantage of this functionality.
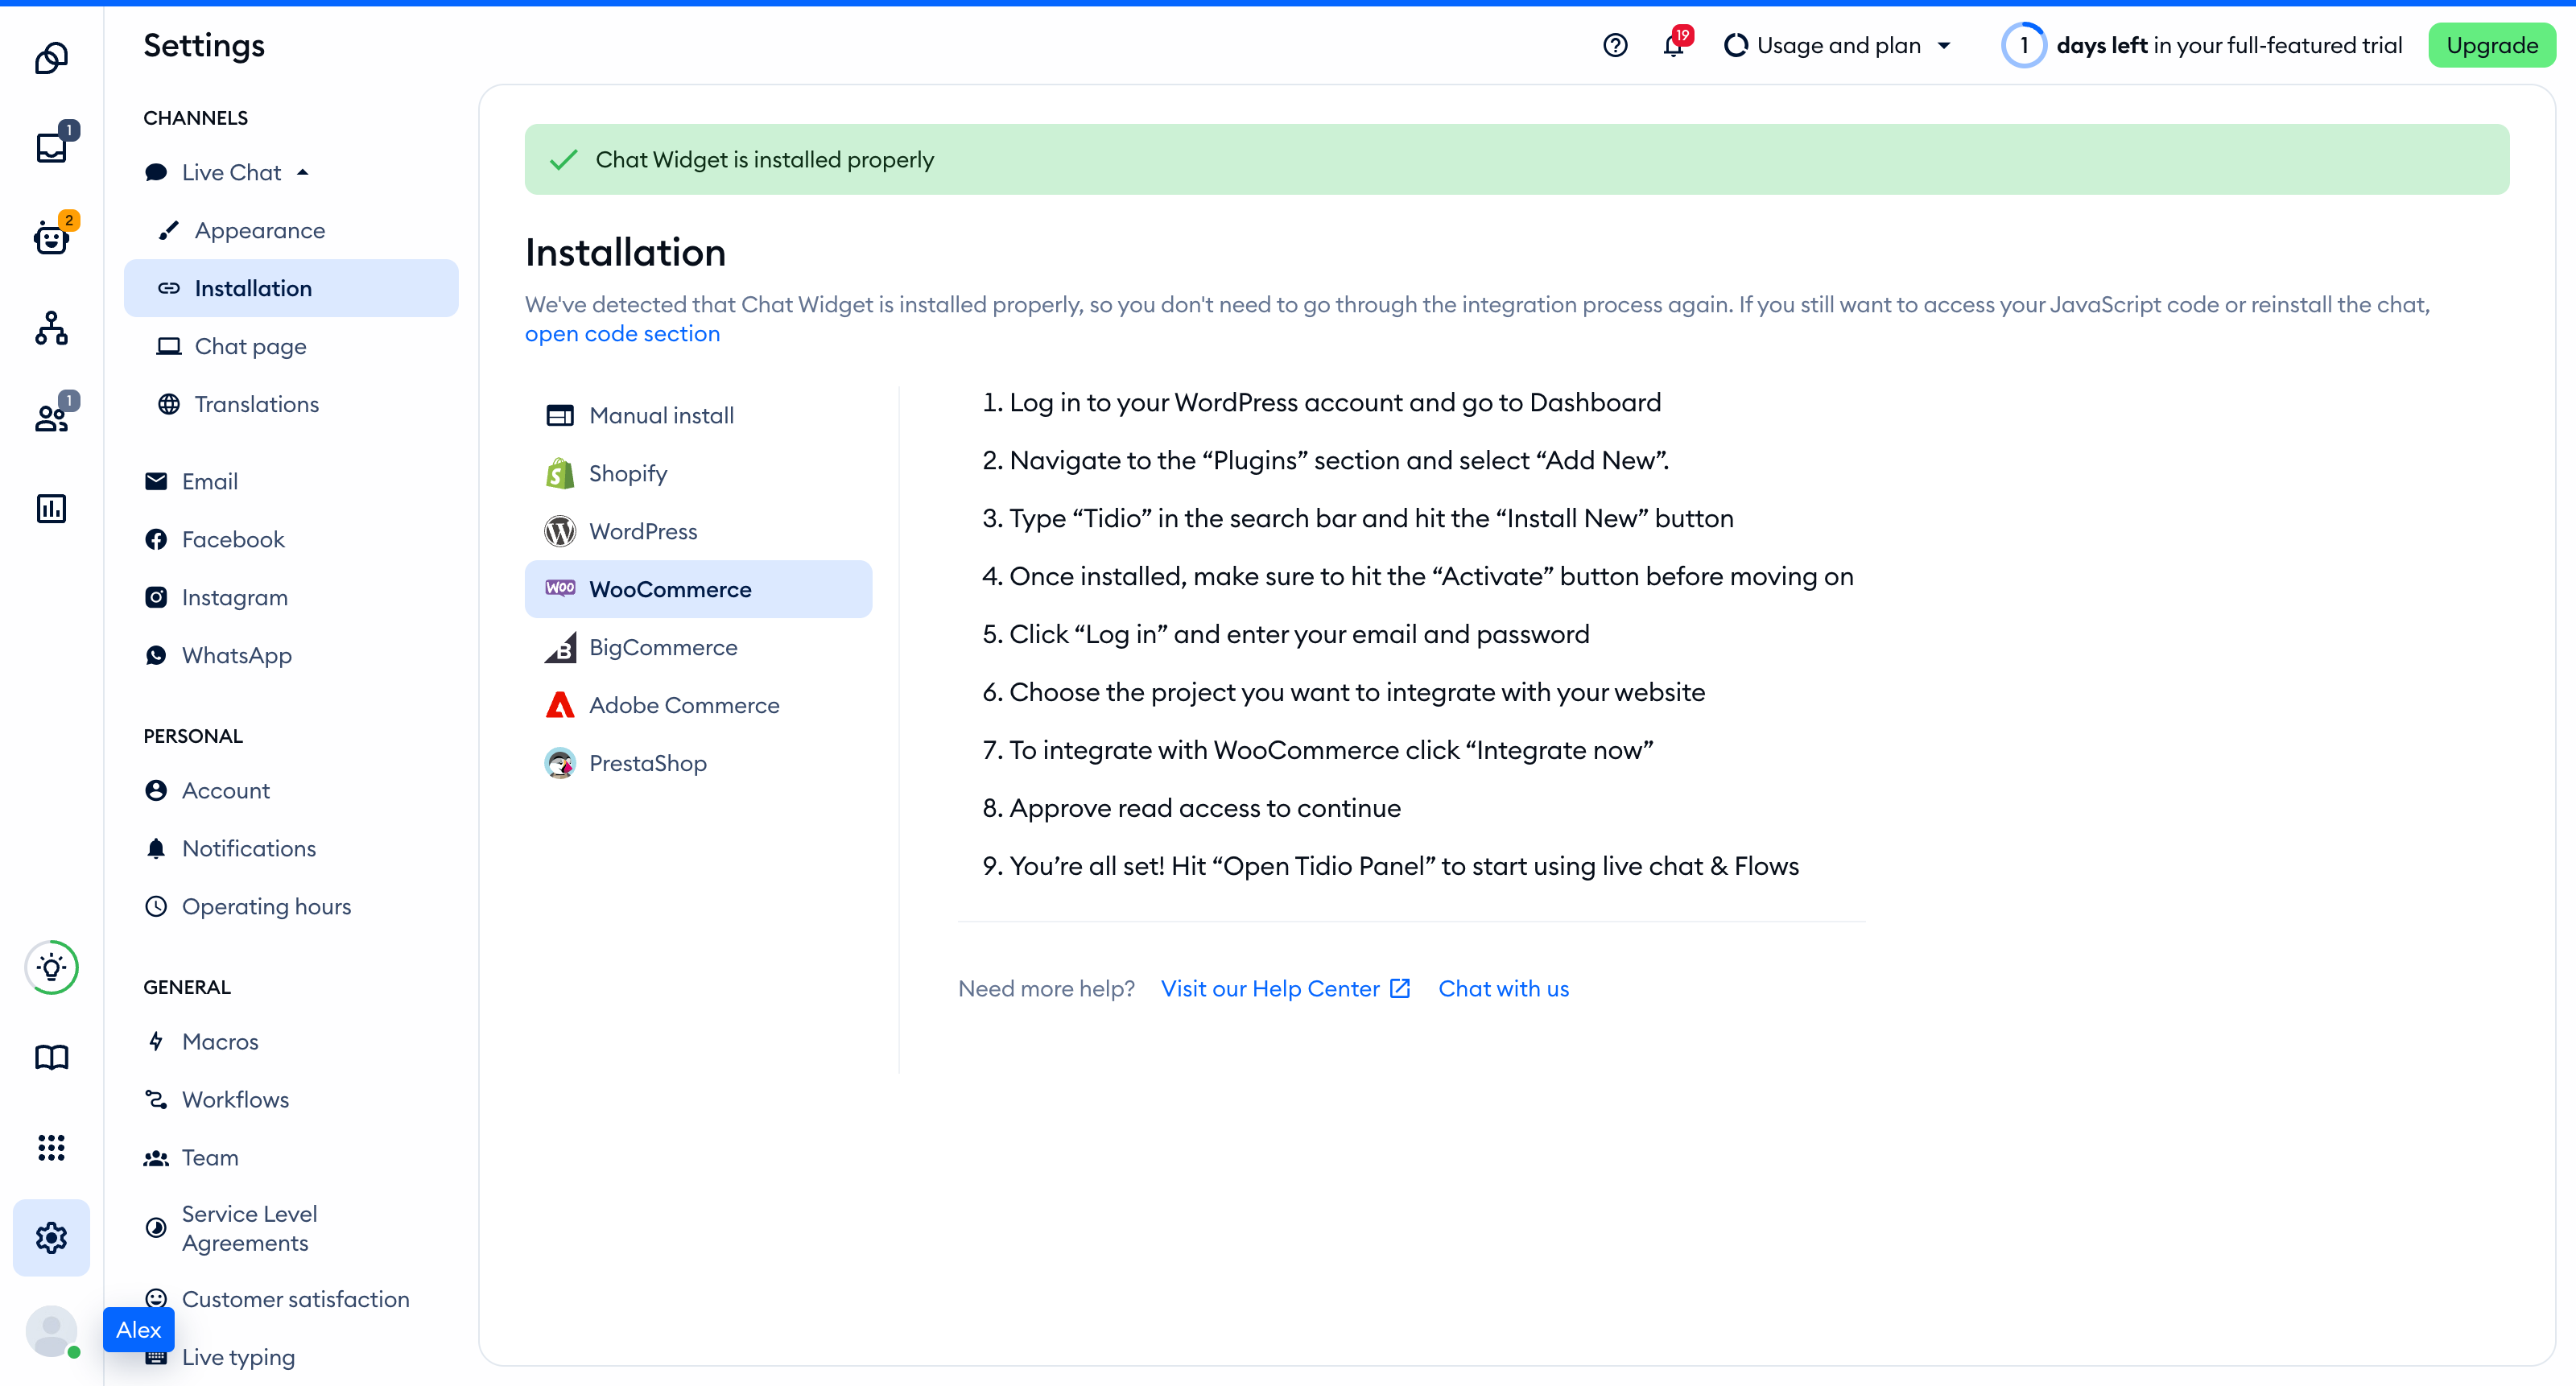
You will need to grant Tidio additional permissions for some operations:
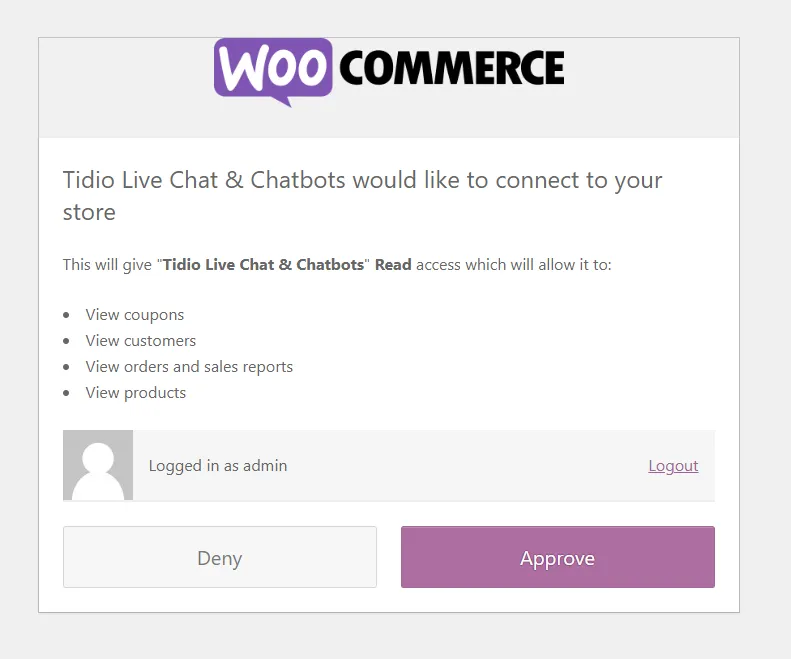
Once you agree, Tidio will be fully integrated with your site and WooCommerce plugin.
From now on, when chatting with a customer, you will be able to locate your products quickly and conveniently refer visitors to them by sending a card directly to the widget.
To learn more about product cards for WooCommerce integration, see this article.
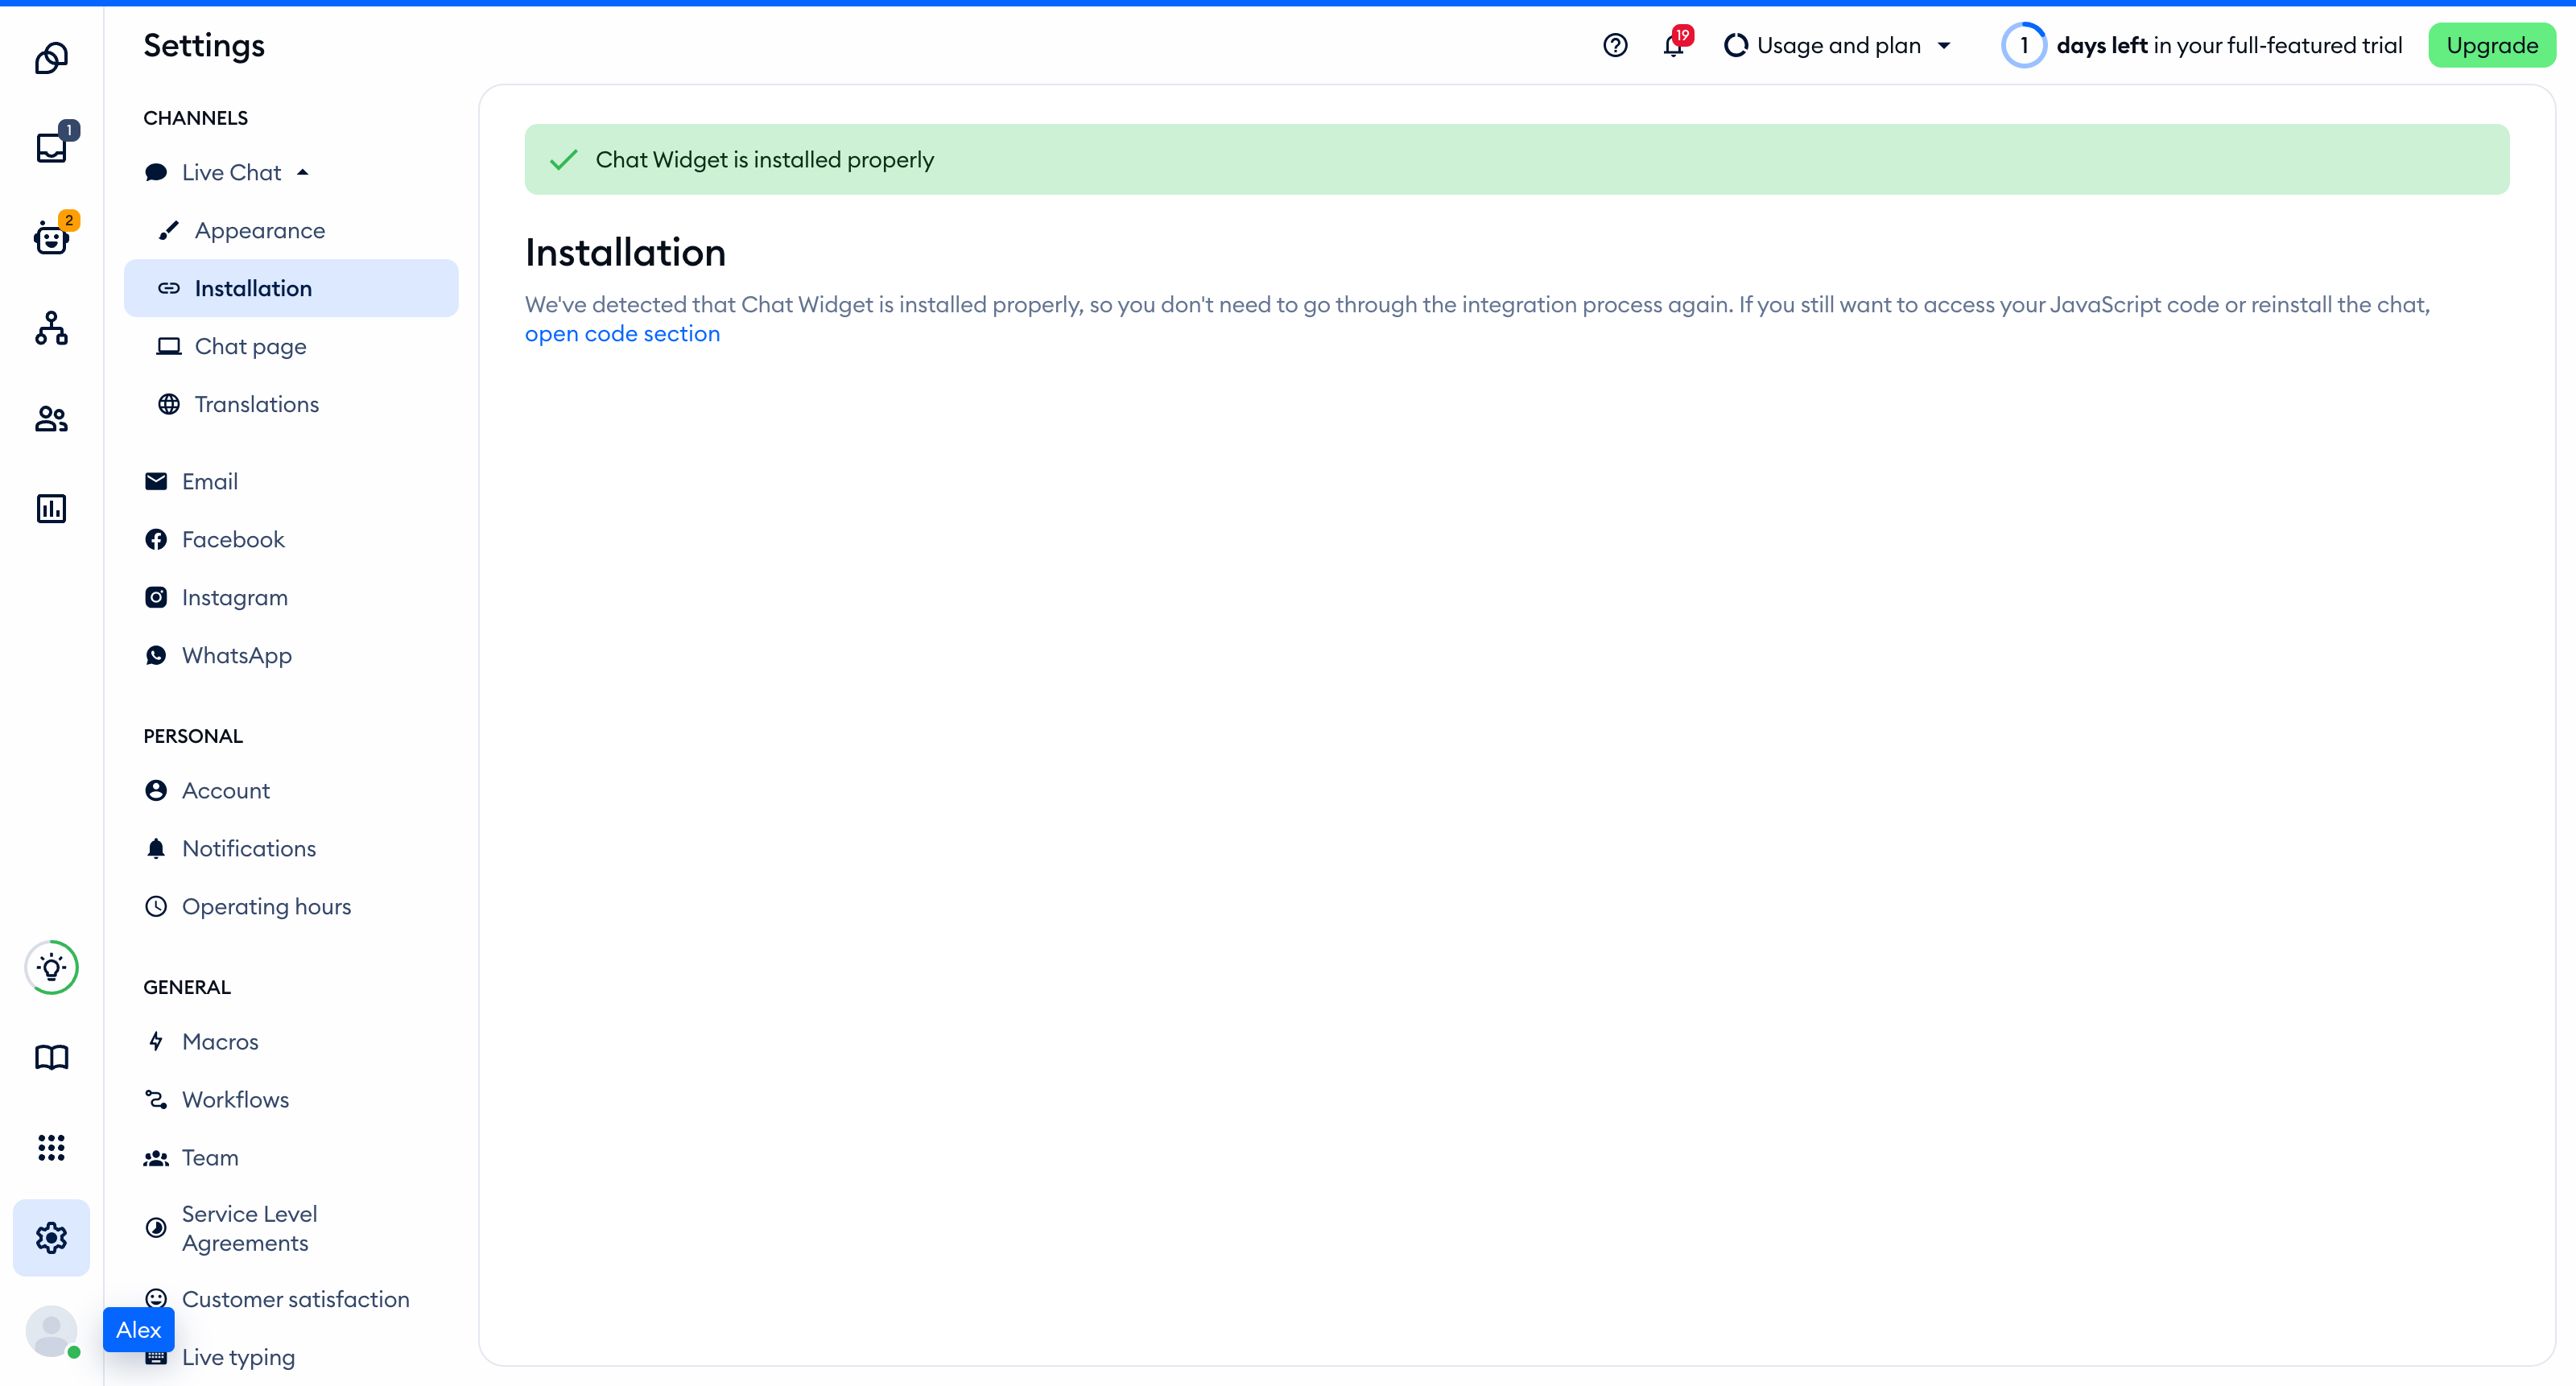
Once you're done, the chat widget should appear on your WooCommerce store. By default, its location is in the lower right-hand corner. You can change the position in the Settings panel and set up more rules or adjust the appearance of your chat widget.
Trouble logging in?
If you cannot log in to your Tidio account via the Tidio plugin installed on your WordPress/WooCommerce platform, please take a look at our article on logging in to an existing account.
