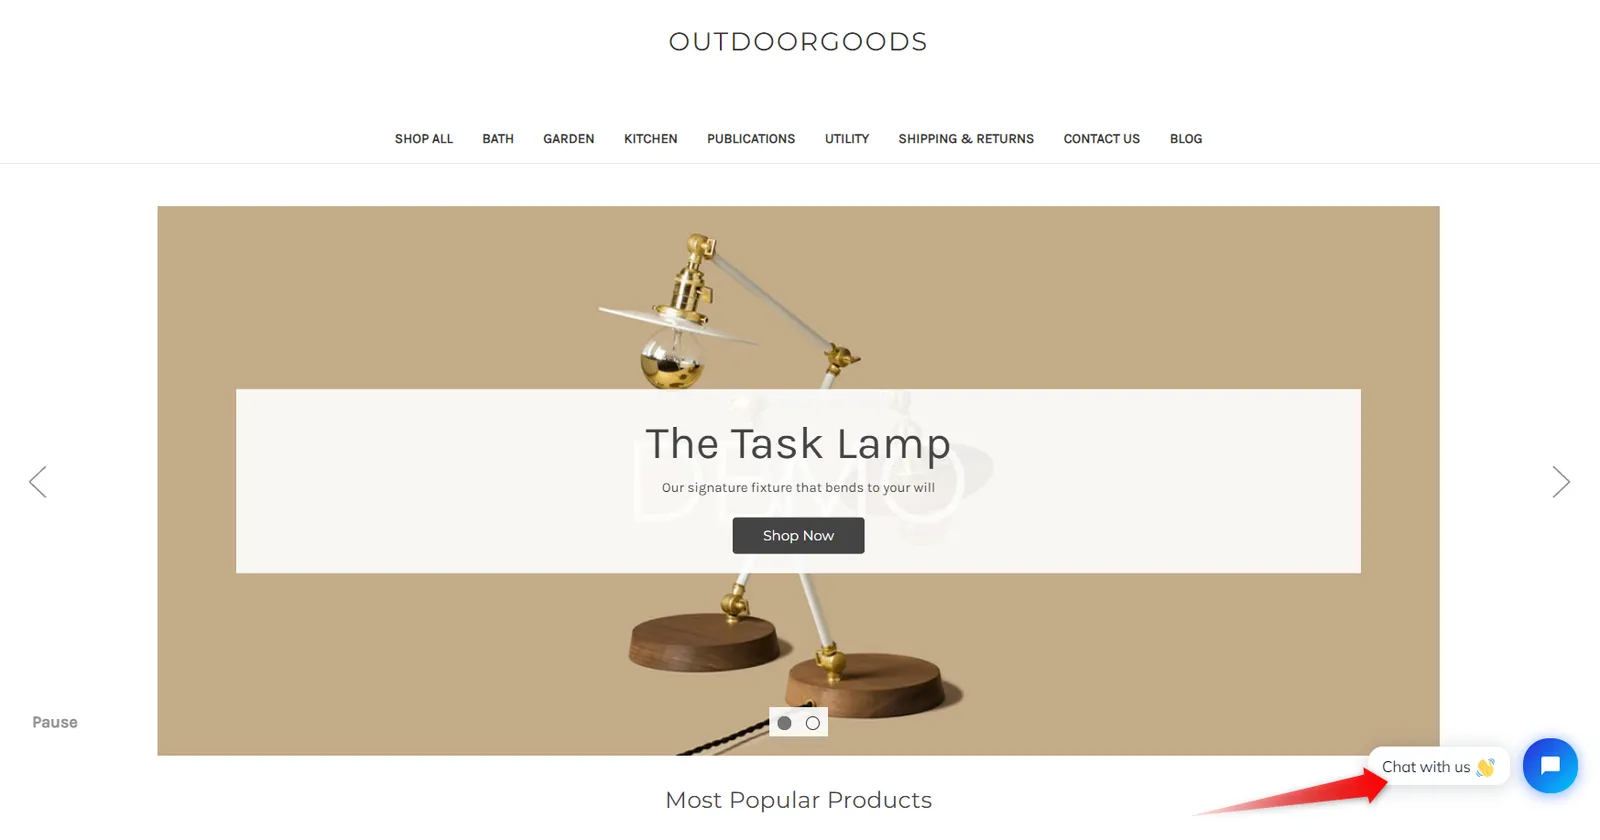
Integrating the Tidio widget into your BigCommerce website can greatly enhance your customer engagement and support capabilities. In this article, we'll walk you through the process of installing the Tidio widget on your BigCommerce site. Let's get started!
In this article, you'll learn:
Installing Tidio on BigCommerce
To install Tidio Chat to your BigCommerce site, log into your BigCommerce account and navigate to the Dashboard.
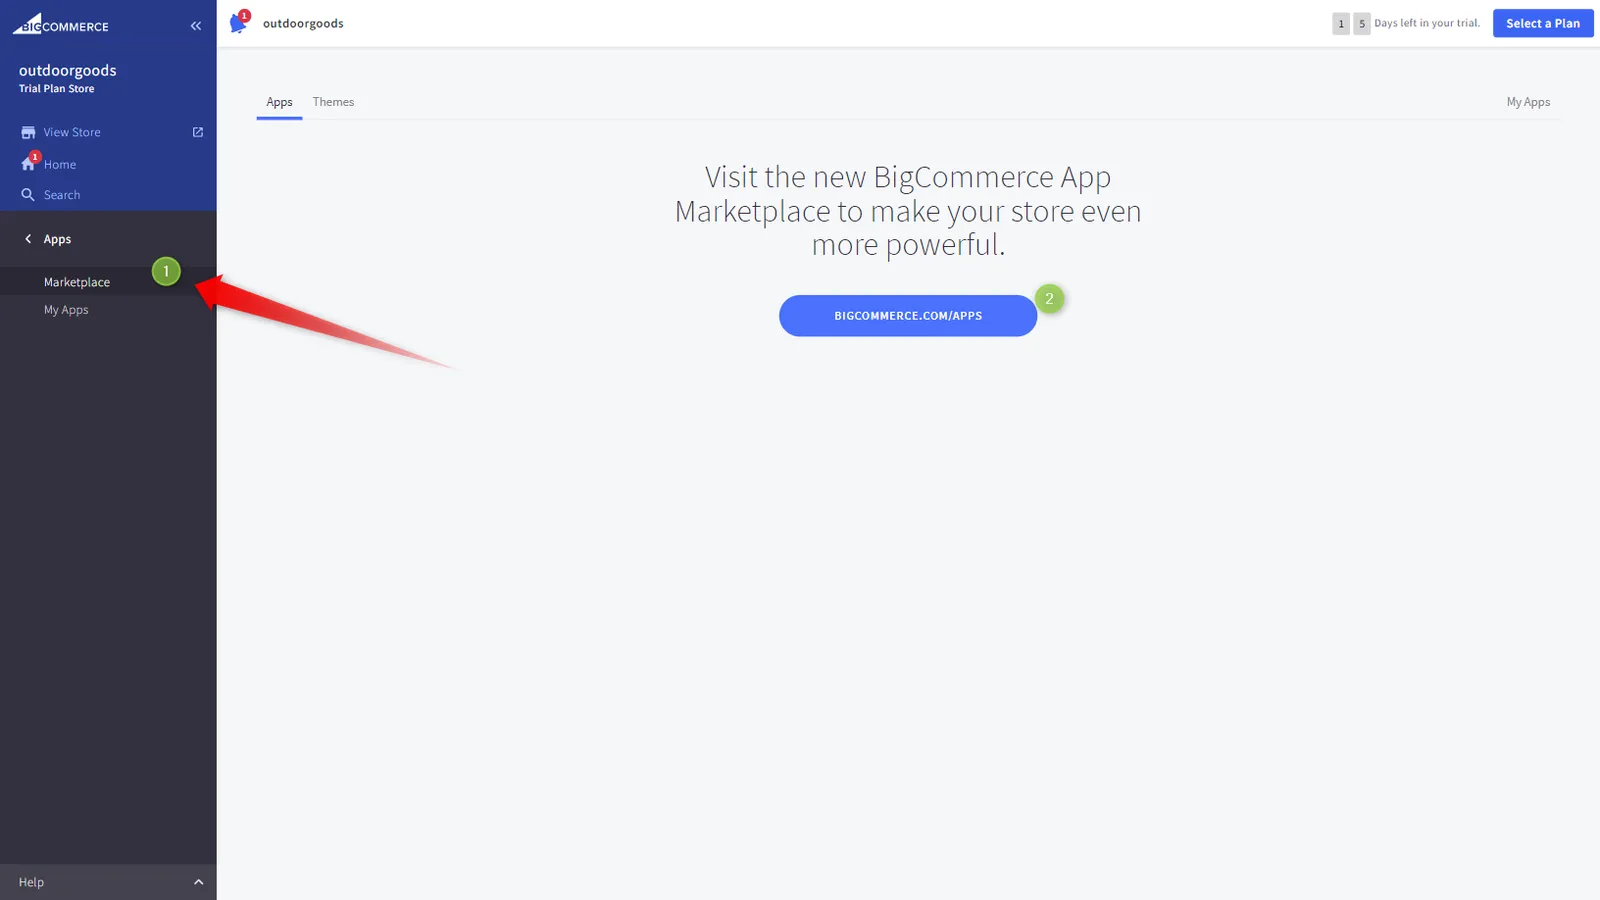
Navigate to the Apps section and open BigCommerce Marketplace.
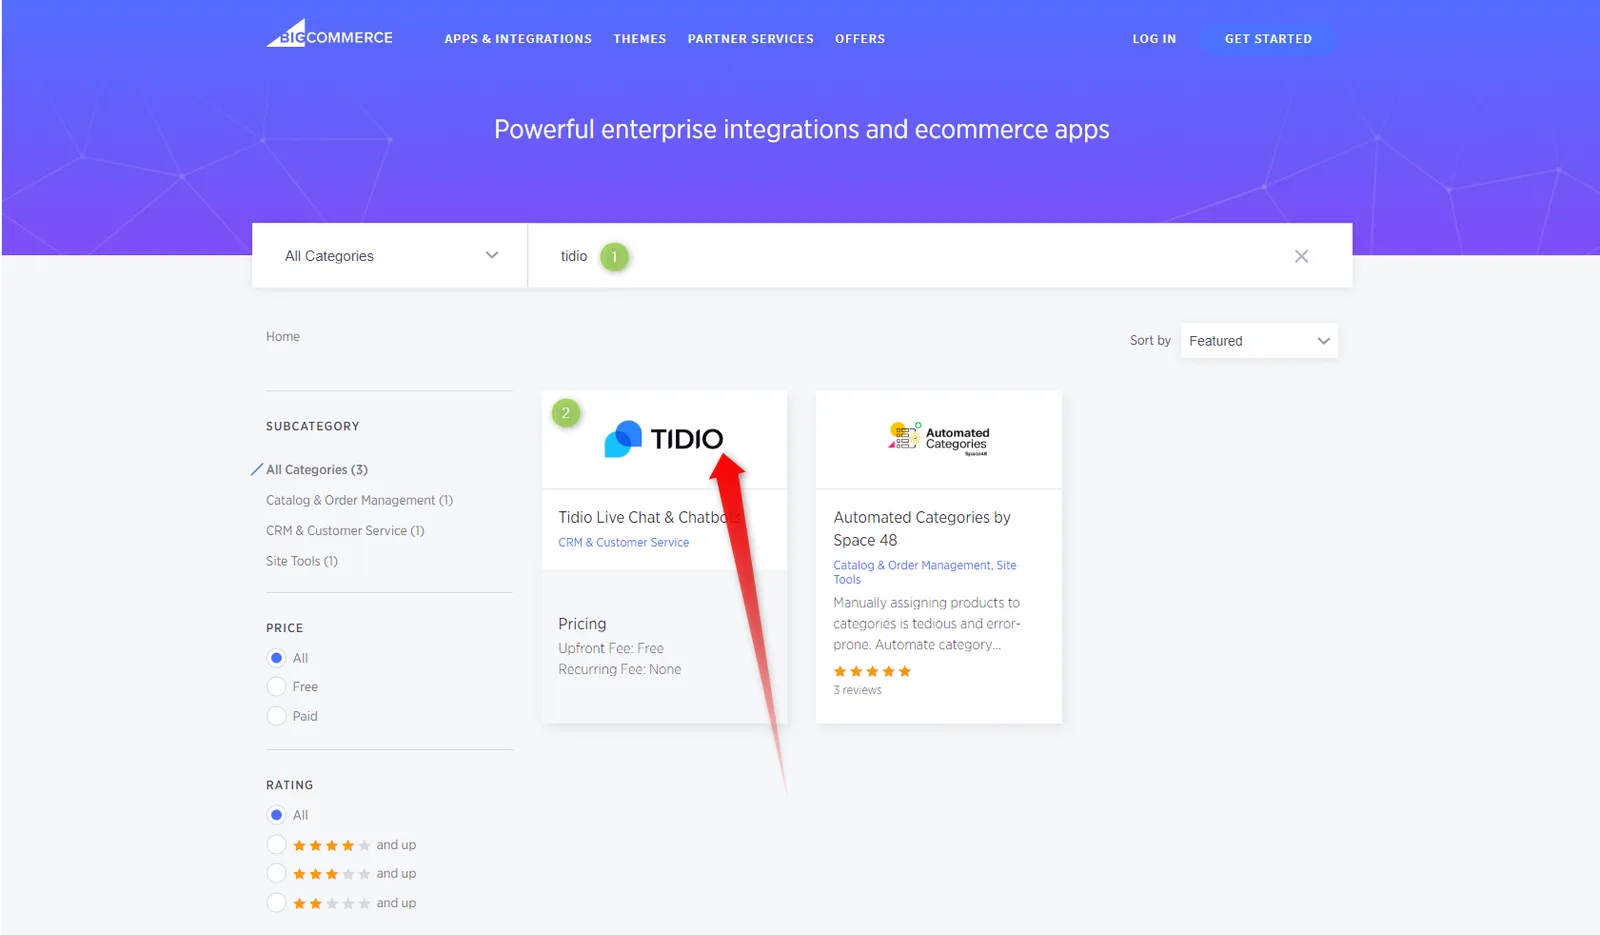
In the Search field, type in Tidio and choose the Tidio App from the list.
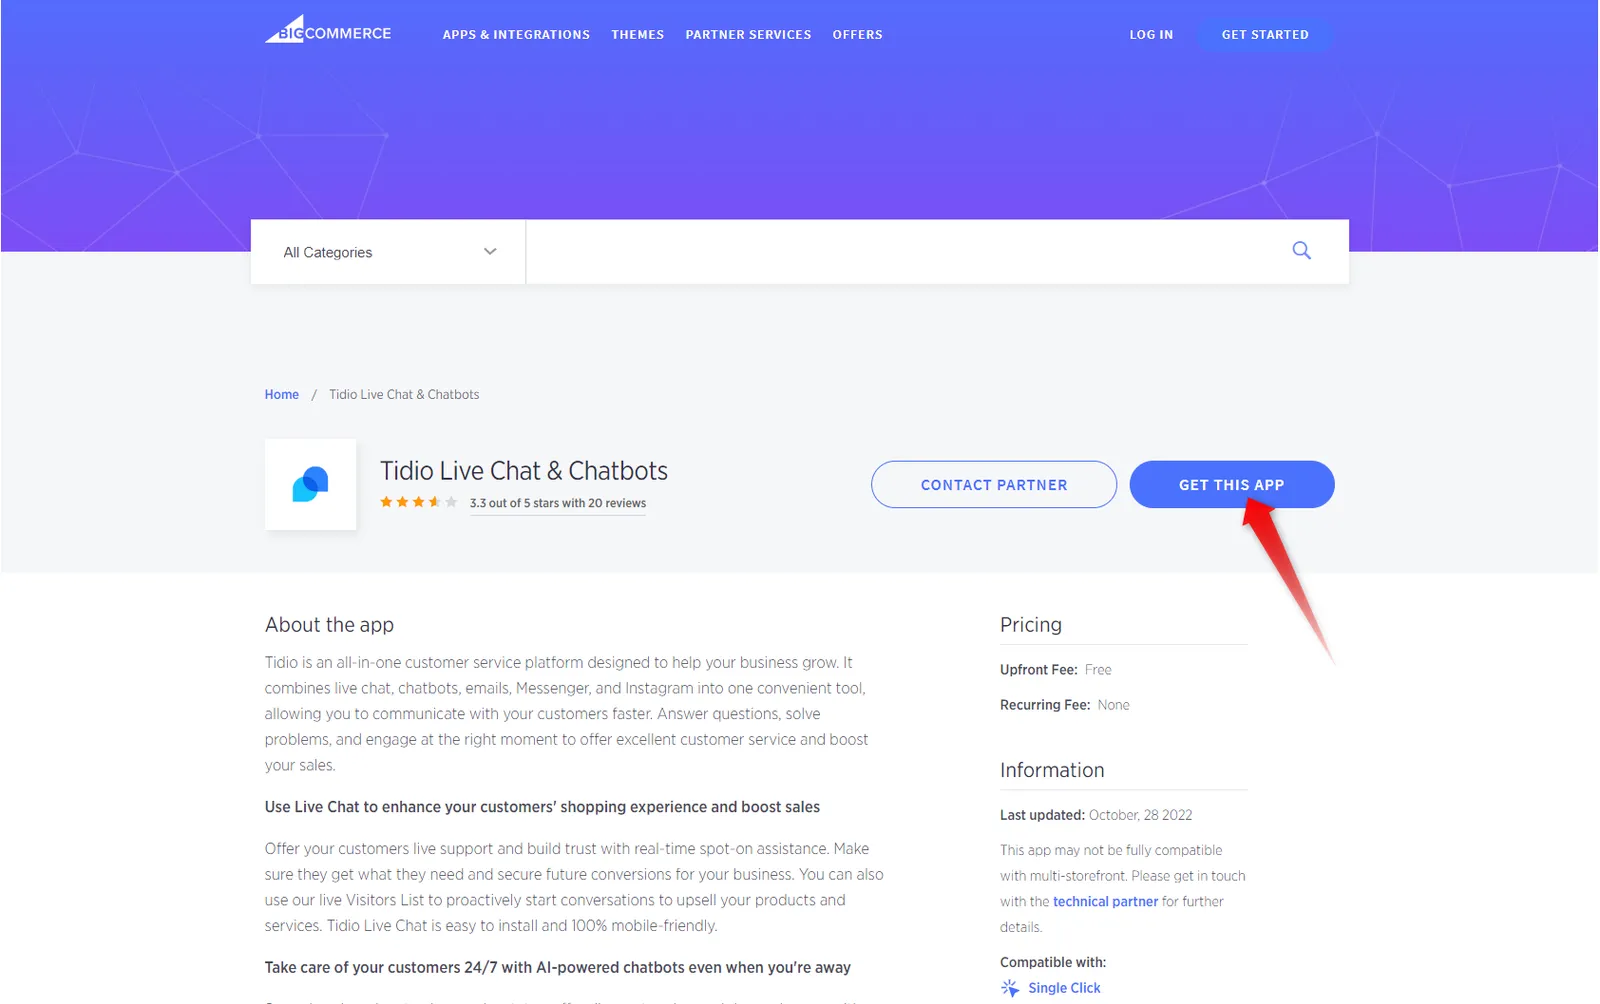
Click on the Get This App button to download the Tidio app.
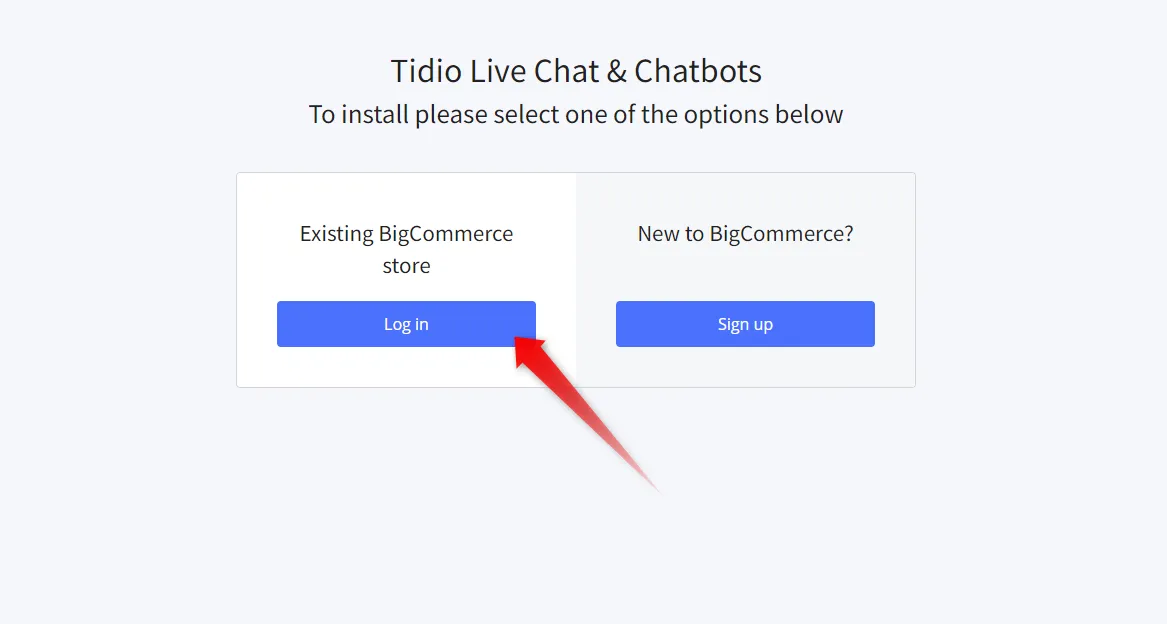
Next, Log in.
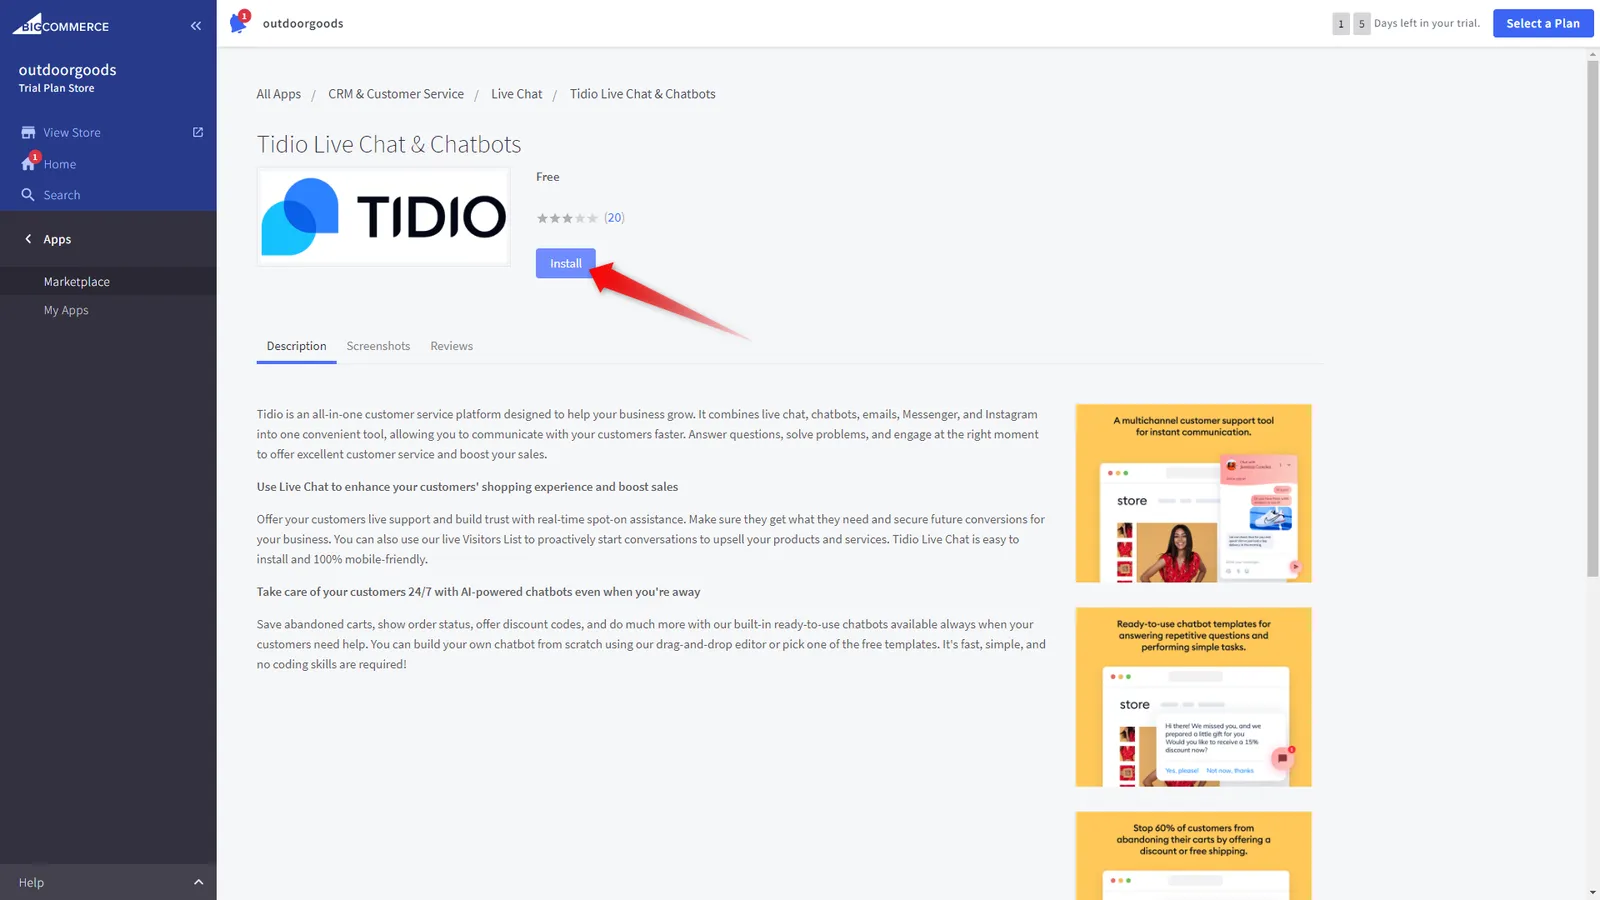
Click on the Install button.
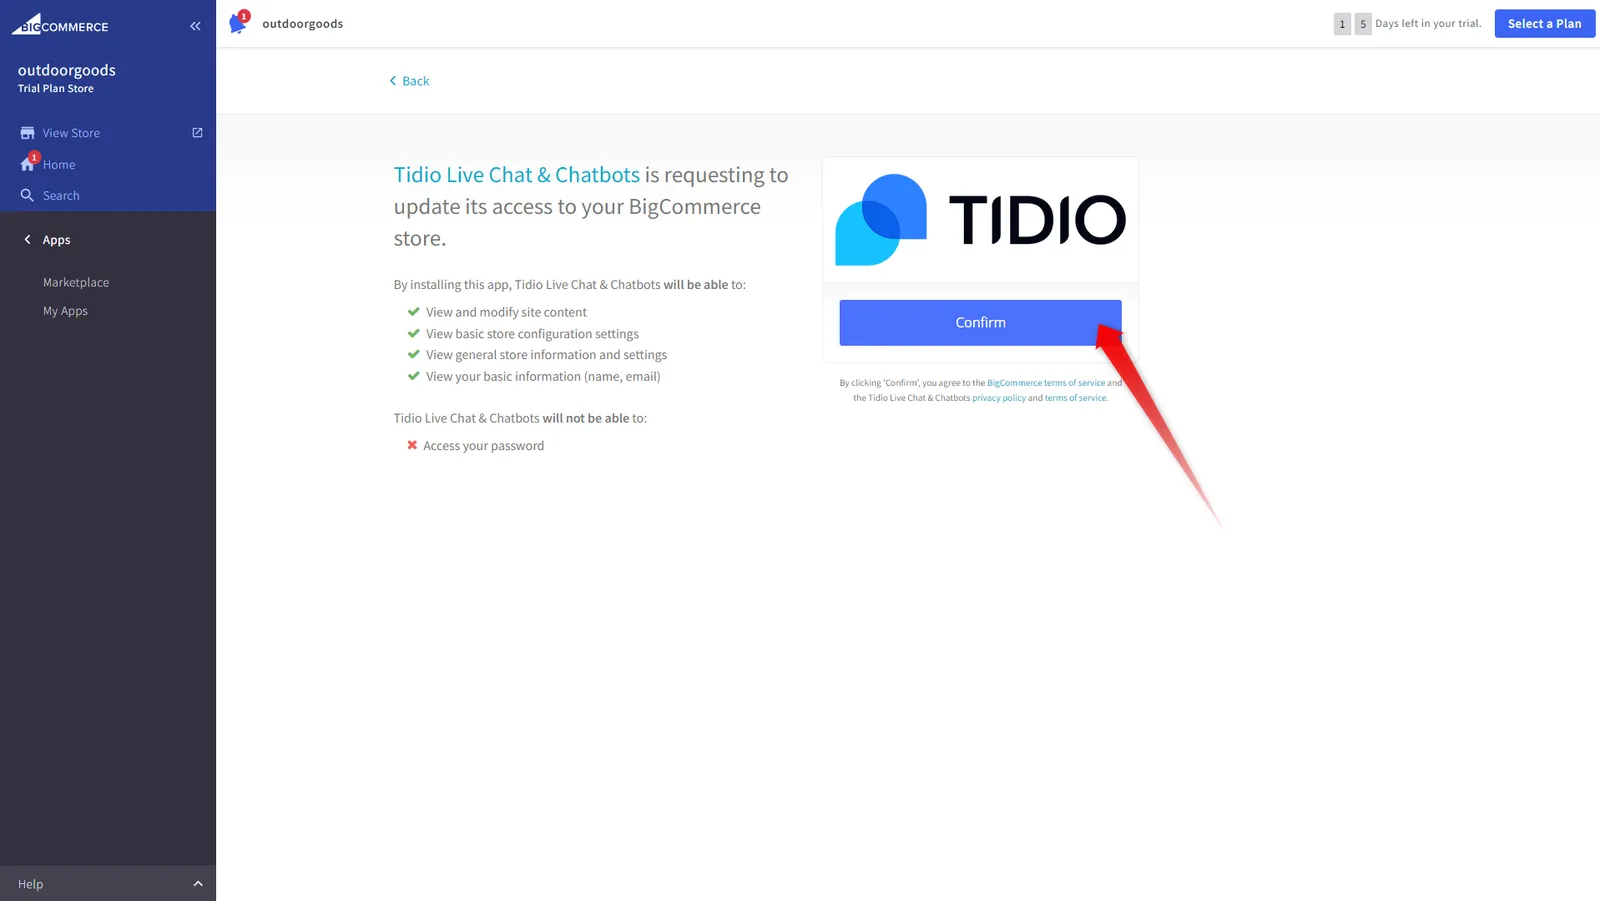
To grant the required permissions and use the app, click on the confirm button.
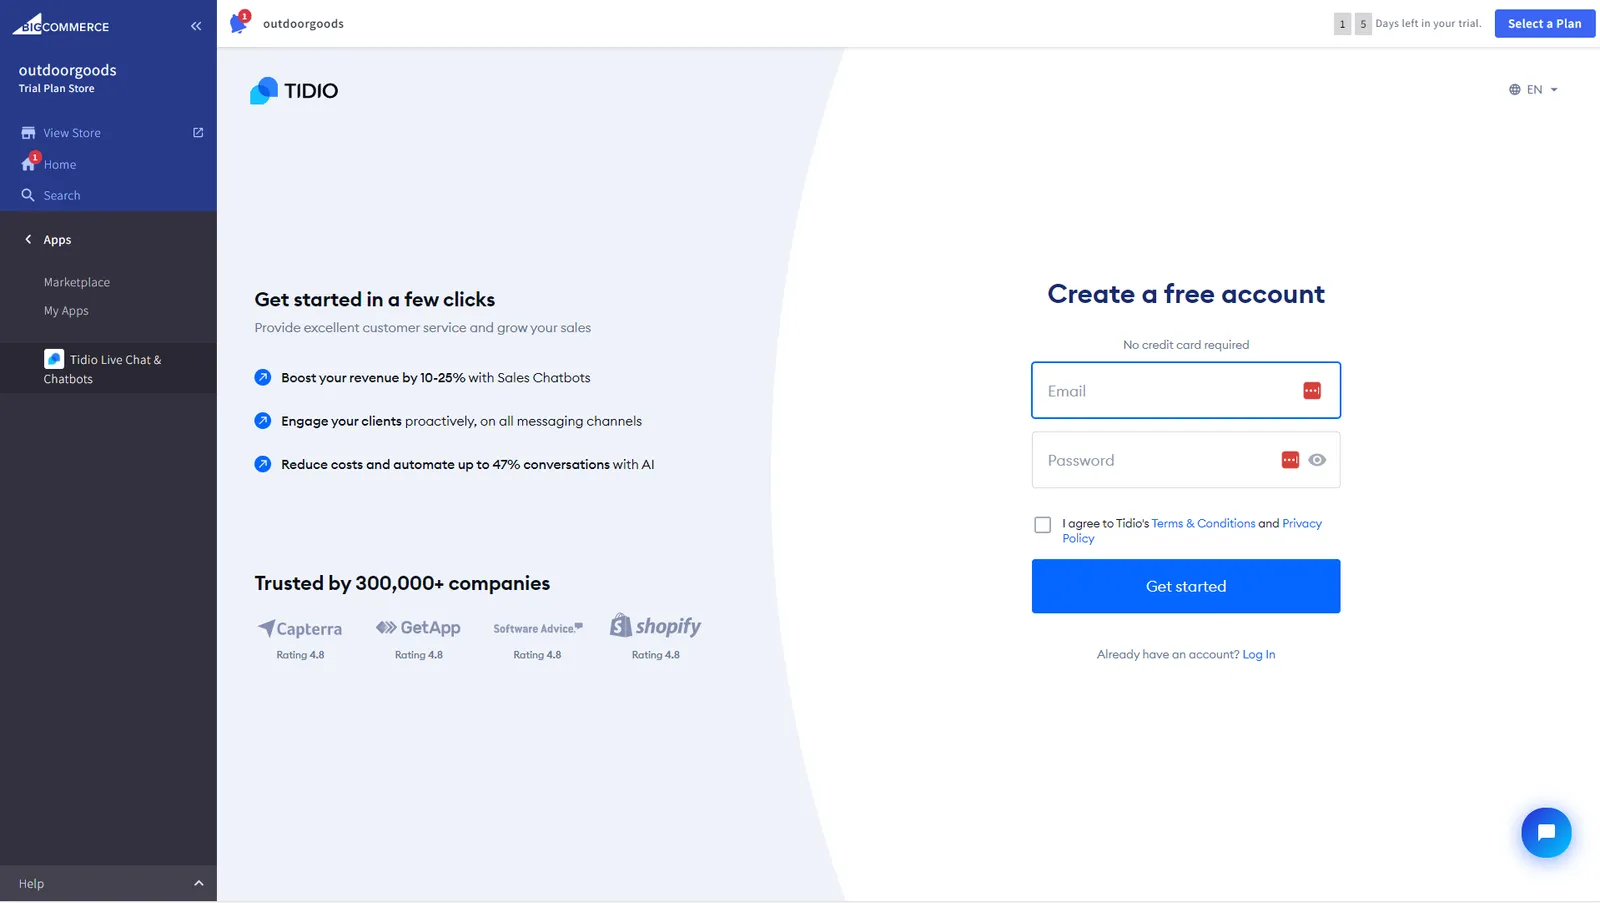
You'll now start to create & register your account. In the first step, you will create an account by providing an email and setting a password, and hitting Get started. Already have a Tidio account? Click on Log In next to Already have an account? instead, and follow the steps in Connecting an existing Tidio project.
After a few easy steps, your account will be created, and the widget will be installed on your site.
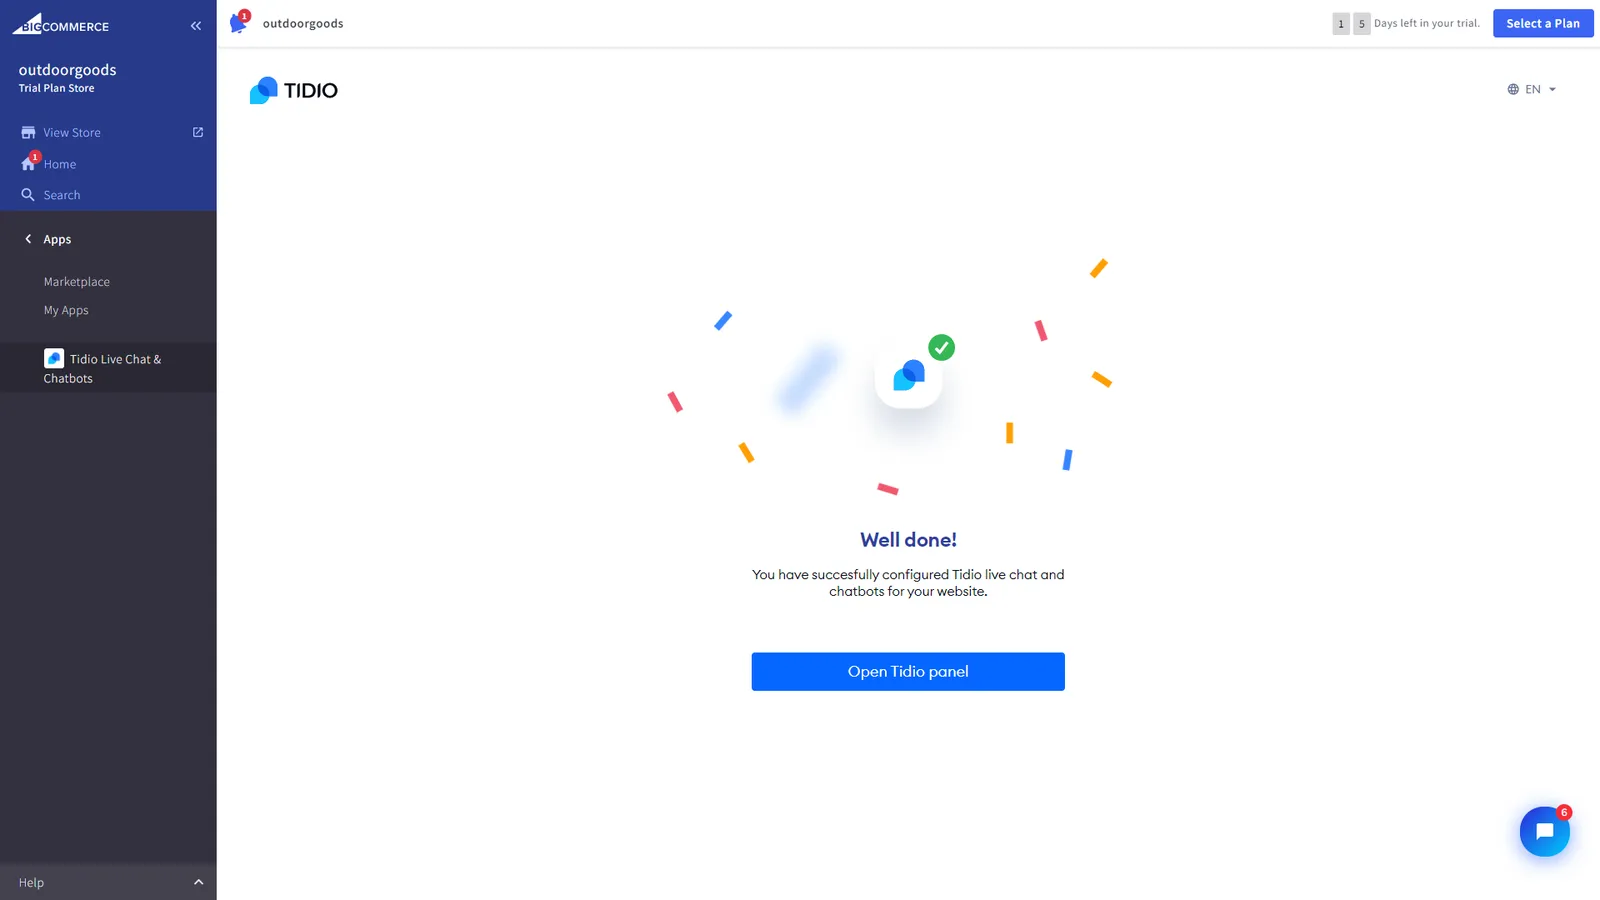
Congratulations - you can now start chatting with your visitors!
Connecting an existing Tidio project
Already using Tidio on another website, or set up your project before you added the app? You can connect that project to your BigCommerce store instead of creating a new account. After you confirm the app's permissions in BigCommerce, click on Log In on the Tidio sign-up form and sign in with your Tidio email and password.
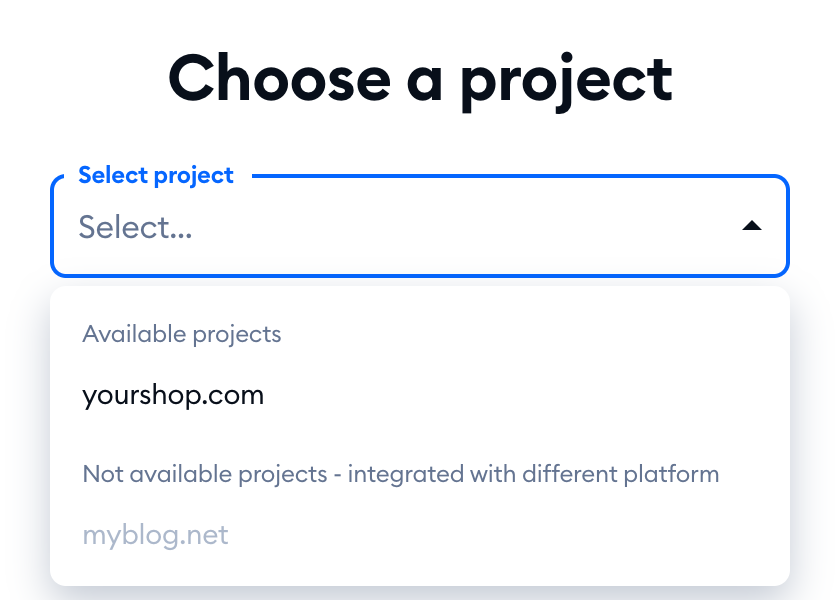
You'll see the Choose a project screen. Pick your project in Select project - you'll find it under Available projects - and hit Integrate selected project:
That's it! Tidio shows Well done! Chat Widget is on your website - click on Open Tidio panel to start chatting with your visitors.
Would you rather use a fresh project for this store? Click on Create one next to Would you like to integrate a new project?.
Please note: you can connect a project that isn't connected with any platform yet, or one that's already connected with BigCommerce. Projects connected with another platform (like Shopify or WordPress) are listed under Not available projects - integrated with different platform, and you can't pick them. If none of your projects can be used, Tidio asks you to Create a new project instead.
