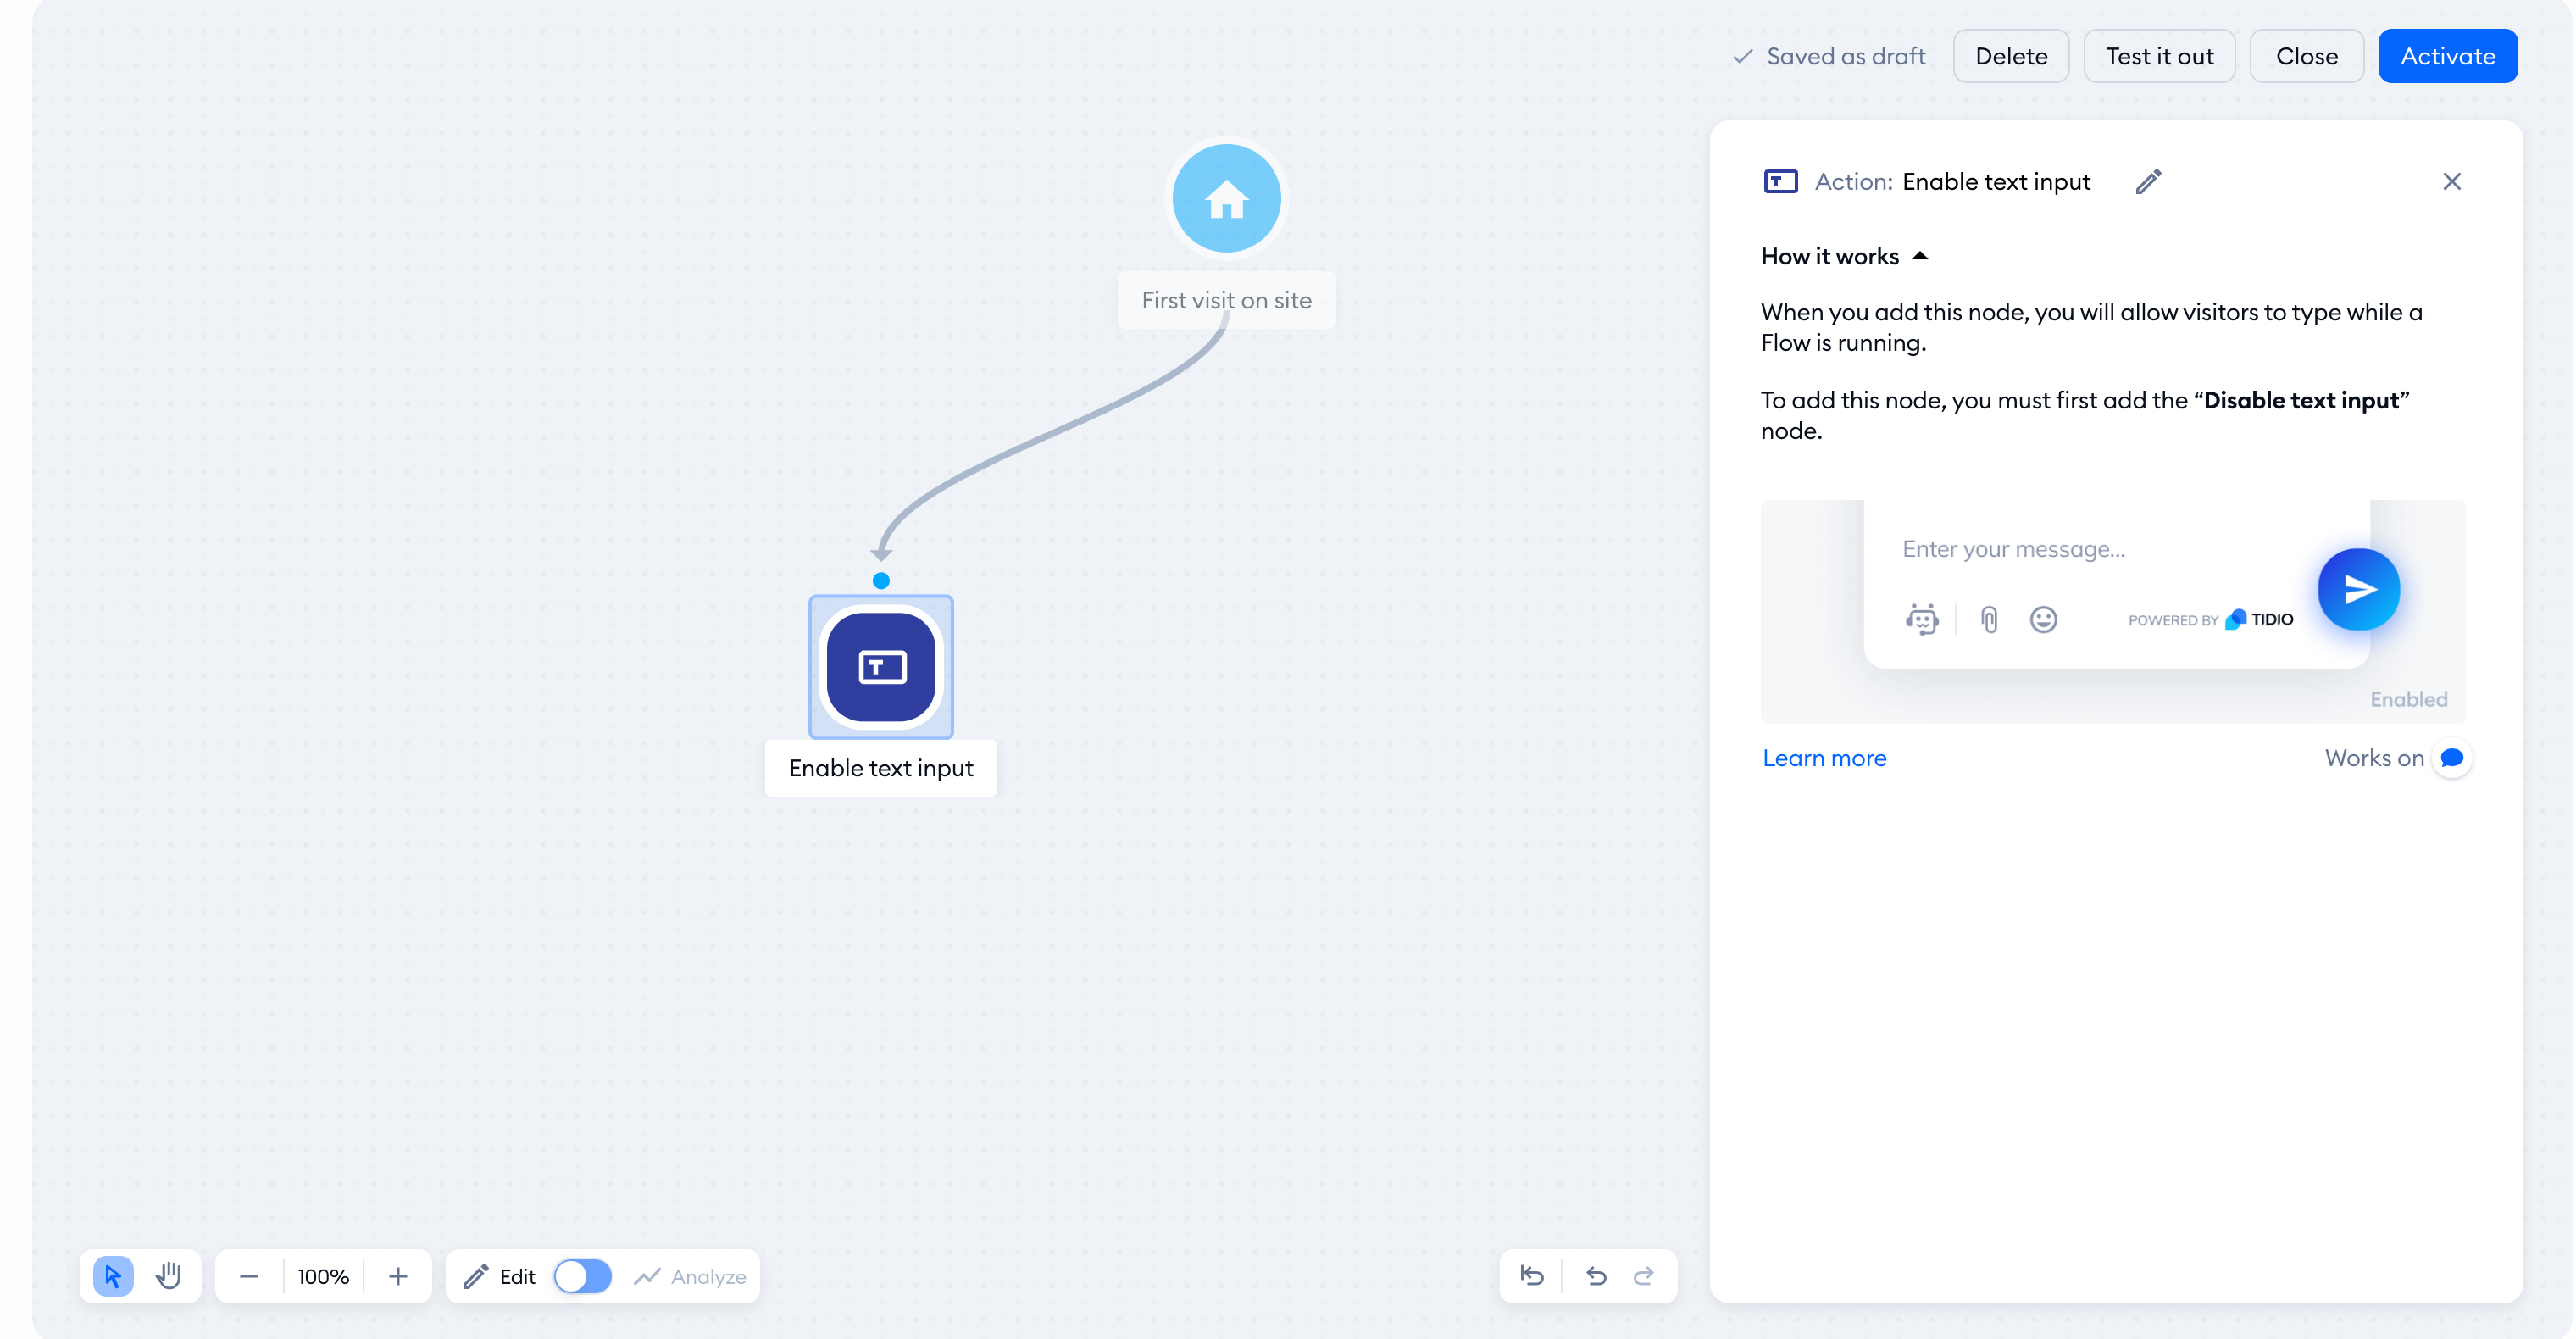
The Disable text input action controls when visitors can type in the chat during a flow.
In this article, you'll learn:
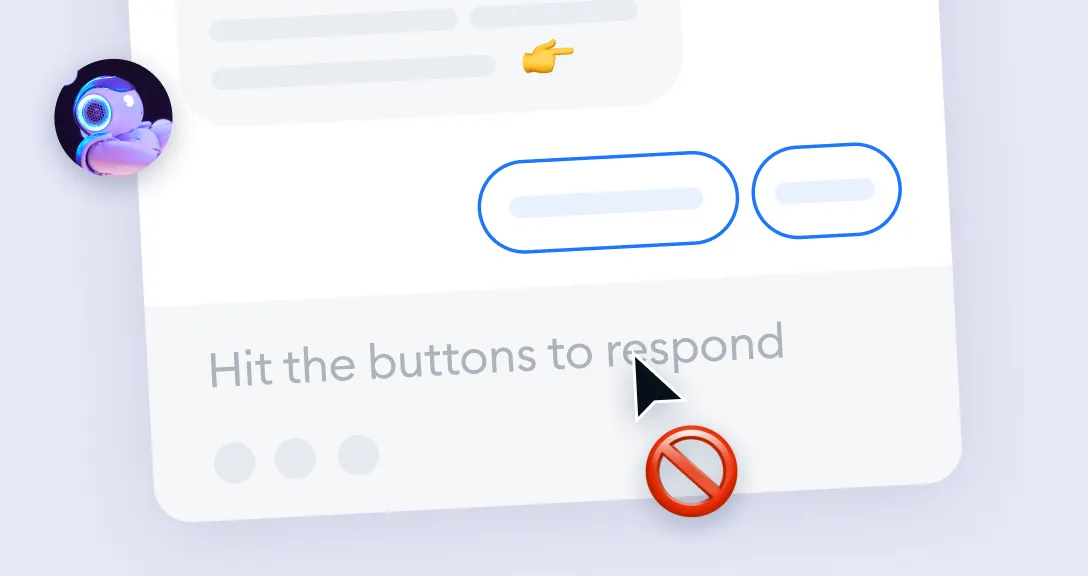
How Disable text input works
Use Disable text input to guide visitors through button choices without accepting typed messages until the flow enables text input again or ends.
In your flow editor, you'll find two actions:
Disable text input node
When the flow reaches this node, visitors cannot type in the chat until text input is enabled again or the flow ends.

Enable text input node
When the flow reaches this node after disabling text input, visitors can type again while the flow is running.

How to Use Disable text input
To use the Disable text input option, head to the flow editor, open the Actions tab, and find the Disable text input action.
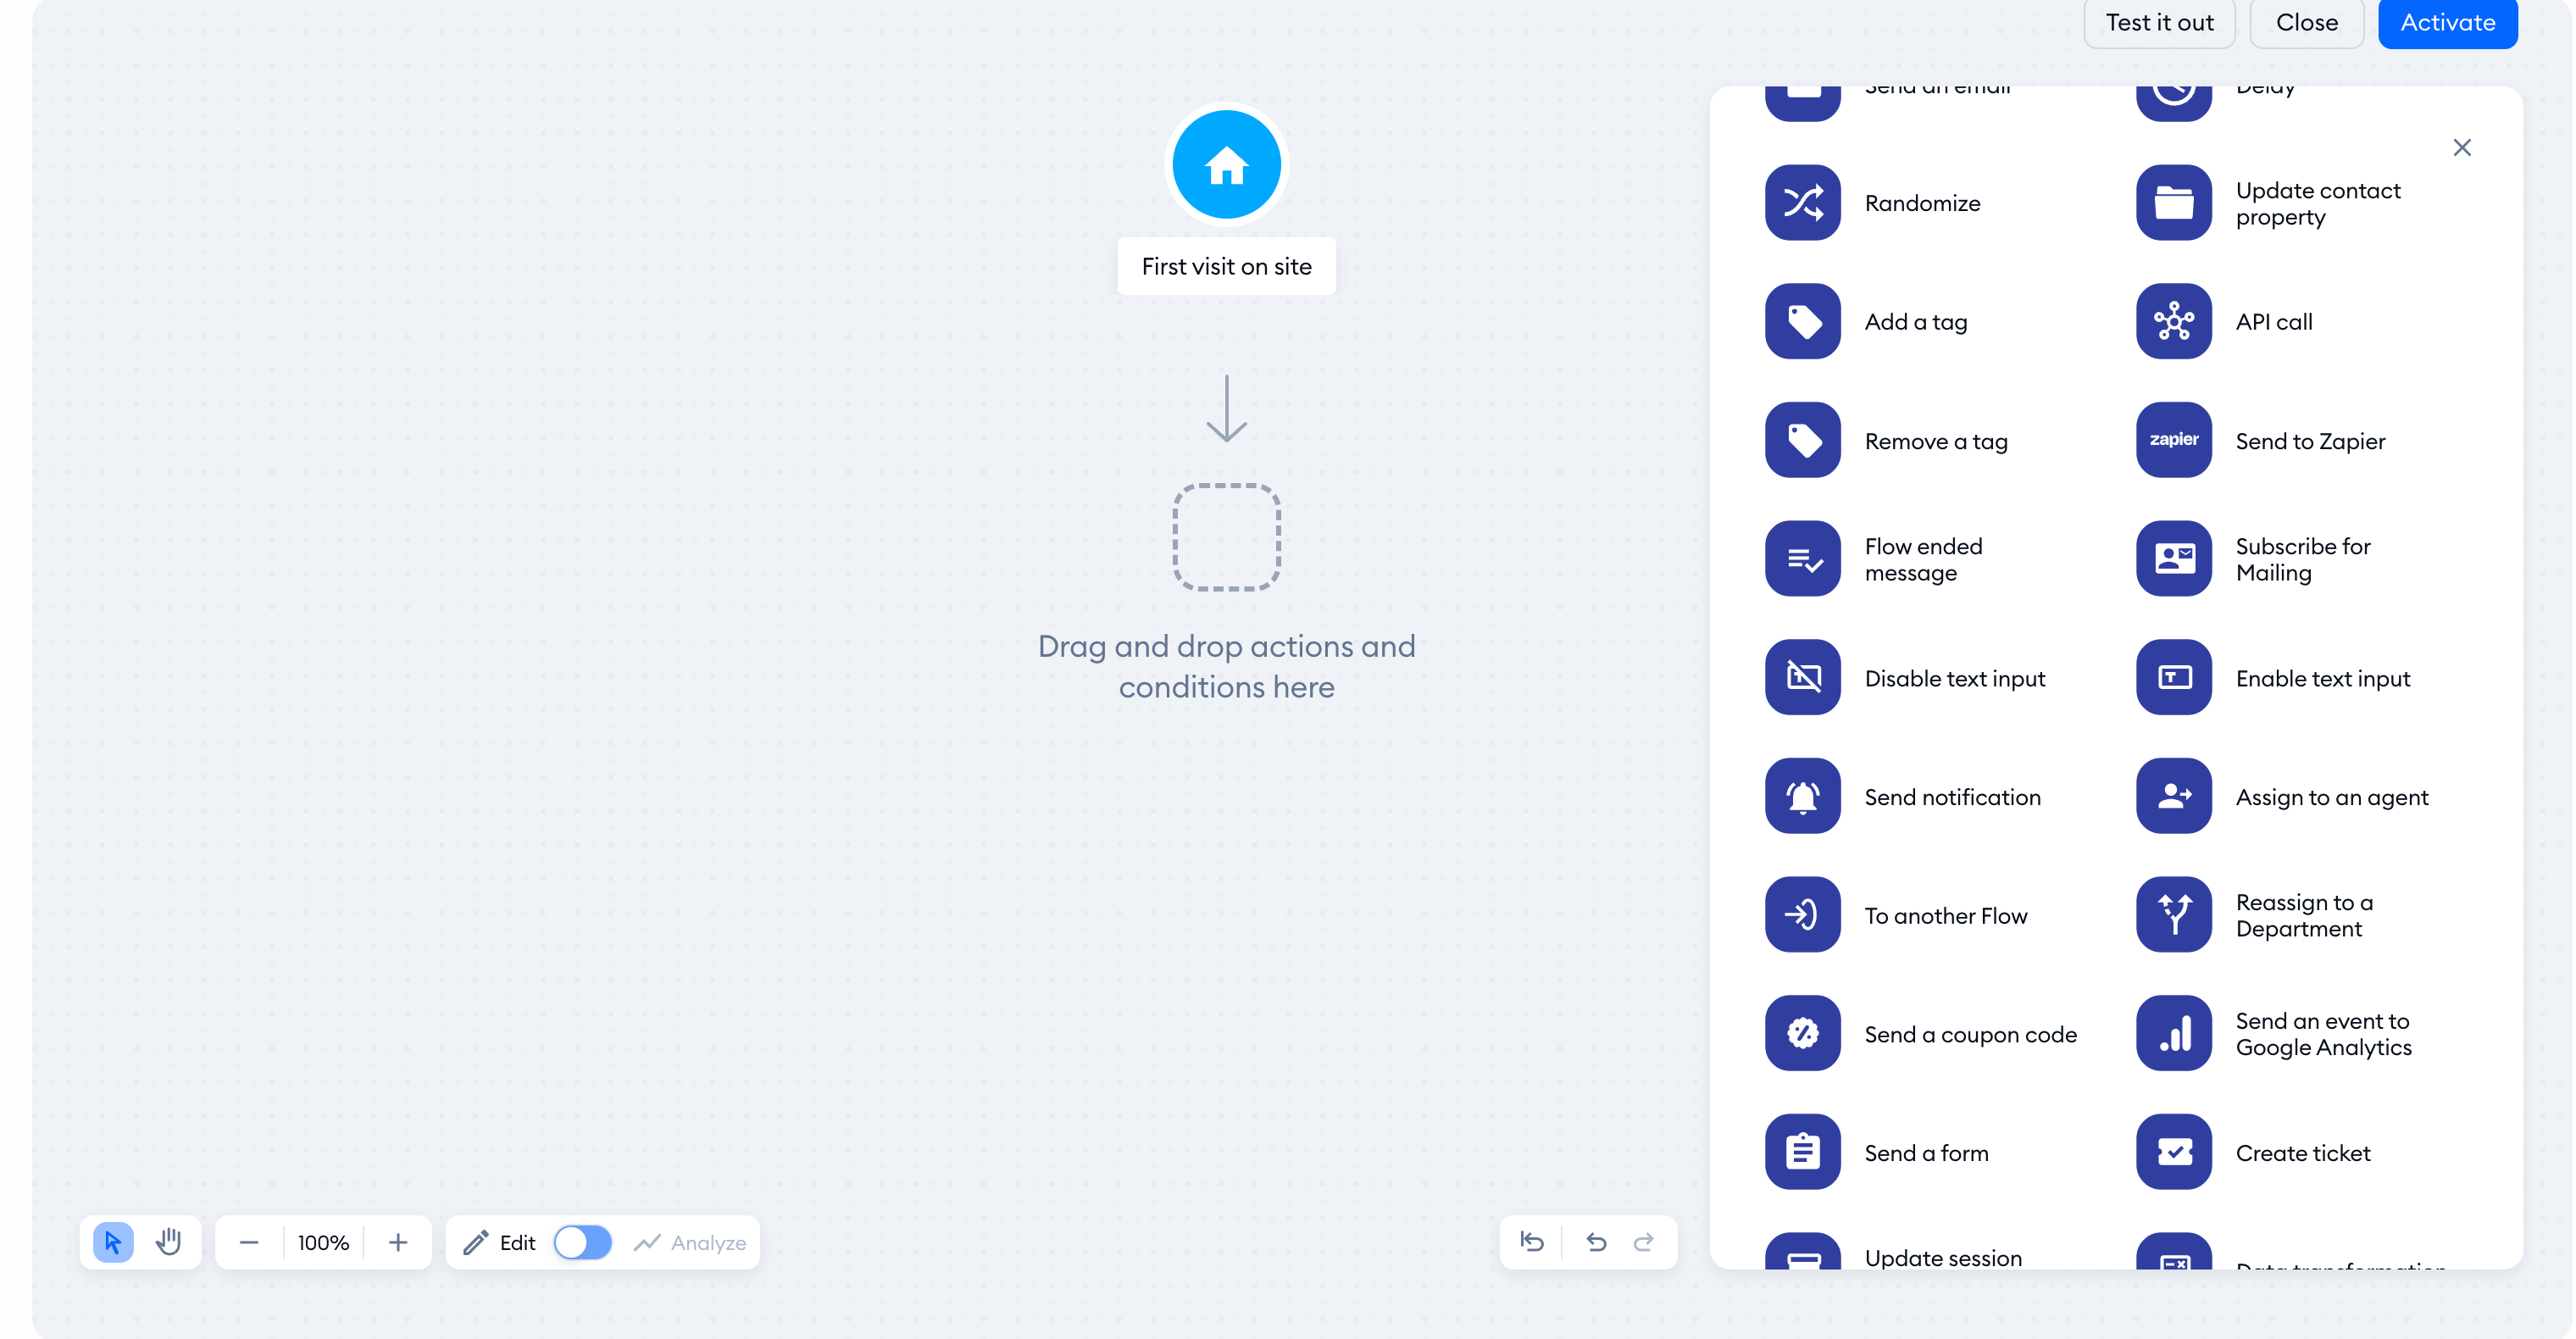
Drag Disable text input onto the flow map and connect it after the trigger and before the rest of the flow.
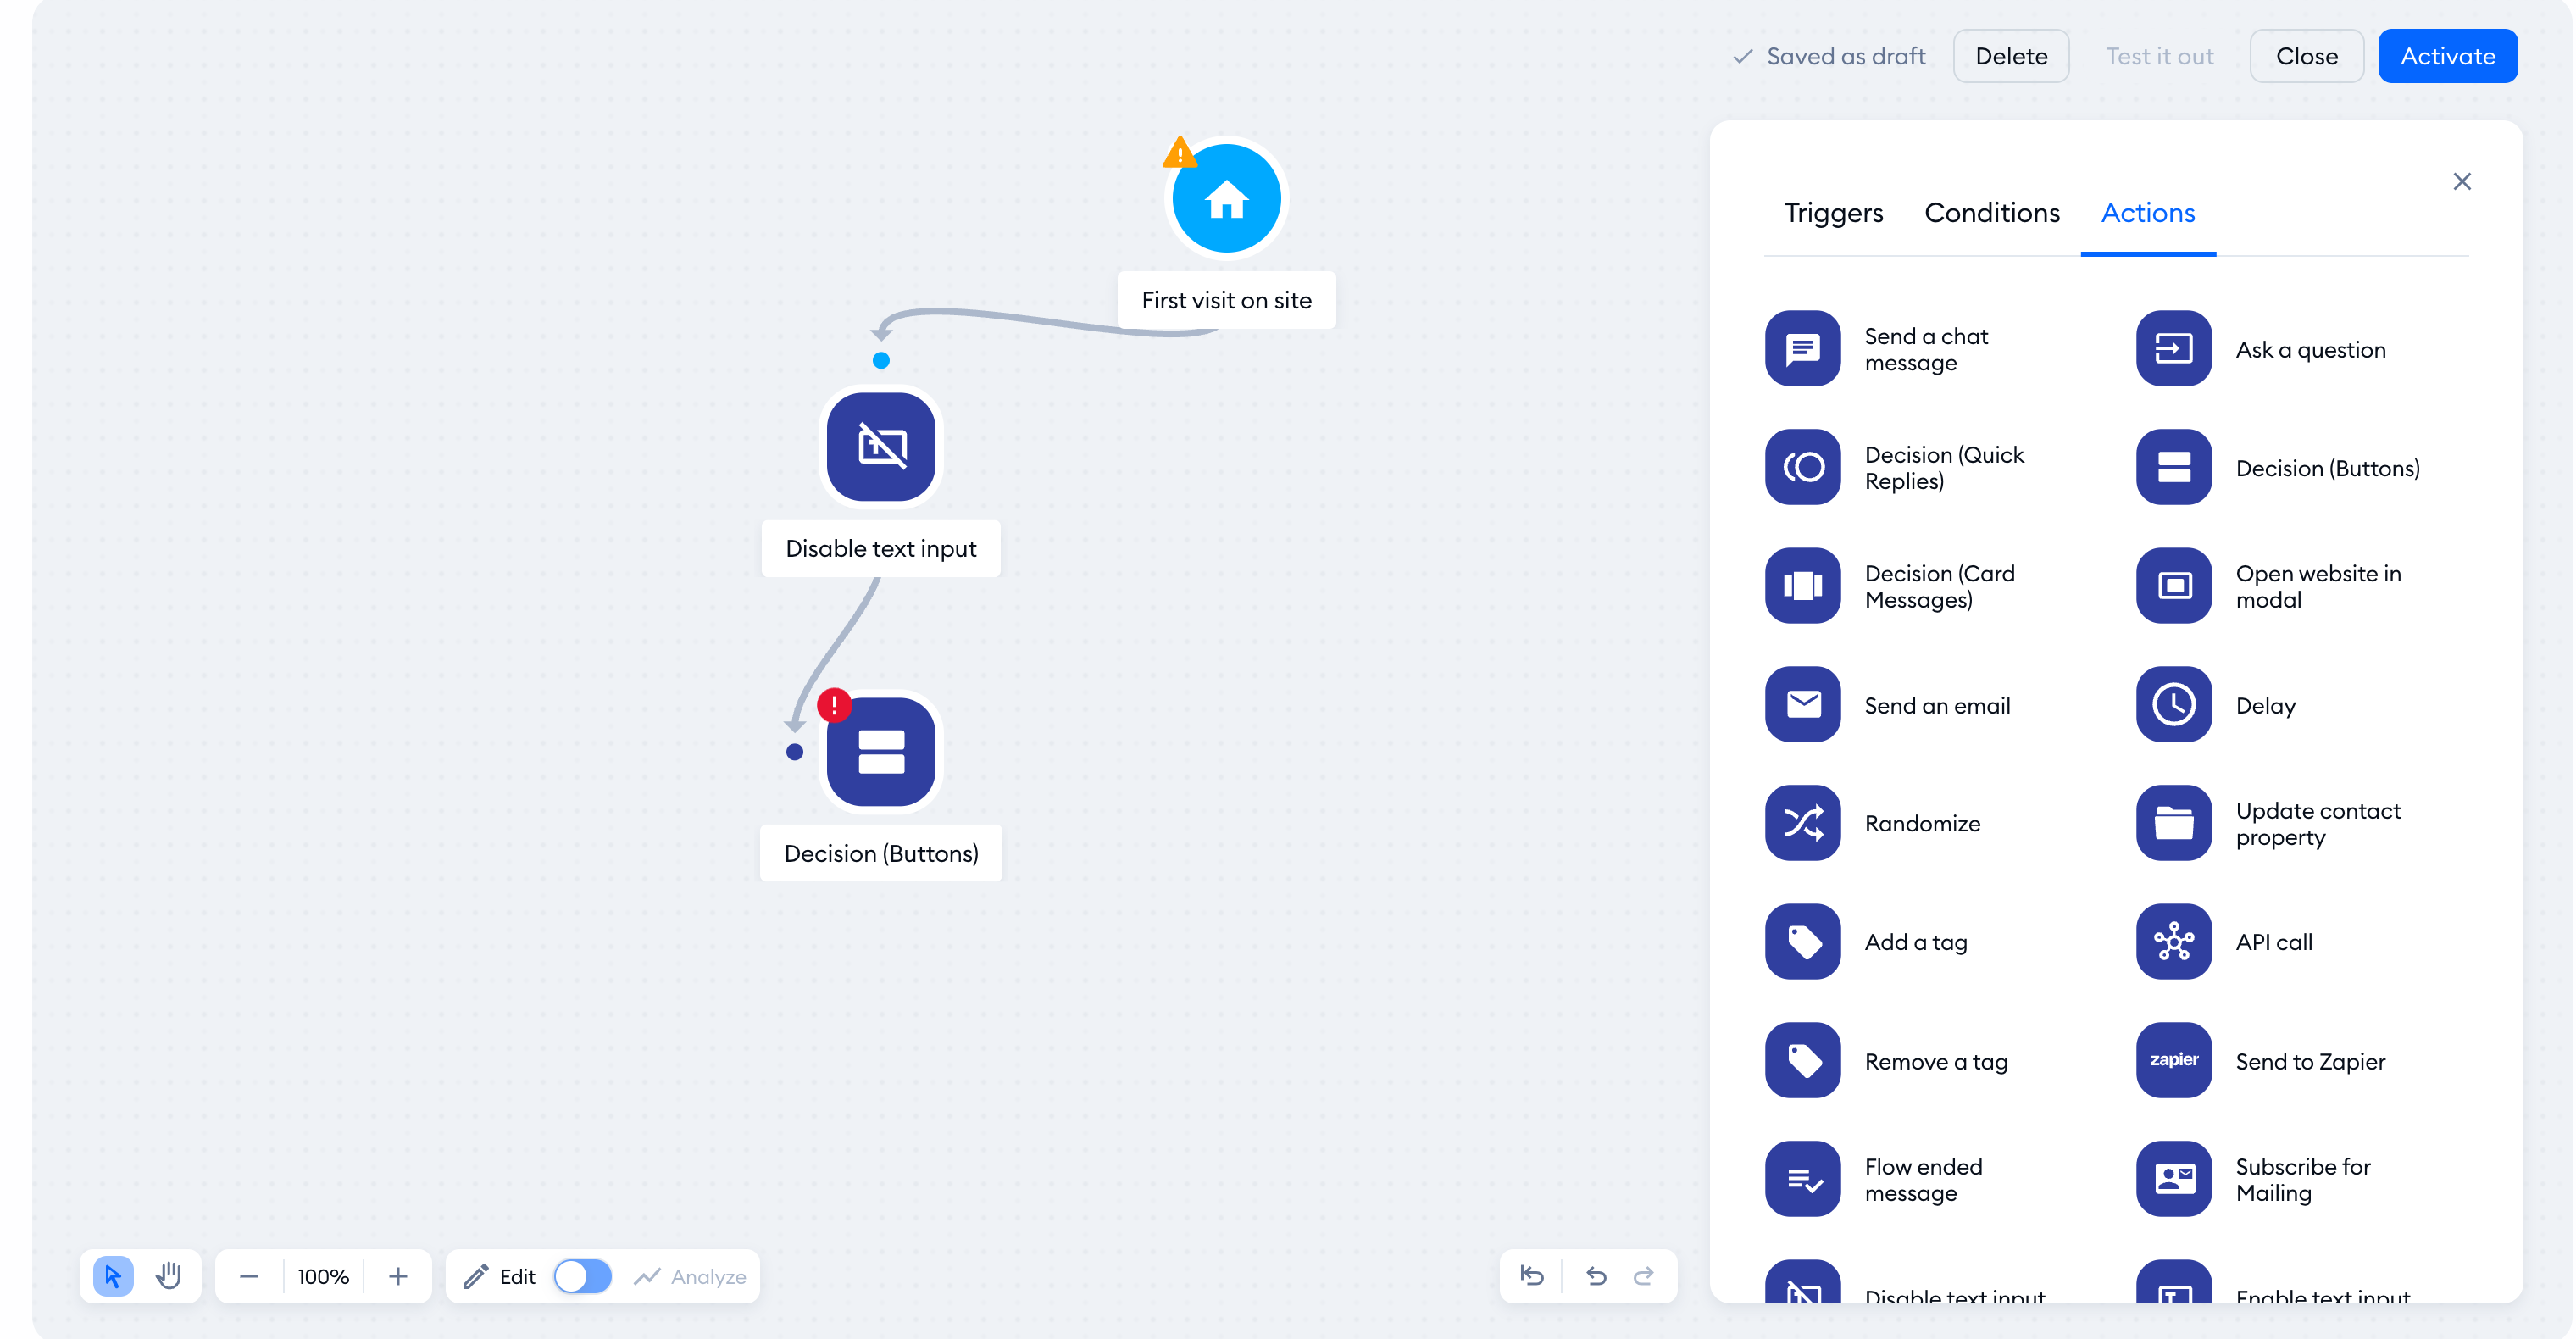
The possibility to type will be disabled until you enable it again using the Enable text input or until the flow ends.