Learn how easy it is to install Tidio on your Adobe Commerce store (previously known as Magento). The chat needs to be installed manually, but the process is pretty simple.
In this article, you'll learn:
Installation
Go to our website and log in to your account or sign up for a free one if you haven't registered yet by clicking on the Get Started button.

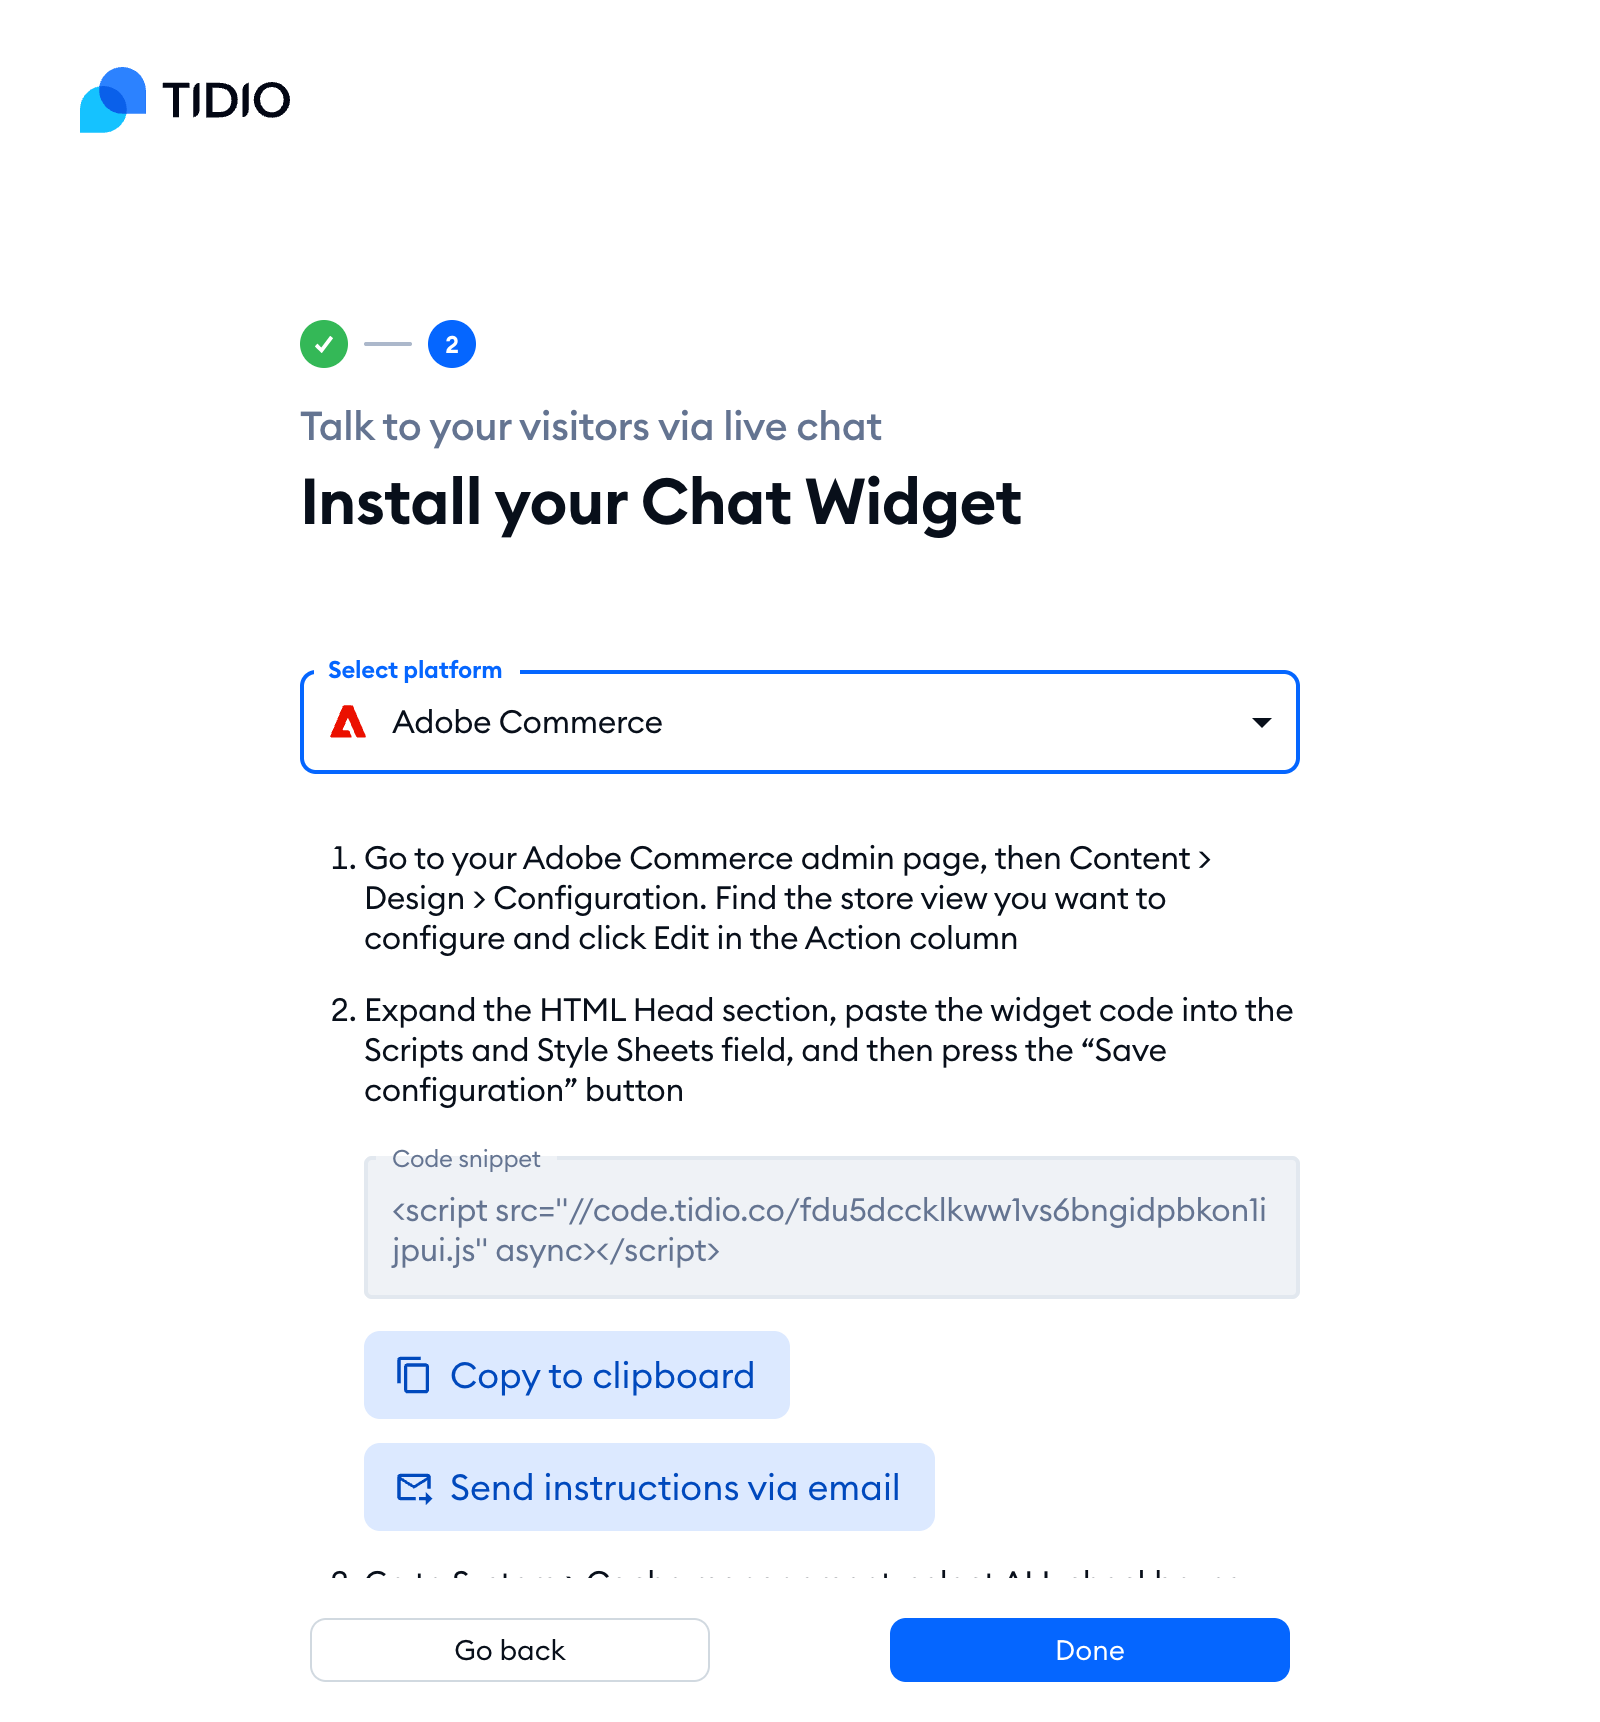
Once you've signed up, open the Install Chat Widget wizard: click on Install widget on the Chat card of the Getting started page, or on Install Chat Widget in the bar at the top of the panel. Adjust your chat widget's appearance in the first step and hit Continue. In the second step, Install your Chat Widget, choose Adobe Commerce from the list of platforms - you'll see the same steps as below, with the code right in step 2. Click on Copy to clipboard to copy the installation code:
If you already have an account or need to re-use the code again, you'll find it anytime in the Settings > Live Chat > Installation section, with the same list of platforms. If Tidio has already detected the chat widget on your website, click on open code section first.
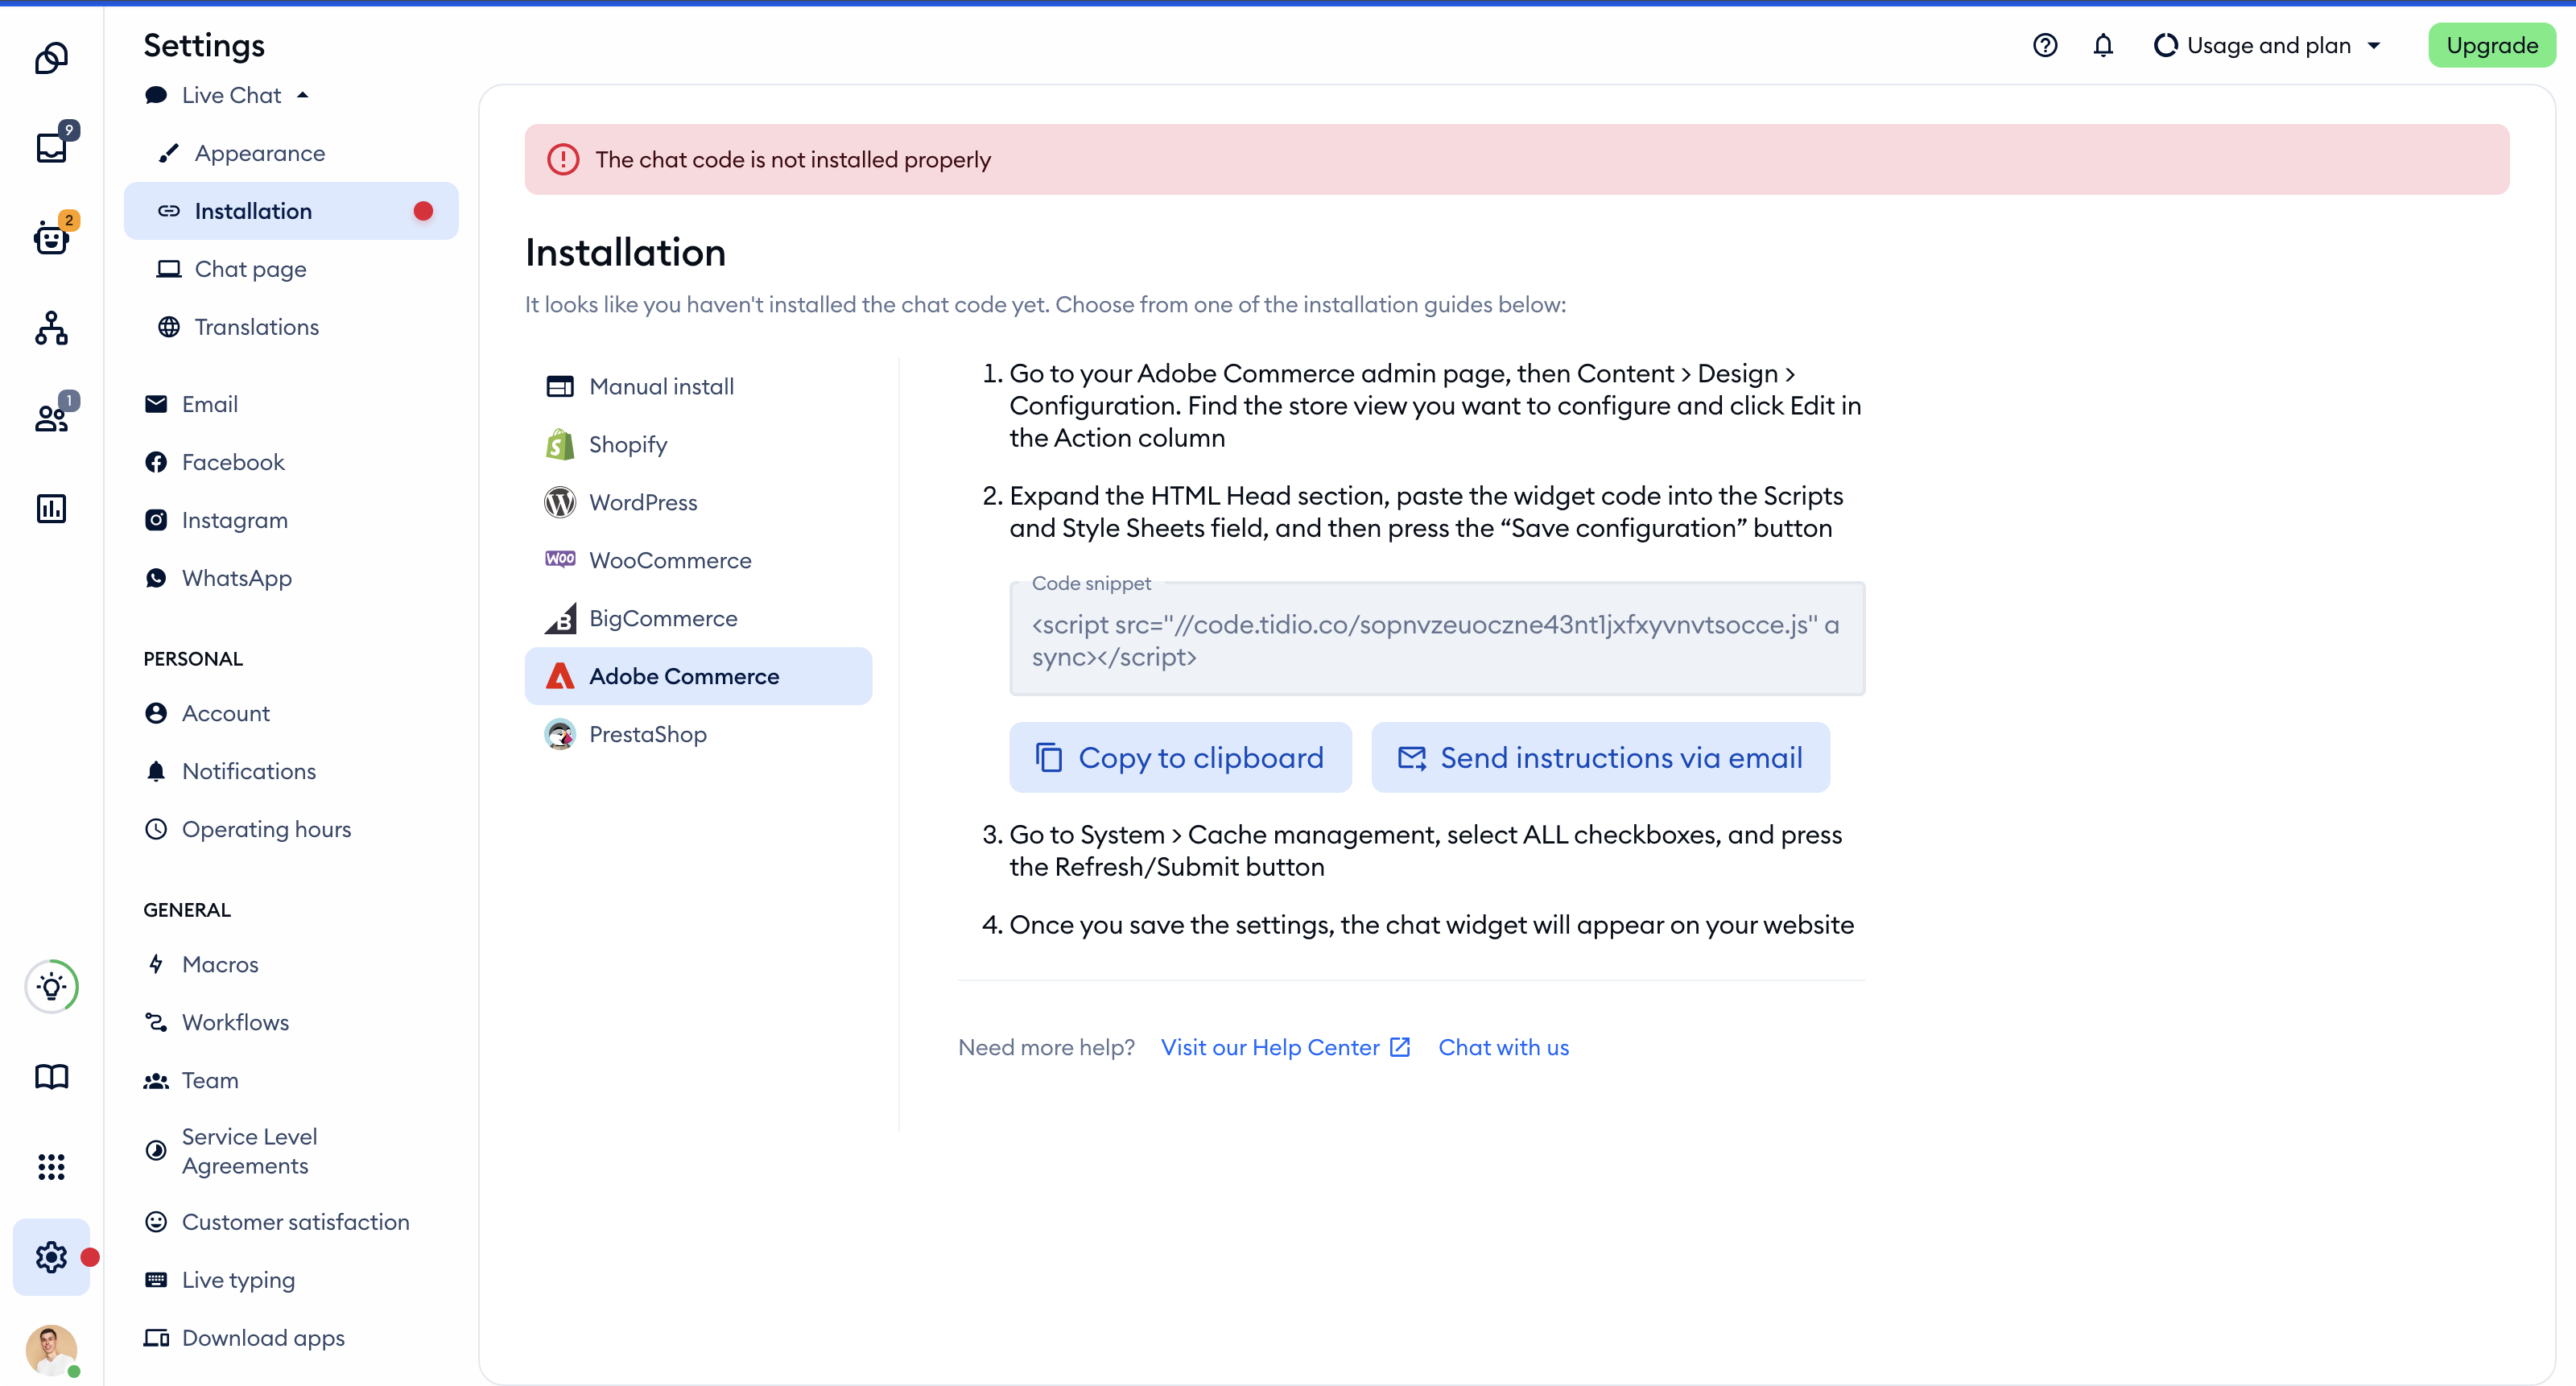
Go to your Adobe Commerce admin page and go to Content > Design > Configuration. Find the store view that you want to configure and click Edit in the Action column.
Expand the HTML Head section, and paste the widget code into the Scripts and Style Sheets field. To save the change, press the Save configuration button.
Go to System > Cache management, select all of the checkboxes, and press the Refresh/Submit button.
Once you save your settings, the chat widget will appear on your website. You can then receive and manage chats in the Tidio panel, accessible through www.tidio.com or the dedicated apps (available both for desktops and mobiles).
