Among other things, the Workflows section allows you to enable automatic chat assignment to your agents, instead of having them select and join conversations manually. There are two different options available for automatic chat assignment as well, letting you decide which method works best for your team.
Please note: automatic chat assignment is available on the Growth plan and above.
In this article, you'll learn:
- What the benefits of using automatic chat assignment are
- How to enable automatic chat assignment via Workflows
- How load balancing works
- How round robin chat assignment works
- How to manage your chat assignment workflow
The benefits of using automatic chat assignment
Equal chat distribution
The chats are equally distributed among the active agents, so your agents don't need to worry about who should pick up the conversation.
Faster reply time
Automatic assignment can increase your agents' efficiency and shorten the time of the first response, as messages from new customers will be assigned directly to the agents.
Balanced workloads
If you're worried about high traffic and that your agents might not be able to respond properly to all chats that get assigned to them, the Load Balancing option allows you to decide what the maximum number of assigned chats is for your team.
Enabling automatic chat assignment
You can access the Workflows section by navigating to Settings > Workflows in your Tidio panel:
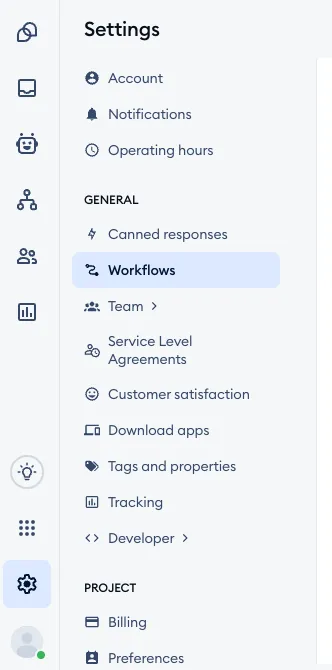
Inside, you will find two main tabs: My Workflows and Templates. This is where you manage all your workflows in general - see a list of your added workflows, create new ones, or browse the available templates. Please see this guide if you'd like to learn more about Workflows in general.
What we need is the Templates tab, where the Assign conversations automatically workflow is listed. It's one of two built-in automations for live conversations (the other one is Solve conversations automatically), so you'll find it at the start of the list, labelled Auto-assign and Live conversations. As long as you haven't added it, it's also suggested at the bottom of the My Workflows tab:
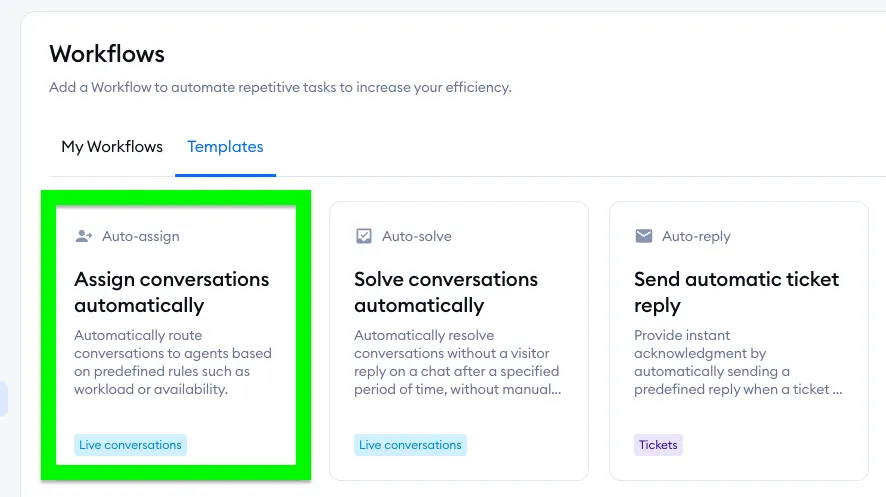
Hover your mouse pointer over that template, and click on the Learn more button. A new window will pop up, telling you more about the automatic chat assignment workflow:
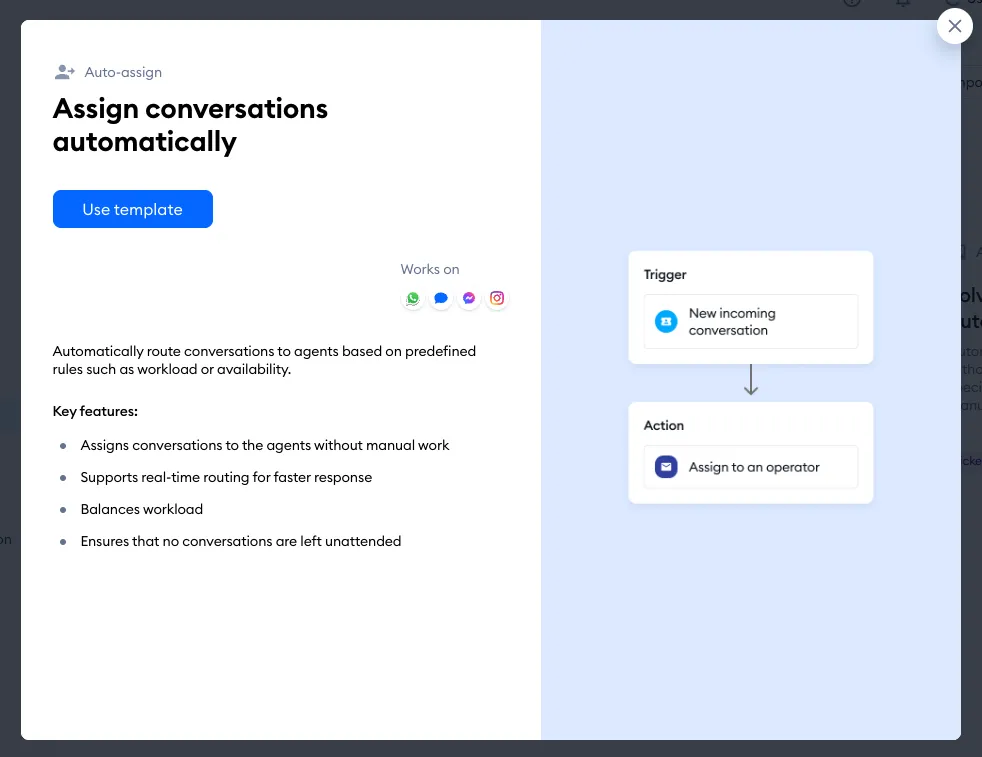
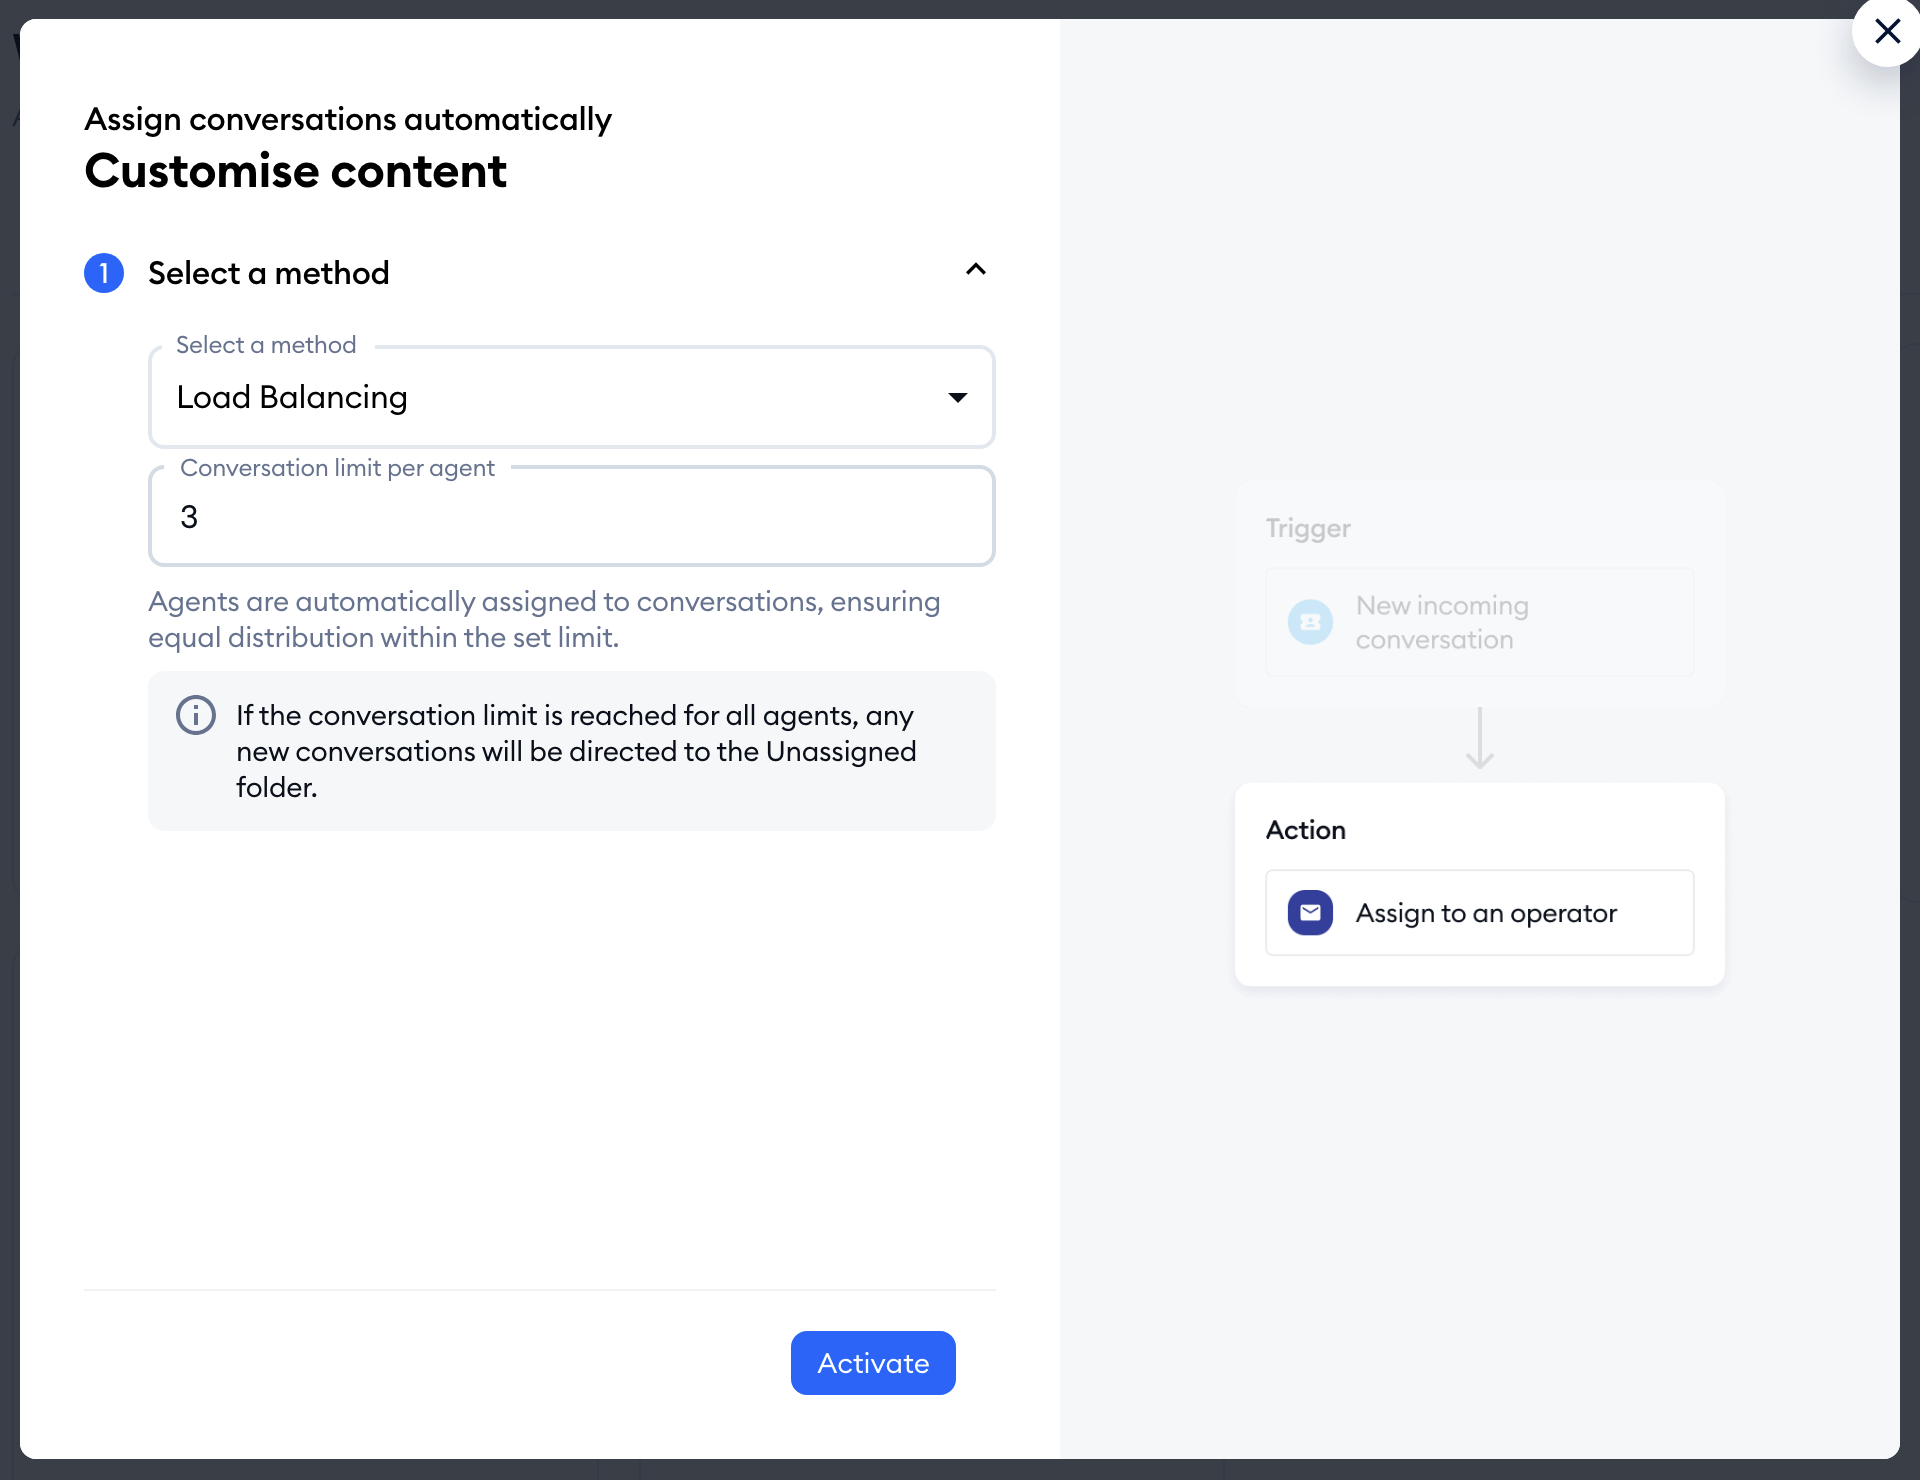
Click on the Use template button, which will let you configure your workflow. In the Select a method list, choose between two options: Load Balancing (selected by default) or Round Robin, which we cover below. When you're ready, hit the Activate button:
Please note that automatic chat assignment only applies to direct messages from live chat, Messenger, Instagram, and WhatsApp. Emails will continue to land in the Unassigned tickets folder, as they don't require as immediate attention as the other incoming types of communication.
The automatic chat assignment mechanism will only work for the conversations that arrived in your inbox after enabling the feature. That means earlier conversations will not be affected by this workflow.
If the Departments feature (available on the Plus plan and above) is used in your Tidio project, each department will have its own assignment queue. The method (and the conversation limit) you choose applies to all your departments. If an agent is assigned to several different departments, they will get conversations from all their departments separately.
Load balancing
The Load Balancing option not only assigns new incoming chats to your agents equally - it lets you decide the maximum number of open conversations that each agent is allowed. Simply type it in the Conversation limit per agent field (it's 3 by default, and needs to be at least 1). The limit is the same for all your agents.
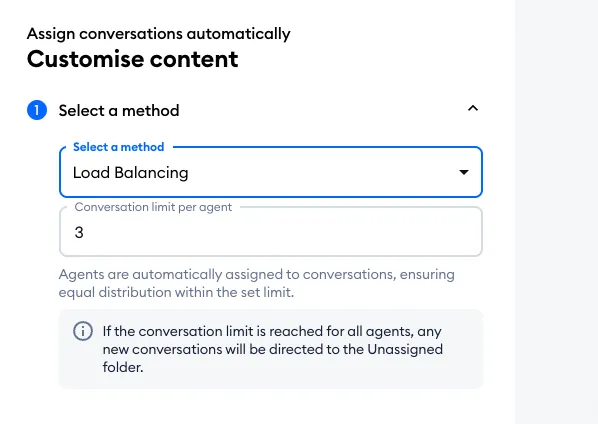
Load Balancing only takes online agents into account, and assigns the first available agent who has no conversations assigned yet.
If all available agents have conversations assigned already, Tidio selects the agent with the lowest number of assigned conversations, and transfers the new conversation to them.
If there are two (or more) agents with the same, lowest amount of assigned conversations, one of those agents is selected at random.
If all available agents have already reached their Load Balancing limit, then the new incoming chat is transferred to the Unassigned folder.
Round robin
The Round Robin option assigns new incoming conversations to available agents equally, in sequential order. As opposed to the Load Balancing option, Round Robin does not impose any limit on the number of assigned chats.
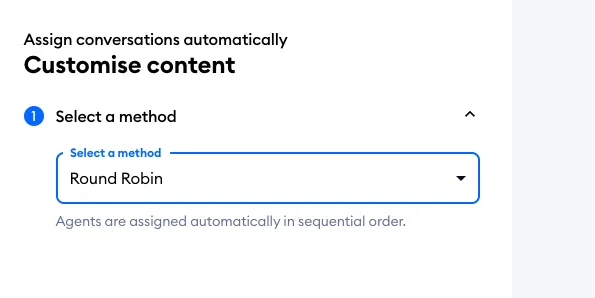
Round Robin only takes online agents into account, similarly to Load Balancing. This option, however, creates a fixed queue of all your available agents - from the oldest agent to the newest.
Round Robin takes the first agent from this queue and assigns the first incoming conversation to them. It then moves on to the second agent in the queue, and if another new chat arrives - that second agent will be assigned to it.
If any agent goes offline, they are removed from the queue. If any operator appears, they are added to the end of the queue.
If all agents are offline, any new incoming conversation lands in the Unassigned folder.
Managing your workflow
Once you've added your Assign conversations automatically workflow, it will be listed in the My Workflows tab:
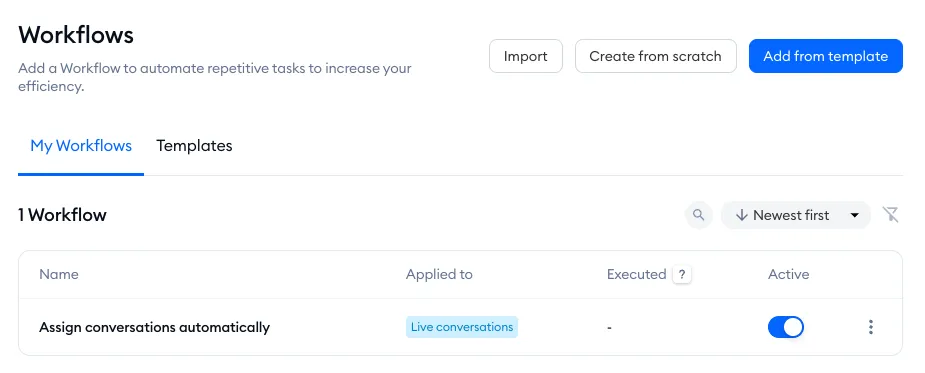
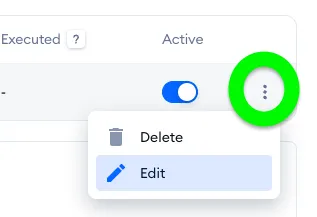
From there, you can disable the workflow with the toggle, delete it completely, or edit the setup. To modify (or delete) the workflow, click on the three dots on the right, and choose Edit or Delete. Edit takes you straight back to Select a method, where you can switch methods or change the conversation limit: