At Tidio, you can automatically forward emails from other mailing providers directly to the Tidio panel. With this feature, you can receive all your incoming emails inside Tidio, as tickets - and manage them through the Tickets folder.
If you want to learn more about our Ticketing tool in general, head over to this detailed article.
In this article, you'll learn:
- The benefits of using Ticketing
- How to forward emails to Tidio from the most common email providers
- How to complete the setup (adding your business domain and sender address)
- How to cancel email forwarding
- How to troubleshoot common forwarding issues
Ticketing benefits
Manage your time
Move time-consuming conversations to tickets to save the efforts of handling complaints, queries, and requests via chats. Change tickets' statuses and keep your inbox squeaky clean.
Create an omnichannel support
Offer your customers more ways to interact with you. Omnichannel support connects the experiences across different channels, making the customer experience completely seamless.
Set priorities for your tickets
Assign the priority to the tickets based on the SLA policy.
Cooperate with your colleagues
Assign the tickets to the team members who are best-suited to handle them. For example, a ticket with pricing questions can be assigned to an agent with relevant sales expertise. Create a team of ticket owners responsible for resolving them in the shortest turnaround time.
Add notes and tags to improve communication
Help your coworkers out by leaving notes regarding each ticket, as well as tagging your tickets with useful information.
Adding your mailbox to Tidio
In general, completing your setup requires 3 different steps:
- Connecting your mailbox (or several mailboxes)
- Connecting your own business domain
- Setting a proper sender address (which uses your connected domain)
This will ensure you (and your customers!) enjoy the full benefit of Ticketing experience.
Please see the instructions for connecting your mailbox below. See this next section of our guide to learn about business domain connection and the sender address.
You can add your external mailbox (or multiple mailboxes) by heading to the Settings > Email section in your Tidio admin panel:
... and by clicking on one of the blue Connect mailbox buttons:
You will see a pop-up with four options to choose from: Gmail, Microsoft Outlook, Other provider, or Tidio address (located in the form of a link at the bottom):
Gmail
This option allows you to use an existing Gmail account that you have access to - this integration doesn't require any actual setting up. Just select the Connect Gmail account option and follow the steps: provide your existing Gmail address, sign into Gmail (or select one of the accounts you're already signed into), and confirm:
Once you finish these steps via Gmail, you will see your mailbox listed in the Mailbox tab, and verified for use right away:
Microsoft Outlook
This option allows you to connect your existing Outlook mailbox with Tidio, but it's not an instant integration; you need to follow several steps.
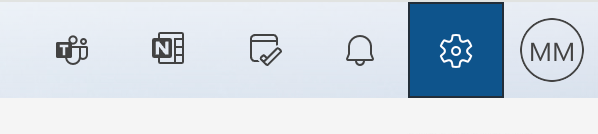
Select the Gear icon from the top-right corner of your Outlook email dashboard:
Other provider
Use this option when you want to forward emails from your existing email address. Type in your email address and hit Next:
In the next step, you will get detailed instructions for setting up the connection:
You will need to use this unique forwarding address in your mailbox configuration. Once you've done that properly, the newly added mailbox will become verified inside the Mailbox tab, and all your incoming emails will start appearing inside Tidio's Tickets folder.
Create a new Tidio address
Use this option only when you don't have an email address or when you want to create a new email address with Tidio, specifically for the purpose of forwarding only. This email address will be using the @tidio.xyz domain. You will be able to type in the alias only:
Once you hit Next, you will see your newly-created address listed in the Mailbox tab, and verified for use right away.
To learn more about Tidio's Ticketing overall, head over to this detailed article that covers all of its aspects.
Connect your domain and add a sender address
Apart from connecting your mailbox (or several mailboxes) in order to receive incoming emails in Tidio, it's important to complete your setup by adding your business domain as well as your sender address.
These two steps will let you benefit from Ticketing fully, as your ticket responses will enjoy better deliverability in addition to looking more professional.
- To connect your own domain, please see this separate guide.
- To learn about configuring your sender address, please see this section of our general Ticketing guide.
Cancel email forwarding
Go to the Settings > Email > Mailbox section in your Tidio panel to cancel email forwarding. On the far right of the mailbox you want to disconnect - hit the Delete button:
Confirm your choice, and your mailbox will be removed from the panel.
Please note: if you've added your mailbox to Tidio with the Connect with your existing mailbox option, deleting the mailbox alone does not disable forwarding! Removing the mailbox from the list will only disable forwarding immediately if you used the Create a new email address or Connect Gmail account options.
To disable forwarding completely, you need to remove your unique Tidio forwarding address from your external mailbox settings. The steps towards this are slightly different for each provider.
Gmail
Please note that if you've used the dedicated Gmail integration option, all you need to do is remove it in Settings > Email > Mailbox, as described above - and the integration will be disabled. However, if you've integrated your mailbox by manually placing the Tidio forwarding address into Gmail's forwarding settings, then you will need to find that address and remove it as well. Follow the steps below to achieve that.
Log into your mailbox, click on the Gear icon in the dashboard, and select Settings.
Choose the Forwarding and POP/IMAP tab and select the Disable forwarding option, which will affect the email address you had added previously.
Outlook.com and Office 365:
Simply removing your mailbox from Settings > Email > Mailbox in Tidio is not enough to stop the integration; you also need to disable (or remove) your Tidio forwarding rule from your Outlook email settings as well.
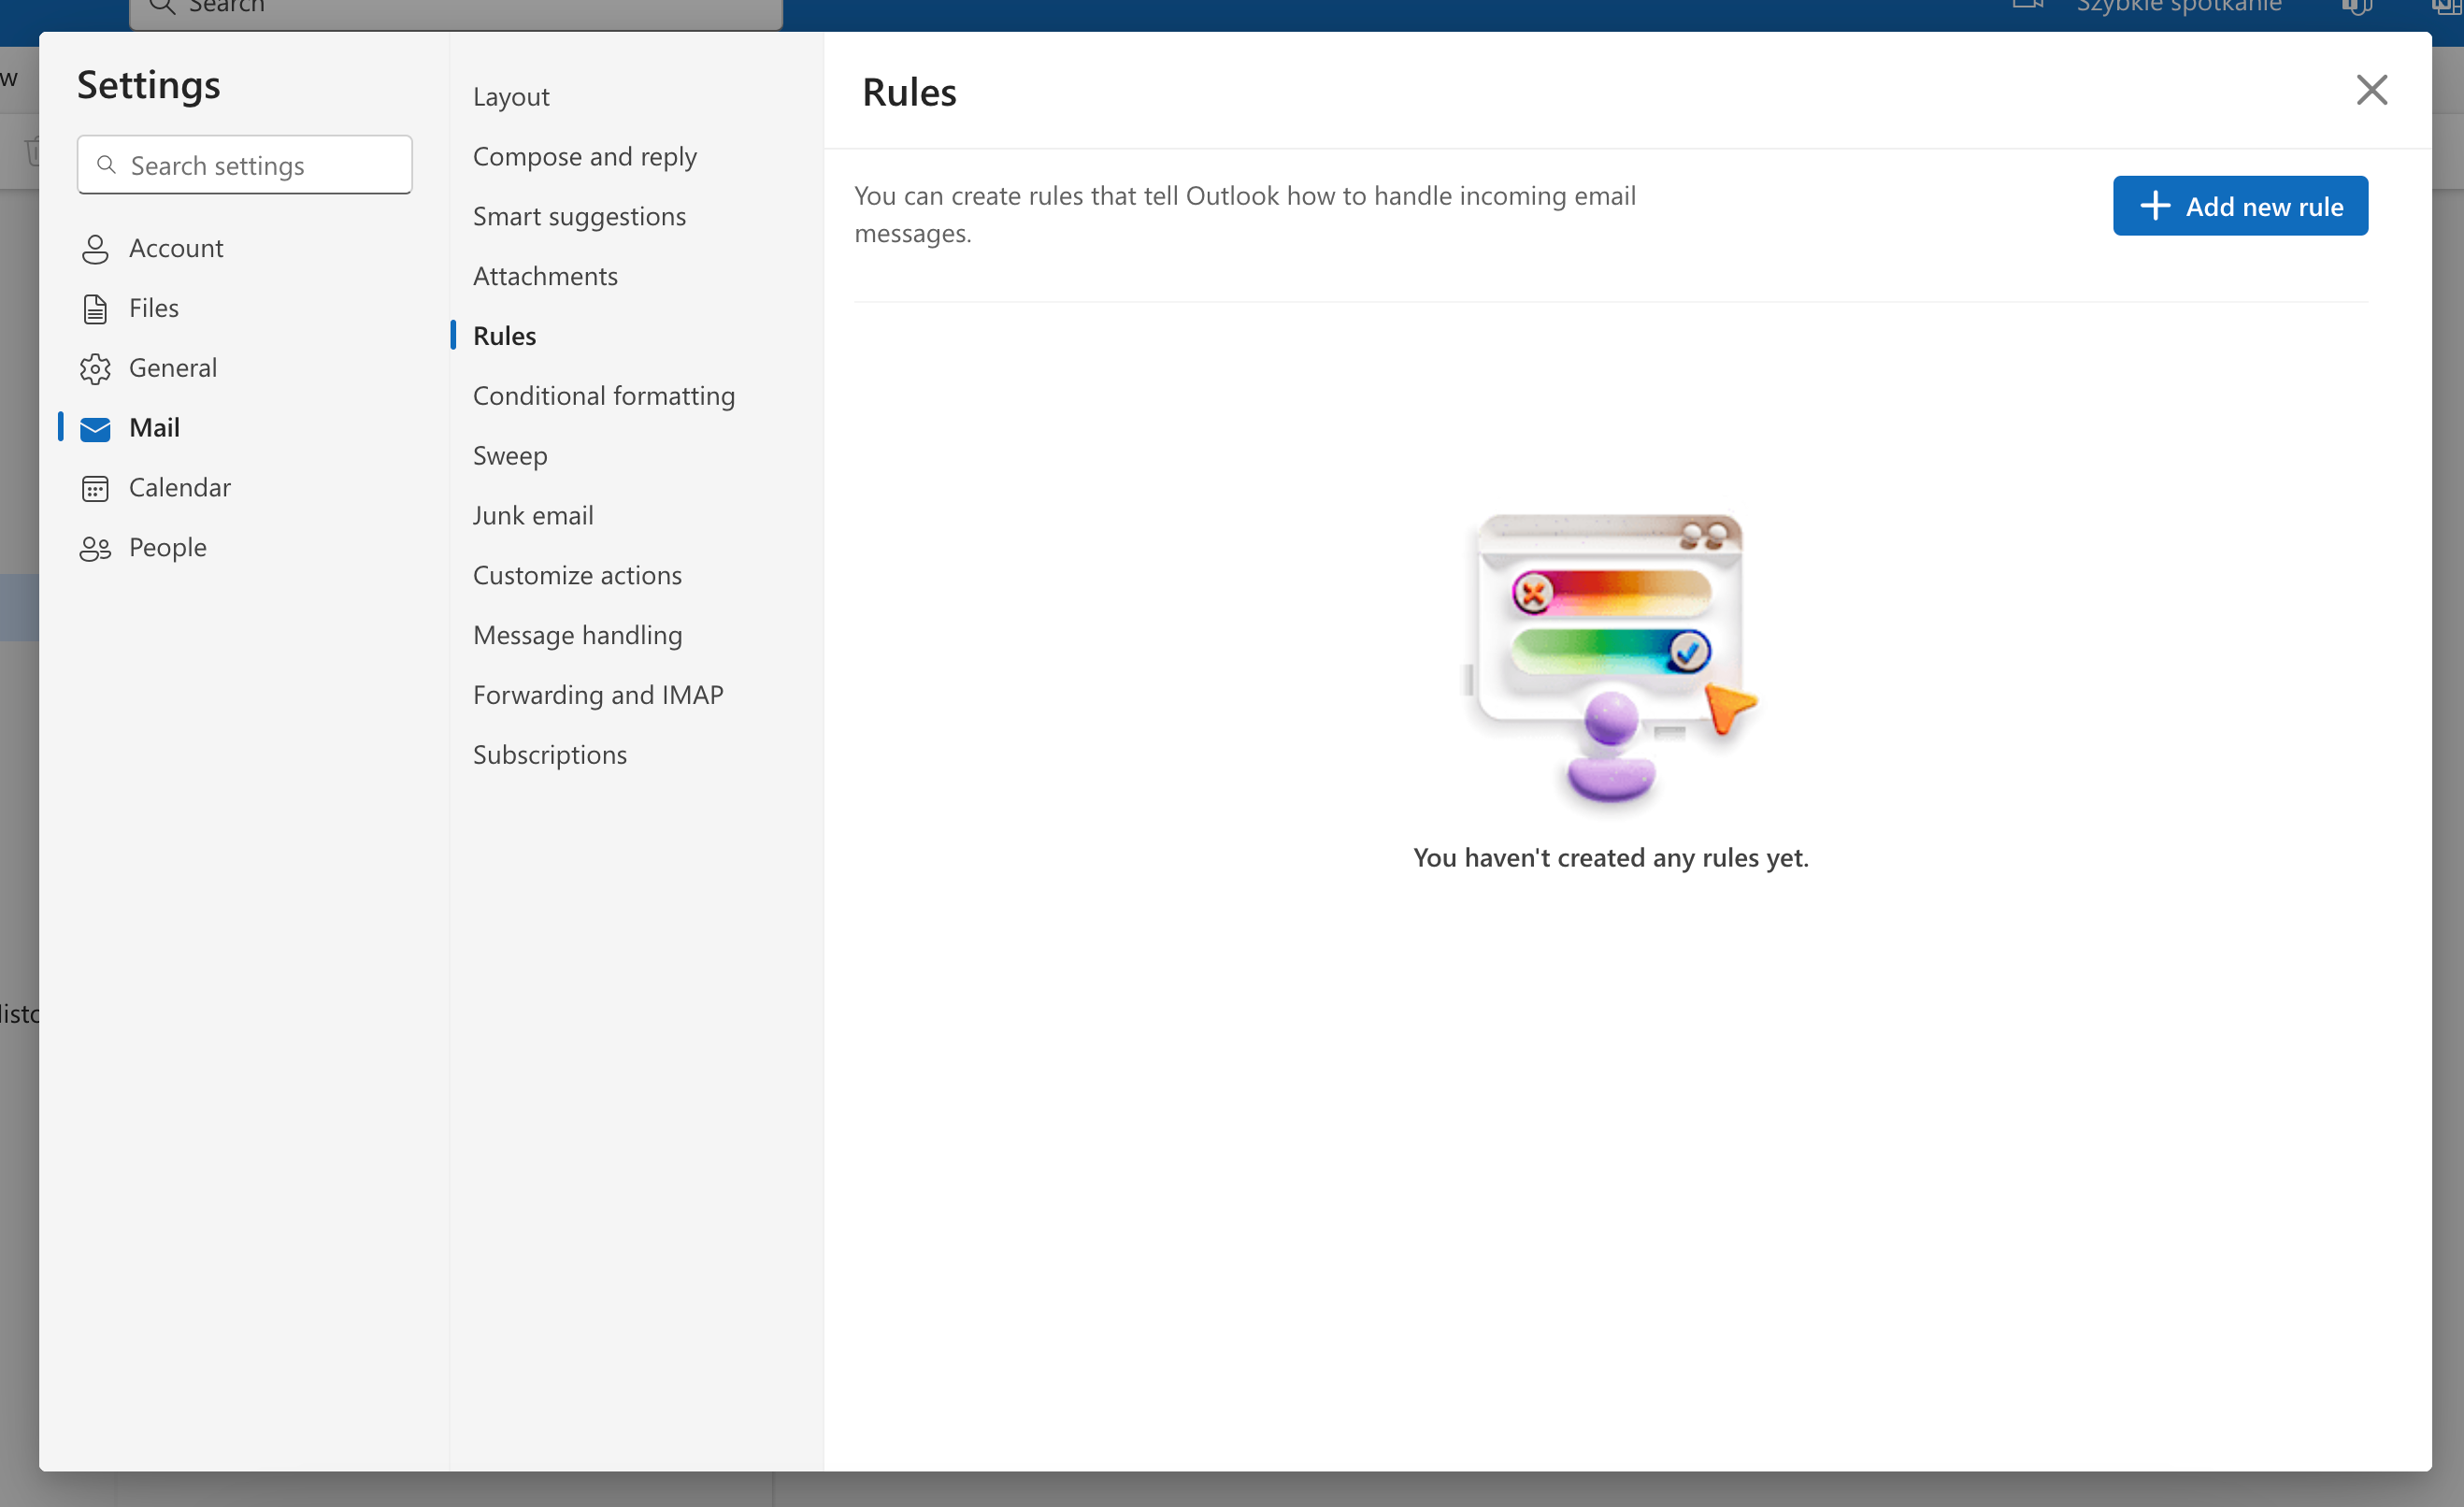
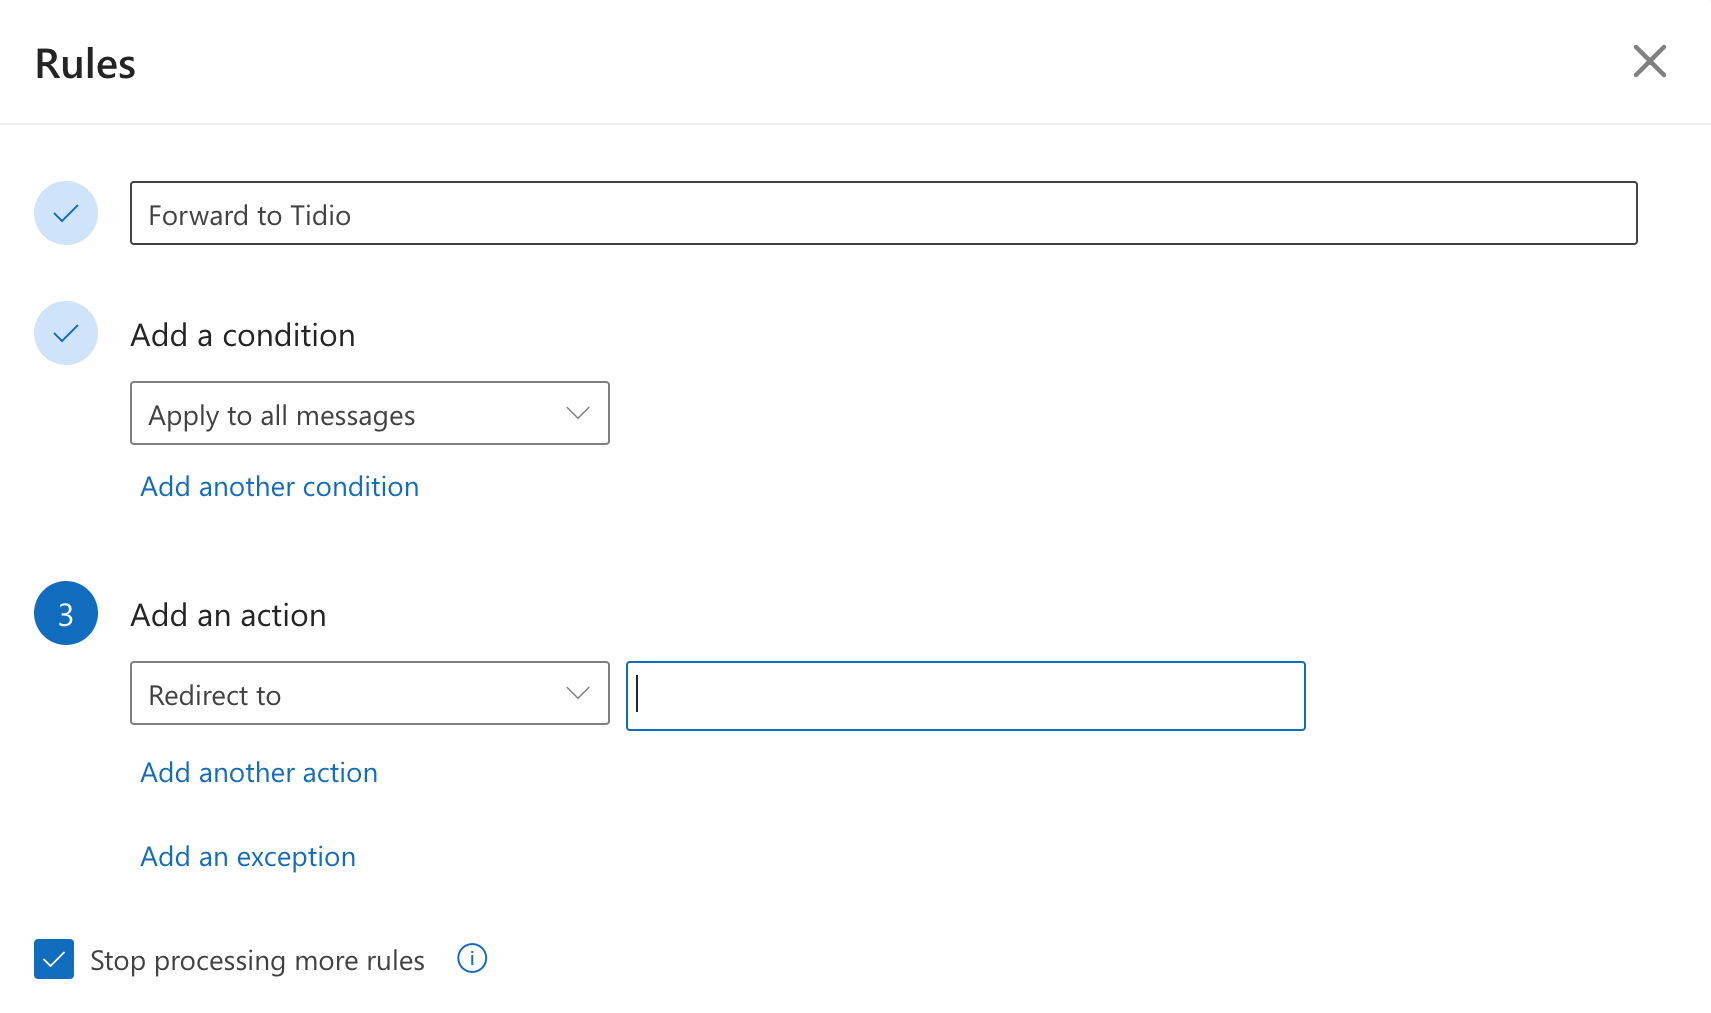
To do so, click on the gear icon in the top-right to access Settings. Head to Email > Rules, and disable (or remove) the Tidio forwarding rule you've created:
Other email providers
Locate your forwarding settings and remove your unique @tidioreply.com email address from the configuration.
Troubleshooting forwarding issues
Below we address some common issues that users have experienced when setting up Ticketing.
Tidio confirmation email appears in mailbox, but not in Tidio panel
This is quite common when connecting Outlook, but may take place with some other providers as well.
When you first add your Tidio forwarding address to your mailbox settings, a confirmation email is automatically sent from Tidio. It should arrive in your newly connected mailbox (e.g. in Outlook), and a forwarded copy should also appear in your Tidio tickets inbox, confirming that the connection is working. In some cases, you might not see this email inside the Tidio panel. If you're sure that you've set up the Tidio forwarding address correctly in your mailbox, this issue may be addressed as follows:
- The forwarding is actually done and working correctly, but the initial confirmation email hasn't been forwarded. You can test this by sending an email to your newly-connected mailbox; if it reaches both your mailbox and your Tidio panel, everything should be fine!
- The confirmation email has been forwarded to the Tidio panel, but may have been marked as spam for some reason; in this case, navigate to the Spam folder in your Tidio Inbox and see if the message is there. You can mark it as non-spam once you find it.
Outlook removes forwarding settings; mailbox remains unverified in Tidio
Some Outlook users may experience a bug where Outlook clears any forwarding settings that have recently been set up. This can result in the newly-added mailbox to be unverified in your Email settings.
While we cannot affect Outlook itself, we recommend a workaround that seems to fix this issue: instead of setting up the forwarding via browser, try the Outlook desktop app. When saving the configuration there, the forwarding settings aren't removed and your mailbox should be verified in your Tidio panel!
Comments
0 comments
Please sign in to leave a comment.