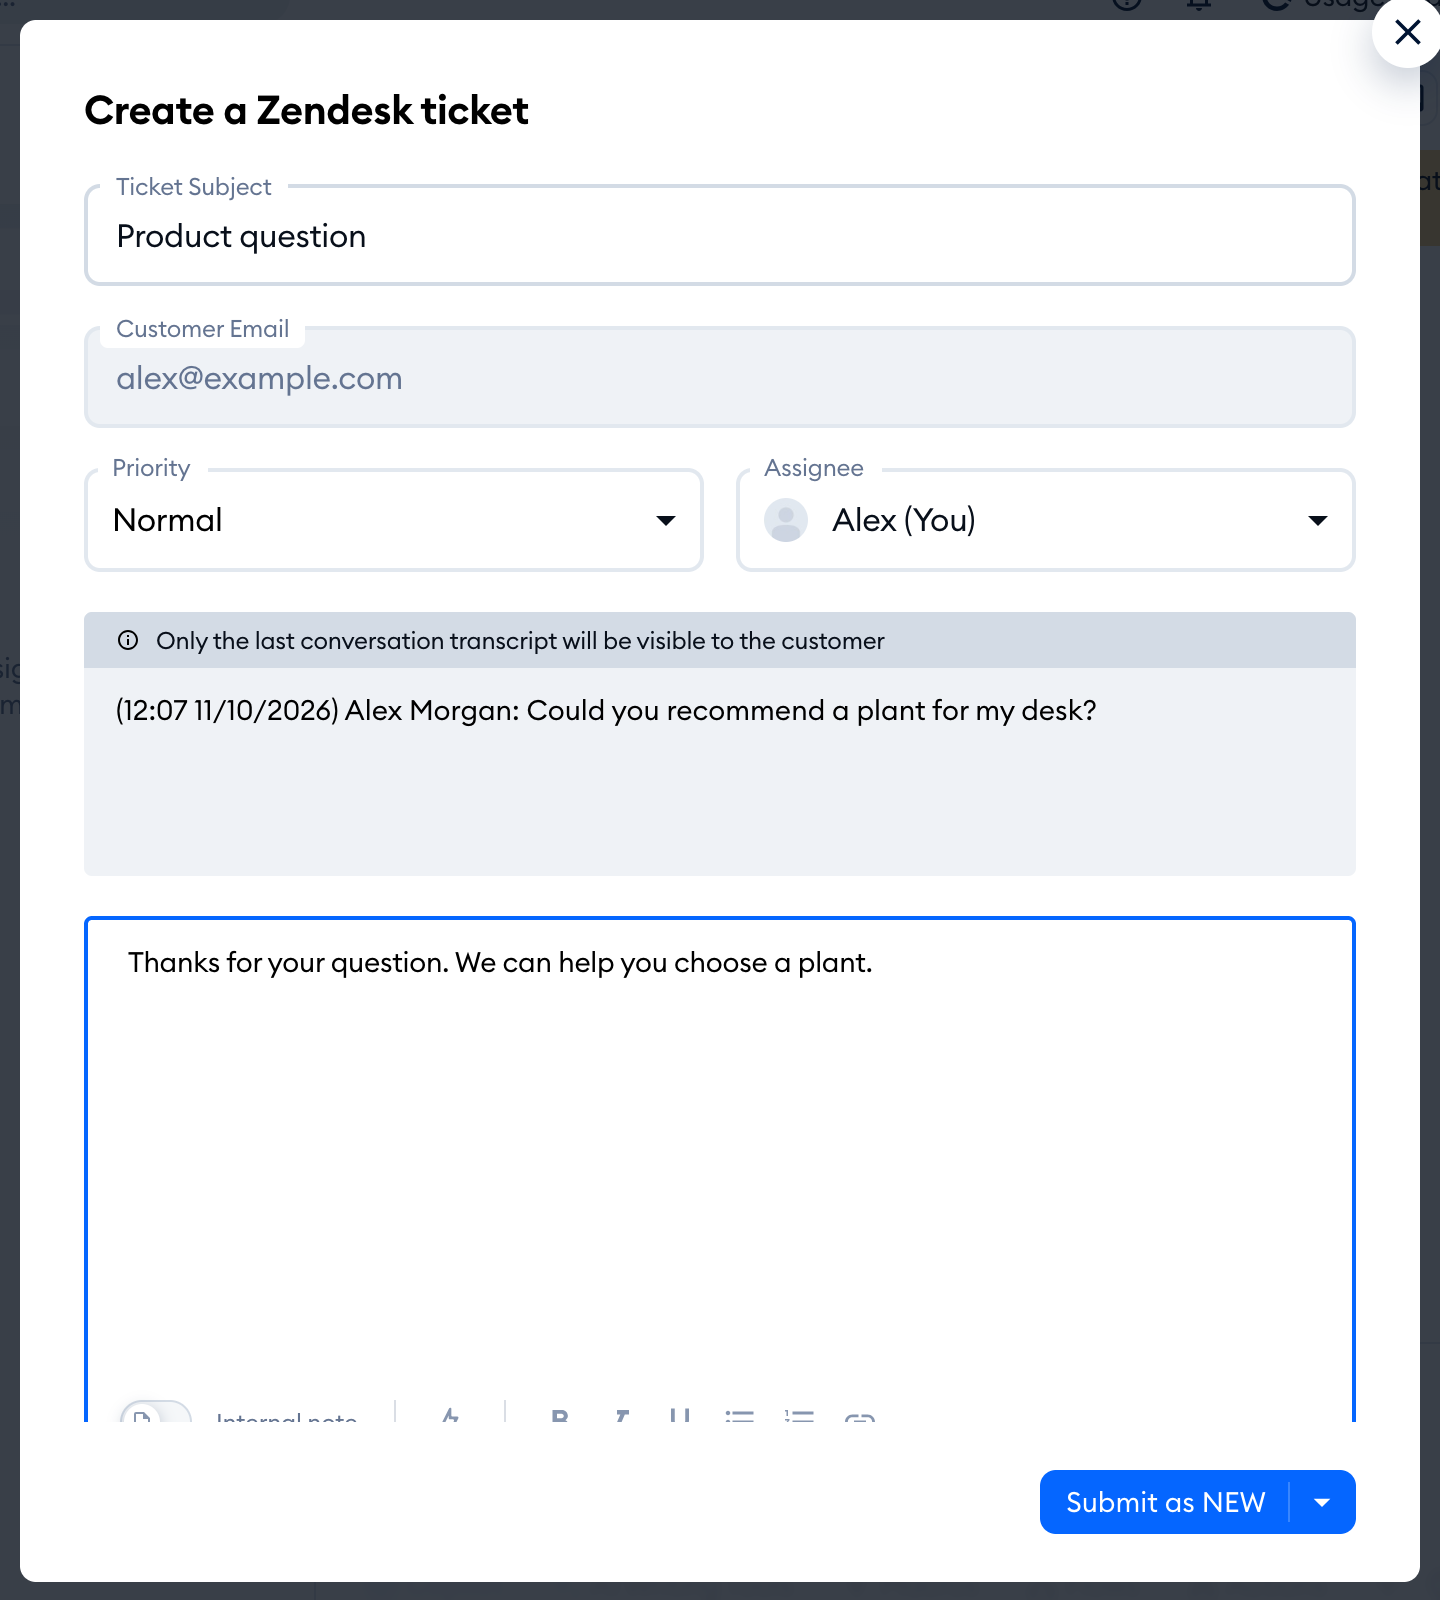
See how to integrate your Zendesk account with Tidio and create new tickets directly from your conversations.
In this article, you'll learn:
Integrating Tidio with Zendesk
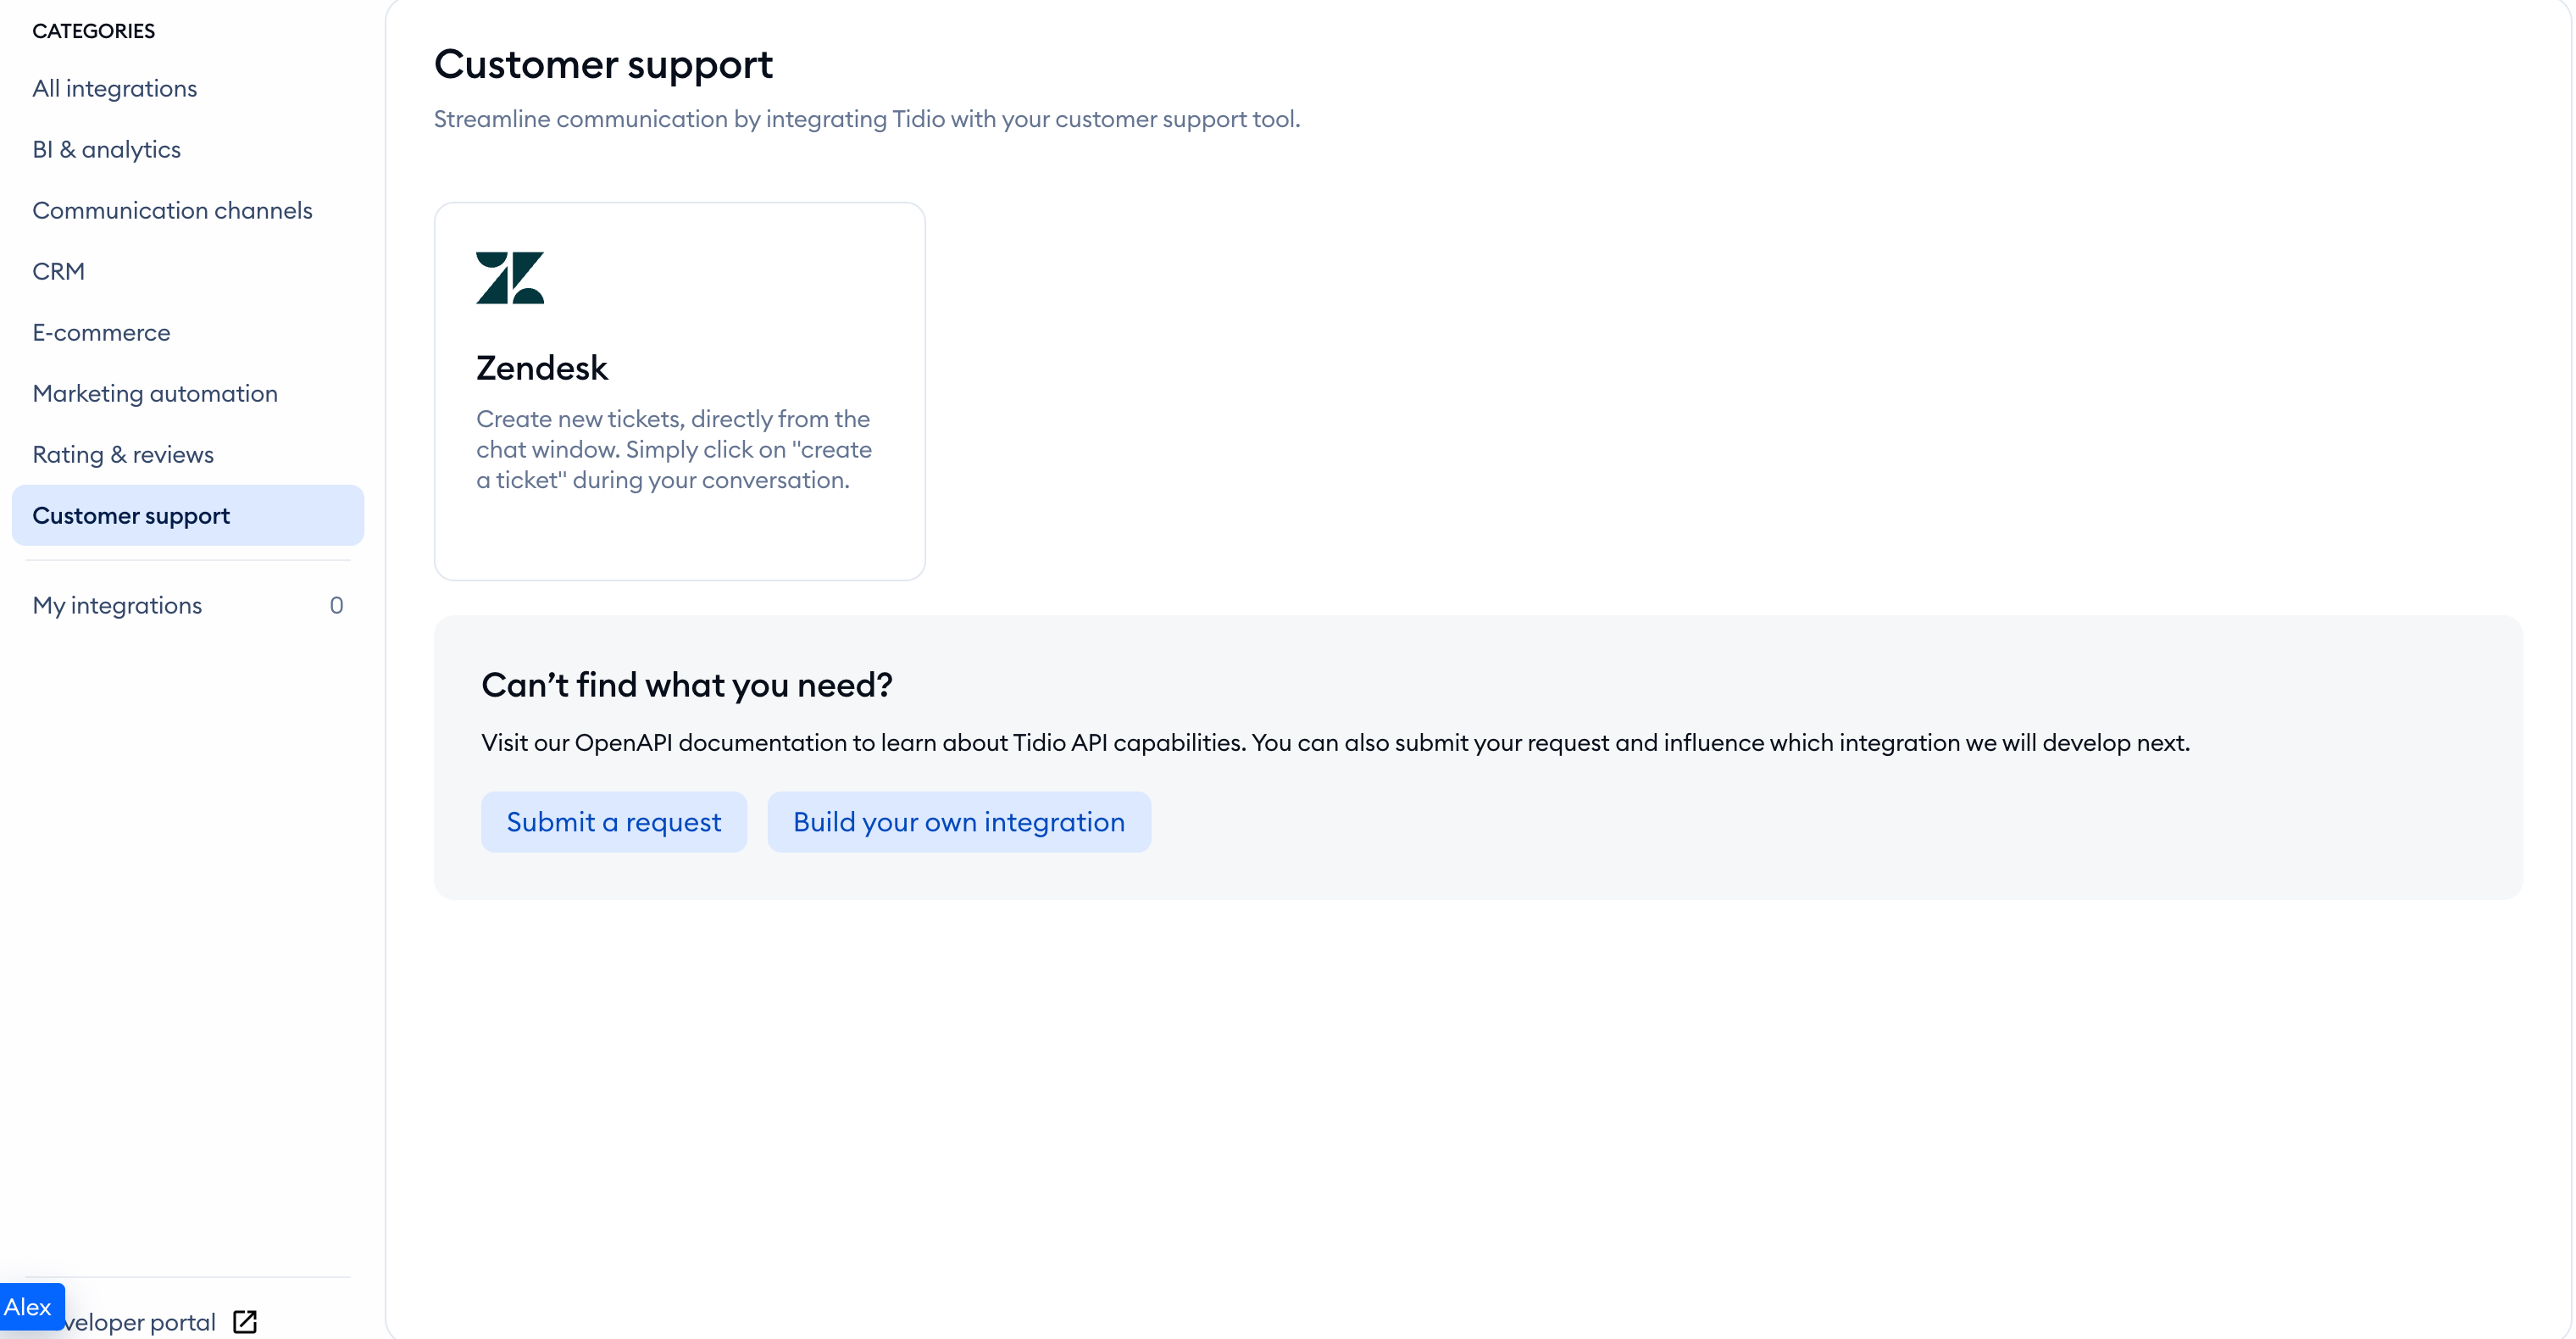
Open your Tidio admin panel and navigate to the Integrations section located in the bottom-left, above Settings. Then, click on the Zendesk tile.
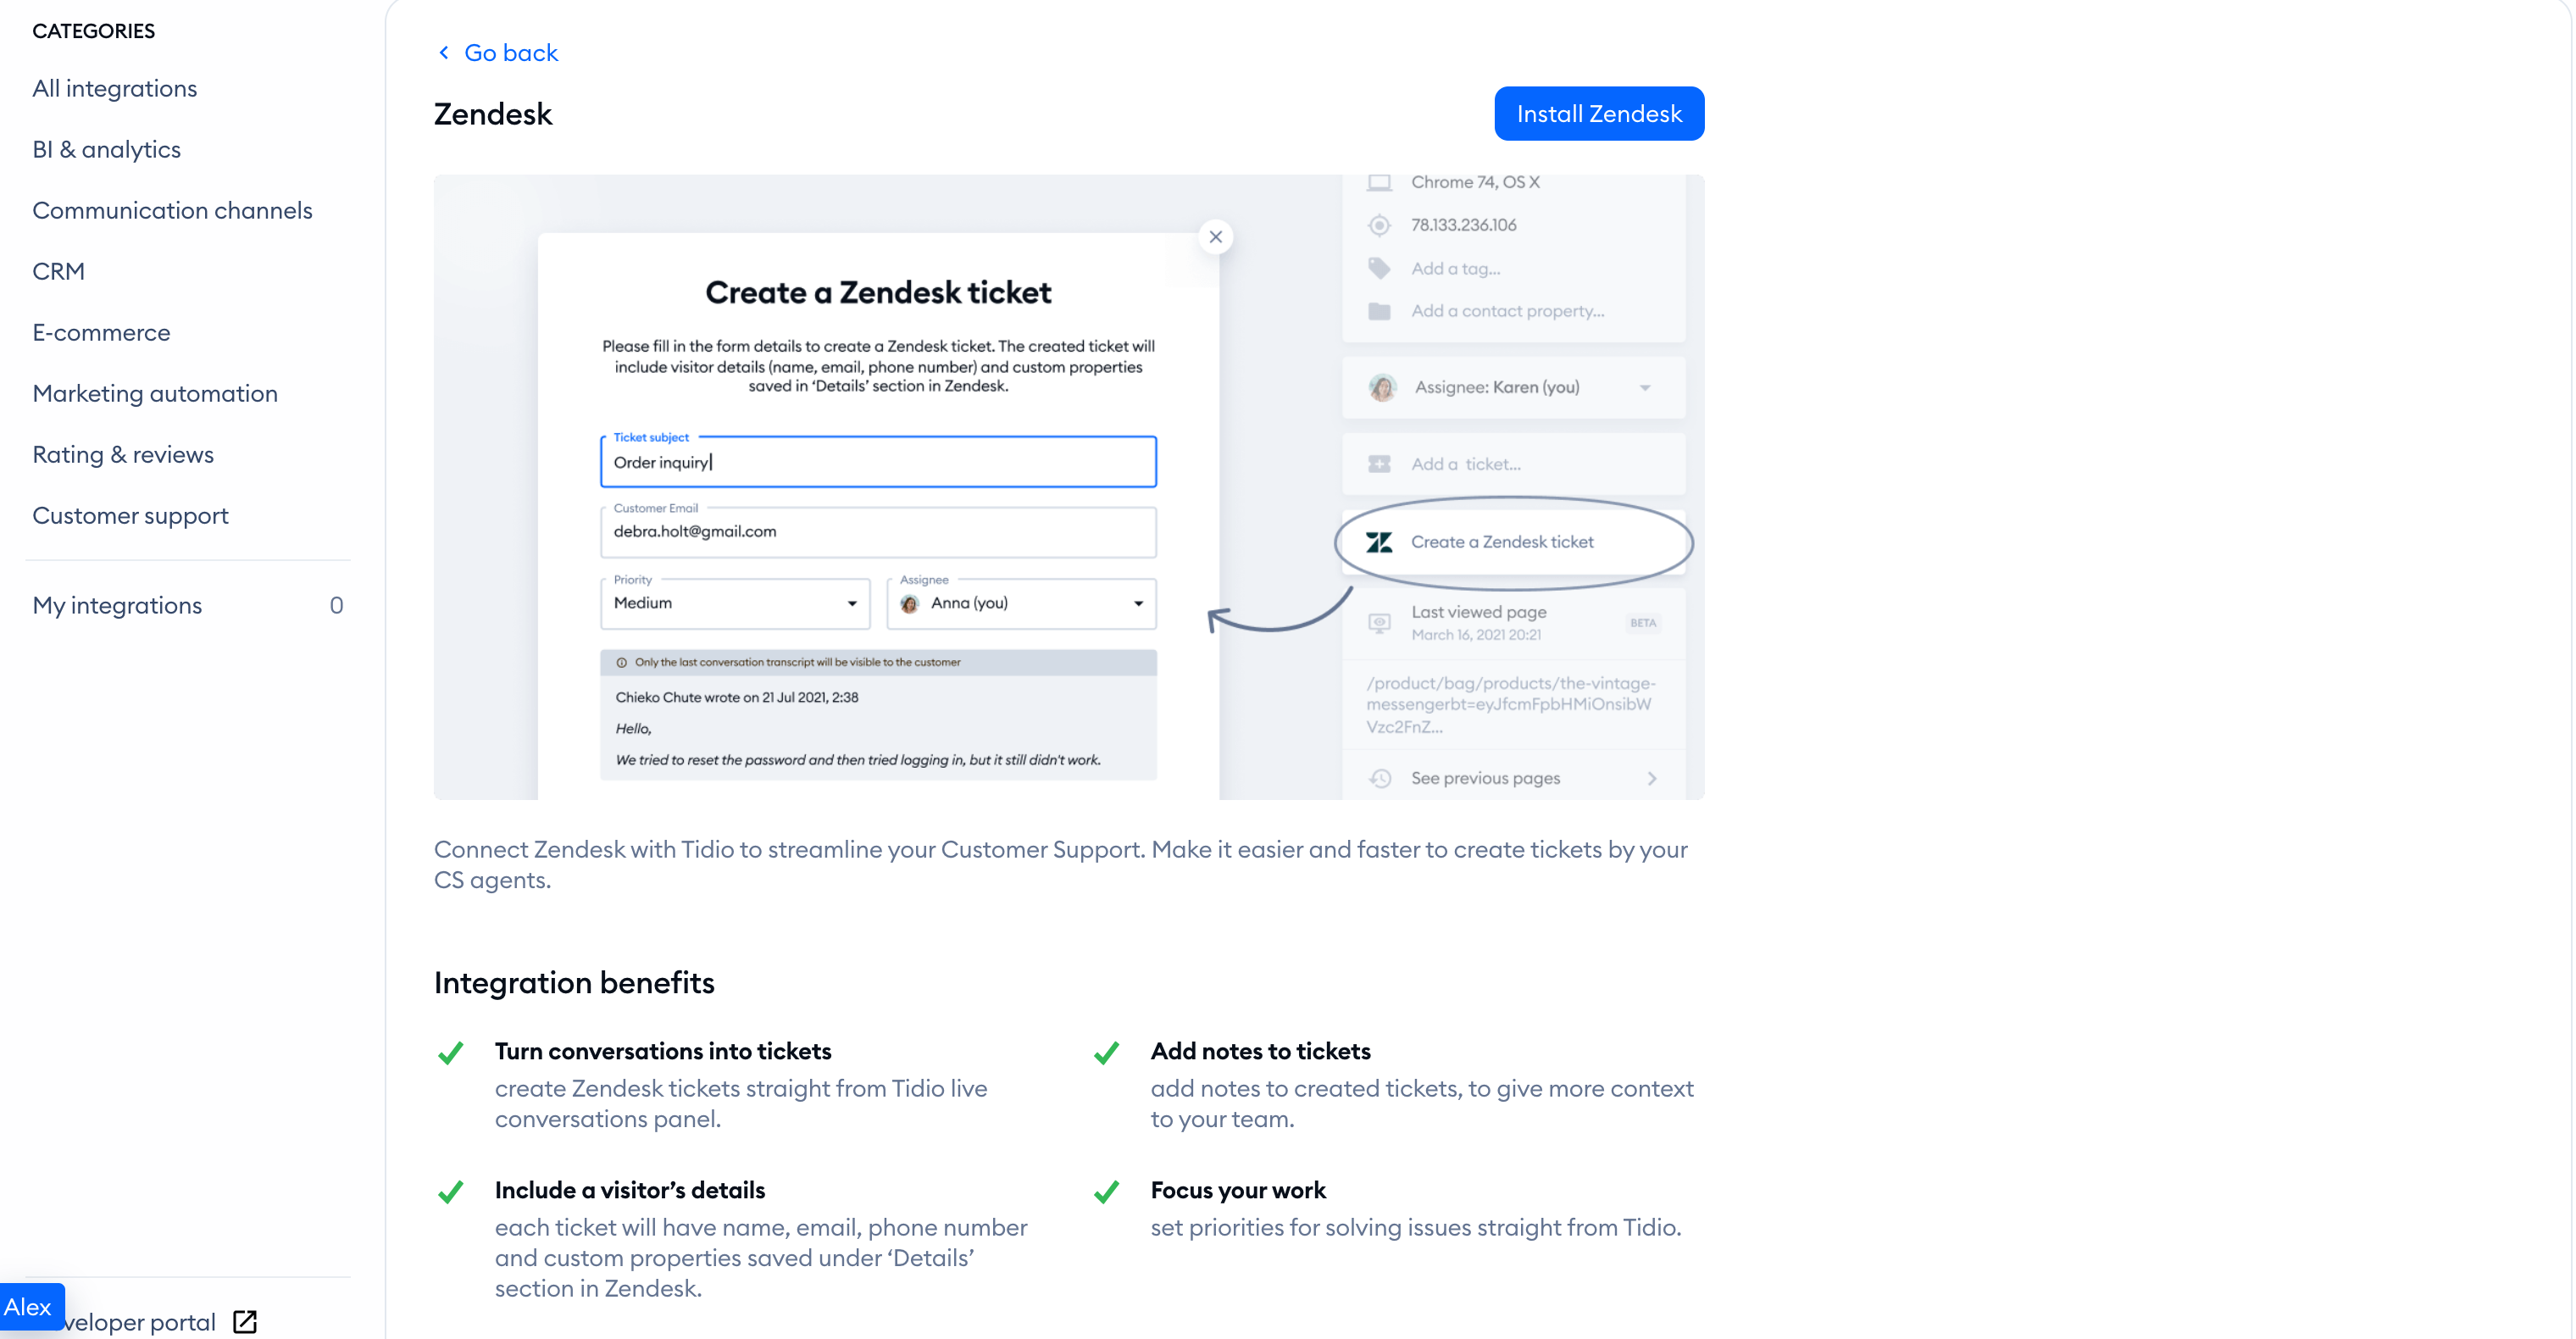
You will see an overview of what the integration allows, and brief instructions for the integration itself. When you're ready, hit the blue Install Zendesk button in the top-right.
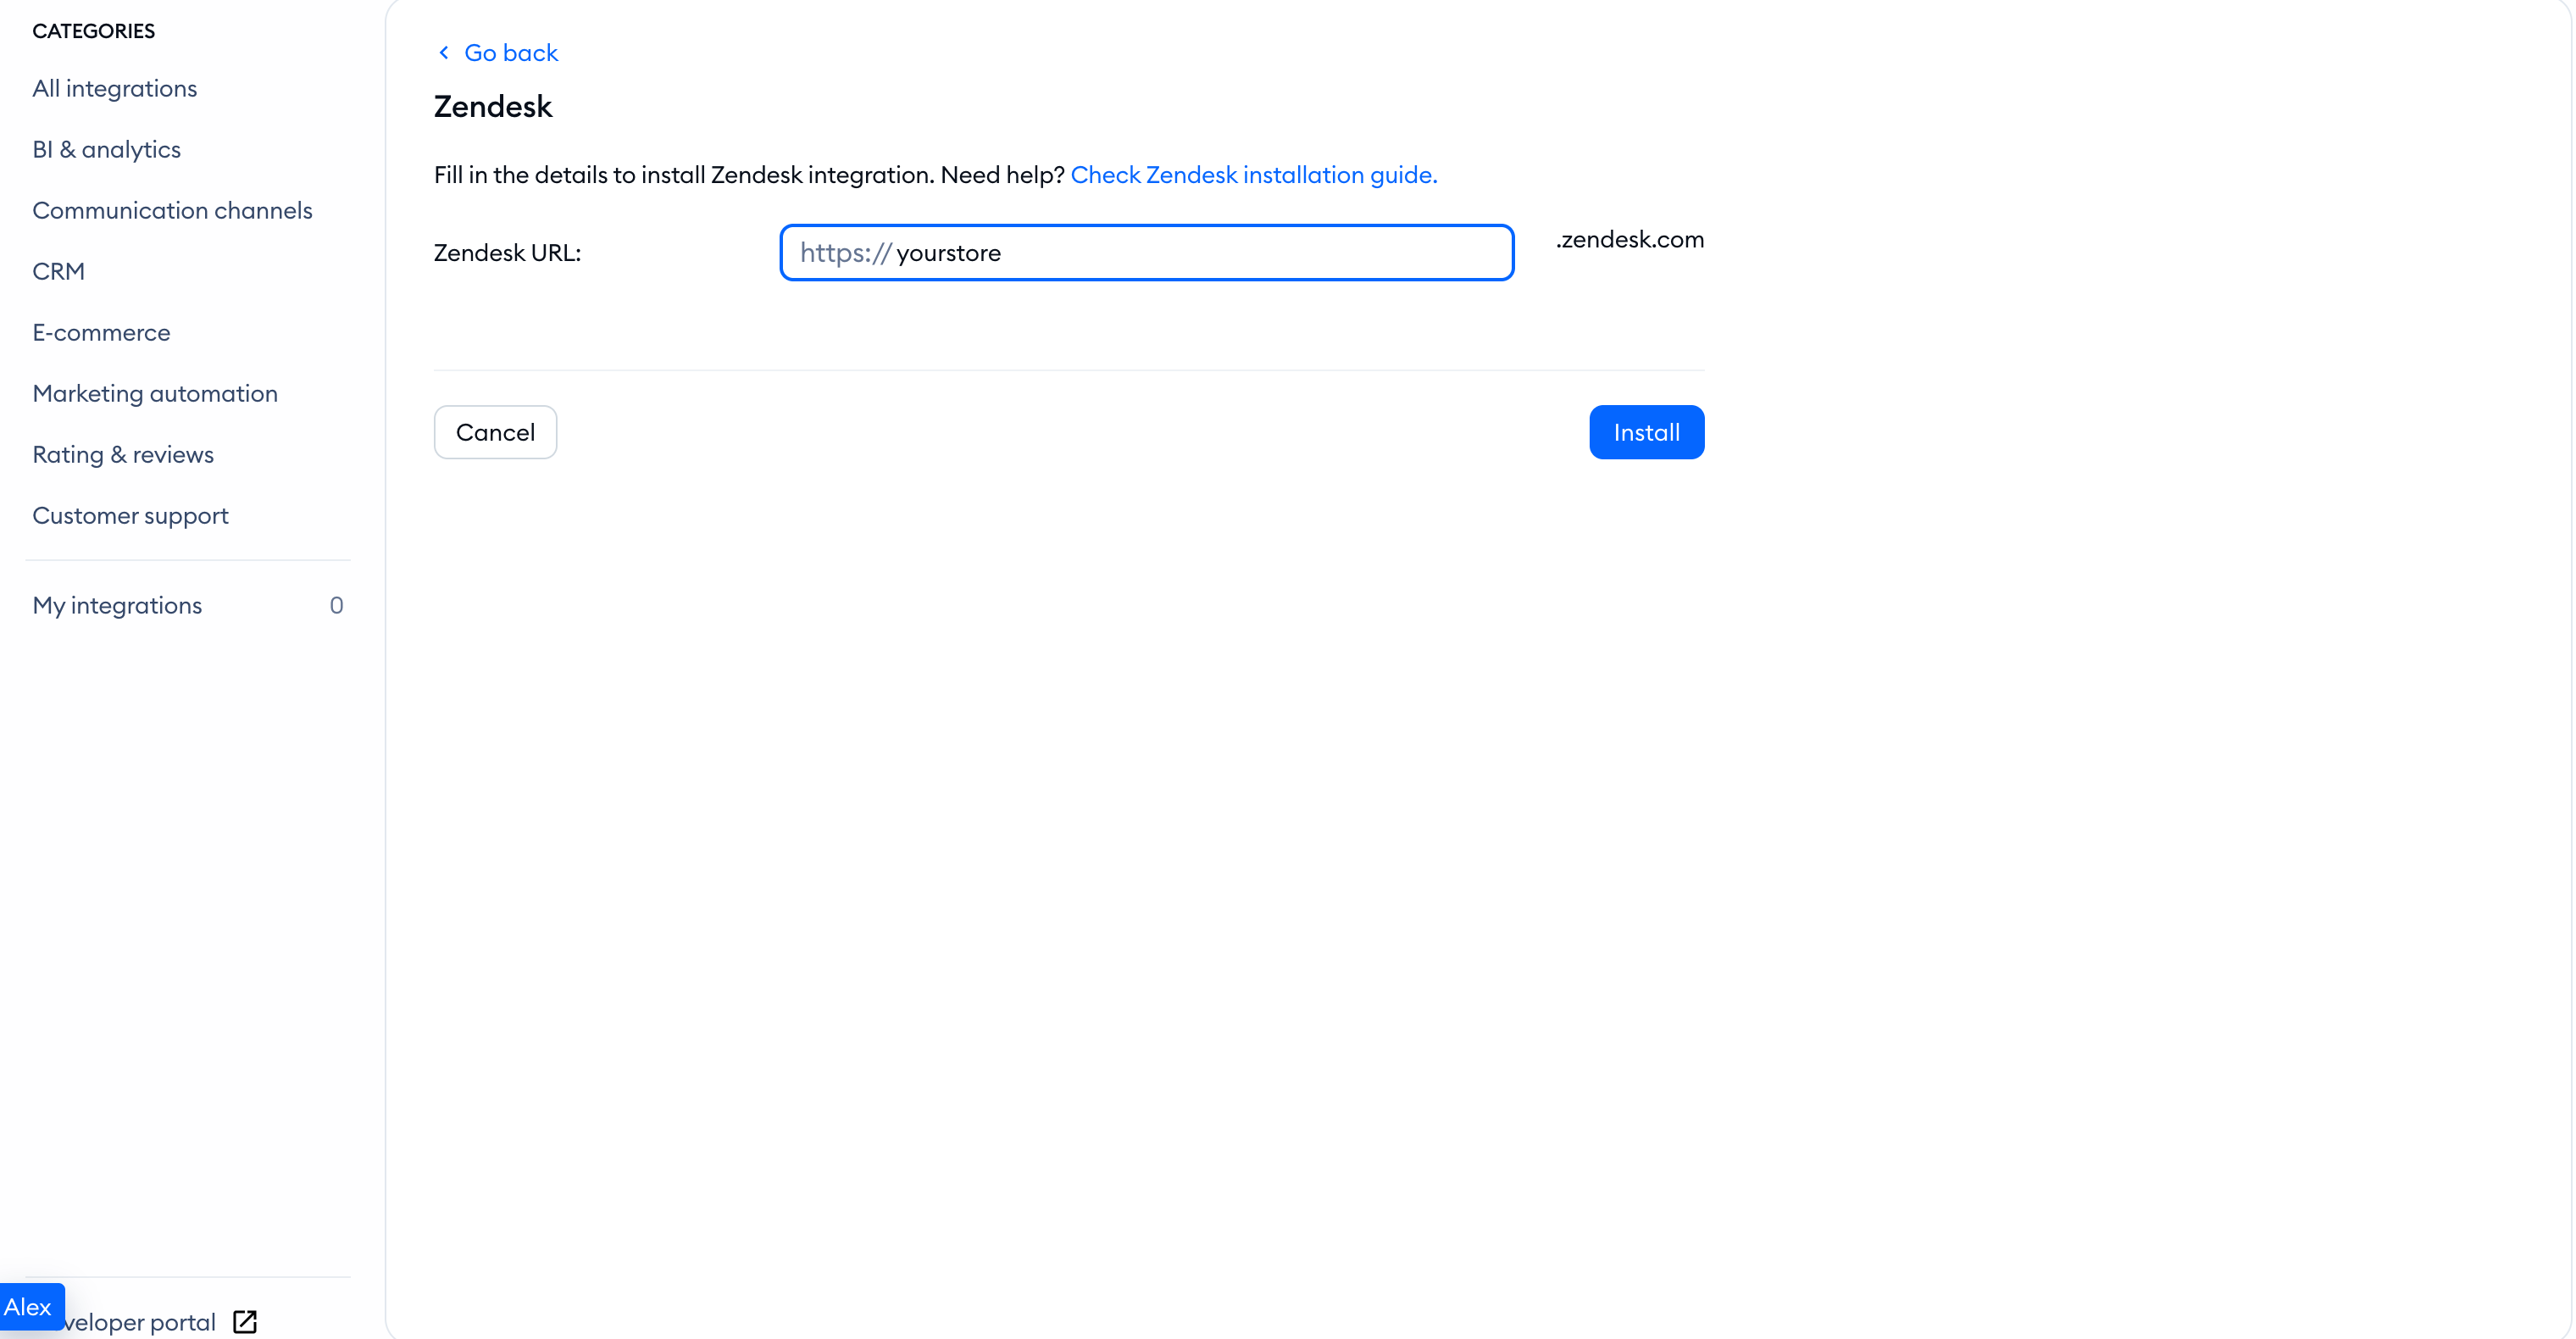
To complete the integration, you will need to provide your Zendesk URL and use your associated Zendesk login details to authenticate the integration.
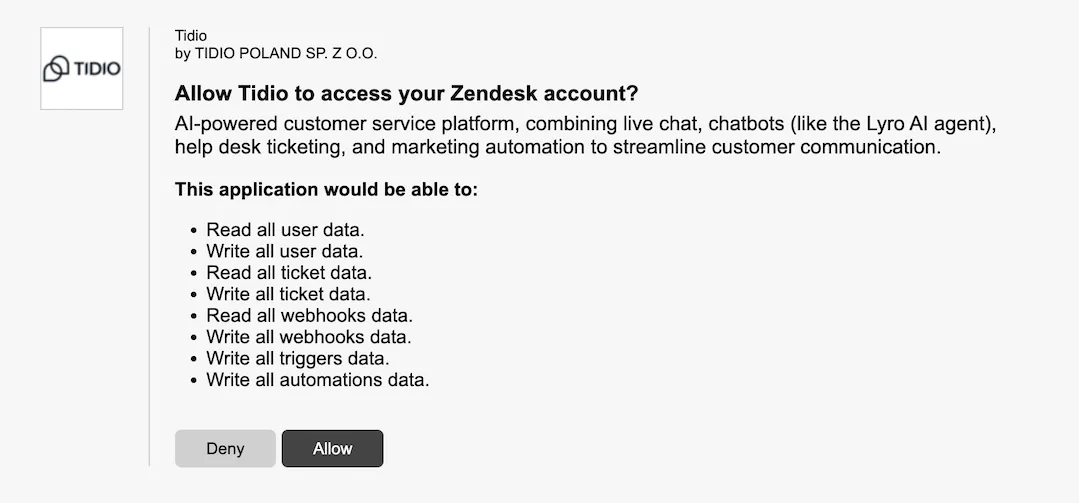
That's it! After you complete authorization successfully, your Tidio account is connected with Zendesk.
Please note: If an older connection shows Update Zendesk, click it and authorize the connection through Zendesk again to keep using the integration.
Submitting a new ticket to Zendesk
To submit a ticket, you need to view a conversation that you want to create the ticket from. Once inside, use the Create a Zendesk ticket option in the lower-right:
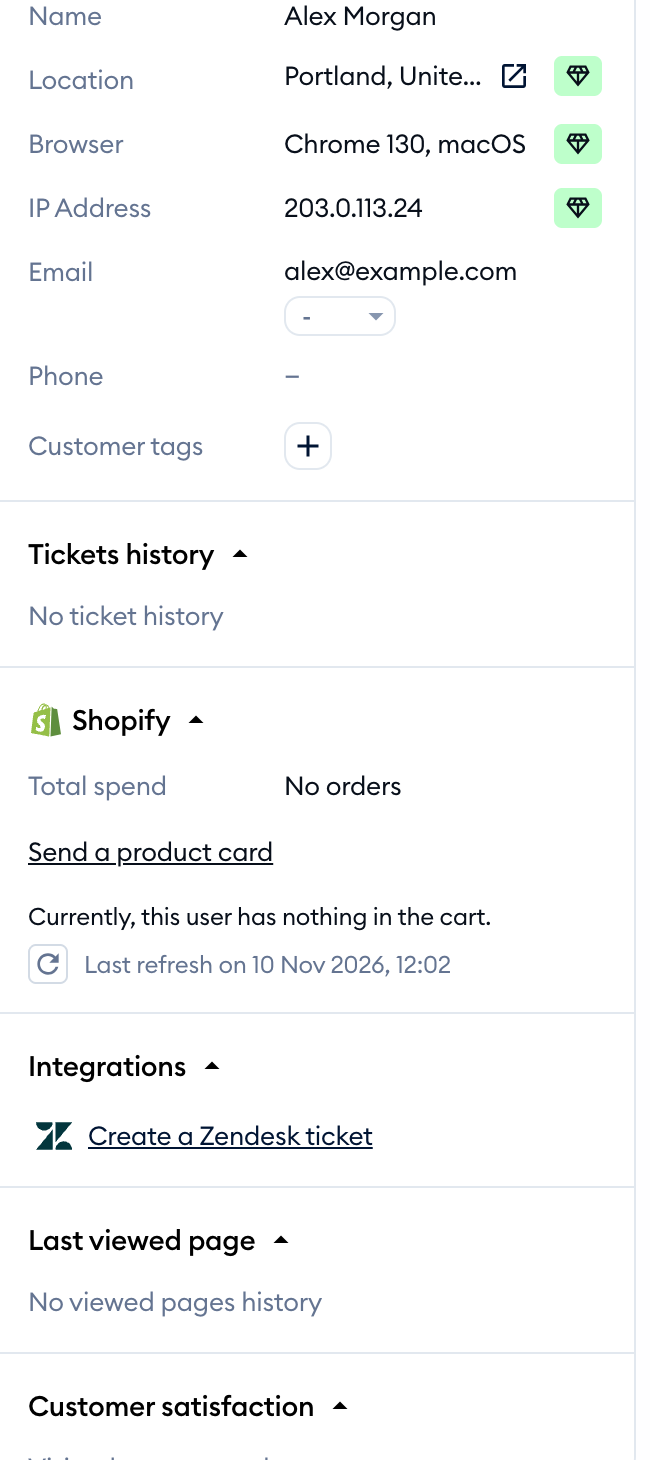
You will see a new window pop up, letting you configure details for the new ticket before creating it. These options include the ticket's Ticket Subject, Priority, Assignee (yourself by default), and a preview of the most recent chat transcript.
Of course, you need to compose a message to the recipient (or decide to leave an internal note instead), and you can use some basic formatting options for that. You can also use the Macros for your message or note, if you have any prepared.
You get to select the ticket's status as well.
Once you choose a status and click the corresponding submit button, such as Submit as NEW, at the bottom, your new ticket will be created and available in Zendesk.