Please note: Zendesk has announced that Zendesk Sell will retire on August 31, 2027. Existing customers retain access until then. See the Zendesk announcement before setting up this connection.
In this article, we will walk you through the steps to integrate Tidio with your Zendesk Sell account, allowing you to send leads directly from chat conversations.
In this article, you'll learn:
Integration
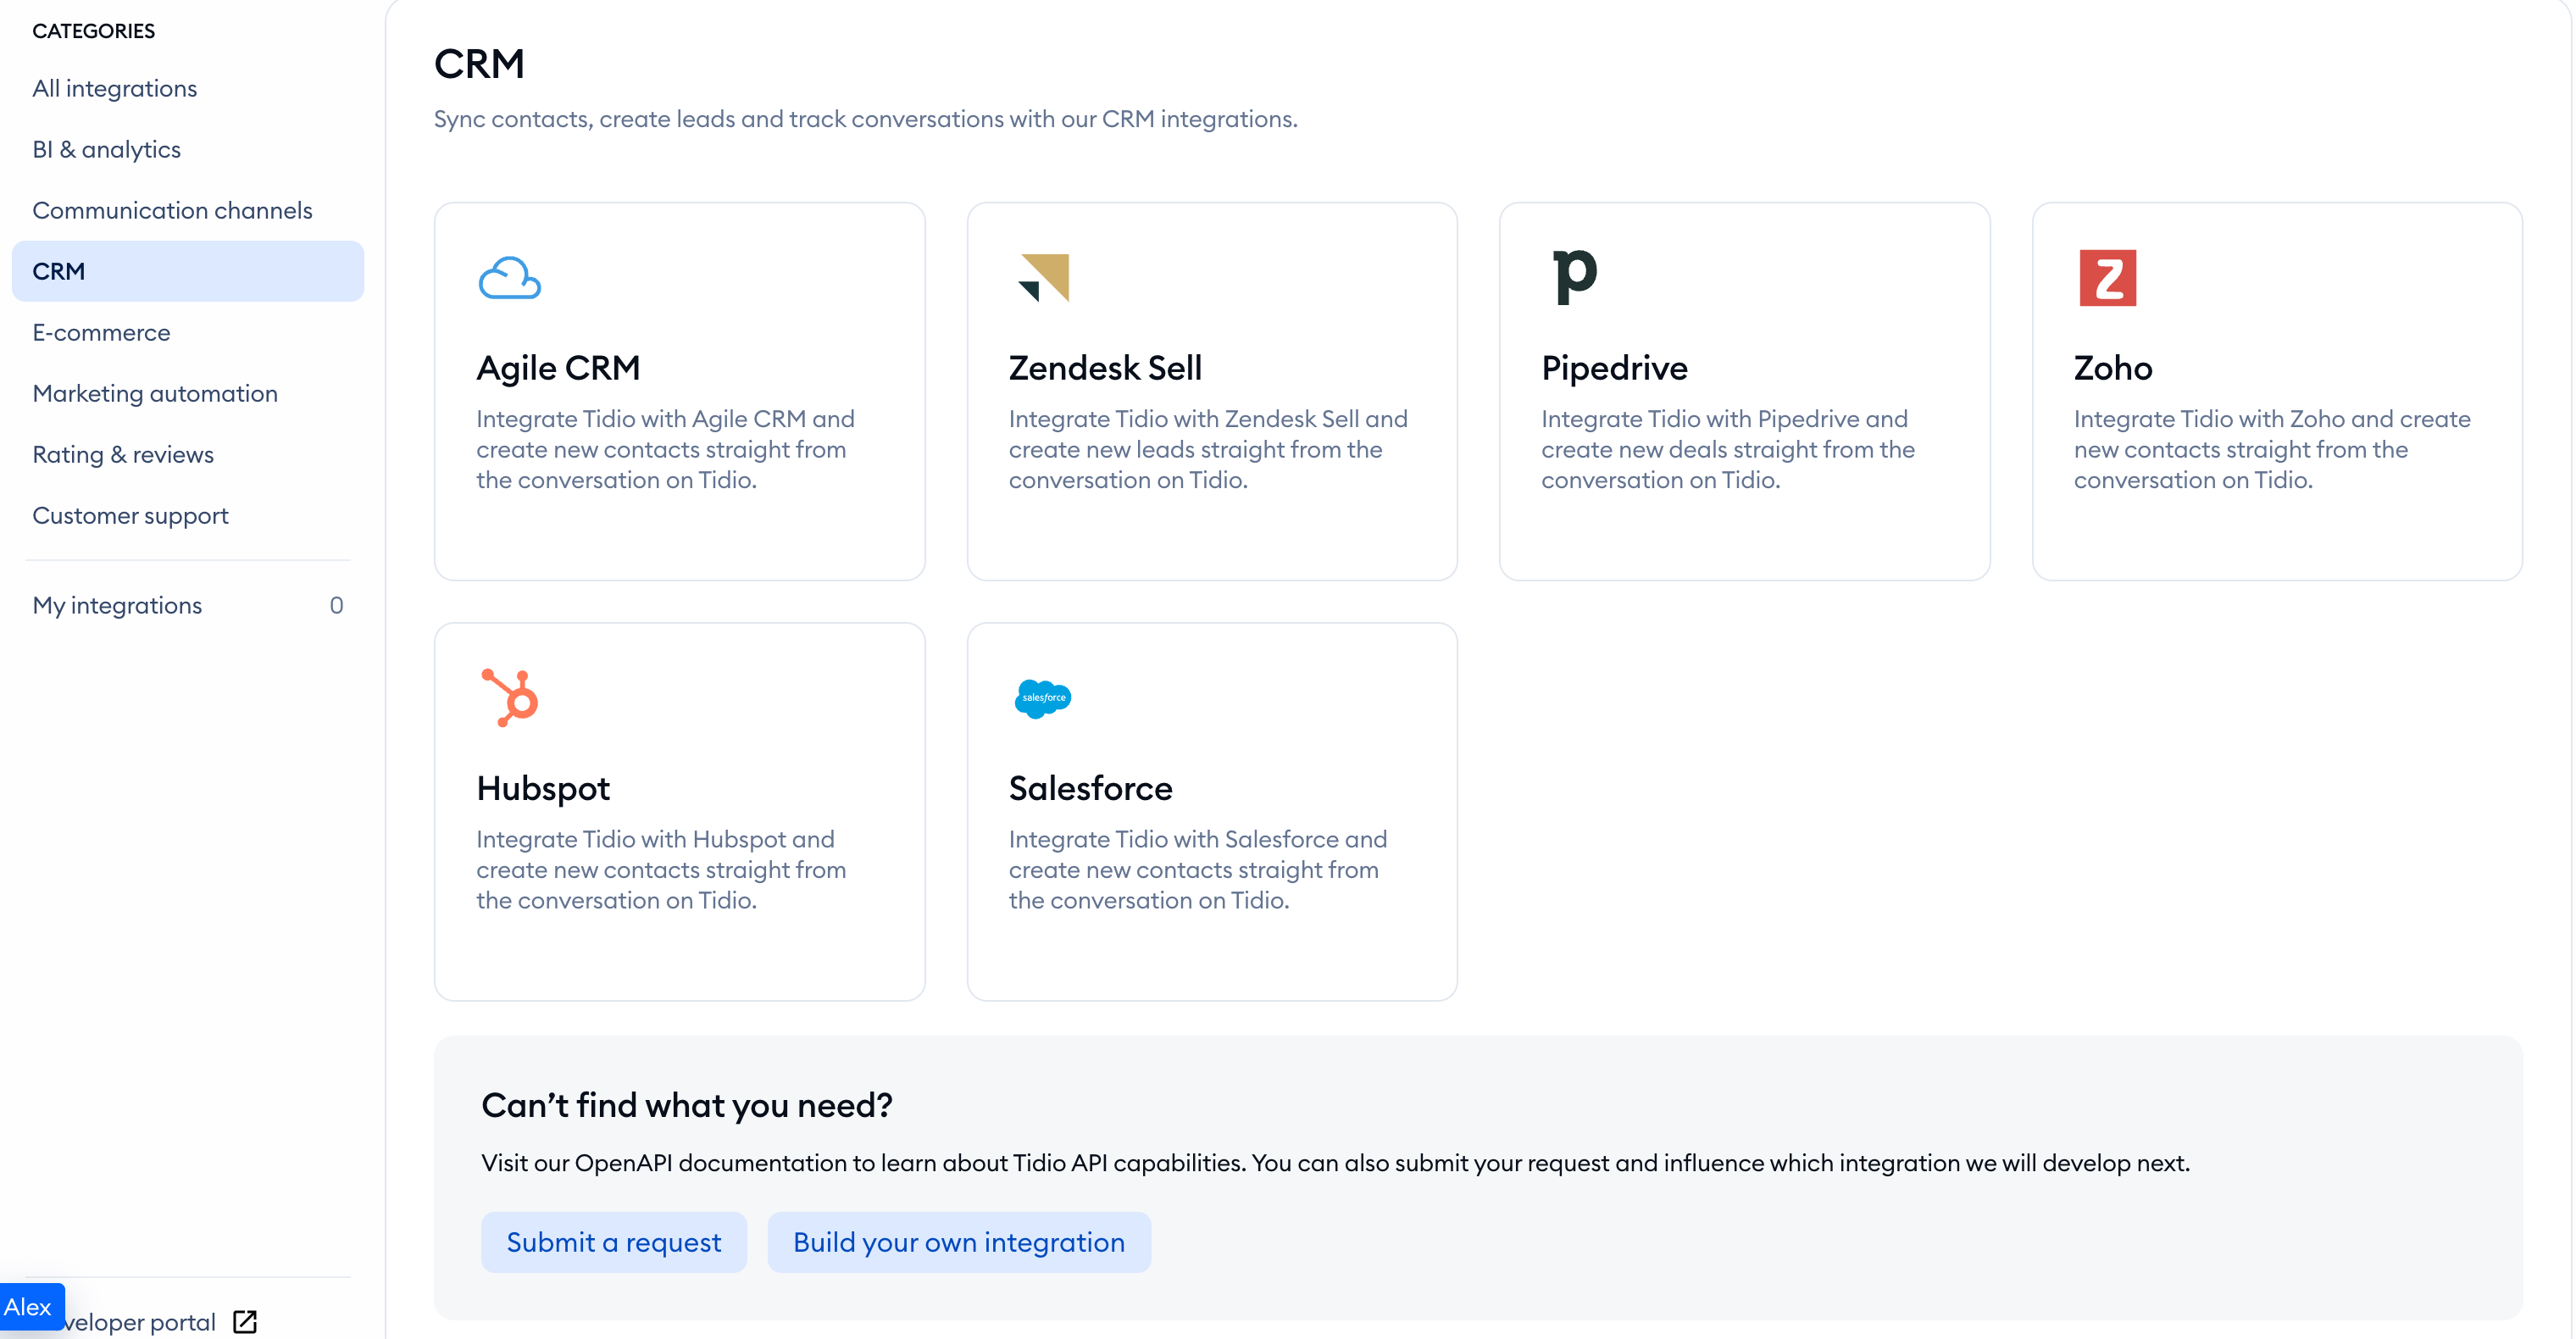
To integrate Tidio with the Zendesk Sell account, open your Tidio admin panel and navigate to the Integrations section located in the left sidebar, right above Settings. Then, click on the Zendesk Sell tile.
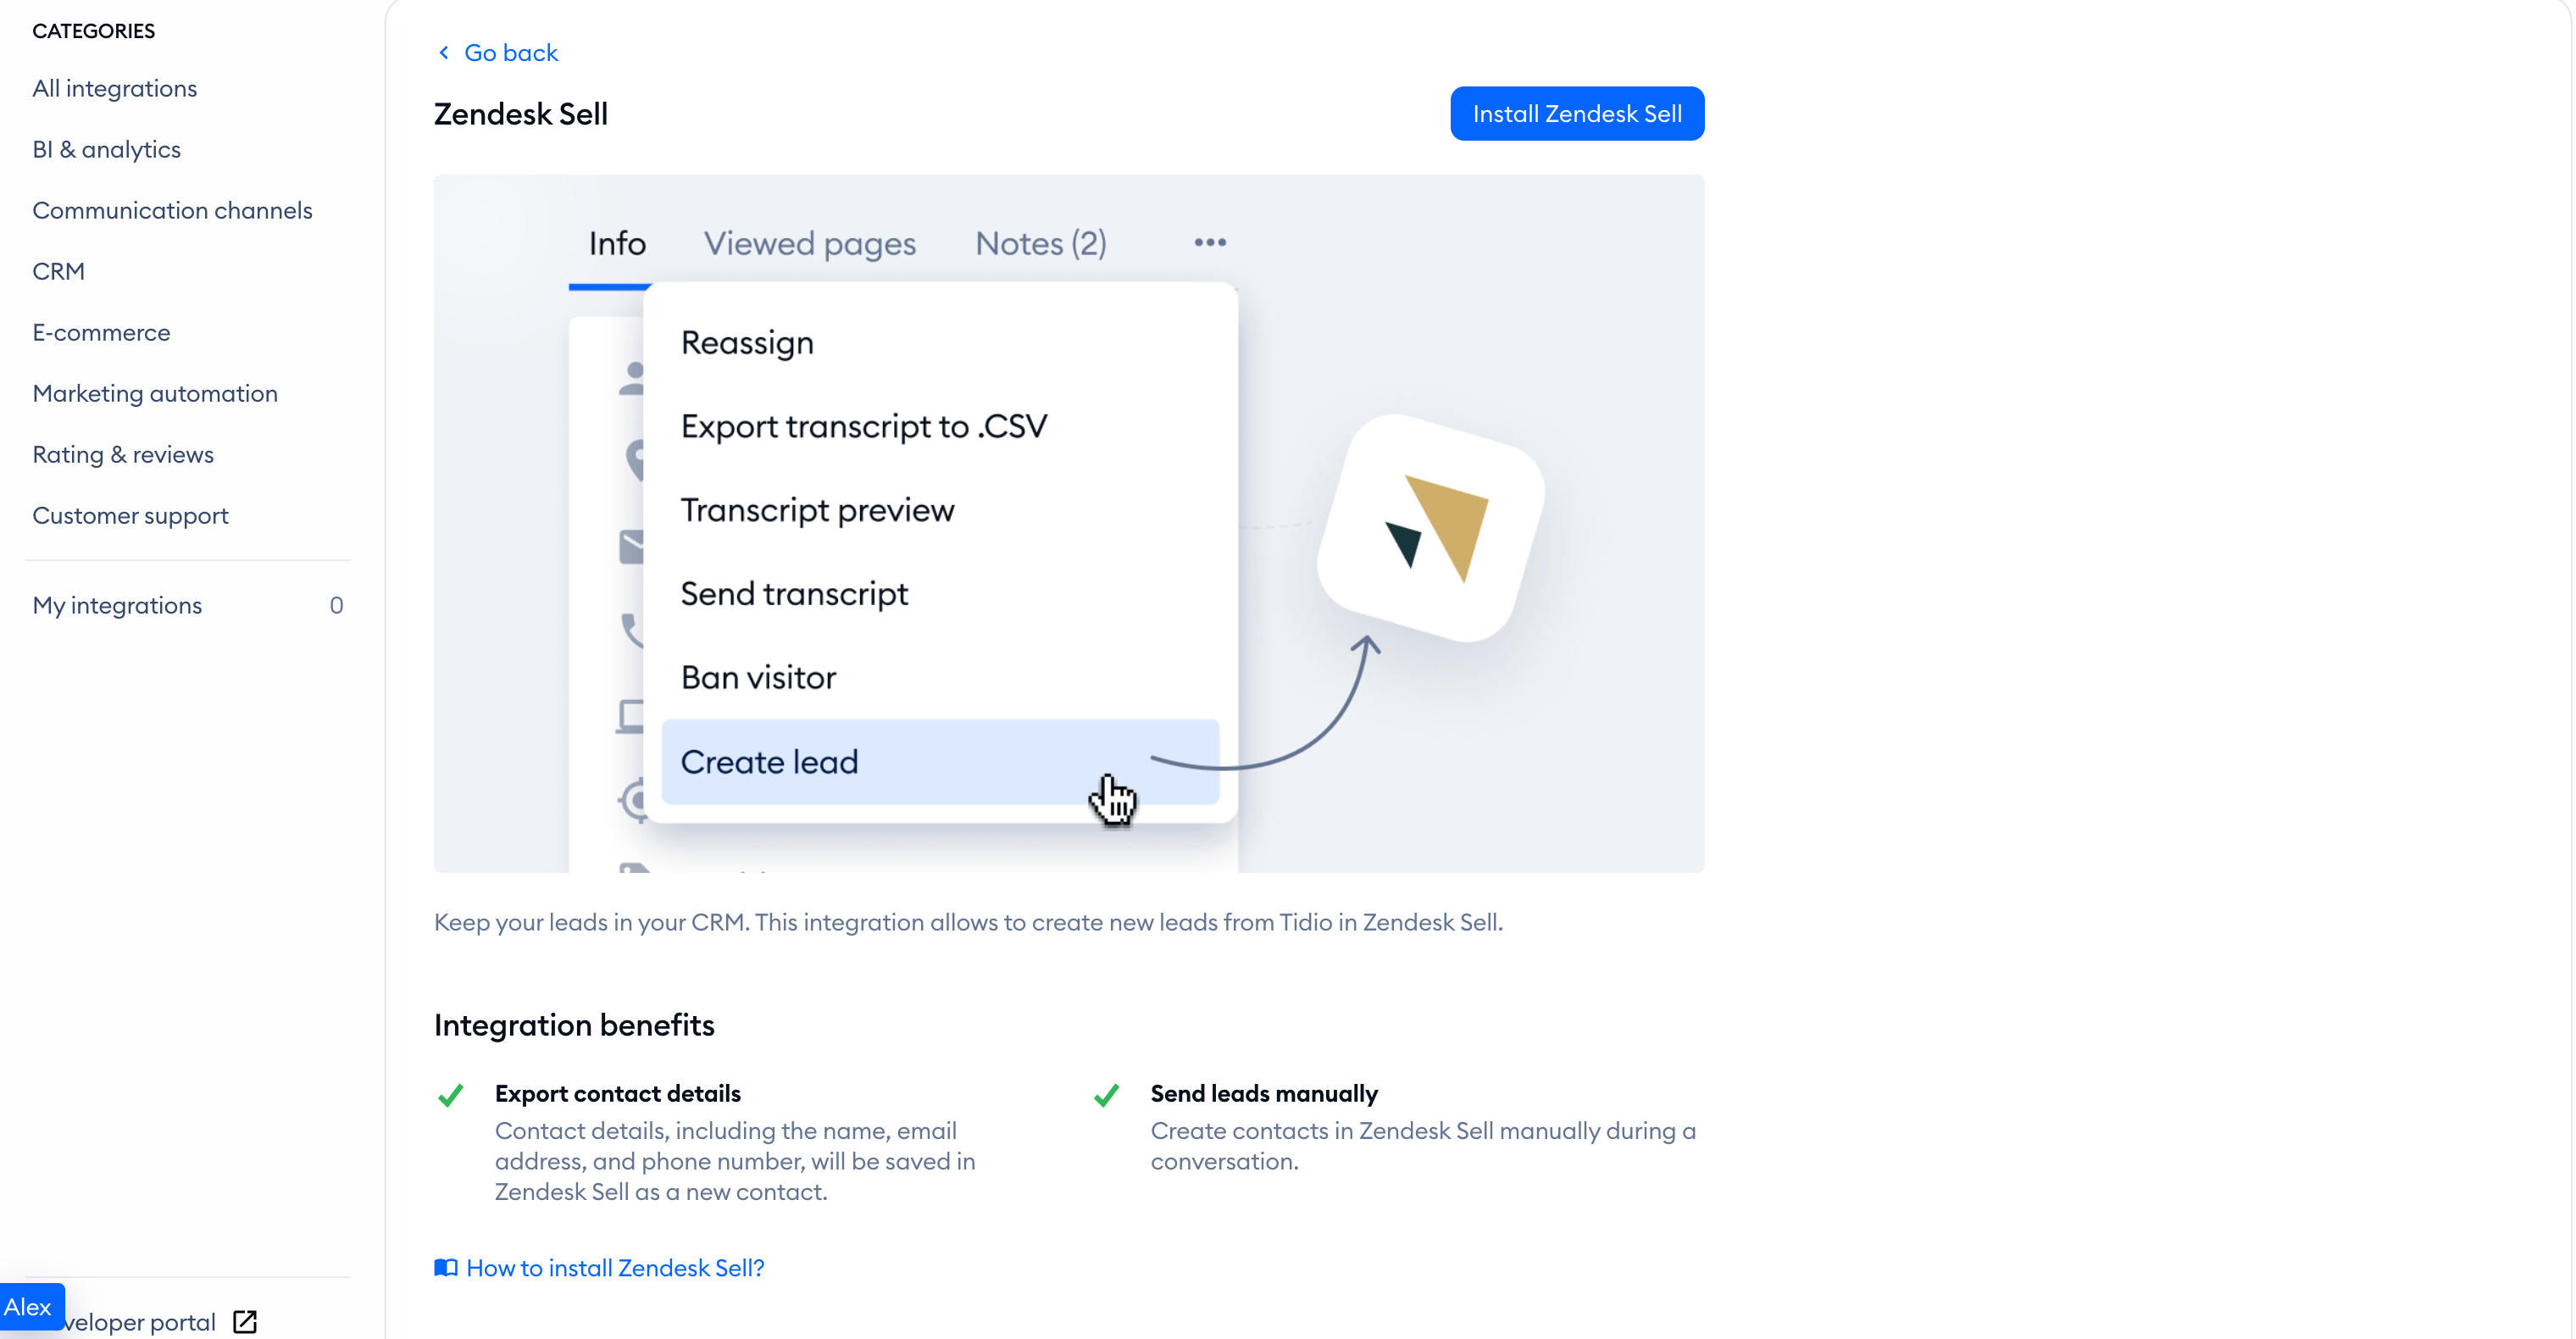
After that, click on Install Zendesk Sell.
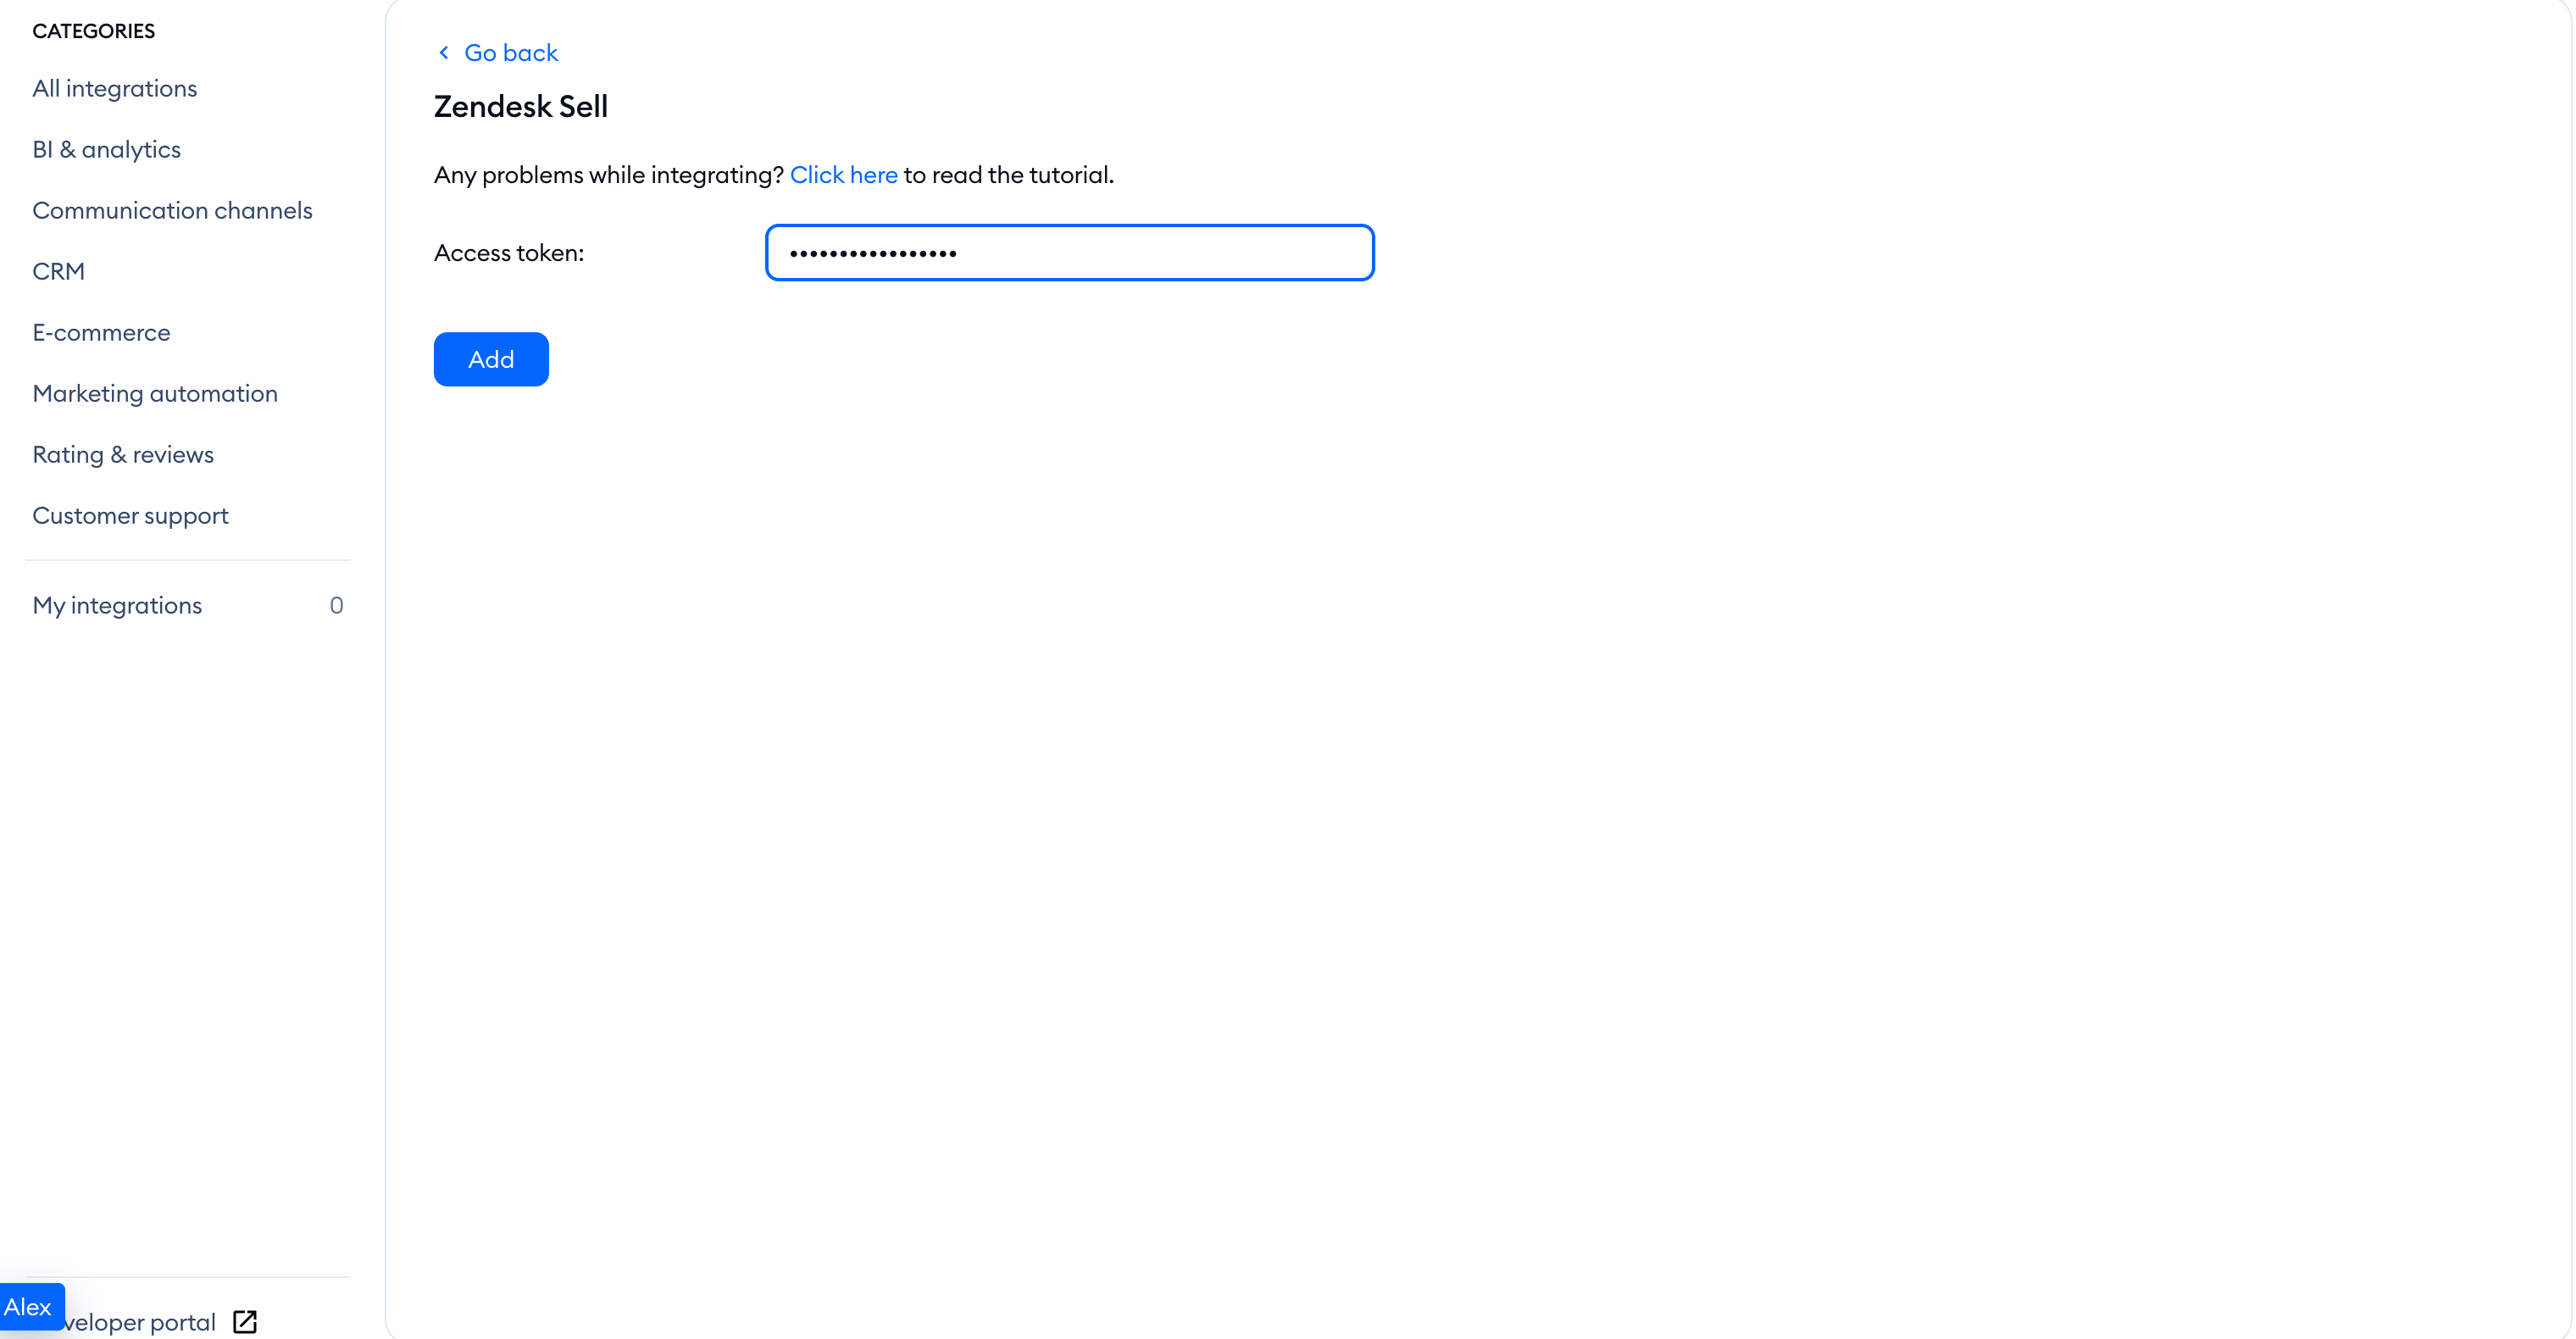
We will ask you for your Zendesk Sell access token to complete the integration.
In Zendesk Sell, open Integrations > OAuth, then use + Add User Token in the Access Tokens tab. You need Account Management Privileges. Copy the token when it appears: you cannot retrieve it after closing the window. Please refer to the Zendesk official guide for more information.
Enter your token in Access token: and click Add. If you edit an already installed connection, the button is Save. When the correct token is added, you'll see an option to create a lead straight from your conversation with the visitor.
How integration works
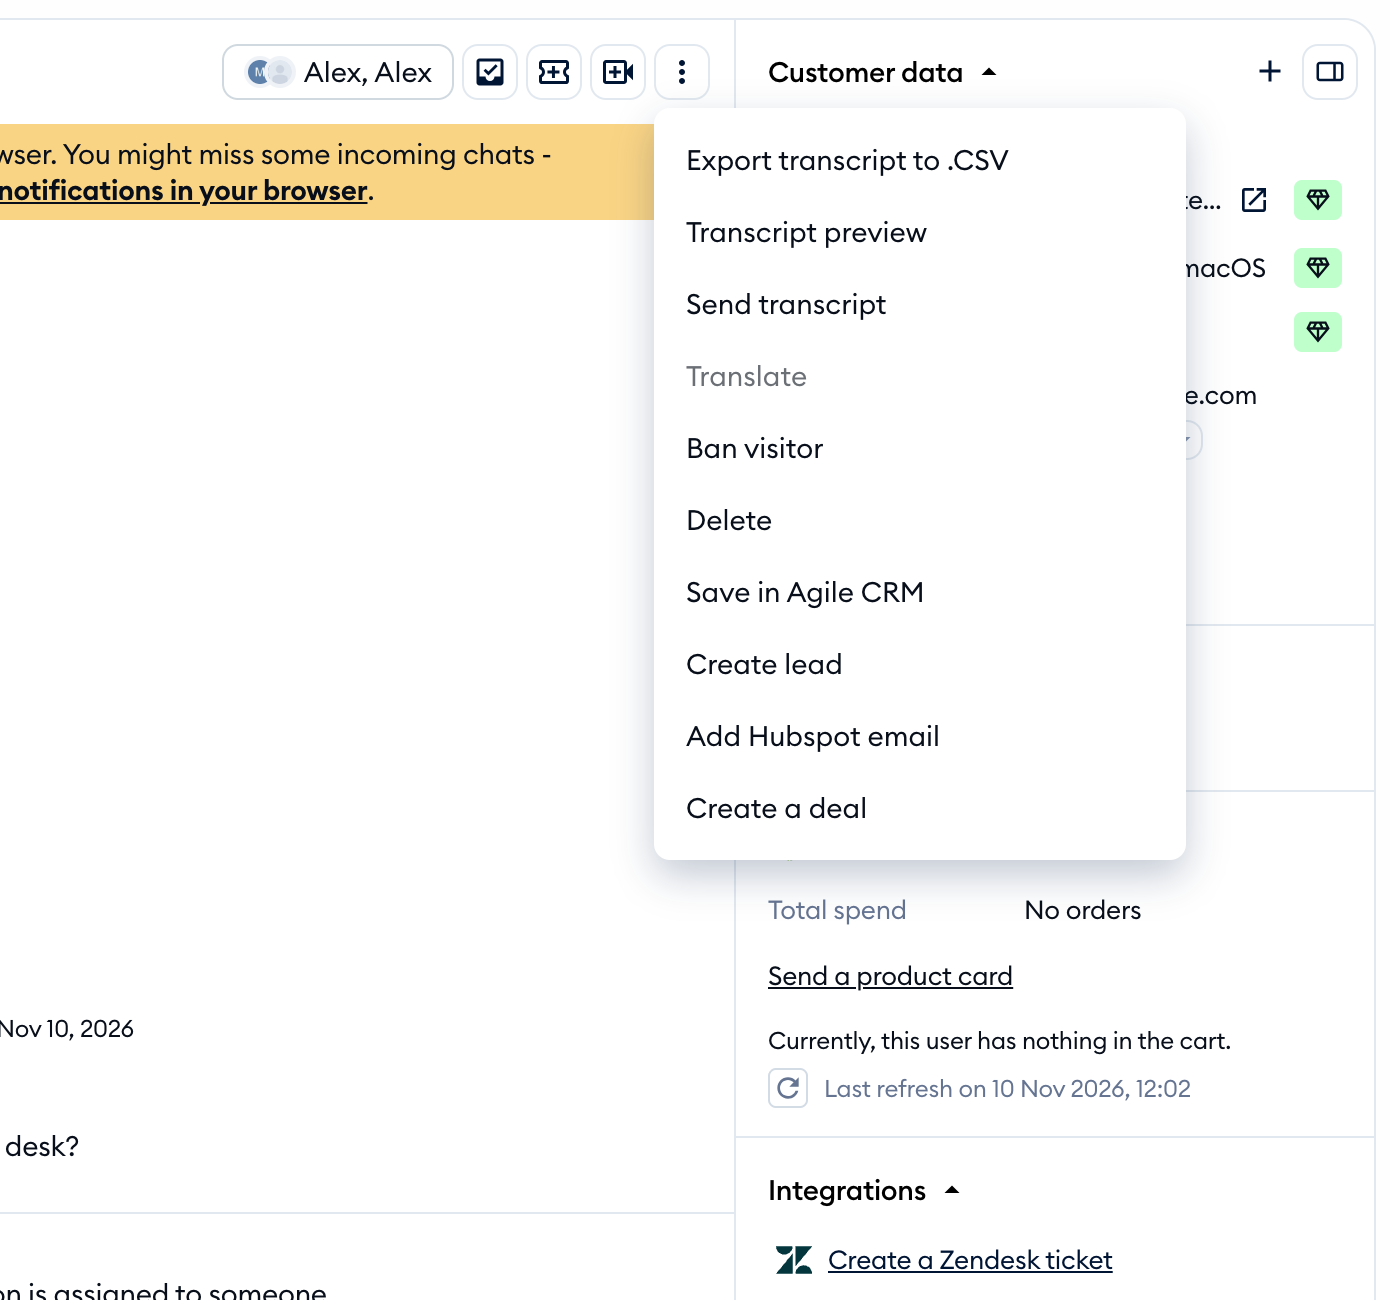
Make sure the contact has an email address in Tidio, or the integration action will be unavailable. To send a lead, head over to your conversation with the visitor. Click on the three-dots menu in the upper-right corner of the conversation panel, then hit the Create lead option. The contact will now be sent to Zendesk Sell.